METRA - The World’s best kits®
Installation instructions for part INST-123KI
®
CAUTION!
All accessories, switches, climate controls panels, and
especially air bag indicator lights must be connected before cycling
the ignition. Also, do not remove the factory radio with the key in the
on position, or while the vehicle is running.
• ISO DIN radio provision with pocket
•ISO DDIN radio provision
•Painted to match factory color and finish
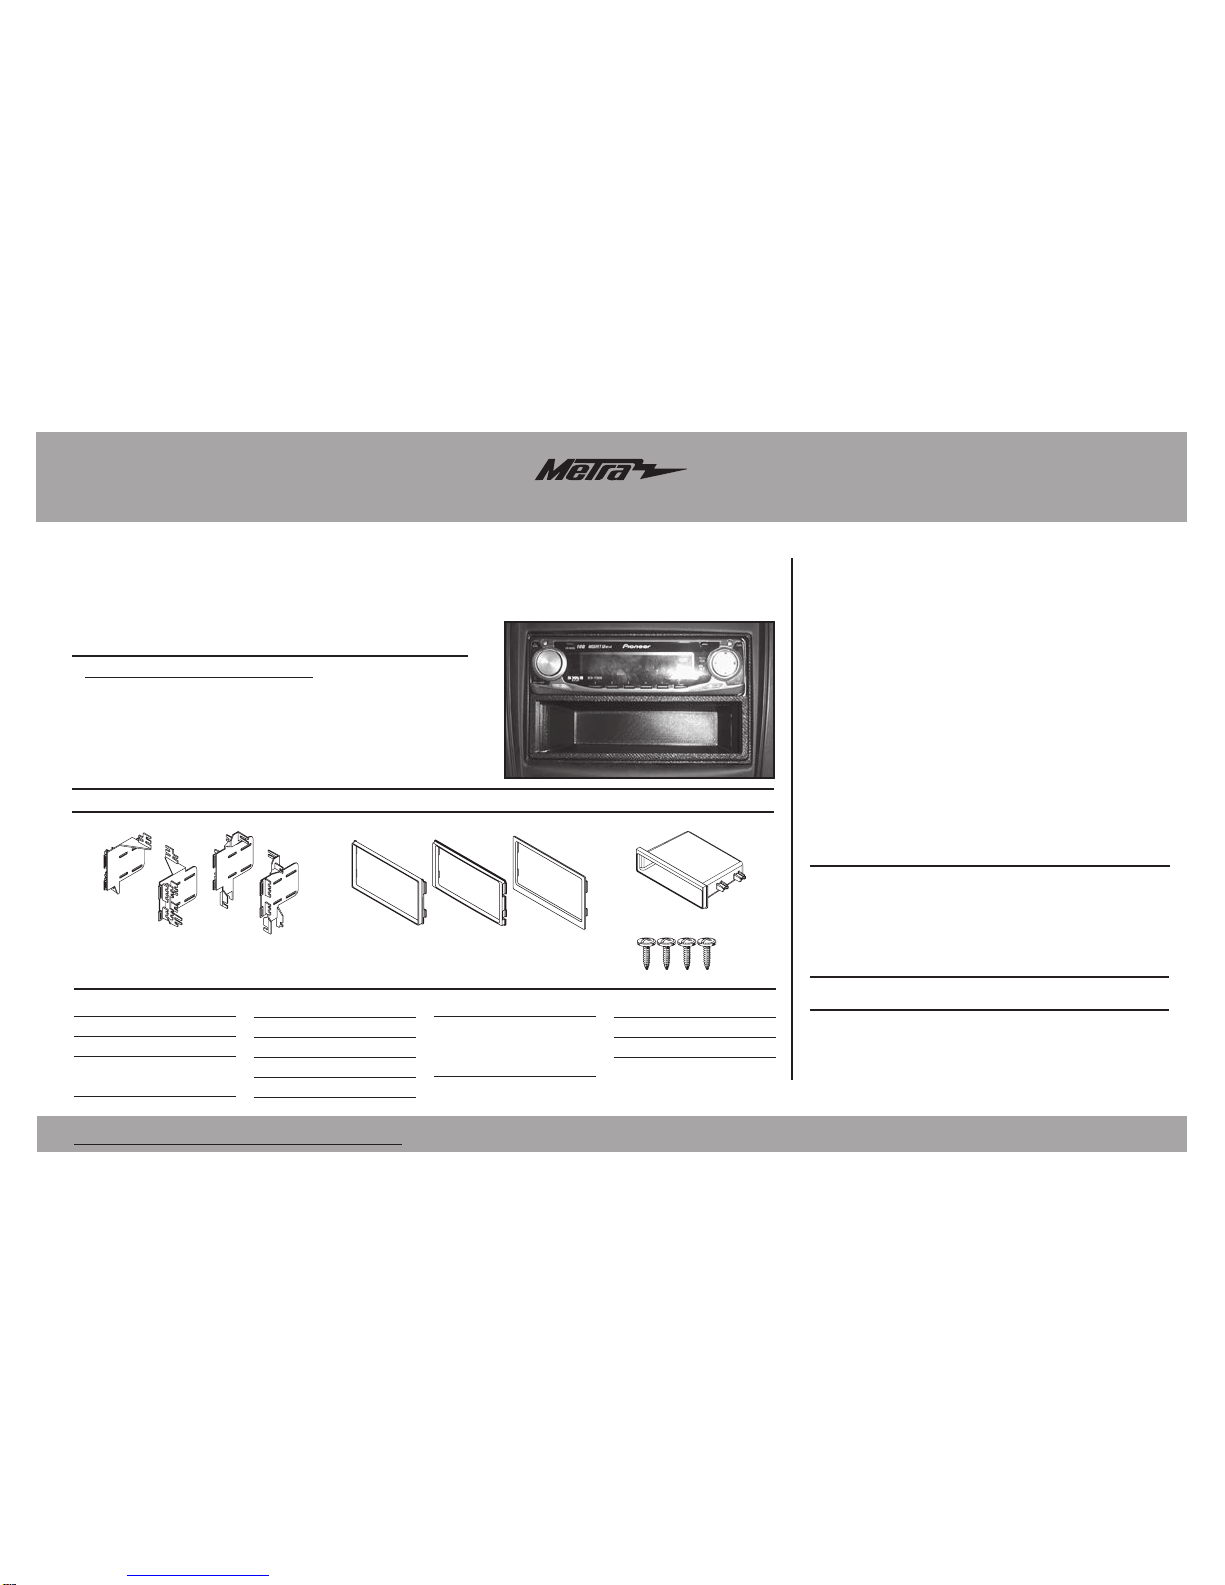
• A) (4) DDIN brackets • B) (3) Radio trim plates • C) Pocket • D) (4) #8 x 3/8” Phillips screws
KIT FEATURES
KIT COMPONENTS
WIRING & ANTENNA CONNECTIONS (sold separately)
Hyundai/Kia multi-kit 1995-2010
INST-123KI
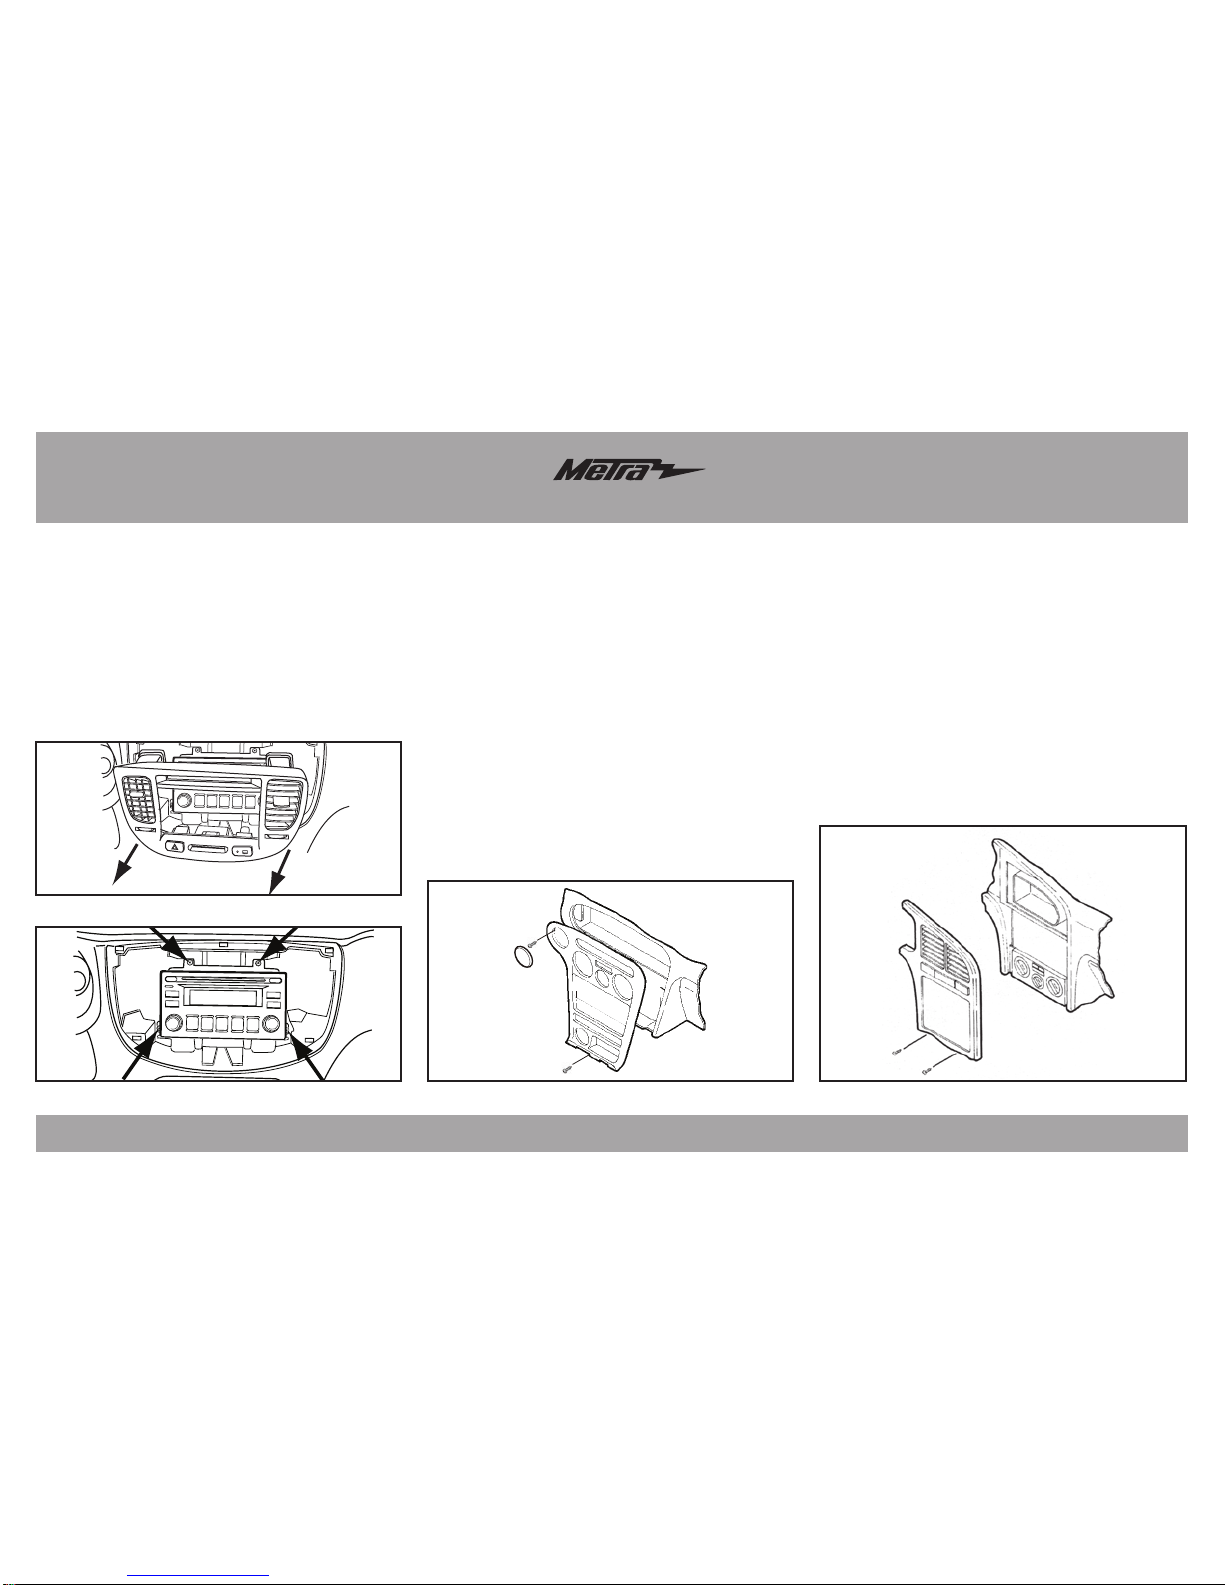
Dash Disassembly
Hyundai
- Accent/Kia Rio
2006-2010...................3
- Elantra 1996-2000 .........3
- Elantra 2001-2006 .........3
- Elantra (radio delete)
2007-2010...................4
- Santa Fe 2001-2006.......4
- Sonata 1995-1998 .........4
- Sonata 1999-2001 .........5
- Sonata 2002-2005 .........5
- Tiburon 1997-2002 ........5
- Tiburon 2003-2008 ........6
- Tucson 2005-2009 .........6
- XG300/350 2001-2005...7
- Kia Optima 2001-2006.5
(2006 early production
models only) .....................7
- Kia Sportage 2005-2010 7
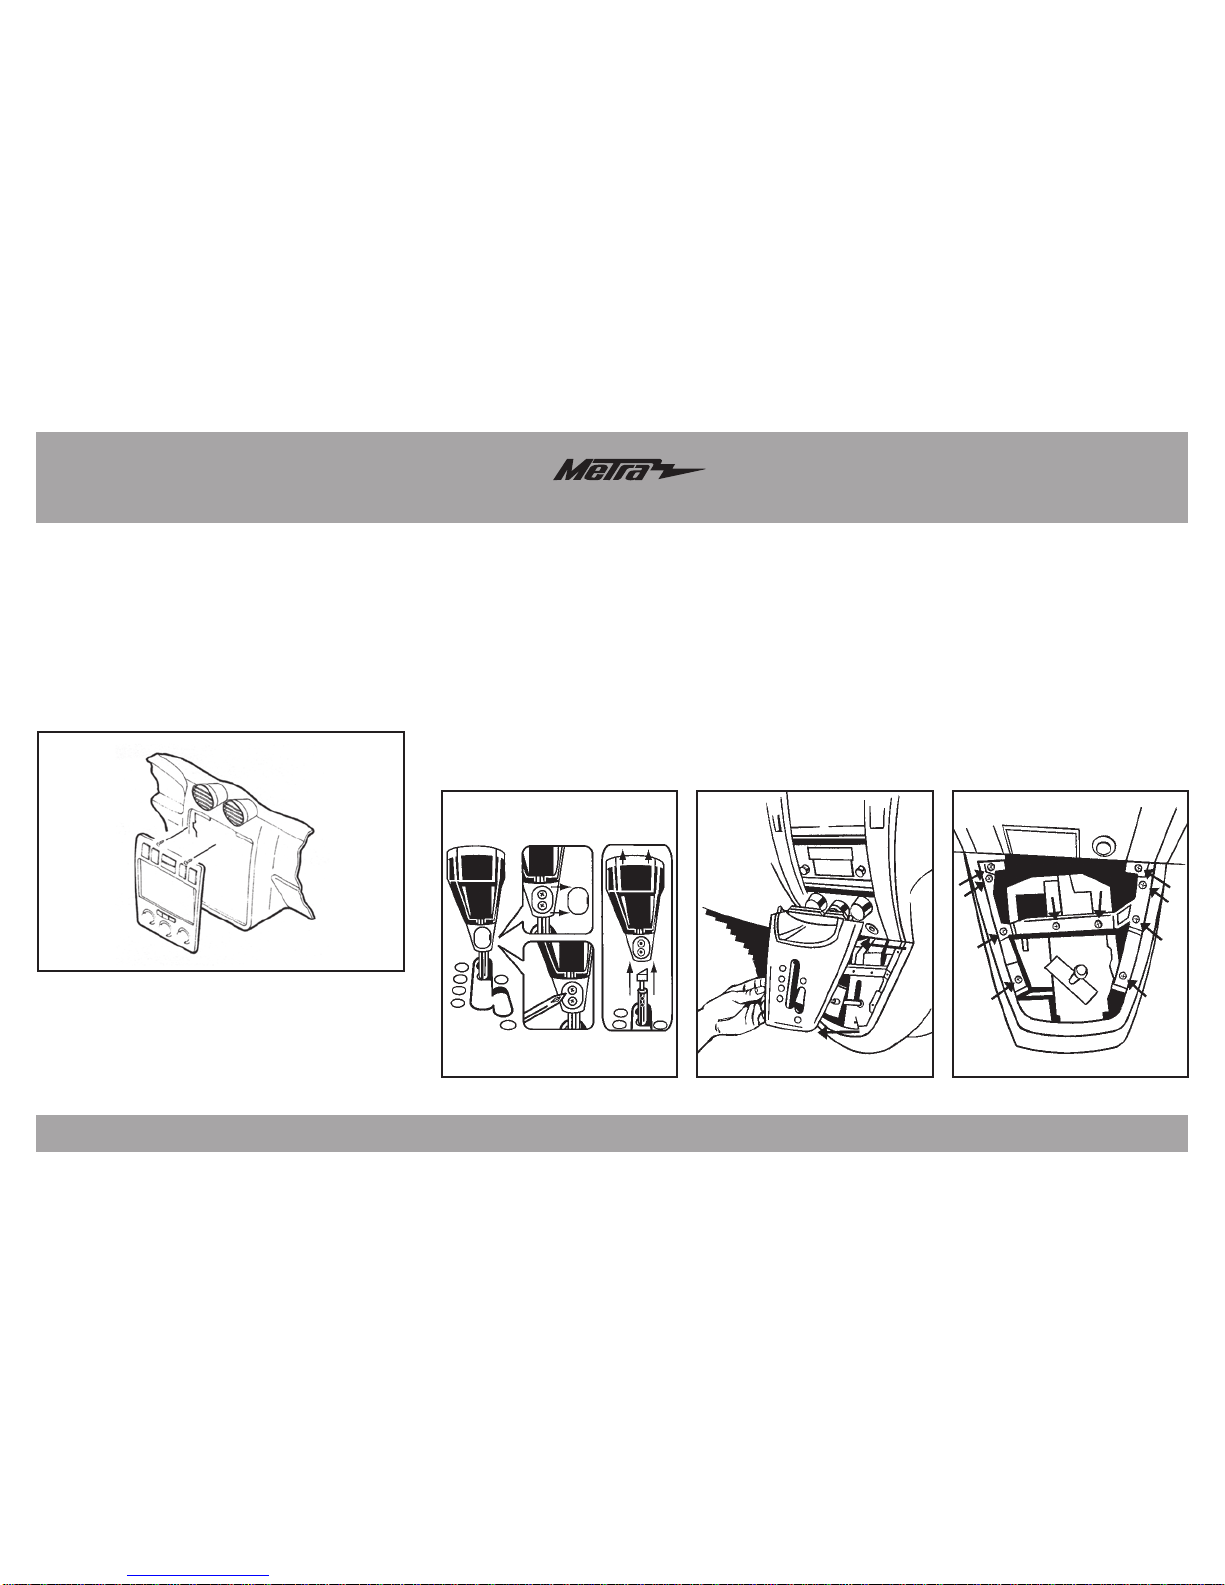
Kit Assembly
- All Vehicles .....................8
- ISO DIN radio provision
with pocket ....................9
- ISO DDIN radio provision ...10
Table of Contents
APPLICATIONS
B C
D
A
• Panel removal tool • Phillips screwdriver • Socket wrench
TOOLS REQUIRED
HYUNDAI
Accent 2006-2010
Elantra 1996-2006
Elantra (radio delete)
2007-2010
Santa Fe 2001-2006
Sonata 1995-2005
Tiburon 1997-2008
Tucson 2005-2009
XG 300/350 2001-2005
KIA
Optima (2006 early
production models
only) 2001-2006.5
Rio 2006-2010
Sportage 2005-2010