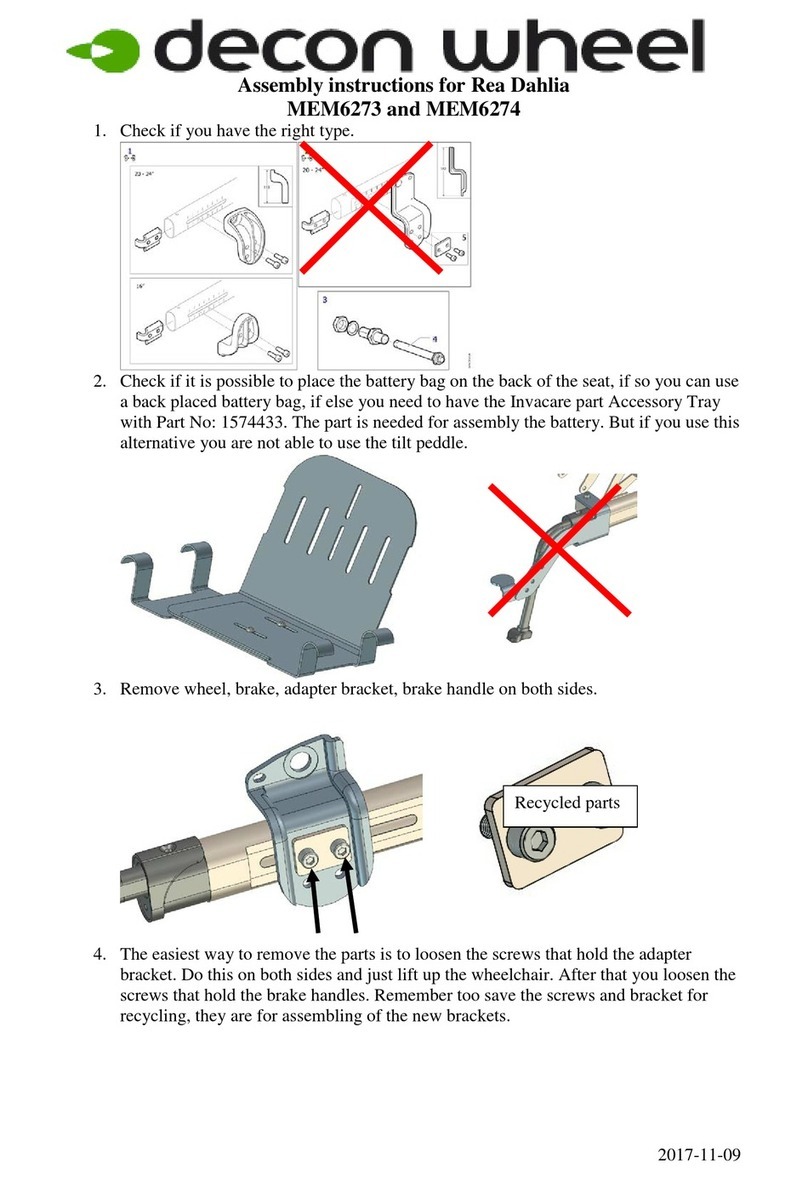
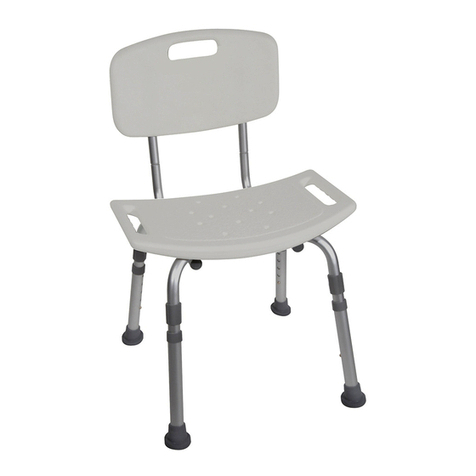
Meyra-Ortopedia McWET 8013039 User manual

GB
1
We move people.
OPERATING MANUAL
MCWET
SHOWER- AND TOILET WHEELCHAIRS
MODEL 8013039 / 8013041

2
Contents
Foreword ....................................................................................................... 4
Use ................................................................................................................. 4
Check upon receipt....................................................................................... 4
Delivery condition........................................................................................ 4
Overview ....................................................................................................... 5
Model: 8013041 / 8013039...................................................................................5
Safety information....................................................................................... 6
User information ..................................................................................................8
Reaching for objects .......................................................................................9
Correct procedure when reaching for objects..............................................9
Propelling the wheelchair ............................................................................10
Accompanying person ..................................................................................10
Assembly..................................................................................................... 11
Brake............................................................................................................ 12
Pressure brakes ...................................................................................................13
Locking the pressure brakes.........................................................................13
Releasing the pressure brakes......................................................................13
Lockable castors ......................................................................................... 14
Foot board................................................................................................... 15
Folding up the footboard ............................................................................15
Arm supports .............................................................................................. 15
Swivelling up the arm support.....................................................................15
Swivelling down the arm support ...............................................................15
Seat cushion................................................................................................ 16
Removing the seat cushion ..........................................................................16
Placing the seat cushion ...............................................................................16
Placing the insert cushion.............................................................................16
Removing the insert cushion........................................................................16
Toilet pail..................................................................................................... 17
24"-drive wheels ........................................................................................ 18
Quick release axle .........................................................................................18

3
Maintenance ............................................................................................... 19
Cleaning and Care..............................................................................................19
Upholstery .....................................................................................................19
Finish ..............................................................................................................19
Desinfection........................................................................................................20
Reinstallment......................................................................................................20
Repairs.................................................................................................................20
Disposal ...............................................................................................................20
Maintenance instructions ..................................................................................21
Flat tyre ...............................................................................................................24
Tyre change ...................................................................................................24
Adjusting the pressure brakes...........................................................................25
Fine adjustment of the pressure brakes......................................................25
Technical specifications ............................................................................. 26
Model 8013039 / 8013041 ............................................................................26
Type plate ......................................................................................................26
Guarantee ................................................................................................... 26

4
FOREWORD
We thank you for selecting this
MEYRA-ORTOPEDIA product.
This manual is to help you get accus-
tomed to the handling of the shower
and toilet wheelchair as well as to
prevent accidents.
☞Note:
☞Please note that the illustrated
equipment variants can deviate
from your model.
☞This manual is valid for the model
8013039 and 8013041.
!Attention:
Read and observe this manual be-
fore first use of the shower and
toilet wheelchair.
☞Note:
Children should read this operat-
ing manual together with the par-
ents or supervising or accompany-
ing person before the first use.
USE
This product serves people with lim-
ited mobility as an aid for taking a
shower or using the toilet.
The shower and toilet chair is suited
for indoor use. It is made of alumin-
ium tube and features a robust pow-
der coated surface.
– Model 8013039 has 24"-drive
wheels with fixed axles.
– On model 8013041 the 24"-drive
wheels has quick-release axles. The
additional rear castors are swivel-
ling and lockable.
CHECK UPON RECEIPT
Unpack the product completely and
check the shipment for integrity and
damages that might have occurred
during transport. Should you find that
this product shows unexpected faults,
please:
1. Immediately complain with the
freight carrier.
2. Let the damages be recorded.
3. Either inform us or your authorised
dealer without delay.
DELIVERY CONDITION
The shower and toilet wheelchair
is supplied in easy to assemble part
groups.
☞Therefore observe chapter < As-
sembly >.

76
4
3
2
1
5
4
3
2
1
5
5
OVERVIEW
Model: 8013041 / 8013039
The overview shows the most important components and operating equip-
ment.
Pos. Description
➀Push bar
➁ Drive wheel
➂ Handrim
➃ Linchpin
➄ Rear castor - lockable
Pos. Description
➀Back support
➁ Armrest
➂ Seat cushion
➃Insert cushion
➄Foot board
➅Front castor
➆Pressure Brake

6
SAFETY INFORMATIONS
A shower and toilet wheelchair is a
technical aid for which the follow-
ing safety instructions have to be ob-
served at all times:
☞Read and observe this manual be-
fore first use of the shower and
toilet wheelchair.
☞The shower and toilet wheelchair is
to be protected against unauthor-
ised use, (especially by children),
e.g. activate the brakes.
☞ Assembly should be carried out by
a qualified specialist!
☞All components must be checked
for damage and tightness before
the use. – Danger of accidents!
☞ Do not straighten or use a de-
formed shower and toilet wheel-
chair. – Danger of accidents!
☞ Make certain that the quick-re-
lease axles are firmly locked into
place. – Danger of accidents!
☞Before transferring to another
seat, generally activate the brakes
before getting up or sitting down,
in order to prevent an uninten-
tional movement.
☞ Take care that all four castors stand
safely on the floor during use when
the 24" drive wheels are not used.
– Danger of accidents!
☞ Keep arm supports and castors free
of oil and grease. – Danger of ac-
cidents!
☞ Defective cushions and castors are
to be replaced immediately. – Dan-
ger of accidents!
☞ With open wounds use a sterile
pad for seat, back, foot and arm
support cushions!
☞Do not rest your legs on furniture
or other items. – Leaning back-
wards then changes the centre of
gravity and increases the risk of
tipping over.
☞Take care that the wheels do not
cut your skin!

7
☞The shower and toilet wheelchair
should only be used with the help
of an attendant.
☞Only permitted for transport of
one person!
☞Only use the shower and toilet
chair for short distances. – Health
can suffer from long-term use since
no spring elements exist.
☞Make sure that your bottom is not
wider than the seat cushion, name-
ly (43 cm).
☞For your own safety sit back as far
as possible in the centre of the seat.
– Danger of overturning!
☞Call an attendant when getting
up.
☞Do not use the arm support as an
aid for getting up!
☞Absolutely avoid a one-sided sup-
port on the left or right arm sup-
port when standing up.
☞Danger that the shower and toilet
chair may tip over if the castors are
positioned unfavourably.
☞ Only use the shower and toilet
chair on level, firm and slip-proof
surfaces. – Danger of overturning!
☞Use is not permitted for:
– driving on uneven or rough sur-
faces. – Greater rolling resistance;
Danger of tipping!
– driving on gradients. – Danger of
accidents!
– crossing obstacles (e.g. steps,
ledges). – Danger of accidents!
☞Tyres are made of a rubber mix-
ture and can leave permanent or
difficult-to-remove marks on some
surfaces (e.g. plastic, wooden or
parquet flooring, carpets, mats).

8
Approaching an obstacle
Obstacle crossing
User information
The following pages give general in-
formation and suggestions for the
handling and use of the shower and
toilet wheelchair in everyday situa-
tions. New situations must be prac-
tised with the support of a helper.
☞Always approach small obstacles,
e.g. steps or curbs, slowly and at a
right angle (90°) until the steering
wheels almost touch the obstacle.
Briefly stop the wheelchair and
then drive over the obstacle.
!Attention:
Brake very carefully when driving
backwards. – Abrupt braking with
the handrims can cause you to tip
over!
☞ Avoid extreme braking through
the handrims, since the generated
friction heat between handrim and
hand can lead to injuries.
☞The footboard is to be swivelled
upward before transfer out of or
into the shower and toilet wheel-
chair.

9
Reaching for objects
Avoid an extreme forward or back-
ward inclination of the upper body
when picking up or placing heavy ob-
jects. – Danger of tipping over or tilt-
ing!
☞Before moving the upper part of
the body far forwards whilst in
the shower and toilet wheelchair,
increase the stability of the wheel-
chair by moving it rearwards un-
til the steering wheels point for-
wards.
Correct procedure when reaching
for objects
☞Position the wheelchair as close as
possible adjacent to the object.
☞Swivel the front castors forward
by turning the wheelchair. This in-
creases the stability of the wheel-
chair.
☞Operate the parking brake.
☞Carefully pick up the object.

10
Propelling the wheelchair
☞If possible propel the wheelchair
over the handrims. – Perhaps dan-
ger of jamming in the area of the
brake!
☞Uncontrolled rolling movements
when scuttling are to be prevent-
ed! – Danger of accidents!
☞Do not brake the shower and toi-
let wheelchair with your feet if the
footboard is folded upward. – Risk
of injury by spraining the ankles!
☞Do not reach into the spokes or grip
the tyres of the rotating wheels.
– Danger of injury!
☞Avoid abrupt forward propelling
of your shower and toilet wheel-
chair. – Danger of tipping over or
tilting!
☞Avoid an immediate opposite di-
rection change (e.g. a forward
motion after a backward motion).
– Danger of a full braking effect
due to steering wheels swivelling
inwards.
☞When using additional 5“ castors in
the rear observe that these should
face inward and are locked when
using the 24“ wheels!
Accompanying person
The accompanying person must be
made aware of all possible danger
situation before the start of his/her
supportive involvement.
The parts of the shower and toilet
wheelchair that are held onto by the
attendant are to be checked for tight
seat.

1
2
2
3
4
56
11
ASSEMBLY
We supply the product disassembled
in parts groups. Assembly is to be car-
ried out as follows:
1. First insert the back tubes from the
top into the two rear frame parts
[1] the screw the handwheels in
tightly (2) .
2. Mount the 24“ wheels with the
axles included within the scope of
delivery into the lowest hole of the
receptacle adapter [3].
3.Mount the pressure brakes with the
clamping bits on both sides to the
brake adjustment rail [4].
☞Hereto observe chapter < Adjust-
ment of the pressure brakes >.
4. Placing the seat cushion [5].
☞Therefore observe chapter < Seat
cushion >.
☞Upon demand place the insert
cushion into the recess (6).
5. The footboard can be folded for-
ward out of the frame.
6. Finally check for a secure fit of all
connecting elements.

2
1
12
BRAKE
By activating the brakes [1] the show-
er and toilet wheelchair is secured
against unintentionally rolling away
(parking brake).
!Attention:
The shower and toilet wheelchair
loaded with the user may not let
itself be pushed in with the brakes
engaged.
• In order to prevent an unintention-
al curve while braking the shower
and toilet wheelchair on slopes,
both brakes are to be activated si-
multaneously.
– Depending on the inclination of
the road a sideward tilting has to
be reckoned with.
• Do not support the body on the
lateral brake levers(2).
• The brake performance reduces
with
– tyre profile is worn
– tyre pressure is too low
– tyres are wet
– released pressure brake.
!Attention:
Arrange an immediate repair of
the brakes by your specialist work-
shop if the braking performance
reduces.
• Do not park shower wheelchairs
with PU wheels with applied pres-
sure brakes. – Deformations in the
running surface may remain.
• If possible propel the shower
and toilet wheelchair over the
handrims. – Perhaps danger of
jamming in the area of the brake!

2
1
13
Pressure Brake
A metered braking from driving
speed (operating brake) is possible
with the brake levers (1) of the pres-
sure brakes.
Service brake
Press the two brake levers evenly, only
slightly to the front, this brakes the
shower and toilet wheelchair in a me-
tered fashion.
Locking the pressure brakes
To secure the shower and toilet wheel-
chair against any unintentional roll-
ing, press both brake levers forward
all the way (2).
☞Note:
It should not be possible to push
the shower and toilet wheelchair
forward when both brakes are
locked.
Releasing the pressure brakes
Pull both brake levers back all the way
(1).

4
1
2
3
14
LOCKABLE CASTORS
The rear castors can be locked [1].
!Attention:
When only one parking brake is
locked, the free-running wheel
can run around the braked wheel.
– Danger of accidents!
Locking the castors
Press the large lever (2) down with
your foot as far as possible to lock the
castors.
Unlocking the castors
Press the small lever (3) down with
your foot as far as possible to unlock
the castors.

1
2
4
3
15
FOOT BOARD
The footboard can be folded forward
out of the frame [1].
Folding up the footboard
For this first remove the feet from the
footboard. Afterwards fold the foot-
board up as far as possible [2].
!Attention:
When the footboard is folded in-
ward it is not locked into place and
can fold outward during transport
of the shower and toilet wheel-
chair. – Secure if neccessary!
•When putting weight on the
footboard the shower and toilet
wheelchair will tilt forward easily.
– Danger of accidents.
ARM SUPPORTS
Swivelling up the arm support
For this swivel the arm support up-
ward as far as possible (3).
Swivelling down the arm support
For this fold down the arm support
until it returns into the original posi-
tion (4).
!Attention:
Do not reach into the area at the
end of the arm support while swiv-
elling it down. – Danger of crush-
ing!

1
2
3
5
4
16
SEAT CUSHION
The seat cushion can be removed for
cleaning purposes [1].
Removing the seat cushion
For this grab hold of the front of the
seat cushion and lift it upward off of
the frame tubes [2]. Then lift the seat
cushion off of the rear cross tube [1].
Placing the seat cushion
For this press the rear guide groove of
the seat cushion onto the frame cross
tube (3). Then press the clips on the
bottom of the seat cushion onto the
frame tubes [4].
!Attention:
Do not grab under the seat cush-
ion when pressing it down. – Dan-
ger of crushing!
Placing the insert cushion
For this place the insert cushion ac-
cording to the form into the opening
in the seat (5).
Removing the insert cushion
For use of the toilet, lift the insert
cushion out to the top [2].

17
TOILET PAIL
The toilet seat is equipped with a toi-
let pail rail.
The toilet pail, with or without lid, can
be slid from the back underneath the
toilet seat into the guide rails.
☞Note:
For use, the toilet top must be
pushed in to a point where it is
aligned with the toilet seat hole.
!Attention:
After use of the toilet pot, the toi-
let pot and the toilet seat must be
thoroughly cleaned and disinfect-
ed.
☞Therefore observe chapter < Main-
tenance >.

1
18
24" DRIVE WHEELS
The drive wheels are on a quick re-
lease axle.
☞No person may be seated in the
shower wheelchair during assem-
bly or removal. The shower wheel-
chair must stand on a level and
firm surface. Secure the shower
wheelchair against unintention-
ally rolling away before removing
a wheel.
Quick release axle
The driving wheels can be removed
and reassembled without any tools.
– For this first unlock the quick re-
lease axle by pressing the spring
button (1), then pull the drive
wheel off toward the outside.
To replace the drive wheels unlock the
respective quick release axle by press-
ing the spring button (1) and press it
as far as possible into the axle recep-
tacle.
!Attention:
After inserting the drive wheel the
locking button must stick a couple
of millimetres out of the wheel
nut.
☞Note:
☞After each assembly the locking
device is to be checked with side-
ward pulling/pressing on the drive
wheels!
☞The locking bolt is to be kept clean.
A functional fault may occur in the
case of contamination due to sand
or earth or in the event of freezing
of moist cold air.
☞If the drive wheels has too much
sideward lag or the axle does not
engage, have it maintained imme-
diately by the specialist dealer.

19
MAINTENANCE
Despite of the sturdy design assembly
parts, such as castors and cushions are
subject to wear. We therefore recom-
mend that the item is checked by a
specialist at 6-month intervals. Also
observe the welded and screwed con-
nections!
Cleaning and maintenance
For care you should use silicon free
cleansing or care agents on a warm
water basis such as the leather care
emulsion from Sonax.
– In doing so the manufacturers in-
structions are to be observed.
☞Note:
☞Do not clean the shower and toi-
let wheelchair with a high pressure
washer!
☞The detergent should in any case
have a PH-value of no less than 6
(neutral cleanser).
☞Do not use aggressive cleaning
agents e.g. solvents, or hard brush-
es etc.
Upholstery
Clean the upholstery with warm wa-
ter and hand washing liquid.
Spots can be removed with a sponge
or a soft brush.
☞Note:
Wash off persistent dirt with com-
mercial fine detergent.
Follow-up with clean water and allow
to dry.
Finish
The high quality finish ensures an
optimum of protection against corro-
sion.
☞For paint and chrome care the
commercially available brand
name paint and chrome cleansers
are recommendable.
☞Should the coating be damaged
with scratches or similar, these ar-
eas can be touched up with our
paint pen available at the special-
ist dealer.

20
Disposal
• The product packing material can
be disposed of as recyclable mate-
rial.
• The metal parts can be disposed of
as recyclable scrap metal.
• The plastic parts can be disposed of
as recyclable plastic.
• The disposal must comply with the
respective national law.
• Please enquire about local disposal
companies at your local authority.
Desinfection
If the product is used by more than
one person (for example in a care cen-
tre), the use of a commercial disinfect-
ant is mandatory.
For hand disinfection of the product
we recommend Incidin plus in 0.25 to
0.5% concentrations or a 4% Sagro-
tan solution.
Reinstallment
Before reimplementation the wheel-
chair is to undergo a complete inspec-
tion.
☞Note:
The measures required for reimple-
mentation are to be carried out in
correspondence with the validated
hygienic plan.
Repairs
Use only original spare parts. Make
use of the service of your educated
dealer.
Other manuals for McWET 8013039
1
This manual suits for next models
1
Table of contents
Other Meyra-Ortopedia Wheelchair manuals
Popular Wheelchair manuals by other brands
aidapt
aidapt VA126W Usage and maintenance instructions
Magic Mobility
Magic Mobility Frontier owner's manual
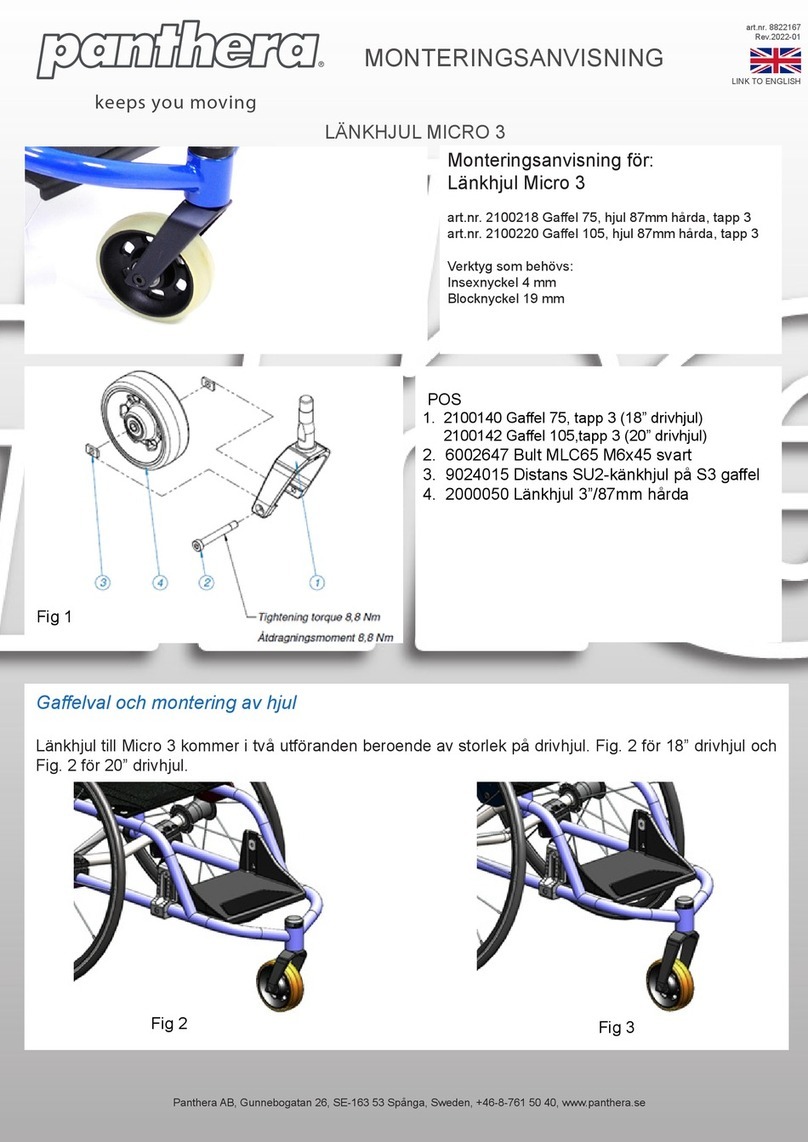
panthera
panthera MICRO 3 Assembly instruction

Neatech
Neatech JOB User and maintenance manual

Vermeiren
Vermeiren V300 ACTIVE user manual

Drive Medical
Drive Medical Travelite Chair In A Bag Owner's handbook

