3
©MGG 2012
Installing the Floodlight
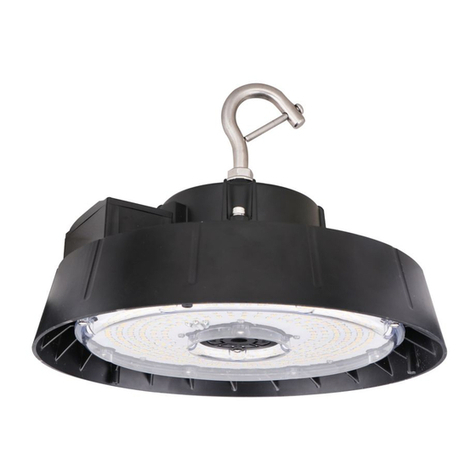
Position the Floodlight in the desired place using the wall bracket provided. It may be mounted onto a
wall or a wooden stake to keep it above ground level.
Turning the system on
Once fully installed, attach the waterproof connector of the Solar Panel to that of the Floodlight –see
Figure 1. Press the switch on the reverse of the Solar Panel –see Figure 2. The system is now
functioning.
NB: Charge the battery for at least 8 hours BEFORE first use.
Caution
Ensure the switch is turned ON when the light is required to work
The Floodlight will not work satisfactorily if it is mounted close to existing lights such as porch or
street lights which may prevent the automatic ON/OFF function of the LED lighting system
For optimum effectiveness, ensure the Solar Panel is sited in an area which receives maximum
sunlight during daytime hours. Avoid shaded areas
Position the Solar Panel to face the North in the southern hemisphere and the South in the northern
hemisphere
Maintenance
For a safe reliable solar security lighting system, we recommend you follow these helpful tips:
Solar Panel
The solar panel must be cleaned regularly to prevent accumulation of dust/dirt and scratches
developing on the surface
Solar battery
The AA Ni-MH 2000mAh battery included in this product is rechargeable. However, like all
rechargeable batteries, it will eventually need to be replaced as follows:
i) On the Solar Panel box, unscrew the 6 connecting screws and remove base plate
ii) Remove existing battery and replace with a new AA Ni-MH rechargeable battery of similar capacity
iii)Replace base plate and screws
NB: If the Solar Powered LED Lighting System is to be stored, or is not in use for a prolonged period
of time, the battery must be removed to avoid permanent damage to it.
Contact Information
Should you have any questions or concerns please do not hesitate in contacting the team at MGG:
Website: www.MGG.co.nz
