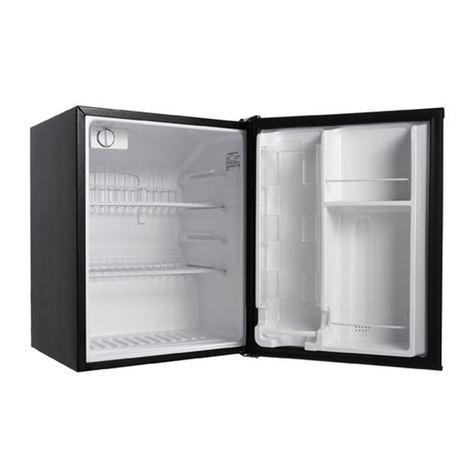
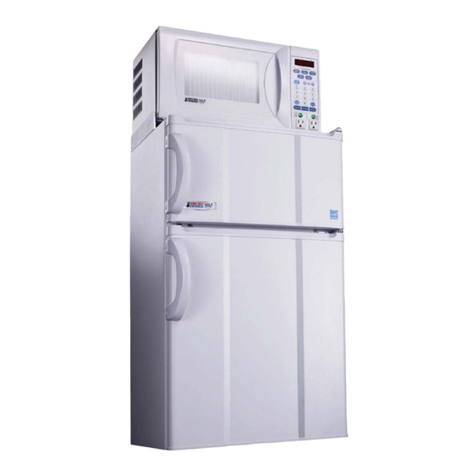
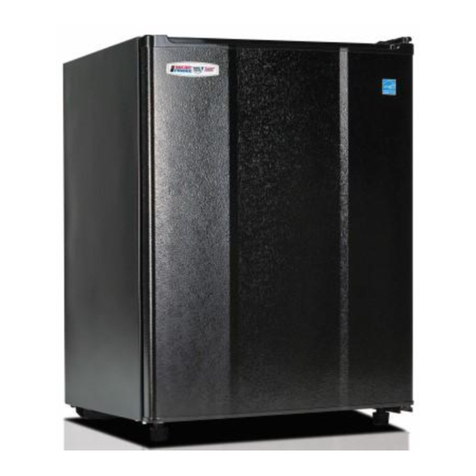
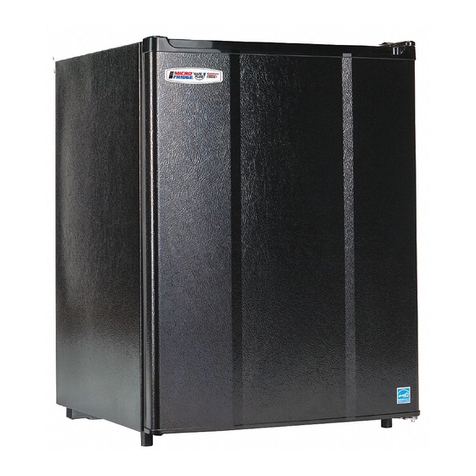
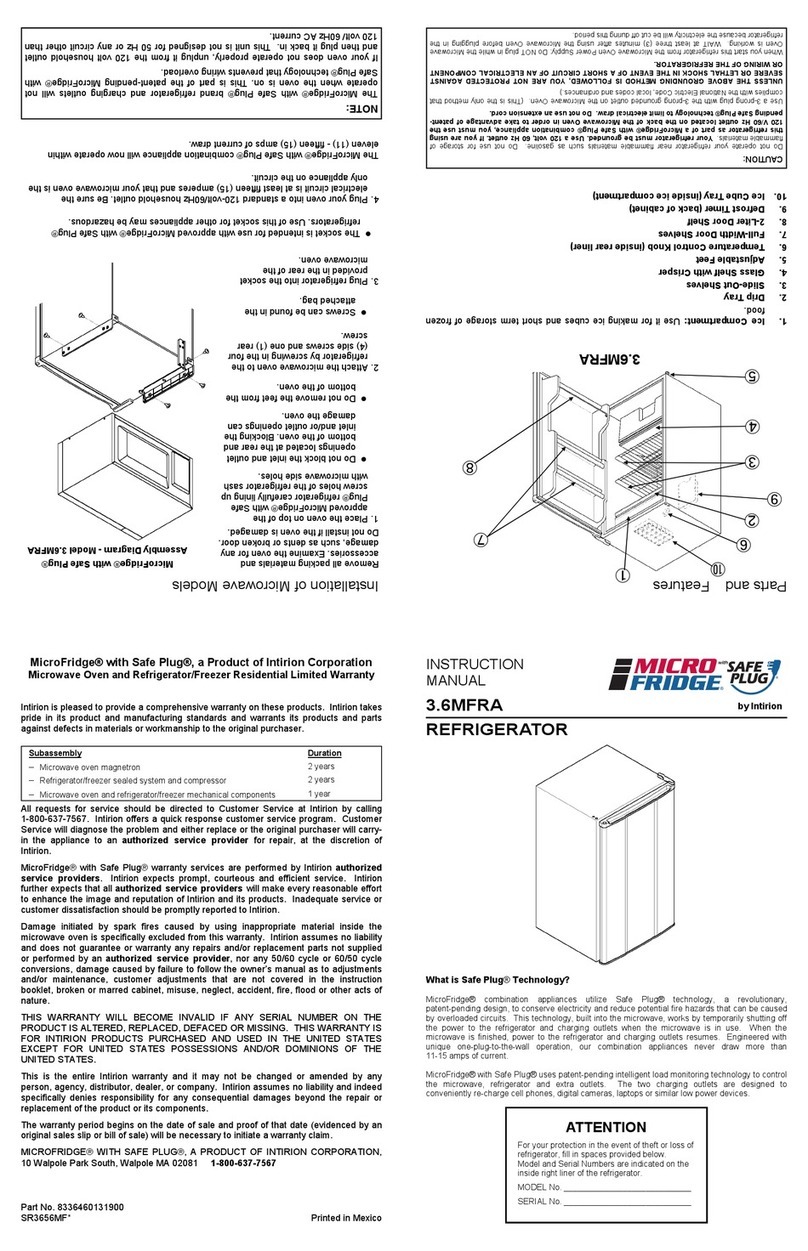
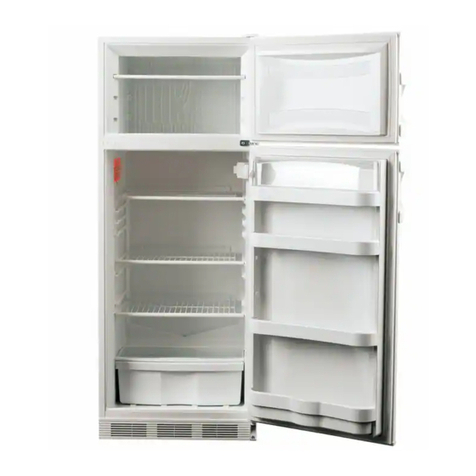
Where to Place Your MicroFridge® with Sa e Plug®
1. Select a location with a strong, level loor. I
the loor is not quite level, adjust the height o
the ront legs accordingly.
2. Allow our inches o space between the
re rigerator’s back and the wall, one inch above
the re rigerator and one inch on the side.
3. Avoid any direct sunlight and heat. Direct
sunlight may a ect the enamel coating. Heat
sources nearby will cause higher electricity
consumption.
4. Avoid very moist places. Too much moisture in
the air will cause rost to orm very quickly on
the evaporator and the re rigerator will have to
be de rosted more requently.
5. Your re rigerator is equipped with a three-prong plug and is grounded to
eliminate electrical hazards. In order to make it more e ective, it must be
plugged into a grounded electrical outlet.
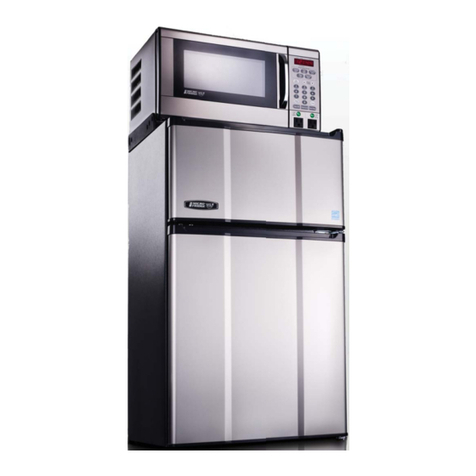
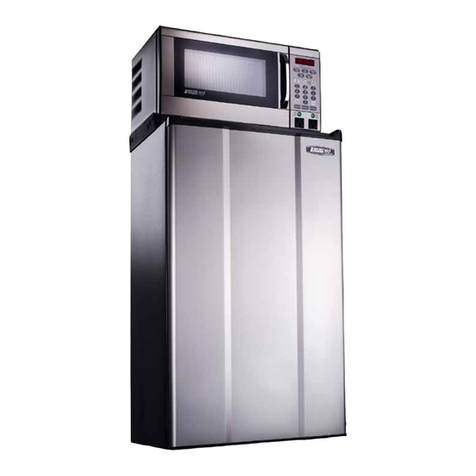
6. Plug your re rigerator in the back o the microwave.
Test Run Your Re rigerator
Be ore using your re rigerator, clean it and test run it to see i it is operating
properly. I it is not, then check your electrical source. I you cannot locate the
source o the problem, contact your dealer.
1. Set the temperature control knob to the “OFF” position and then plug the AC
cord into an electrical outlet o 115 volt, 60Hz. The compressor motor should
not run.
2. Set the temperature control knob to the “MAX” position and let the
re rigerator operate or 20 minutes. The reezer should get slightly rosted
and the motor should run smoothly with a so t hum.
3. Rotate the temperature control knob counter-clockwise toward the “MIN”
position. Be ore the pointer o the temperature control knob reaches the
“MIN” position, the compressor motor should turn o .
ATTENTION
I the unit is turned o or unplugged, YOU MUST ALLOW THREE (3) MINUTES
BEFORE RESTARTING OR REPLUGGING THE UNIT. The unit will not start i you
attempt to restart it in less than three (3) minutes.
Temperature Control
You can control the temperature inside your re rigerator by turning the
thermostat dial. Higher numbers mean greater cooling power, smaller numbers
mean less cooling power. Set the temperature control dial to “3” or optimum
re rigeration/ reezing e ects under normal conditions. Set the temperature
control dials to “MAX” only when the rapid re rigeration/ reezing o oodstu s in
your re rigerator is necessary. Be sure to set it back to “3” later on.
Important
− Do not operate your re rigerator or more than six hours at a stretch with the
temperature control dial set to 5 or MAX. At this setting, the compressor
will run continuously. Consequently, oodstu s stored in the re rigerator
compartment will be rozen and rost will orm on the cooling (evaporator)
unit.
− At the control dial setting o MIN, the ice compartment temperature will not
remain at a su iciently low level or ice to remain rozen solid.
How to De rost
For the most e icient operation o your re rigerator,
de rost it whenever a 1/4” thick layer o ice/ rost orms
on the walls o the ice compartment.
When de rosting your re rigerator, remove all ood rom
the re rigerator and put the drip tray in place. To begin
de rosting, simply push the de rost button at the center
o the temperature control knob. When de rosting is
completed, the re rigerator will restart the cooling
operation automatically. A ter de rosting, discard the
water in the drip tray and replace the ood back to the
re rigerator.
NOTE: Never use any sharp or metallic instruments
to remove ice/ rost rom the ice compartment. A punctured evaporator will
cause serious problems to your re rigerator and void the warranty. Also, do not
use boiling water to de rost.
How to Remove Ice Cubes rom the Tray
The ice cube tray is lexible. Twist the tray to remove the
ice cubes. I the ice cube tray is rozen hard to the
sur ace, do not use a kni e or other metal instrument to
remove it because this may damage the sur ace.
Cleaning and Maintenance
Your re rigerator does not require any maintenance.
Turn o your re rigerator and remove all ood, shelves, trays, etc. Wash the
interior liner with a solution o two tablespoons o baking soda and a quart o
warm water. Then, rinse and wipe it out. Do not use soaps, detergents,
scouring powders, spray cleaners or the like or cleaning the interior liner. It
may cause odors in the re rigerator compartment.
Wash the ice cube trays, drip tray and shelves in a mild detergent solution
and dry with a so t cloth.
Wipe the exterior sur ace with a so t cloth dampened with soapy water and
dry it with a so t cloth. Normal appliance spray cleaners may be used or the
exterior only.
Use only mild soap and water to clean the door gasket.
Never use acid, chemical thinners, gasoline, benzene
or the like to clean any part o the re rigerator.
Boiling water and benzene may de orm or damage the
plastic parts.
Be ore Calling or Service
We urge you to read the chart below. I the problem is not caused by
de ective workmanship or materials, you may be charged or service calls
even during the warranty period. Be ore calling or service, check these ew
simple points:
Changing Door Hinge Location
Re er to the disassembly diagram and
change the door hinges according to the
ollowing steps.
WARNING:
Do not route high-voltage electrical cords
underneath the hinge clip. Only use the clip to
cover low-voltage electrical cords.
Installing the Hinge Clip
Re rigerator
not operating
• Is the temperature control dial inside the re rigerator set to OFF?
• Is the unit unplugged? Be sure!
• Is the use blown or the circuit breaker tripped?
Storage
compartment
too warm
• Has the door been opened requently? Is it slightly ajar?
• Are the shelves overcrowded?
• Have large amounts o warm ood been added recently?
• Are the coils on the back clogged or blocked?
• Is the temperature control dial set properly?
Excessive
noise
• Is the re rigerator level? (Try to rock it.)
• Are dishes vibrating?
• Are there objects behind or on top that are shaking?
• Does any part o the re rigerator touch the back or side wall?
• When the motor comes on, you may hear popping or cracking sounds as
metals expand or contract.
Moisture
• Moisture in the storage compartment is normal in humid weather.
• Is the door opened requently? Has the door been le t ajar?
Does the door it properly?
1. Remove the hinge cap by twisting it o .
2. Remove the upper hexagonal head screws.
3. Remove the lower hexagonal head screws
and the leg on the hinge side.
4. Remove the other leg.
5. Attach the bottom hinge with the hinge
sha t and the leg symmetrically to the other
side o the cabinet.
6. Attach the other leg.
7. Remove the two cabinet plug buttons and
remount them in the holes rom which the
screws were removed in step 2.
8. Remove the door plug button using a
screwdriver and insert it in the opposite
side o the door.
9. Use the screw to attach the upper hinge
and the spacer (i there is any). Do not
tighten the screw completely.
The direction in which the door opens has
now been changed; however, the ollowing
points should be checked:
a. Make sure the door is on straight.
b. Make sure there is no space between the
door gasket and the re rigerator unit itsel
when the door is closed.
c. Make sure that the gasket on the hinged
side is not caught between the door and the
unit when the door is opened or closed. (I
the door is orced closed when the gasket
is caught, the gasket may be damaged).
10. A ter making sure that the door is installed
correctly, tighten all the screws holding the
hinges.

