Microgate RACETIME 2 User manual

Microgate S.r.l.
Via J. Kravogl, 8
39100 BOLZANO
RACETIME 2
OptoJump Program
User Manual
Revision 1.00

Racetime 2 - OptoJump Program User manual 2
Index
1 INTRODUCTION.....................................................................................................................................................3
2 CONNECTING THE OPTOJUMP SYSTEM .......................................................................................................3
3 SWITCHING ON RACETIME 2, INITIALIZATION .........................................................................................3
4 MAIN MENU ............................................................................................................................................................5
5 NEW TESTS..............................................................................................................................................................9
6 TESTS PERFORMED............................................................................................................................................20
7 RECHARGING BATTERIES ...............................................................................................................................22
8 MEMORY LIMITS ................................................................................................................................................24
9 APPENDIX 1 - RACETIME 2 TRANSMISSION PROTOCOL FOR OPTOJUMP.......................................25
10 APPENDIX 2 - FORMULAS FOR THE CALCULATION OF POWER AND WORK .............................26

Racetime 2 - OptoJump Program User manual 3
1Introduction
The Optojump program for Racetime functions along the same lines as the Optojump program for
PC, with which it is totally compatible, in this sense, that it allows the transference of data acquired
with Racetime 2 to the personal computer for subsequent elaboration and storage of the data.
2Connecting the OptoJump system
Make sure that the Optojump modules are correctly aligned, as indicated in the Optojump system
assembly instructions. Connect the cable coming from the interface/battery for Optojump to the
socket located at the rear of the Racetime 2 chronometer using the appropriate 9 pole/15 pole
adaptor. Now the system is ready to function.
3Switching on Racetime 2, initialization
Switch on Racetime 2 with the switch located on the back of
the device. The display will show several items of information
about the software version installed on your Racetime 2, and
the serial number of the device.
If you have to contact Microgate for any information or about
any problems, always give the serial number of your system.
Press a key to continue.
At this point the following screen displays may appear:
Check to see if the device was completely emptied after the
previous work session. Any previously memorised data has
been irretrievably lost. Press ENTER to continue.
Check to see if any anomalies were discovered during initial
tests on the machine. Contact Microgate for further
information.
Usually appears after switching on. Press F3 to delete
previously memorized data (your choice must be confirmed).
Microgate - Italy
RACETIME 2 Vxx.y.zz
SN ########
Ch. ### (S#######)
F1 F2 F4F3
Data are not valid
Press enter
Yes No
F1 F2 F4F3
System locked
Contact Microgate
Yes No
F1 F2 F4F3
Clear all
stored data?
Yes No
F1 F2 F4F3

Racetime 2 - OptoJump Program User manual 4
Should you have canceled the memorized data, if your
Racetime 2 chronometer is equipped with other timing
programs (in addition to the Optojump management
program), you can select the function mode.
To select the Optojump program, first press F4 (other) to pass
to the second screen display.
Now press F3 (C: Optojump) to enter Optojump mode.
These operations are not necessary if your Racetime 2 is
equipped with only the Optojump program.
If the data memory has not been canceled or the Optojump
mode was chosen in the previous work session, you can set
configuration parameters automatically on standard values,
namely:
•Automatic printout on confirmation of test: deactivated
•Average value calculation mode: on all values
•Number of WalkJump modules: 6
•WalkJump start mode: manual
•WalkJump timeout: 0s (deactivated)
•WalkJump step minimum length: 41cm
•WalkJump direction: entrance from interface side
•WalkJump automatic acquisition: deactivated
•OptoJump test start: from inside measurement base
The meaning of each parameter will be clear when you have
become familiar with the different types of test, which are
described in the following pages.
A
: Single start
B : Group start
C : Simple stopwatch
A B C more
F1 F2 F4F3
A
: Parallel mode
B : PC ON-LINE mode
C : OptoJump
A B C menu
F1 F2 F4F3
Clear all config. data?
Yes No
F1 F2 F4F3

Racetime 2 - OptoJump Program User manual 5
4Main menu
After choosing the OptoJump program on the chronometer
(see chapter 3 - choosing the program is obviously not
necessary if your Racetime 2 is equipped with only the
OptoJump program), you enter the main menu, from which it
is possible to access all the available functions.
F1 – New tests – To enter the menu for the selection of the
tests to be performed (chap. 5)
F2 – Tests done – To access the menu for the display of
previously memorized tests (chap. 6)
F3 – Data transmission – Activates the transmission of
memorized data to the PC. Connect the PC to Racetime 2 with
the appropriate cable (Cod.CAB046 or Cod.CAB047 +
Cod.CAB001), and press F1 (Start) to confirm the start of
transmission. The memorized data is transmitted according to
the protocol given in the Appendix. For reception, we
recommend you use the OptoJump program on PC (versions
3.20 and subsequent). In this way the transferred data will be
stored and can be viewed as if it had been acquired directly
with the Personal Computer.
A
: New tests
B: Stored tests
C: Data transmission
A B C more
F1 F2 F4F3
5.1 6.1 4.1
F1=Start data transm.
Start esc
F1 F2 F4F3

Racetime 2 - OptoJump Program User manual 6
4.1
F1 – Synchronization – Allows you to synchronize Racetime
2’s internal clock. This function should be used when you
employ two or more Racetime 2 systems in WalkJump mode
with automatic acquisition. See chap. 5.10 for further
information.
F3 – Automatic printout: Yes/No – Select ‘Yes’ if you want
the tests performed to be printed automatically after they have
been confirmed. Modify your choice (Yes/No) by pressing F3
repeatedly.
Set the exact time and confirm with F3 (OK). To correct the
setting, press F2 (Edit).
Press START or activate the START input to synchronize the
internal clock.
A
: Synchronisation
B: Test WalkJump base
C: Automatic print: Yes
A B C more
F1 F2 F4F3
Input daytime
0 :00 :00 . 000
Edit OK menu
F1 F2 F4F3
Input daytime
0 :00 :00 . 000
START to synchronize
F1 F2 F4F3

Racetime 2 - OptoJump Program User manual 7
4.2
F2 – WalkJump test base – This functions allows you to
verify the correct alignment of the OptoJump bars when two
or more modules have been connected to each other for the
acquisition of contact and flight times and of step lengths
during a run (WalkJump test).
After selecting the test, press F2 (Test), as indicated on the
display, to begin the test itself.
Press F1 (Nmod) to set the number of modules present on the
track.
ATTENTION: for correct functioning of the test, it is
essential that the number of modules set on Racetime 2
corresponds exactly to the number actually present on the
measurement base.
Select F3 (menu) to return to the main menu.
The alignment test checks the measurement base for about 10
seconds (during this time the message ‘Please wait’ is shown).
This time is normally enough to signal inaccurate alignments
which cause '‘intermittent'’ interruptions at some points of the
base, and which therefore may escape detection by ‘visual’
control (green ‘SIGNAL’ led on all the modules).
After data acquisition, the points at which an interruption has
been detected are displayed. Each module includes 32
sensors, numbered from 1 to 32. Module 1 and sensor 1 are
considered to be those which are near the connection cable
between modules TX and modules RX. To view the next
interrupted sensor, press F1 (Next). Press F4 (esc) to return to
the main menu.
If on the other hand alignment is perfect, a message of
confirmation is displayed.
N. modules : 6
Get out from base
F2 : start test
Nmod Test menu
F1 F2 F4F3
WalkJump Base OK ! ! !
F1 F2 F4F3

Racetime 2 - OptoJump Program User manual 8
4.3
F1 : Averages : all values/minimum and maximum excluded
– If ‘all values’ is chosen, the average values of the
measurements acquired (flight times, contact times, etc.) are
calculated on the basis of all the values acquired during the
single test.
If on the other hand ‘excl. min/max’ is chosen, the values for
the jumps in which the minimum and maximum flight time
has been measured will be excluded.
Note: the exclusion of the minimum and maximum values
occurs only if at least two jumps with flight and contact times
different from zero exist, i.e. if at least two jumps starting
from inside the measurement base have been made or three
jumps if the jumps are made outside the measurement base.
To modify your choice, press F1 repeatedly.
F2 : Key beep : on/off. Select ‘off’ to deactivate beep
emission when the keys are pressed.
To modify your choice, press F2 repeatedly.
To return to the first screen display of the main menu, press
F4.
A
: Aver.: all values
B: Keyb. beep: On
C: Accu. charge
A B C menu
F1 F2 F4F3

Racetime 2 - OptoJump Program User manual 9
5New tests
From this menu you can select the various types of test that
you wish to make. Press CE to return to the main menu.
A
: Preconf. Tests CE
B:Jump test Njump ←←
C:Jump test time
A B C more
F1 F2 F4F3
A
: Acoustic react. CE
B: WalkJump ←←
C: RollJump
A B C menu
F1 F2 F4F3

Racetime 2 - OptoJump Program User manual 10
5.1
F1 – Preconfigured tests
Enables you to choose tests in which the mode of operation is
predefined; it is therefore not necessary to specify the number
of jumps to be made, the duration of the test or the start mode
from inside or outside the measurement area.
Below you will find a list of the acquisition modes of the
preconfigured tests. Many tests have the same acquisition
sequences. They are dealt with separately so as to distinguish
between the various tests according to the different body
movements (arms free/arms at sides, etc.) involved in each
one.
Squatjump, CMJ (Countermovement), CMJ FA
(Countermovement arms free), Technical test:
3 jumps starting from inside the measurement area
Stiffness, stiffness FA (arms free): 7 jumps starting from
outside the measurement area
Jump time 15, 30, 60s : test with predefined duration of 15,
30, 60s, starting from inside the measurement area.
After selecting the type of test you wish to perform, you will
see the number of the athlete and the number of the test for
the trial you will carry out.
(Important: the combination athlete’s code/number of test is a
single item, which means that Racetime 2 does not allow the
same athlete to perform two tests indicated by the same test
number).
To modify the athlete’s and/or the test number, press F2
(Edit.). Press F3 (Impos) to modify the test settings (see
following paragraph).
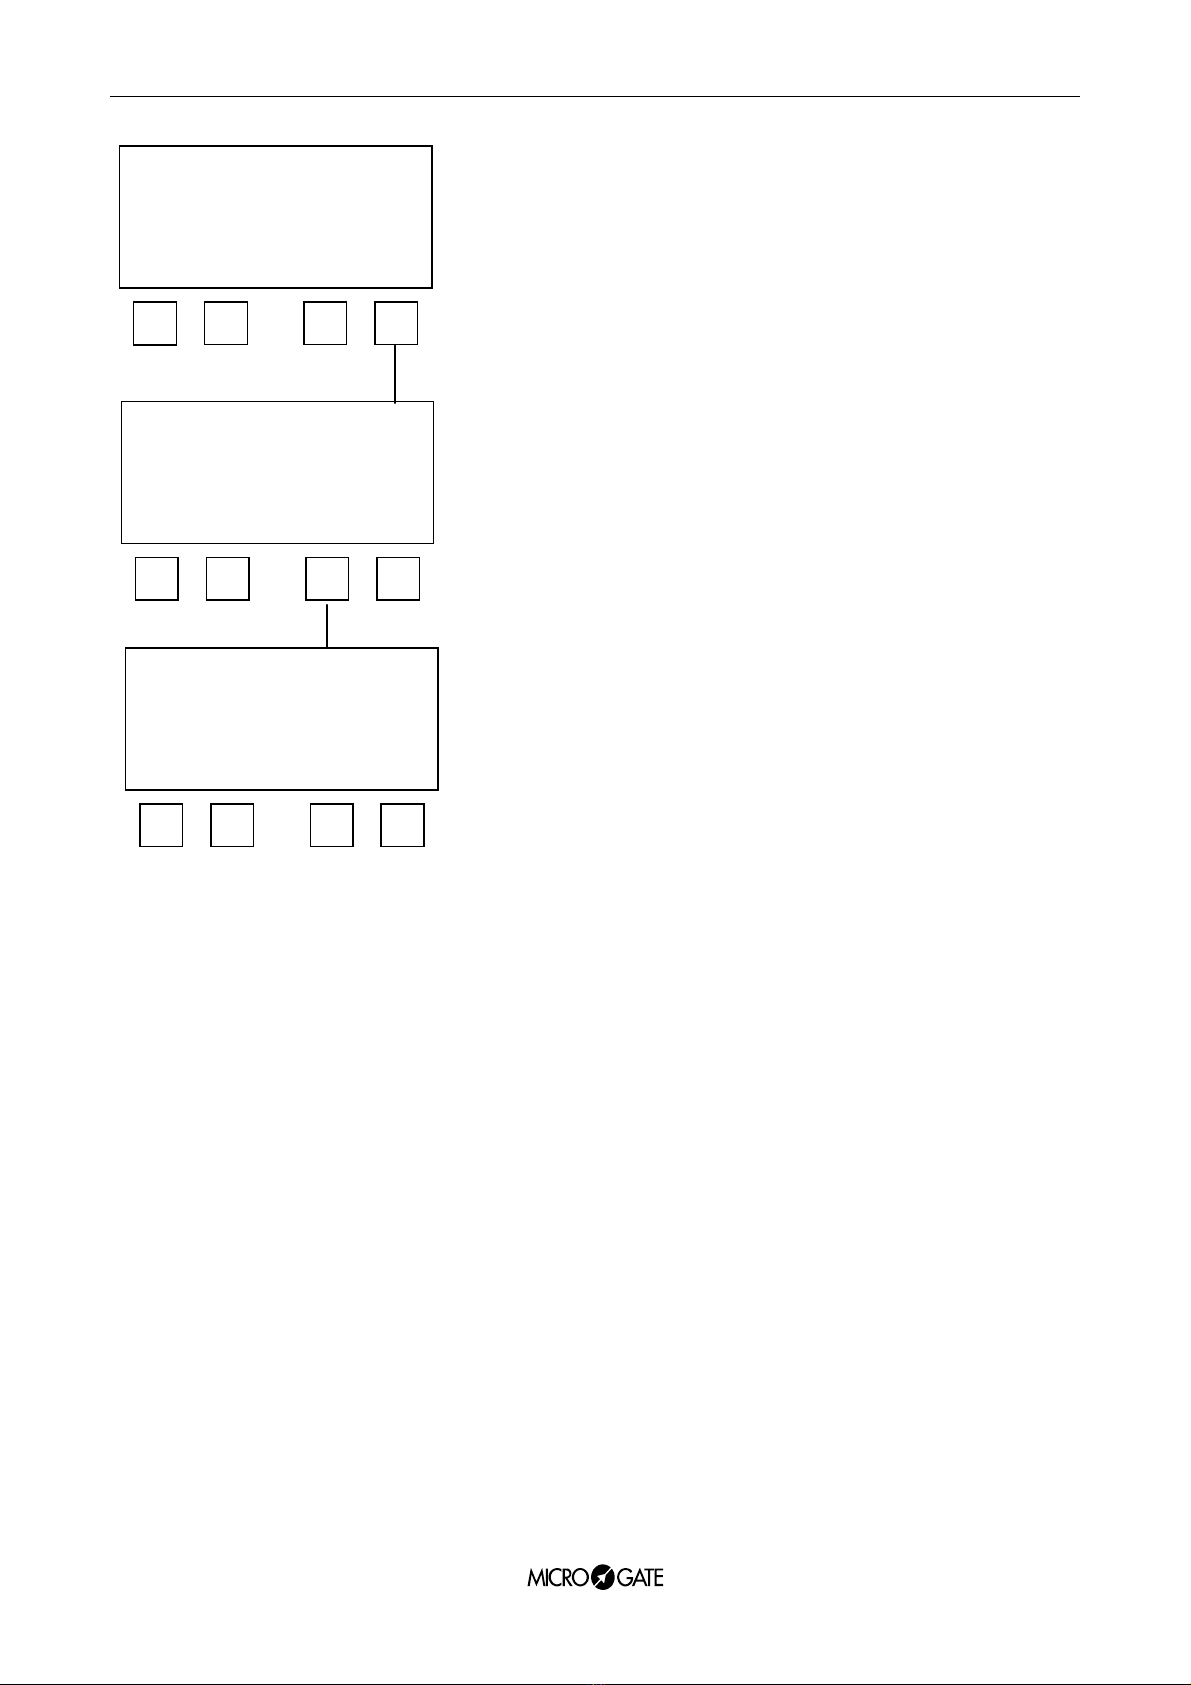
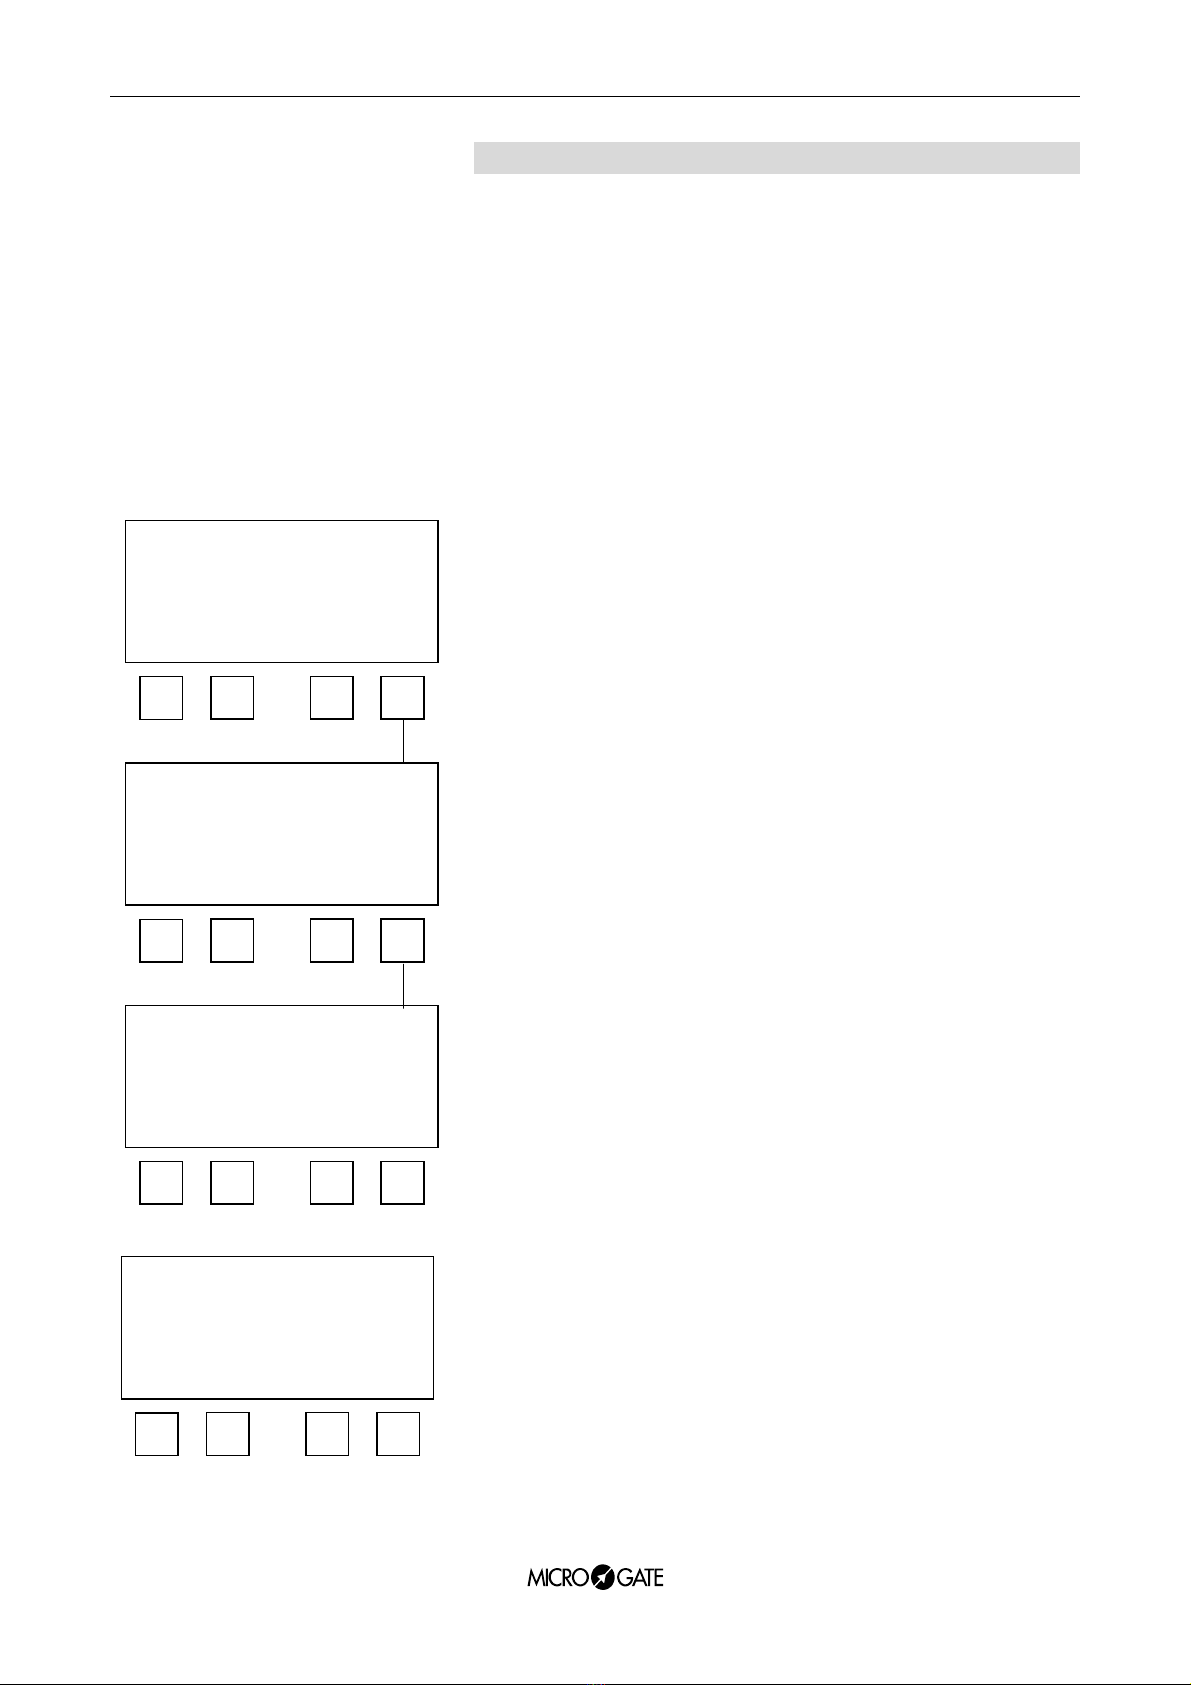
A
:SquatJump CE
B:CMJ ←←
C:CMJ FA
A B C more
F1 F2 F4F3
A
:Technical test CE
B: Stiffness ←←
C: Stiffness FA
A B C more
F1 F2 F4F3
A
:Jump time 15s CE
B:Jump time 30s ←←
C:Jump time 60s
A B C menu
F1 F2 F4F3
A
thlete 1
Test N. 1
Start from inside
OK Edit Setup menu
F1 F2 F4F3

Racetime 2 - OptoJump Program User manual 11
To confirm the settings and to go on to the performance of the
test, press F1.
See the following paragraph for an explanation of the values
displayed during the test.
5.2
F2 – Jump test jumps
Select this mode to perform tests with a pre-established
number of jumps.
After selecting the test, select the start mode (i.e. the position
of the athlete at the start of the test) with the keys F1 (test start
from inside the measurement area) or F2 (test start from
outside the measurement area).
Press F4 (OK) to confirm your choice.
Insert the number of jumps you wish to make.
5.3
Racetime 2 will then show the athlete’s code and test.
(Important: the combination athlete’s code/test number is a
single item, i.e. Racetime 2 does not allow the same athlete to
perform two tests indicated by the same test number).
Choose F1 (OK) to confirm the setting and to begin the test.
By pressing F2 (Edit.) you can correct the number of the
athlete and/or test.
F3 (Impos) will return you to the setting of the start test mode
and of the number of jumps.
To return to the ‘New tests’ menu, press F4 (menu).
Start: extern
Int Ext OK
F1 F2 F4F3
Start: extern
Num. Of jumps: #
F1 F2 F4F3
A
thlete 1
Test N. 1
Start from inside
OK Edit Setup menu
F1 F2 F4F3

Racetime 2 - OptoJump Program User manual 12
5.4
At this point, Racetime 2 is waiting for the start of the test. If
the athlete’s position does not correspond to the start type
settings (from inside or outside the measurement base) an
error message is displayed.
During performance of the test, the following information is
displayed:
•Serial jump number
•Contact time for the present jump
•Flight time
•Height of jump (shift of center of gravity) of the athlete
being tested
•Instantaneous rhythm in jumps/minutes
•In the lower part of the display, a running time indicator
shows how much time has passed since the start of the
test.
The end of the test is signaled by a beep.
The test can be interrupted before completion by pressing CE.
Attention: if the test is interrupted, the data acquired up to this
point is NOT saved.
It is possible to confirm by pressing F4 (OK) or to annul the
whole test by pressing F3 (CleTst).
5.5
If the test is confirmed (F4), the specific power (W/Kg)
developed during the test and the specific work (Cal/Kg)
performed are displayed.
On the first line of the display appear the athlete’s code and
the test number and test type, with the following meaning:
JnbE=Jumptest jumps, external start
JnbI=Jumptest jumps, internal start
After this the number of jumps set is also given.
To go on to the next test, press F1 (esc). The values of the test
performed are of course memorized for subsequent printing.
To obtain a printout of the values measured, press F2 (print);
for each jump, contact time, flight time, height and
instantaneous rhythm are printed. The average values for
some measurements are given, as well as strength and work.
Note: printing takes place automatically when you pass to the
next test if the automatic print mode has been set – see chap.
4.1.
Jump N. 4
Tc 0205 Tf 0618ms
Hei 46.9cm Rh 72j/m
T=0 :03.371
F1 F2 F4F3
Jump N. 10
Tc 0235 Tf 0471ms
Hei 27.2cm Rh 64j/m
T=9.570 CleTst OK
F1 F2 F4F3
N 1 T 3 JtiE 10j
Power=23.87 W/Kg
Work= 7.13 Cal/Kg
esc print values →
F1 F2 F4F3

Racetime 2 - OptoJump Program User manual 13
5.6
Press F3 (values) to pass to the screen display of the single
jumps; press keys ↓and ↑to view the next or previous jump
respectively. F2 (clear) eliminates the jump displayed.
(Attention: it is not possible to annul elimination). F1 (esc)
returns you to the display of average values.
5.7
By pressing F4 (→) you enter a second screen display in
which you can see the average values for contact time, flight
time, height and rhythm, as well as the real duration of the test
(calculated from the first departure from the ground until the
last contact with it if the start is from outside the measurement
area; if on the other hand the start takes place from inside the
measurement area, the first departure from the ground is taken
as the moment of the start).
From this screen display, it is possible to completely eliminate
the test performed by pressing F3. (Attention: it is not
possible to annul elimination).
Press F4 again to return to the previous screen display.
Jump N. 1
Tc 0589 Tf 0649ms
Hei 51.7cm Rh 48j/m
esc clear
F1 F2 F4F3
N 1 T 3 JtiE 10j
Tcm 0469 Tfm0487ms
Heim30.4cm Rhm 62j/m
T=9.570 clear →
F1 F2 F4F3

Racetime 2 - OptoJump Program User manual 14
5.8
F3 – Jump test time
Select this mode to carry out tests of pre-established duration.
After selecting the test, choose the start mode (i.e. the
athlete’s position at the start of the test) with the keys F1 (test
start from inside the measurement area) or F2 (test start from
outside the measurement area).
Press F4 (OK) to confirm your choice.
Insert the duration of the test, in seconds.
Racetime 2 will then display the athlete’s code and the test.
For performance of the test and the data displayed, refer to the
previous paragraph (Jump test number of jumps).
During the display of average values (at the end of the test),
the code will be shown as follows:
JtE=Jumptest time, external start
JteI=Jumptest time, internal start
Start : extern
Length (s) : 10
F1 F2 F4F3

Racetime 2 - OptoJump Program User manual 15
5.9
F1 Acoustic reaction
The acoustic reaction test makes it possible to evaluate the
reaction time of an athlete to a randomly generated acoustic
signal.
After selecting this type of test, the number of jumps (i.e.
subsequent tests) to be made must be set.
Racetime 2 will then show the athlete’s code and the test
code.
(Important: the combination athlete’s code/test number is a
single item, that is to say, Racetime 2 does not allow the
same athlete to perform two tests indicated by the same test
number).
Choose F1 (OK) to confirm the setting and to begin the test.
By pressing F2 (Edit.) you can correct the number of the
athlete and/or test.
F3 will return you to the setting of the number of tests.
To return to the ‘New tests’ menu, press F4 (menu).
After confirming with F1, make sure that the athlete is
situated inside the measurement area and confirm with F1 (it
is possible to return to the previous screen display with F4).
An initial beep simply signals the start of the test.
From this moment, within a time varying from 2 to 6 seconds,
a second beep will be emitted. Racetime 2 measures the time
between this signal and departure from the measurement area.
Flight time, i.e. the time from departure from the base to the
athlete’s subsequent return to it, is also measured.
Consequently, the test can also be made by getting the athletes
under trial to follow a pre-established course, so measuring
the time taken to cover a distance. It is clear that in this case
the height measured is of no significance.
The test can be interrupted before completion by pressing CE.
Attention: if the test is interrupted, the data acquired up to this
point is NOT saved.
The sequence described above is repeated for each of the tests
set, after which the statistical values are displayed in the ways
previously described.
Num. of jumps : #
F1 F2 F4F3
A
thlete 1
Test N. 1
Start from inside
OK Edit Setup menu
F1 F2 F4F3
Step into the base
F1=start test
Test esc
F1 F2 F4F3

Racetime 2 - OptoJump Program User manual 16
5.10
F2 Walkjump
As well as contact and flight times, the WalkJump test makes
it possible to acquire data for the length of the steps taken
during a run. To obtain significant data, it is essential to use a
certain number of OptoJump modules connected to each other
and then positioned along the sides of the test track.
After selecting WalkJump with F2, the following current
system settings are displayed:
Number of modules (press F1 to modify the value set):
specify the number of connected modules used for the test.
For the acquisition of step length data to be correct, this value
must correspond exactly to the number of modules installed.
Start mode (press F2 to modify the value set): specify
‘manual’ if data acquisition is started by a signal on the
starting line (for example, by a photocell situated at the
beginning of the measurement base, or by pressing the start
key). Select ‘autom’ if you wish data acquisition to begin
automatically when the athlete being tested enters the test
base.
Timeout (press F3 to modify the value set): time elapsed in
seconds, the acquisition of which is automatically interrupted.
If the value ‘0’ (zero) is set, acquisition finishes when an
impulse on the starting line is sent (or the start key is pressed).
When F4 (other) is pressed, other settings are displayed,
namely:
Minimum step length (press F1 to modify the value set):
specify the minimum step length – this value is used during
the acquisition of step length data to ‘filter’ possible false
steps resulting from double contacts with the ground (heel –
toe). Values below 20cm are not accepted. Racetime 2 always
approximates the value set to a multiple of 3.1115cm (which
is the interaxis between two successive data acquisition
points).
Entrance (press F2 to modify the value set): specify the
running direction. Int. side = the athlete runs the distance of
the base after entering from the side with the interface for
Racetime 2 or PC connection; cable side = the athlete runs the
distance of the base after entering from the side with the
connection cable between modules TX and RX.
Automatic acquisition (press F3 to modify the value set):
select ‘yes’ if you want the system to automatically set itself
to acquisition mode after each passage of an athlete, so as to
make it possible to register two or more passages completely
automatically.
A
: N. modules : 6
B : Start : manual
C : Timeout : 0 s
A B C more
F1 F2 F4F3
A
: Min.step len: 41 cm
B : Entrance : Fr. Inter.
C : Autom.acquis. : No
A B C esc
F1 F2 F4F3

Racetime 2 - OptoJump Program User manual 17
5.11
When F4 (esc) is pressed, the athlete’s number and the
number of the test for the trial to be performed are displayed.
(Important: the combination athlete’s code/test number is a
single item, that is to say, Racetime 2 does not allow the same
athlete to perform two tests indicated by the same test
number).
To modify the athlete’s code and/or test number, press F2
(Edit.). Press F3 (Impos) to go back to modify the WalkJump
test settings.
Press F1 to confirm the settings and go on to the performance
of the test.
Before each data acquisition, the modules are initialized.
During initialization a message ‘Please wait’ briefly appears.
It is important that the measurement area should not be
crossed after acquisition, before the start of the test, otherwise
the acquisition of step length may be incorrect.
When initialization is terminated, the system is ready for
acquisition, which will begin when a START signal is
received (if ‘manual’ start has been chosen) or when the
athlete being tested enters the measurement area (if
‘automatic’ start has been chosen).
The test finishes when another START signal is received (if
timeout is set to zero) or after the time set as timeout from the
start of the test has expired.
The test can be interrupted before completion by pressing CE.
It is possible to confirm by pressing F4 (OK) or to annul the
whole test by pressing F3 (CleTst).
Step length is acquired at the end of the test. It is important
that no one should enter the measurement area after the end of
the test, before the acquisition of step length has finished.
Acquisition can last a few seconds, especially if many
modules are used.
If the number of steps registered does not coincide with the
number of contact and flight times acquired, a warning
message appears on the display. However, Racetime 2
memorizes all the information acquired: if the number of steps
is higher than the number of contact/flight sequences, the
extra steps will be given zero contact and flight times; should
the opposite be the case (number of contact/flight sequences
higher than steps acquired), the length of the extra steps will
be zero.
A
thlete 1
Test N. 1
OK Edit Setup menu
F1 F2 F4F3
Jump N. 0
Tc 0000 Tf 0000ms
Hei 00.0cm Rh 000j/m
T=0 :00.000
F1 F2 F4F3
A
cquisition
Of step length...
F1 F2 F4F3
Warning:
difference between
acquired times
and acquired steps
F1 F2 F4F3

Racetime 2 - OptoJump Program User manual 18
5.12
Press F1 (esc) to go on to the next test. The values of the test
made obviously remain in the memory for subsequent
reprinting.
Press F2 (print) to obtain a printout of the values measured;
for each jump, contact time, flight time, height, instantaneous
rhythm and step length are printed. Average values for the
same measurements are also given.
Note: printing takes place automatically when you pass to the
next test if the automatic print mode has been set – see chap.
4.1.
Press F3 (values) to pass to the screen display of the
individual jumps; press keys ↓and ↑to view the next or
previous jump respectively. F2 (clear) eliminates the jump
displayed. (Attention: it is not possible to annul elimination).
F1 (esc) returns you to the display of average values.
By pressing F4 (→) you enter a second screen display in
which you can see the average values for contact time, flight
time, height and rhythm, as well as the real duration of the
test. If two photocells connected to the start line are used to
register entering and exiting of the base, the actual duration of
the test coincides with the time taken to cover the distance of
the base.
From this screen display, it is possible to completely eliminate
the test performed by pressing F3. (Attention: it is not
possible to annul elimination).
Press F4 again to return to the previous screen display.
N 1 T 4 Walk
Lenm. 42.4 cm
esc print values Æ
F1 F2 F4F3
5.12
Jump N. 1
Tc 0589 Tf 0649ms
Hei 51.7cm Rh 48j/m
esc clear Len 183.4cm
F1 F2 F4F3
5.13
N 1 T 3 Walk
Tcm 0469 Tfm0487ms
Heim30.4cm Rhm 62j/m
T=9.570 clear →
F1 F2 F4F3
5.13

Racetime 2 - OptoJump Program User manual 19
5.13
F3 RollJump
The RollJump test has been devised so as to make it possible
to use the OptoJump system in combination with the mobile
running boards (tapis roulant) used to simulate running in the
gymnasium. The OptoJump system acquires contact and flight
times during the run. Step length is calculated for a known
running board speed.
Operating modes and the data displayed are analogous to
those of the WalkJump test.
Before starting the test the speed of the running board must be
specified.
To start the test, press the START key. To finish it, press
START again. (Note: the test can be started and concluded
also when the athlete being tested is running).
In this case the length of individual steps is also displayed
during data acquisition.
1.1.1.1.1.1Belt speed:
#.0 Km/h
F1 F2 F4F3

Racetime 2 - OptoJump Program User manual 20
6Tests performed
Select this option to display, print or delete afterwards tests
previously performed.
Press CE to return to the main menu.
Attention: if Racetime 2 finds no tests memorized, the
message ‘Not found’ appears and it is not possible to enter the
Tests performed mode.
First choose the type of test you wish to view. The choices
possible are obviously the same as those already listed in
chapter 5 (New tests). An ‘M’ (Memory) on the third line of
the display reminds us that we are in ‘Display tests
performed’ mode.
6.1
After selecting the type of test, set the athlete and the number
of test you wish to view. The number 0 (zero) enables you to
call up all the tests, For example, if you set 0 as the athlete’s
number and 1 as the test number, the N.1 tests of all the
athletes memorized will be displayed.
To modify the athlete’s code and/or test number, press F2
(Edit)
To confirm the settings, press F1 (OK).
6.2
At this point you will see displayed the power and work
values (for the Jumptest jumps and Jumptest time tests, only
power for acoustic reaction tests), or average length for the
WalkJump or RollJump tests.
In the upper part of the display the athlete’s number and the
test number continue to be displayed, together with the type of
test, according to the following code:
JnbE# # #b– JumpTest N.jumps, external start, # # #=n. jumps
JnbI# # #b – JumpTest N.jumps, internal start, # # #=n. jumps
JteE# # #s – JumpTest time, external start, # # #=test duration
JteI# # #s – JumpTest time, external start, # # #=test duration
Walk - WalkJump
Roll # #. # - RollJump, # #. # = speed of mobile running board
Press ↓or ↑to call up the other tests which correspond to the
athlete’s number and test number previously set.
Press F1 (esc) to return to the selection menu for the tests
performed.
A
:Preconfig. Tests CE
B:Jump test Njump ←←
C:Jump test time M
A B C more
F1 F2 F4F3
A
thlete 0
Test N. 0
(0=all)
OK Edit menu
F1 F2 F4F3
N 1 T 3 JtiE 10j
Power=23.87 W/Kg
Work= 7.13 Cal/Kg
esc print values →
F1 F2 F4F3
Other manuals for RACETIME 2
2
Table of contents
Other Microgate Watch manuals