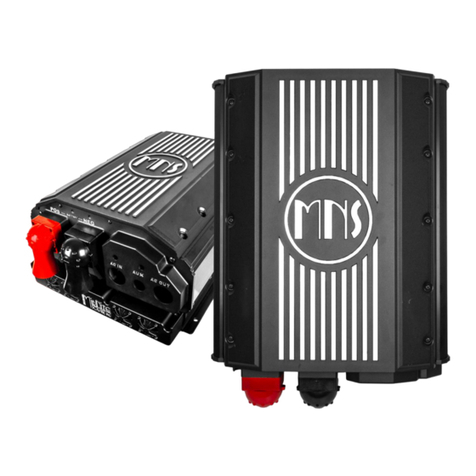
MNBRATKIT MidNite Brat Solar Charging Kit
8 | P a g e 10- 4 0 5 - 1 R E V A
(HINT) When stripping wire, it is recommended to only strip enough insulation off the wire to fit into your
connecter, approximately 3/8" for this breaker and for the negative busbar.
NOTE: Please consult your Brat manual or see http://www.midnitesolar.com/pdfs/10-293-1_REV-
E_BratManual.pdf for accessories that might need to be wired at this time such as ground wires, load and load
wiring, etc.
(HINT) Leave yourself some extra length of wire pulled into the Big Baby so you can make your connections more
easily. Once the wiring is complete, some of this excess can be pulled back out but be sure to leave a small
amount of slack inside the box to minimize strain on the connections.
The positive and negative wires from the solar modules come into the bottom of the Big Baby via one pair of
holes in the strain relief. The positive wire then connects to the bottom (the ++ end) of the MNEPV20 breaker.
The negative wire connects to the negative bus bar.
The #10 AWG positive and negative wires from your battery should come into the bottom of the Big Baby via the
second set of holes in the strain relief. The positive wire connects to the bottom (the ++ end) of the MNEPV30
breaker. The negative wire connects to the negative bus bar.
Estimate the length of wire needed to go from the Big Baby to the Brat terminal block. Cut and install two #10
negative wires of appropriate length to the negative bus bar, then two #10 positive wires to the top of the two
breakers (the - - end). Pass all four wires out of the top strain relief.
LOAD CIRCUIT
A unique feature of the Brat is the load circuit. This versatile feature can be used for many purposes including
running well pumps, electric fences, or billboard lights in remote areas. If the load circuit is not needed, it can be
used to increase the Brat output from 20 to 30 amps. (See BRAT Manual for more)
When wiring your Load Circuit, it is important to observe the circuit breaker polarity. Because of this, you will
need to run the load wire marked below by the arrows, from the BRAT down to the BOTTOM of the Load breaker.
The Wire from the top of the Load breaker will go out to your Load. (lights, electric fencing ...) The image below
shows an example, and the wiring diagram at the end also shows it wired this way.
