Miele H 5740 BP User manual

Operating and installation instructions
Oven
H 5740 BP
To avoid the risk of accidents or
damage to the appliance, it is
essential to read these instructions
before it is installed and used for the
first time. M.-Nr. 07 961 360
en - AU, NZ

2

Warning and Safety instructions .....................................6
Caring for the environment.........................................11
Description of the appliance........................................12
Features ........................................................13
Oven controls.....................................................13
Safety features ....................................................13
System lock....................................................13
Safety switch-off ................................................13
Cooling system .................................................13
Door lock for pyrolytic operation....................................13
Pyrolytic cleaning..................................................13
Energy efficiency functions ..........................................14
Rapid heat-up function ...........................................14
Door contact switch .............................................14
Time of day display..............................................14
Accessories ......................................................14
Universal tray and rack with anti-tip safety notches .....................15
Anti-splash insert ...............................................15
Opener .......................................................15
Controls ........................................................16
Function selector ..................................................16
Temperature selector ..............................................17
Sensors .........................................................17
Symbols in the display..............................................18
Triangle Vin the display .........................................19
Functions .......................................................20
Before using for the first time.......................................22
To set the time of day for the first time..................................22
Changing the time of day .........................................22
Cleaning and heating up for the first time ...............................23
Operation .......................................................24
Using the oven....................................................24
Cooling system .................................................24
Default temperature ................................................24
Changing the temperature ........................................25
Temperature indicator ...........................................25
Pre-heating ......................................................25
Contents
3

Switching on and off automatically ....................................26
Entering a cooking duration .......................................26
Entering a cooking duration and delaying the finish time ................27
The end of a cooking programme ..................................28
To check and change an entered time...............................28
To delete an entered time.........................................28
Minute minder (egg timer)..........................................29
%Settings ......................................................30
To change the status of a setting .....................................31
System lock .....................................................32
Baking tips ......................................................33
Bakeware ........................................................33
Baking paper ..................................................33
Universal tray ..................................................33
Rectangular tins ................................................33
Notes about the charts .............................................34
Temperature, baking duration .....................................34
Shelf level .....................................................34
Frozen food ......................................................34
Baking chart .....................................................35
Fan Plus U......................................................35
Conventional V..................................................36
Intensive Bake O.................................................37
Roasting tips ....................................................38
Useful tips .......................................................39
Roasting chart ...................................................40
Notes on low temperature cooking ..................................41
Procedure for low temperature cooking ................................41
Cooking times/Core temperatures.....................................42
Grilling tips ......................................................43
Preparing food for grilling ...........................................45
Grilling on the rack.................................................45
Useful tips .......................................................45
Fan Grilling guide (Fan Grill \)......................................46
Grilling guide (Grill Y/ Economy Grill Z).............................47
Defrost .........................................................48
Defrosting times...................................................48
Contents
4

Bottling .........................................................49
Cooking ready meals..............................................50
Cleaning and care ................................................51
Appliance front ...................................................51
Accessories ......................................................52
Baking tray, universal tray, anti-splash insert ..........................52
Rack .........................................................52
Runners.......................................................52
PerfectClean .....................................................53
Oven interior .....................................................55
Manual cleaning of the oven interior.................................55
Pyrolytic cleaning of the oven interior................................56
To remove the oven door............................................59
To refit the door ...................................................60
To remove the side runners ..........................................60
To lower the top heat/grill element.....................................61
Problem solving guide ............................................62
After sales service and warranty ....................................65
Optional accessories..............................................66
Electrical connection..............................................68
Building-in diagrams ..............................................69
Appliance dimensions and unit cut-out .................................69
Front dimensions ..................................................70
Installing the oven ................................................71
Contents
5

This appliance conforms to current
safety requirements. Inappropriate
use can, however, lead to personal
injury and damage to property.
To avoid the risk of accidents and
damage to the appliance, please
read these instructions carefully
before using it for the first time.
They contain important notes on
installation, safety, use and
maintenance.
Keep these instructions in a safe
place and ensure that new users are
familiar with the content. Pass them
on to any future owner.
Correct application
~This oven is designed for domestic
use and for use in similar environments
by guests in hotel or motel rooms, bed
& breakfasts and other typical living
quarters. This does not include
common/shared facilities or commercial
facilities within hotels, motels or bed &
breakfasts.
~This oven is designed to bake,
roast, grill, cook, defrost, dry fruit etc.
Any other usage is at the owner's risk.
Miele cannot be held liable for damage
resulting from incorrect or improper use
or operation.
~This oven is not intended for use by
persons (including children) with
reduced physical, sensory or mental
capabilities, or lack of experience and
knowledge, unless they are supervised
whilst using it or have been given
instruction concerning its use by a
person responsible for their safety.
Safety with children
~This appliance is not a toy! To
prevent the risk of injury or damage, do
not let children play with the appliance
or its controls.
~Older children may only use the
oven when its operation has been
clearly explained to them and they are
able to use it safely, recognising the
dangers of misuse.
~Great care should be taken to
ensure that children do not touch the
appliance when it is being used.
Children's skin is far more sensitive to
high temperatures than that of adults.
External parts of the oven such as the
door glass, control panel and the vent
become quite hot.
~Warning
To avoid burns, young children should
be kept away.
~The oven door gets much hotter
during pyrolytic operation than during
normal use.
Make sure children cannot touch the
oven whilst a pyrolytic programme is
running. Danger of burning.
Warning and Safety instructions
6

Technical safety
~Installation, maintenance and
repairs may only be carried out by a
suitably qualified and competent
person in strict accordance with current
national and local safety regulations.
Repairs and other work by unqualified
persons could be dangerous. The
manufacturer cannot be held liable for
unauthorised work.
~Before installation, check the
appliance for visible signs of damage.
Do not install and use a damaged
appliance. A damaged appliance could
be dangerous.
~The electrical safety of this
appliance can only be guaranteed
when continuity is complete between it
and an effective earthing system. It is
most important that this basic safety
requirement is present and tested
regularly and, where there is any doubt,
the household wiring system should be
inspected by a qualified electrician.
The manufacturer cannot be held liable
for the consequences of an inadequate
earthing system (e.g. electric shock).
~Before connecting the appliance,
make sure that the connection data on
the data plate (voltage and connected
load) match the mains electricity
supply.
This data must correspond in order to
avoid the risk of damage to the
appliance. Consult a competent person
if in doubt.
~Do not connect the appliance to the
mains electricity supply by a
multi-socket unit or an extension lead.
These do not guarantee the required
safety of the appliance (e.g. danger of
overheating).
~For safety reasons, this appliance
may only be used when it has been
built in.
~Never open the housing of the
appliance.
Tampering with electrical connections
or components and mechanical parts is
highly dangerous to the user and can
cause operational faults.
~While the appliance is under
guarantee, repairs should only be
undertaken by a service technician
authorised by the manufacturer.
Otherwise the warranty will be
invalidated.
Warning and Safety instructions
7

~During installation, maintenance and
repair work, the appliance must be
disconnected from the mains electricity
supply. It is only completely isolated
from the electricity supply when:
–the mains fuse is disconnected,
–the screw-out fuse is removed (in
countries where this is applicable),
–it is switched off at the isolator.
Ensure that current is not supplied to
the appliance until after maintenance
or repair work has been carried out.
~Faulty components must only be
replaced by genuine Miele original
spare parts. The manufacturer can only
guarantee the safety of the appliance
when Miele replacement parts are
used.
~If the supply cord is damaged, it
must be replaced by a Miele approved
service technician to avoid a hazard.
~This appliance may only be used in
mobile installations such as ships,
caravans, aircraft etc. if a risk
assessment of the installation has been
carried out by a suitably qualified
engineer.
~In areas which may be subject to
infestation by cockroaches or other
vermin, pay particular attention to
keeping the appliance and its
surroundings in a clean condition at all
times. Any damage which may be
caused by cockroaches or other vermin
will not be covered by the warranty.
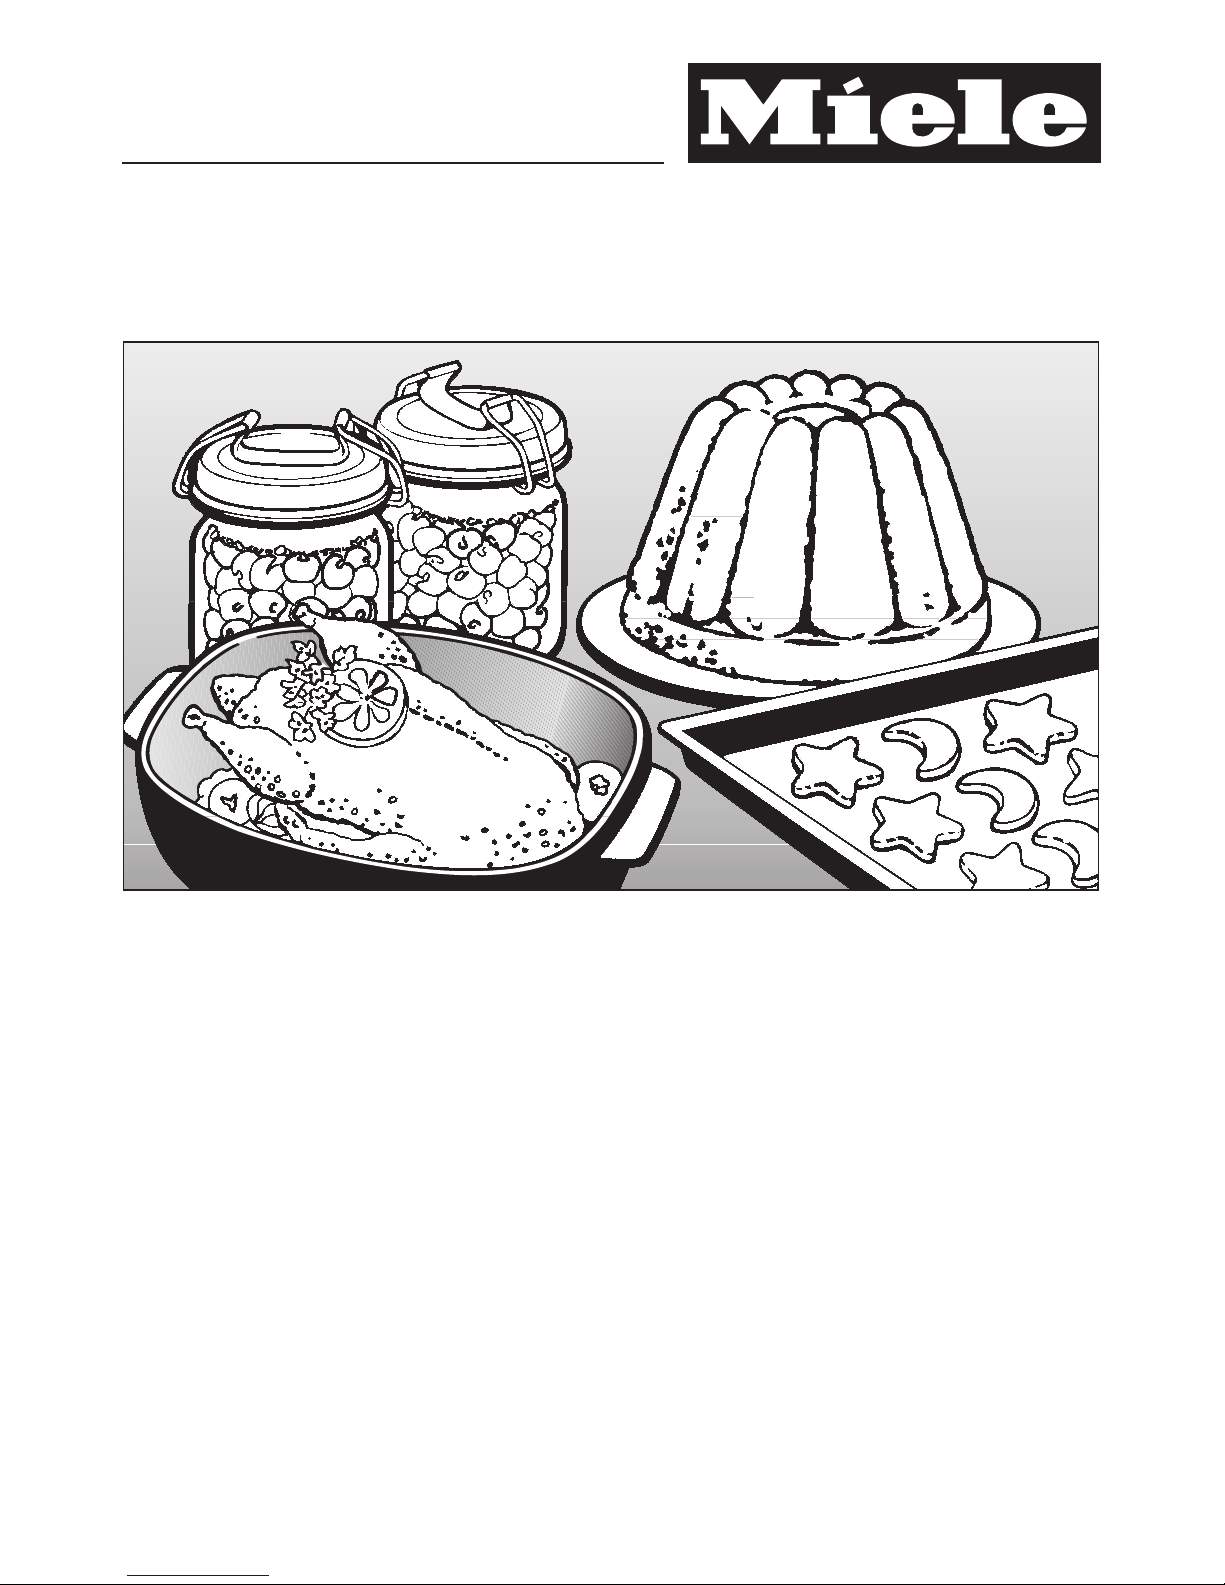
Correct use
Caution. Danger of burning.
High temperatures are produced by
the oven and the appliance
becomes hot. Care should be taken
to avoid touching heating elements
inside the oven.
~Use oven gloves when placing food
in the oven, turning or removing it and
when adjusting oven shelves etc. in a
hot oven. Be very careful that you do
not burn yourself on the top heating /
grill element.
~Never leave the appliance
unattended when cooking with oil or
fats, as these are a fire hazard if
allowed to overheat.
~Do not exceed the recommended
grilling times when using the "Grill Y",
"Economy Grill Z" and "Fan Grill \"
functions. Excessively long grilling
times can lead to food drying out and
burning, or could even cause it to catch
fire.
~Do not use the "Grill Y", "Economy
Grill Z" or "Fan Grill \" to finish
baking part-cooked rolls or bread or to
dry flowers or herbs. Fire hazard.
Use "Fan Plus U" or "Conventional V"
instead.
Warning and Safety instructions
8

~If using alcohol in your recipes, high
temperatures can cause the alcohol to
vaporise and even to ignite on the hot
heating elements.
Alcohol should be burnt off before the
dish is placed in the oven to avoid this
danger.
~Cover any food which is left in the
oven to be kept hot. Any moisture in the
food could lead to corrosion damage in
the oven. This also prevents the food
from drying out.
~If you wish to complete a cooking
process using the residual heat in the
oven, leave the function selector at the
position set and turn the temperature
selector to the lowest setting. Do not
switch the appliance off until the food
has been removed. Increased moisture
in the oven could cause condensation
to form which could lead to
– corrosion in the oven compartment.
– damage to the control panel, worktop
and surrounding kitchen furniture.
~Do not line the floor of the oven with
aluminium foil when using
"Conventional V"/"Bottom
Heat X"/"Intensive
Bake O"/"Rapid Heat-up S".
This would cause a build-up of heat
which could cause damage to the floor of
the oven.
For this reason, do not place a dish, tin or
baking tray directly on the oven floor.
If using a tray made by a different
manufacturer, make sure that there is a
gap of at least 6 cm between the
bottom of the tray and the floor of the
oven.
~Never add cold water to food on a
hot universal tray or baking tray or
directly onto food in a hot oven. The
steam created could cause serious
burns or scalding and the sudden
change in temperature can damage the
enamel.
~Always ensure that food is suitably
cooked or reheated.
Some foods may contain
micro-organisms which are only
destroyed by thorough cooking at
temperatures over 70 °C for a minimum
of 10 minutes. Therefore when cooking
or reheating foods, e.g. poultry, it is
particularly important that food is fully
cooked through. If in doubt, select a
longer cooking or reheating time.
It is important that the heat is allowed to
spread evenly throughout the food
being cooked. This can be achieved by
stirring and/or turning the food during
cooking.
~If using plastic containers for
cooking, they must be declared by the
manufacturer as being suitable for use
in an oven. Other types of plastic
containers melt at high temperatures,
and could damage the oven.
Warning and Safety instructions
9

~Do not heat up unopened tins or jars
of food in the oven. Pressure can build
up and they may explode, resulting in
injury or damage.
~Do not push pots and pans around
on the oven floor, as this could damage
the surface.
~Do not lean or sit on an open oven
door, or place heavy items on it. Make
sure that nothing gets trapped between
the door and the oven compartment.
This could damage the oven.
The oven door can support a maximum
load of 15 kg.
~Do not use the appliance to heat up
the room. Due to the high temperatures
radiated, objects near the appliance
could catch fire.
Accessories
~Only use genuine Miele spare parts
and accessories with this appliance. If
spare parts or accessories from other
manufacturers are used, this will
invalidate the warranty, and Miele
cannot accept liability.
~Remove all accessories as well as
the runners and any extra accessories
such as FlexiClip runners from the oven
interior before starting the pyrolytic
cleaning process. The high
temperatures needed for pyrolysis will
damage the accessories.
~Ensure excess spillage is removed
from the oven interior before starting
the pyrolytic cleaning process.
The manufacturer cannot be held
liable for damage caused by
non-compliance with these Warning
and Safety instructions.
Warning and Safety instructions
10

Disposal of the packing
material
The transport and protective packing
has been selected from materials which
are environmentally friendly for disposal
and can normally be recycled.
Ensure that any plastic wrappings,
bags, etc. are disposed of safely and
kept out of the reach of babies and
young children. Danger of suffocation.
Rather than just throwing these
materials away, please ensure they are
offered for recycling.
Disposal of your old appliance
or machine
Electrical and electronic appliances /
machines often contain materials
which, if handled or disposed of
incorrectly, could be potentially
hazardous to human health and to the
environment. They are, however,
essential for the correct functioning of
your appliance or machine. Therefore,
please do not dispose of your old
machine or appliance with your
household waste.
Please dispose of it at your local
community waste collection / recycling
centre and ensure that it presents no
danger to children while being stored
for disposal.
It should be unplugged or disconnected
from the mains electricity supply by a
competent person.
The plug must be rendered useless
and the cable cut off directly behind the
appliance or the machine to prevent
misuse.
Caring for the environment
11

H 5740 BP
aFunction selector *, retractable when it is at "0"
bDisplay
cSensors V, OK, W,N
dTemperature selector, retractable
eDoor lock for pyrolytic operation
fDoor contact switch
gTop heat/grill element
hBack panel with air inlet for the fan
iSide runners with four shelf levels
jDoor
* depending on model
Description of the appliance
12

Oven controls
In addition to operating the various
cooking programmes to bake, roast
and grill the controls also offer the
following:
–a time of day display,
–a minute minder,
–a timer to automatically switch
cooking programmes on and off,
–settings that can be customised.
Safety features
System lock
The system lock 0prevents the oven
from being used unintentionally by
children, for example. See "System
lock".
Safety switch-off
Safety switch-off is triggered
automatically if the oven is operated for
an unusually long period of time.
The period of time will depend on the
particular oven function being used.
The oven will switch off automatically
and "Fault 55" will appear in the display.
The oven can be used again immedi-
ately after switching it off and back on.
Cooling system
A cooling fan will come on
automatically when a cooking
programme is started. The cooling fan
mixes hot air from the oven cavity with
cool room air before venting it out into
the kitchen through vents located
between the appliance door and the
control panel.
The cooling fan will continue to run for a
while after the oven has been switched
off to prevent any humidity building up
in the oven, on the control panel or on
the oven housing unit.
When the temperature in the oven has
fallen sufficiently the cooling fan will
switch off automatically.
Door lock for pyrolytic operation
At the beginning of a pyrolytic cleaning
programme the door will lock for safety
reasons. The door lock will only be
released after the temperature in the
oven has dropped again below 280 °C.
Pyrolytic cleaning
The oven interior can be kept clean by
using the Pyrolytic function, see
"Pyrolytic cleaning ^"
The appliance will heat up to over
400 °C during this cleaning process.
Any residual soiling is burnt off by the
high temperatures.
See "Cleaning and care" for more
information.
Features
13

The following surfaces are all treated
with PerfectClean enamelling:
–Runners,
–Baking tray,
–Universal tray,
–Anti-splash insert and
–Rack
PerfectClean enamelled surfaces have
very good anti-stick properties and are
much easier to keep clean than
conventional enamel, if cleaned
regularly.
See "Cleaning and care" for more
information.
Energy efficiency functions
Rapid heat-up function
To minimise the time it takes to heat up
the oven interior, you can utilise the
Rapid heat-up function.
However, pre-heating the oven is only
required for select applications. Please
refer to cooking instructions or separate
User instructions (if available).
Door contact switch
If the door is opened during operation,
the door contact switch automatically
switches off the heating elements.
This helps reduce the amount of heat
lost from the oven interior, e.g. when
checking food.
Time of day display
The time of day display can be
switched off to save energy. The time of
day display remains dark when the
appliance is switched off. It continues
to run unseen in the background and is
visible when the appliance is operated.
Accessories
The following accessories are supplied
with this oven.
These and other accessories are also
available to order from the Miele Spare
Parts Department, your Chartered
Agent or via the internet on
www.miele-shop.com (depending on
country).
Features
14

Universal tray and rack with anti-tip
safety notches
The baking tray, universal tray and rack
are inserted into the oven between the
two rails of a shelf runner.
The universal tray and rack have
non-tip safety notches which prevent
them being pulled right out when they
only need to be partially pulled out.
When pushing the rack back in,
always ensure that the safety
notches are at the rear of the oven.
They can then only be taken out of the
oven by raising them upwards and then
pulling them out.
Anti-splash insert
The anti-splash insert should be placed
in the universal tray when grilling or
roasting.
The juices from the food being cooked
collect under the anti-splash tray. This
prevents them from spitting and making
the oven dirty. The juices can then be
used for making gravy and sauces.
Opener
This opener is used to remove the
cover of the lighting in the sides of the
oven.
Features
15

Function selector
The left-hand control is used to select the function.
It can be turned clockwise or anti-clockwise.
The function selector can only be retracted when it is at "0".
SRapid Heat-up
UFan Plus
\Fan Grill
OIntensive Bake
PDefrost
VConventional
XBottom Heat
YGrill
ZEconomy Grill
^Pyrolytic
TLight:
The oven lighting can be switched on separately, e.g. for cleaning.
%Settings:
You can also alter the settings of the appliance.
Controls
16

Temperature selector
The right-hand control V6W
–is used to set the required temperature.
–is used to enter times (alternative to the Vor Wsensors).
It can be turned clockwise or anti-clockwise.
The temperature selector can be retracted in any position.
Turning clockwise increases values and turning anti-clockwise decreases them.
Sensors
The sensors underneath the display react to touch.
A keypad tone will sound each time a sensor is touched. You can switch off the
keypad tone (see "Settings %").
Use
OK – For calling up the functions in the display. The triangle Vwill appear in
the display.
– For confirming an entry.
V
W
– For moving the triangle Vin the display to left or the right.
– For increasing or decreasing time entries.
– For selecting the appliance setting Pand changing the status S.
NFor entering a minute minder time, e.g. for boiling eggs.
The time will change each time the Vor Wis touched:
–Duration Tand Finish time Sin increments of a minute.
–The Minute minder time Nat first in increments of 5 seconds and then in
increments of a minute.
Touching the sensor for longer speeds up the change in the display.
Controls
17

Symbols in the display
I2:00 h
min
%NmTS0
V
The following symbols will appear in the display depending on the position of the
function selector and/or whether a sensor has been touched:
Position of the
function selector
Symbol Function/meaning
0uTime of day
0System lock
Function (except
lighting)
Temperature indicator
%Temperature
uTime of day
Tand h Duration
SFinish
%Pand a number Setting
Sand a number Status of the setting
Any Vlights up under
a symbol
The function will show in the display.
Vflashes under a
symbol
The function is selected and can be
altered.
Any Nand min Minute minder
Controls
18

Triangle Vin the display
I60
%mTS
V
When a sensor is touched, the
symbols of the function at which the
function selector is set will light up and
you can enter settings.
Touch the Vor Wsensor repeatedly
until the triangle Vis underneath the
symbol of the required function in the
display.
Then call up the function with the OK
sensor.
The triangle Vwill flash for approx.
15 seconds.
The function can only be entered
whilst the triangle Vis flashing.
If this period has elapsed, you will
need to call up the required function
again with the OK sensor.
Controls
19

Your oven has a range of oven functions for preparing a wide variety of recipes.
The oven has the following functions:
aTop heat/grill element (underneath the roof of the oven)
bBottom heat element (underneath the oven floor)
cRing heating element (behind the air inlet for the fan)
dFan (behind the air inlet for the fan)
Depending on the function, these components will be combined differently, see
information in [ ].
Functions Notes
VConventional
[a+b]
–For baking and cooking traditional recipes, e.g. fruit cake,
casseroles.
– Also ideal for soufflés.
– If using an older recipe or cookbook, set the oven
temperature for Conventional 10 °C lower than that
recommended.
The cooking duration does not need to be changed.
XBottom Heat
[b]
– Use this setting towards the end of baking to brown the
base of a cake, quiche or pizza.
YGrill
[a]
– The grill is ready for use when it glows red.
– For grilling larger quantities of thin cuts (e.g. steaks).
– For browning larger dishes.
ZEconomy
Grill
[a]
–The inner element of the grill is ready for use when it glows
red.
–For grilling small quantities of thin cuts (e.g. steaks).
–For browning smaller dishes.
Functions
20
Table of contents
Other Miele Oven manuals

Miele
Miele DG 4086 BRWS User manual

Miele
Miele H 340 User manual

Miele
Miele H 5460 B Specification sheet

Miele
Miele H2265E User manual

Miele
Miele DG 6030 User manual

Miele
Miele H 7180 BP User manual

Miele
Miele H4880B Parts list manual

Miele
Miele H6600BM User manual

Miele
Miele DG 5060 Specification sheet

Miele
Miele DG 4064 User manual

Miele
Miele H6461 Quick guide

Miele
Miele DG 2351 User manual

Miele
Miele DGM 6800 User manual

Miele
Miele DGC 6700 User manual

Miele
Miele DG 4088 Specification sheet

Miele
Miele H 2661 BP User manual

Miele
Miele H 7260 BP User manual

Miele
Miele DGC 7860 User manual

Miele
Miele H6880BP2 User manual

Miele
Miele H 4540 Pyrolytic User manual