fold here fold here fold here fold here fold here fold here
fold herefold herefold herefold herefold herefold here
Before using for the first time
Before using the oven for the first time,
ensure that it is correctly installed and
connected.
It is essential to read the separate Op-
erating and installation instructions sup-
plied with the appliance.
ĺPress and release the function and tem-
perature selectors if they are retracted.
ĺYou need to set the time of day before
you can use the oven.
The function selector must be pointing to
0. After connecting the oven to the elec-
tricity supply flashes in the display.
ĺConfirm with OK.
will light up and will flash.
ĺWhile the symbol is flashing confirm
with OK.
The hours will flash.
ĺUse or to set the hours.
ĺConfirm with OK.
The hours are saved and the minutes will
flash.
ĺUse or to set the minutes.
ĺConfirm with OK.
The time of day is now saved.
Clean the oven interior and the acces-
sories before using the oven for the first
time. Take all accessories out of the
oven, select Fan Plusand heat up
the empty oven at 250°C for at least
one hour.
Ensure that the kitchen is well ventilated.
Overview of functions
These short instructions are intended to
give you a quick overview.
Information in the Quick Start Guide that
only applies to certain models is marked a
follows:
M) Oven H2601B
(3 shelf levels)
XL) Oven H2661B
(5 shelf levels)
Please refer to the separate Operating
and installation instructions supplied
with your oven
for detailed information on how to use the
appliance.
– Safety instructions
– Features and accessories
– Operation
– For baking, roasting and grilling
– Cooking charts
– Notes on low temperature cooking and
further applications like defrosting, bot-
tling, drying food, and Gentle Bake
– Cleaning and care
– After sales service
– Installation and connection
aFunction selector
– can be retracted in the position 0by
pushing it in
– can be turned clockwise and an-
ti-clockwise
– for switching on the oven lighting
separately and for selecting oven
functions
Lighting
Conventional Heat
Bottom Heat
Grill
Defrost
Rapid Heat-up
Fan Plus
Intensive Bake
Fan Grill
Gentle Bake
bClock/Timer
– displays the time of day and settings
– Temperature indicator light
The temperature indicator light in
the display lights up whenever the
oven is heating up.
cTemperature selector
– can be retracted in the position by
pushing it in
– can be turned clockwise until a re-
sistance is felt and then turned back
again
– for selecting the temperature
– temperatures are printed on the con-
trol panel
d sensor
For changing times and settings
eOK sensor
For selecting functions and confirming
settings
f sensor
For changing times and settings
Fitting and removing the Flexi-
Clip telescopic runners
(Optional accessory)
Danger of burning!
Make sure the oven heating elements
are switched off. Make sure the oven
has cooled down.
The FlexiClip telescopic runners are fitted in be-
tween the two rails that make up a shelf level.
The FlexiClip telescopic runner with the
Miele logo is fitted on the right.
When fitting or removing the telescopic
runners do not extend them. If the tele-
scopic runners are difficult to pull out af-
ter fitting, you may need to pull firmly on
them once to release them.
Fitting the FlexiClip telescopic runners:
Removing the FlexiClip telescopic runners:
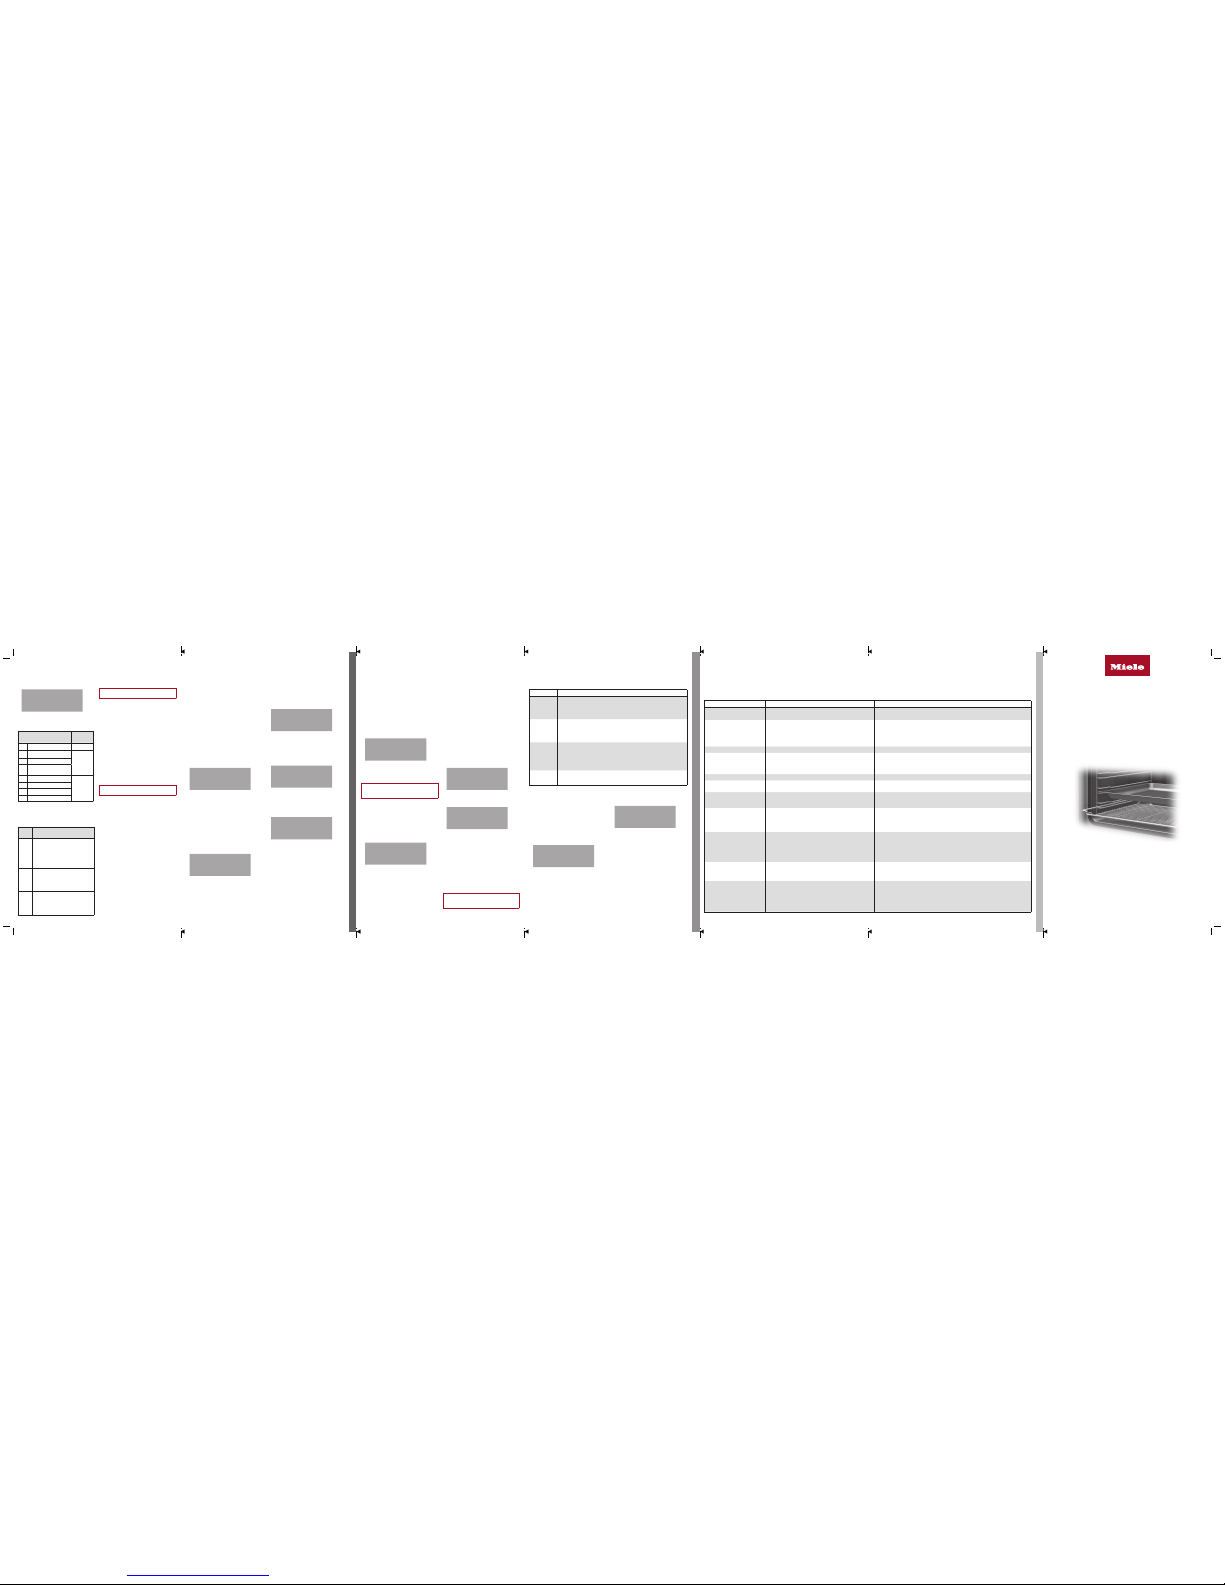
Features
Oven overview
(depending on model)
aOven controls
bTop heat/grill element
cCatalytic enamelled back panel
dAir inlet for the cooling fan with
ring heating element behind it
eShelf runners with 3shelf levels M)
Shelf runners with 5 shelf levels XL)
fOven floor with bottom heat ele-
ment underneath it
gFront frame with data plate
hDoor
Accessories supplied
The accessories are not dishwash-
er-safe.
– Baking tray with anti-tip safety
notches
– Universal tray* with anti-tip safe-
ty notches
– Rack with non-tip safety notches
– Shelf runners
* PerfectClean treated surfaces
Safety features
– The system lock prevents the
oven from being used unintention-
ally, for example by children.
– The cooling fan cools down the hot
air in the oven before it exits between
the door and the control panel.
– The ventilated door helps to keep
the outer glass pane of the door cool.
Cleaning the oven
Please refer to the Operating and instal-
lation instructions for more detailed in-
formation on cleaning and care.
All surfaces of this appliance are suscep-
tible to scratching.
Remove any soiling immediately to pre-
vent a permanent discolouration or altera-
tion of the surface.
Surfaces of the oven cavity and different ac-
cessories treated with PerfectClean enam-
el are characterised by their exceptional non-
stick properties and ease of cleaning.
To clean them by hand, you can
– remove the door
– dismantle the door
– remove the FlexiClip telescopic runners (if
present)
– remove the shelf runners
– lower the top heat/grill element.
– remove the catalytic enamelled back panel
Danger of burning!
Make sure the oven heating elements
are switched off. Make sure the oven has
cooled down.
ĺClean the oven front, the interior and the
door with a clean sponge and a solution of
warm water and washing-up liquid, or with
a clean, damp microfibre cloth.
ĺWipe dry using a soft cloth.
Catalytic enamel inside the oven with grease
depositis will self-clean when high tempera-
tures are used.
ĺAny residual soiling can be removed with
a solution of warm water and washing-up
liquid applied with a soft brush.
ĺLeave all parts to dry.
Cleaning and care
Basic operation
ĺSelect the required oven function with
the function selector.
ĺSelect the temperature with the temper-
ature selector.
ĺTurn the function selector to 0 and the
temperature selector to .
ĺTake the food out of the oven.
The cooling fan will continue to run and
then switch off automatically.
Pre-heating
It is only necessary to preheat the oven in
a few instances, e.g.
Method Pre-heat-
ing
with
Continuing
the cook-
ing process
* with
Fillet /
Sirloin of beef /
Dark bread
doughs /
Cakes and
biscuits with
a short bak-
ing time (up
to 30minutes)
Sponge /
Biscuits /
Pizza /
* after the temperature indicator light
has gone out for the first time
Rapid Heat-up
Fan Plus
Conventional Heat
Further functions
The minute timer can be used to time
cooking programmes and other activi-
ties in the kitchen, e.g. boiling eggs (see
"Clock/timer - Using the minute minder").
You can switch cooking processes on and
off automatically by setting a cooking du-
ration or a finish time(see "Cooking
duration/finish time").
Cooking duration: The oven switch-
es off automatically when this time has
elapsed.
Cooking duration and finish time:
The cooking programme switches on and
off automatically.
Displaying times/durations
If you have set times, the symbols and
or indicate which time functions
have been set.
If you are using the minute minder,
cooking duration and finish time
functions simultaneously, the last time
that you set will be displayed.
If you have selected a cooking duration,
the time of day cannot be displayed.
When the time/duration has elapsed:
– The relevant symbol will flash.
– A buzzer will sound if the buzzer is
switched on.
ĺConfirm with OK.
The buzzer will stop and the symbols in
the display will go out.
When the cooking duration has elapsed:
ĺTurn the function selector to 0and the
temperature selector to .
ĺTake the food out of the oven.
Oven function Temperature
range
Recommendation Note
Baking
Cook-
ing
Roast-
ing
Grilling
Conventional
Heat
50–250°C –For baking and roasting traditional recipes, cooking soufflés
and cooking at low temperatures.
If using an older recipe or cookbook, set the oven tempera-
ture 10°C lower than that recommended. This will not change
cooking times.
Bottom Heat 50–250°C – – – Use this function towards the end of cooking to brown the
base of the food.
Grill – – For grilling thin cuts (e.g. steaks)
For browning baked dishes
Defrost – – – – For the gentle defrosting of frozen food
Rapid Heat-up 50–250°C – – – For rapid preheating of the oven
Once the desired temperature has been reached the oven
mode must be selected.
Fan Plus 50–250°C – For baking and roasting dishes on several levels at the same
time
Cooking with lower temperatures than with
Intensive Bake 50–250°C – – For baking dishes with a moist topping
Fan Grill 180°C – – For grilling thicker cuts of meat
(e.g. rolled meat, chicken)
Gentle Bake 50–250°C – – Suitable for small amounts, e.g. frozen pizzas, bake-off rolls,
biscuits and for meat dishes and roasts.
Energy-efficient thanks to optimal utilisation of heat. When
cooking on a single level, up to 30% less energy is used with
comparatively good cooking results.
The oven lighting does not switch on.
Energy saving tips
ĺRemove any accessories that you are
not using from the oven before starting
the cooking process.
ĺPre-heat the oven only if instructed to
do so in the recipe or the cooking chart.
ĺTry not to open the door during a cook-
ing process. This will prevent heat from
escaping unnecessarily.
ĺIn general, if a range of temperatures is
given in a recipe or chart, it is best to
select the lower temperature and check
the food after the shortest duration.
ĺFan Plus: For baking and roasting
on different levels at the same time. A
lower temperature can be selected than
with Conventional Heat .
ĺFan Grill: Lower temperatures can
be used than when using the Grill
function.
ĺGentle Bake: Energy-efficient bak-
ing with optimal use of heat (see "Over-
view of functions").
ĺReduce energy consumption by utilising
residual heat:
Cooking programmes using tempera-
tures above 140°C which take longer than
30minutes:
Turn down to the lowest possible temper-
ature about 5minutes before the end of
cooking. The cooling fan remains switched
on. Do not switch the oven off completely.
Whenever possible bake several dishes
at the same time or immediately one after
the other.
A catalytic cleaning programme is best
started immediately after a cooking pro-
gramme.
ĺMonitoring the cooking time: Whenever
possible set a cooking duration, or use
a roast probe.
ĺUse dark coloured baking tins and con-
tainers with a matt finish made from
non-reflective materials. Do not cover
the oven floor or the rack with heat-re-
flecting aluminium foil.
Tips on baking, roasting and
grilling
Baking
Bake on different levels at the same time
using the Fan Plus function:
– 1 tray: Shelf level 2
– 2 trays: Shelf levels 1+2 M) /
Shelf levels1+3/2+4 XL)
– 3 trays: Shelf levels 1+3+5 (not suita-
ble for moist cakes and tarts)
Roasting
Browning:
Browning only occurs towards the end of
the roasting time. Remove the lid about
halfway through the roasting time if a
more intensive browning result is desired.
Standing time:
At the end of the programme, take the
roast out of the oven, wrap in aluminium
foil and leave to stand for about 10min-
utes. This helps retain juices when the
meat is carved.
Roasting poultry:
For a crisp skin, baste the poultry 10min-
utes before the end of the cooking time
with slightly salted water.
Grilling
If the surface of a thicker cut of meat is
browned but the centre is still raw, move
the food to a lower level or reduce the
temperature and continue cooking. This
will stop the surface from becoming too
dark.