Miia TAB700 liife 7" MT-700A User manual

TAB700
liife
7”
ENG
MIIA MT-700A
Instruction manual

2

3
1. INTRODUCTION
Thank you for buying this MID. Please read and retain all the operating instructions before operating
the unit; we do not assume any liability arising out of improper operation or incidental damages.
1. Avoid the unit being dropped. Avoid the display been shake seriously, or the display will be
damaged.
2. Do not use metal object to touch the device to prevent it from short circuit.
3. Please backup your data in case your important data is lost, especially before you upgrade the
rmware. We will not take charge in any loss that caused by loss of data.
4. Do not disassemble. Do not wipe the surface of the unit by alcohol, thinner or benzene.
5. Do not disconnect the unit while it is formatting or uploading/downloading, or the procedures
may lead to errors.
6. Avoid water or foreign objects enter the unit.
7. Do not use the unit in places that are extremely hot, cold, dusty, or humid.
8. Specications are subject to change and improvement without notice.
2. SAFETY TIPS
Before using this Tablet, please read this section information, and let your child know this
information. For detailed information, please refer to the Safety guidelines and note:
∙ Do not use device in driving, in order to prevent the safe driving.
∙ In medical sites, please comply with relevant provisions or regulations. Please close device
near the medical equipment area.
∙ Please close device or open planes mode when you are boarding, to avoid wireless signals
jamming aircraft control signal.
∙ Please close device near the use of high precision electronic equipment; otherwise it may lead
to electronic equipment disabled.
∙ Do not unauthorized to remove Device and accessories. Only authorized institutions can repair
this Device (www.miiastyle.com/contact/).
∙ Please put Device away from magnetic equipment. The radiation of Device will erase
information which is on magnetic storage device.
∙ Please don’t use Device in the high temperature and ammable areas (such as near gas
station).
∙ Please don’t put Device and accessories in this place which children can touch it, please do
not let the child use Device in unsupervised.
∙ Please abide by the relevant laws and regulations when you use the Device, and respect
others lawful rights and privacy.
∙ Please strictly abide by relevant specication of this manual when you use USB cable.
Otherwise it might damage your Device or personal computer.
∙ Please don’t use device in the damp environment such as bathroom etc. and avoid the device
soaked or ushed by the liquid.

4
3. APPEARANCE AND BUTTONS
1. Vol+: Press to increase the volume of headphones or speakers.
2. Vol-: Press to reduce the volume of headphones or speakers.
3. Power: If turned off, press for two seconds to start the system. If turned on, short press can
lock and unlock the screen. Long press for two seconds there will be “Power Off” selection.
NOTE: In the case of software crashes, long press “Power” for 8 seconds, the device will
be forced to shut down. This function is suggested only in system halted. Otherwise it is not
recommended, or it will easily damage the system.
4. Camera: Front camera can be used for video chat and taking pictures.
5. Mic: Recording or Internet phone call.
6. Headphone jack: External 3.5mm high delity headphones can listen to music.
7. USB interface: A micro 5pin USB interface, through the USB cable or OTG cable to connect
the computer copy data or install applications through USB disk.
8. DC charging interface: Can connect adapter to charge.
9. TF Card slot: External Micro SD card, up to 32GB.
10. Speaker: By default is turned on, it will be turned off when insert the headphone.

5
4. FIRST USE
BATTERY MANAGEMENT AND CHARGING
∙ Please make sure that the device battery is fully charged on first usage.
∙ Just plug the charger into DC interface for charging.
∙ Keep the first two charging times about 6 hours. Around 4 hours next times.
NOTE: This item was featured with built-in polymer battery. The charger should be comply with
the specification of Input: AC100-240V, 50/60Hz, Max: 0.3A. Output: DC5V/2A.
∙ The battery icon will scroll during charging.
∙ Screen battery icon will turn green and stop scrolling when charging is completed.
∙ To extend the battery life, it is suggested run out of the power in the first two times.
NOTE: If the unit is not used for a long time, make sure the machine will be charged one time
within one month, to avoid excessive consumption.
∙ On lower power shutdown, plug the charger, the machine tips “lower power” and “charging”,
the device will enter to the menu if there is enough power.
∙ It is better to charge in standby mode, otherwise the changing time will be longer, as the
screen consume battery during charging.

6
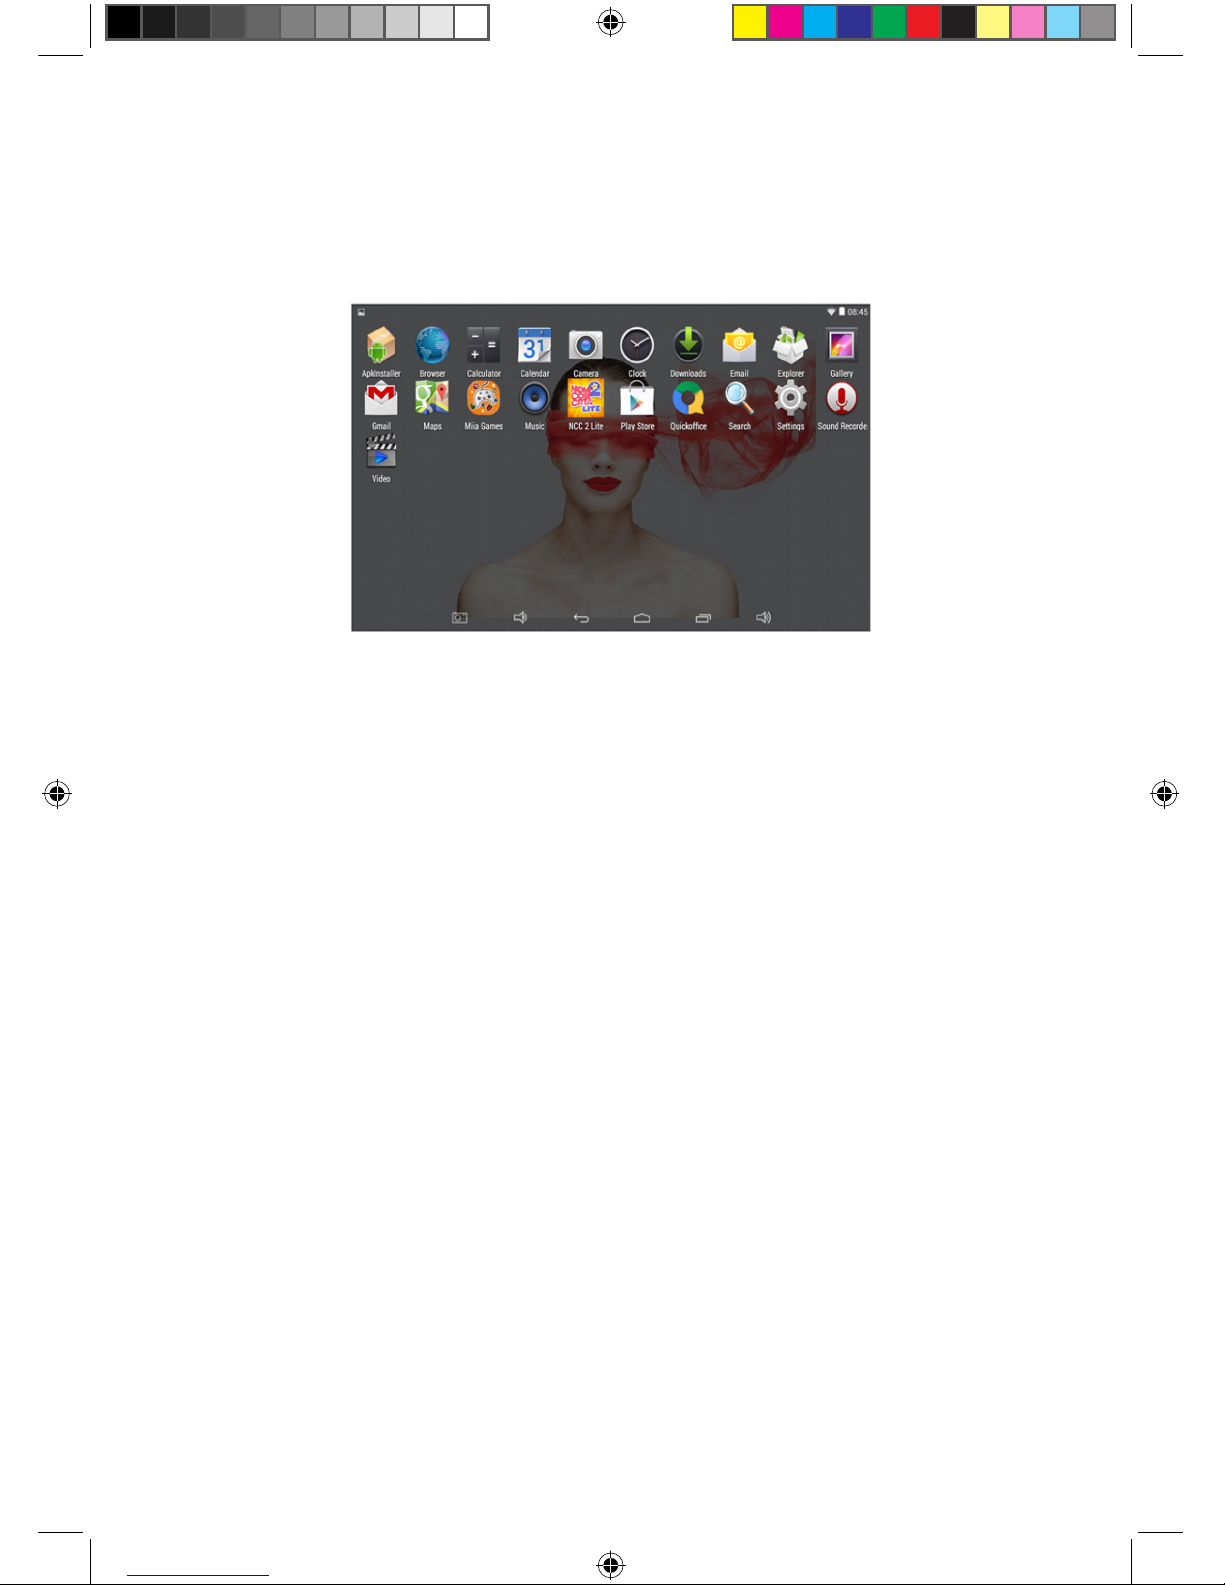
5. DESKTOP - FIRST APPEARANCE
Press the Power button, after ten seconds will enter the interface of unlock the screen.
Hold , slide to right, the icon will turn to and the screen will unlock.
After the system is started up, you can see Android system desktop, the default system
desktop: status bar, instant search button, main menu icon and shortcut icon.

7
The status bar to display the current system of network
status, battery, time information.
ICON NAME
BACK
HOME
RECENT
APPS
VOL+
VOL-
OTHERS
APPS
CERCA
STATUS
DESCRIPTION
Opens the previous screen you were working in, even if
it was in a different app. Once you back up to the Home
screen, you can not go back any further in your history.
Opens Home. If you’re viewing a left or right Home screen,
opens the central Home screen.
Opens a list of thumbnail images of apps you have worked
with recently. To open an app, touch it. To remove a
thumbnail from the list, swipe it left or right.
You can choose a picture to set wallpaper, enter the
interfaces of Manage apps and system settings.
Opens the list of apps, the main menu will be from right to
left.
Quick search icon for web search by typing key words.
Increases the volume of headphones or speakers.
Reduces the volume of headphones or speakers.
8
6. MAIN MENU OPERATIONS
In the main menu, you can set up system, run the available application program, install new
application program and start music playing, video playing, website browsing, playing games etc.
· To move an icon to the Desktop screen, touch & hold on the icon, then release it when it
appears on the Desktop screen.
· Touch, hold the icon for 3 seconds, press Remove, then will delete it from the Desktop.
7. APPLICATION MANAGEMENT
INSTALL ANDROID APPLICATIONS
There are many interesting and free Android applications that can be found on the web.
Just launch your web browser and do search for Android apps.
Purchased or free Android applications that you have downloaded to your computer can be
installed quickly and easily on your Tablet using the File Manager application.
1. Copy the .apk les that you want to install onto a SD card or USB device, insert or connect
to your device.
2. Tap the File Manager application icon, and nd out the .apk le, tap on it and select Install.
The application is installed and the application icon is added to the Applications screen.
UNINSTALL ANDROID APPLICATIONS
You can also quickly and easily uninstall the Android applications that you have installed.
1. Tap Settings > Applications > Manage applications.
2. Tap the application you want to uninstall > Uninstall.
3. Tap OK to conrm the install.

9
8. CLOCK
∙ Tap the Clock application icon. You can use your device as an alarm clock by setting multiple
alarms.
1. Tap Set Alarm > Add Alarm, set up your alarm as desired.
NOTE: If you do not select a repeat, the alarm is automatically deleted after it is activated.
2. Tap Turn On Alarm > OK > Done.
∙ When a scheduled alarm is activated, a pop-up window with the alarm title appears. Tap Snooze if
you want to be reminded again in 10 minutes. Tap Dismiss to cancel the alert.
10
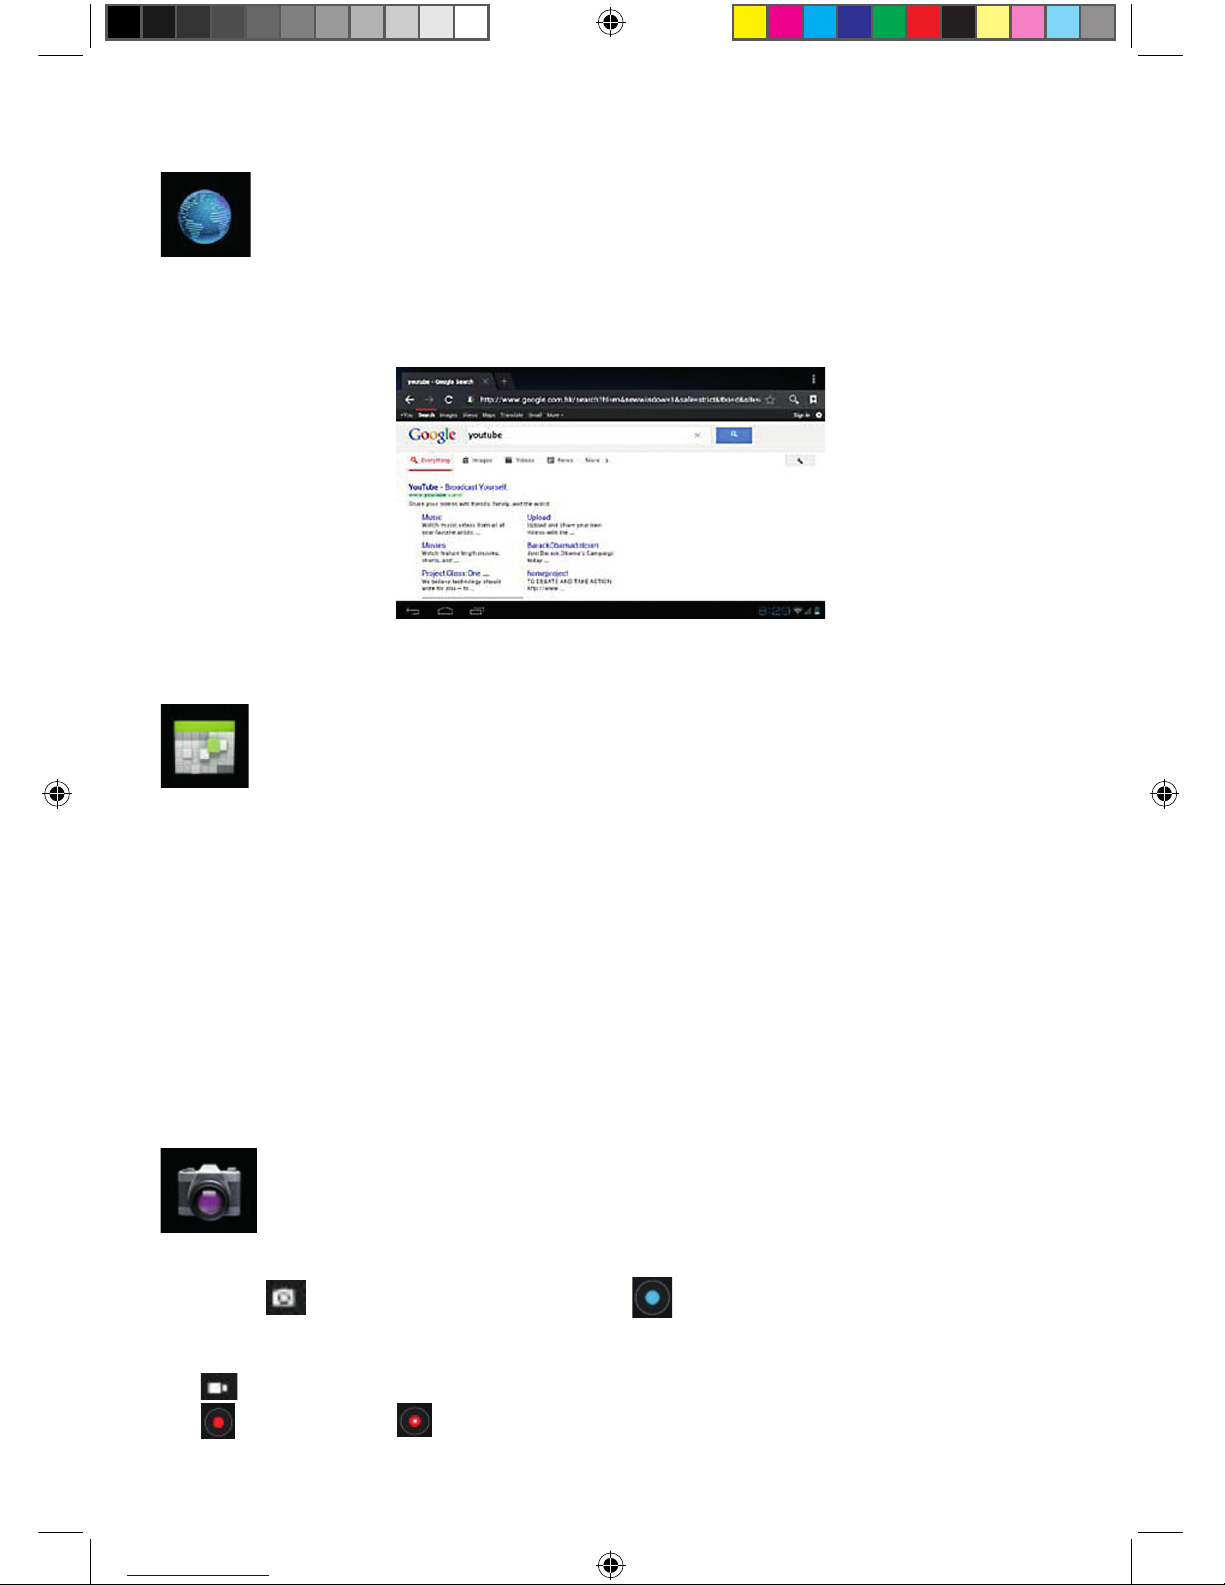
9. BROWSER
∙ Users can connect to the Internet through a browser.
∙ Click the Browser icon, and then you can open the Web browser.
10. CALENDAR
For the rst time to using the Calendar, you need to add an Exchange account. Enter account email
address and password. Click Next and follow the prompts to complete the account conguration.
Then you can use the Calendar.
Add Event
1. On the Calendar screen, tap on the date to which you want to add an event.
2. Tap on the event time, tap in each entry eld to enter the desired event information.
3. Tap Done.
NOTE: Dates with green bars indicate scheduled events.
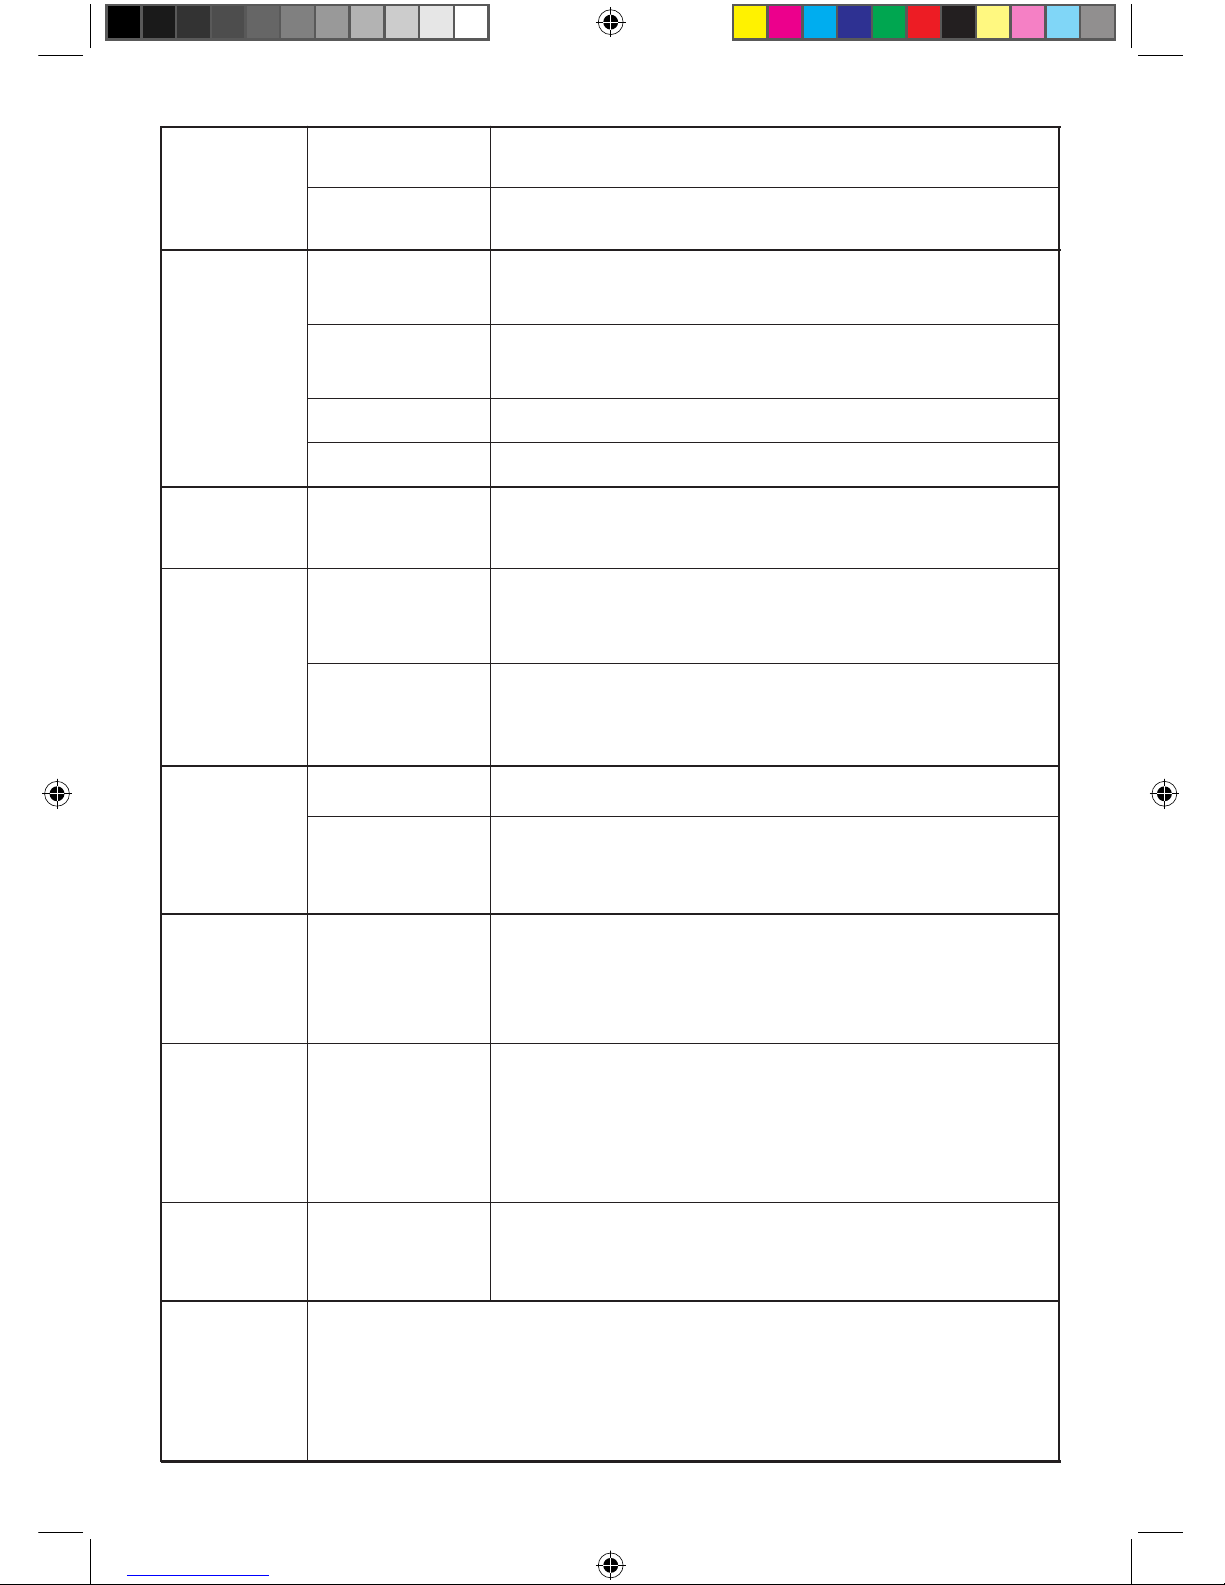
11. CAMERA
1. Take Pictures
In Camera, is the status of taking pictures, tap to take the picture.
The picture will be saved.
2. Take Video
Tap switch to video, and you can take videos.
Tap to begin and tap to stop. The video will be saved.

11
12. CALCULATOR
1. Tap the Calculator application icon.
2. Tap the numbers and sign of operation to do the calculation.
3. Tap CLR to clear the result.
13. E-MAIL
POP3 and SMTP accounts are supported.
You can enter one or more personal email address that you would like to access through your Tablet.
1. Tap the Email application icon.
2. Tap in the Email address entry eld, enter your email address.
3. Tap in the Password entry eld, enter your email password.
4. Tap Done.
5. Manual Setup (Optional): The server settings are automatically populated based on your email
account provider (i.e., gmail.com, etc.). However, if you need to change the server settings tap
Manual Setup and make necessary changes.
14. MUSIC
Audio le formats supported: MP2, MP3, WAV, AAC, WMA, etc.
1. Tap the Music application icon.
2. Select an audio le from Artists/Albums/Songs/Playlists to play it.
15. HD PLAYER
Video le formats supported by the device: MPEG1/2/4, MJPG, H264, etc.
1. Tap the HD Player application icon.
2. Select a video le to play.
3. Tap on the screen to display video controls (adjust volume, pause/play, previous/next, adjust
brightness).

12
16. SETTINGS
WIRELESS
&
NETWORKS
SOUND
DISPLAY
Wi-Fi
Volumes
Brightness
Wallpaper
Sleep
Font size
Accelerometer
coordinate
system
Screen adaption
Auto-rotate
screen
Data usage
Default
Notication
More
Vibrate and ring
Turn on Wi-Fi.
Mobile data / Set mobile data limit / Data usage cycle.
Airplane mode / Ethernet / VPN / Mobile networks.
To adjust the Media volume, Alarm volume and
Notication volume.
Select desired ringtone sound.
Select vibrate and ring.
HD Player / Live wallpapers / Wallpapers.
When selected, the orientation of the screen switches
between Portrait and Landscape automatically when
you rotate the device.
Adjust the size of font.
Accelerometer uses the default coordinate system.
Used to adjust size of some games display screen.
Adjust the delay time before the screen
automatically turns off.
Tap & slide to adjust the screen brightness as desired,
and then tap OK.
13
STORAGE
BATTERY
APPS
ACCOUNTS
& SYNC
LOCATION
SERVICES
SECURITY
LANGUAGE
& INPUT
Internal Storage
Ext SD
Location &
Google search
Screen Security
Encryption
Speech
Mouse /
Track pad
Passwords
Device
Administration
Credential
Storage
Language
Keyboard &
Input methods
Google’s
location service
Erase SD card
USBhost1
Total space / Apps space / Available space.
Erases all data on the SD card, such as music
and photos.
Mount SD card, enable media scanning on ext SD.
Mount USB Disk, enable media scanning on usbhots1.
Sync on the account information.
Let apps use data from sources such as Wi-Fi and
mobile networks to determine your approximate
location.
Encrypt tablet.
Make passwords visible.
Device administrators / Unknown sources.
Trusted credentials / Install from SD card / Clear
credentials.
Select the language and region according to your
location / Spelling correction / Personal dictionary.
Default / Android keyboard.
Text-to-speech output.
Pointer Speed.
Let Google use your location to improve search results
and other services.
Screen lock / Owner info.
Battery usage data.
Downloaded / On SD card / Running / All.
14
BACKUP
& RESET
DATE
& TIME
DATE
& TIME
DATE
& TIME
ACCES-
SIBILITY
DEVELOPER
OPTIONS
ABOUT
TABLET
Backup & Reset
System
System updates / Status / Legal information / Model number / Android
version / Baseband version / Kernel version / Build number.
User Interface
Apps
Automatic
date & time
Select
time zone
Select date
format
Services
Use 24-hour
format
Automatic
time zone
Set date
Set time
Personal Data
Back up my data / Backup account / Automatic restore.
Factory data reset.
Use network-provided time.
Select the time zone.
You can select the date format.
Choose the services you have installed.
You can choose to use 24-hour format or
12-hour format.
Use network-provided time zone.
USB debugging / Development device ID / Stay awake
/ Allow mock locations / HDCP checking / Desktop
backup password.
Strict mode enabled / Pointer location / Show touches
/ Show screen updates / Show CPU usage / Force
GPU rendering / Window animation scale / Transition
animation scale.
Don’t keep activities / Background process limit / Show
all ANRs.
Large text / Auto-rotate screen / Speak passwords /
Touch & hold delay / Install web scripts.
Set the date.
Set the time.
15
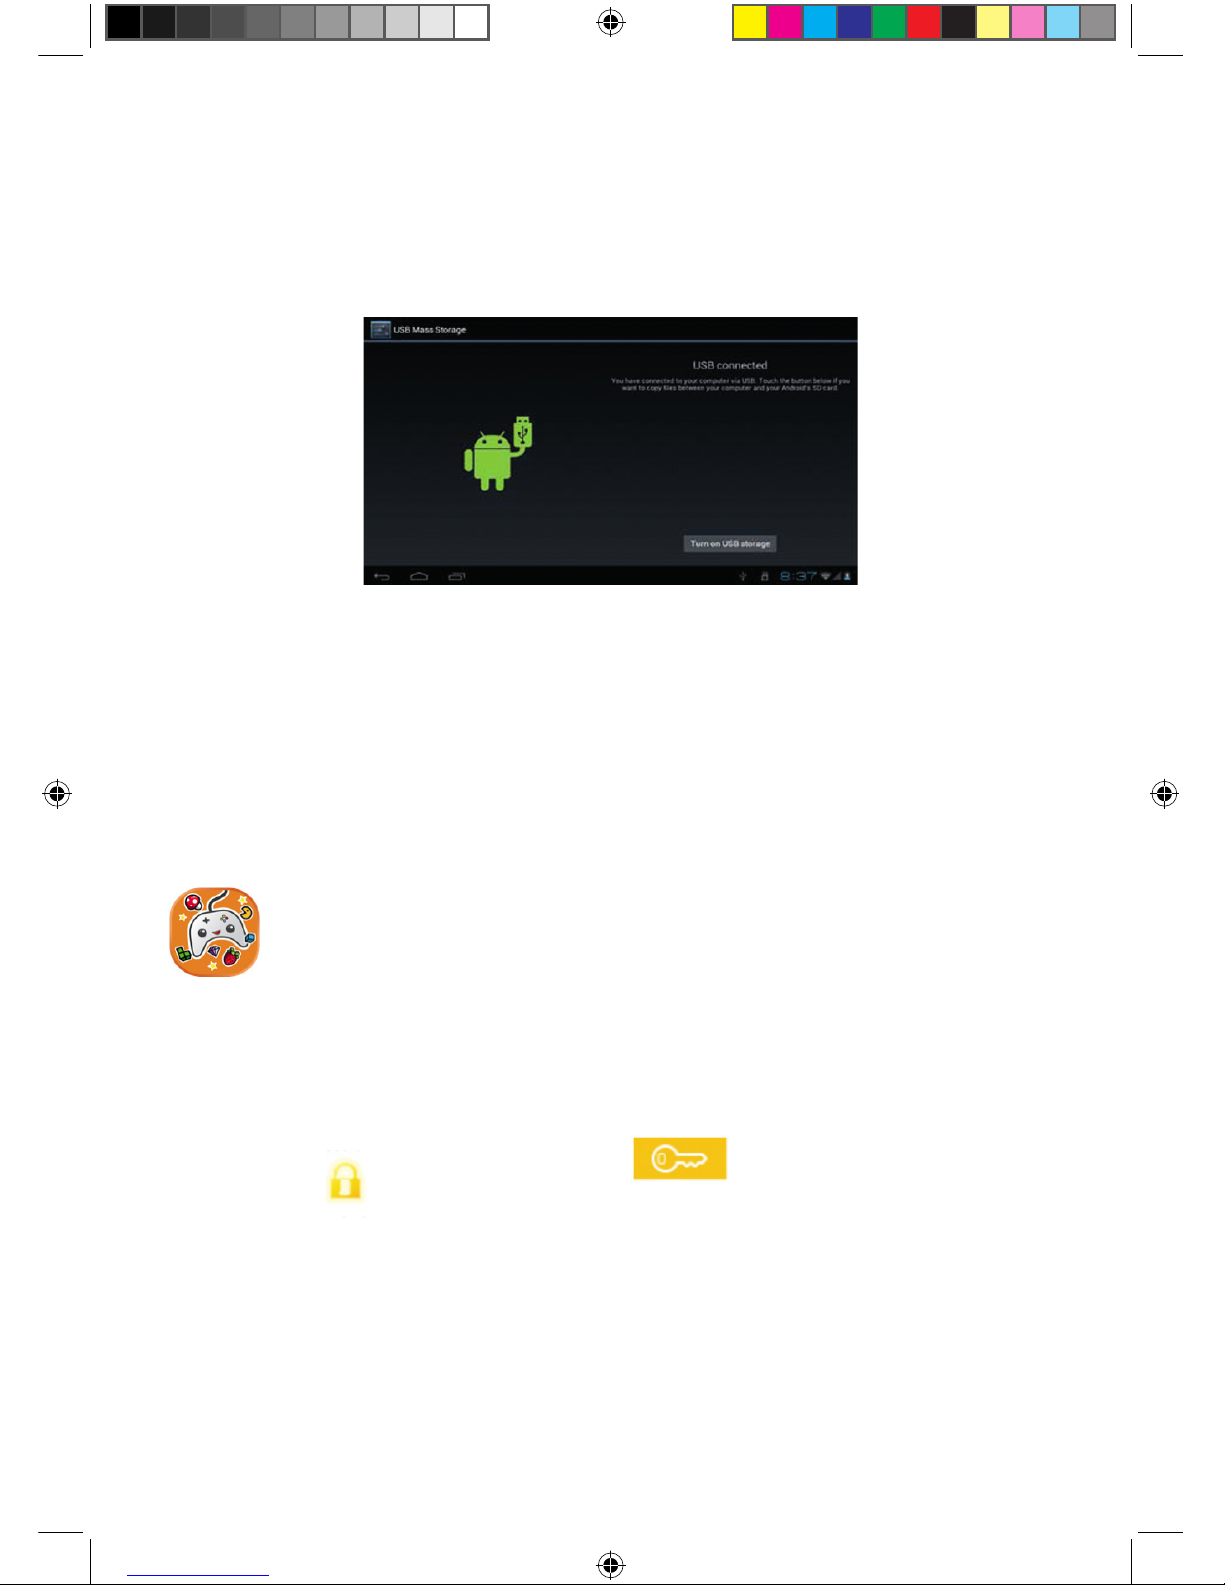
17. CONNECTION WITH PC
USB CONNECT
Use USB cable to connect device to PC, device will pop up the USB connection window, click
Turn on USB storage to connect to PC.
Into the load mode, you can copy, delete the le on the device and the le on the memory card.
OTG Using
∙ Support FAT32 format mobile memory devices, such as USB disk.
∙ The way for Plug and play.
∙ Use OTG cable to connect MID USB OTG PORT with other devices.
18. MIIA GAMES
Enter a world of fun with the
Miia Games
App and discover always new games!
How it works:
• By clicking on the
Miia
Games
icon you will nd 3 games available for you right away!
• Choose the game you like the most and start playing: you don’t need to download any other
Apps and you will be able to play without heaping your device memory.
• To unlock all other games click on the “key” icon at the top right or on the games
with a yellow lock
There is plenty of them and always new!
• By clicking on the “key” button or on locked games, you can choose the payment method
you like and, at payment received, you will get an unlock PIN to access all games, with no other
payment needed¬.
• Then insert your PIN, together with your email or your telephone number, and start playing!
Remember: to use the application you will have to be connected to the Internet and your code
will be valid in the
Miia
Games
App of all Miia devices.
Have fun with
Miia
&
GamePix!

16
19. PLAY STORE
The Play Store has many applications that you can quickly and easily download to your Tablet
1. Tap the Play Store application icon.
The rst time, you are prompted for your Play Store login information. If you have not yet
registered an account, tap Register. Otherwise, tap Login and enter your login information and
then tap login again.
2. You can select applications from the default Featured group, by Categories, Top (latest,
hottest, random), or search by name.
3. Tap on an application, __> Download.
4. After the app is downloaded, tap Install.
5. Tap Open to launch now, or Done to return to the Play Store screen.
After downloading apps, tap on History to manage the installed applications. You can add and/
or view comments from other users, launch apps, and uninstall them.
20. TROUBLE SHOOTING
• Device fails to turn on.
﹡ Check battery volume.
﹡ Connect to adaptor, and double check.
﹡ If device fail to start up after charging, please contact distributors.
• Twinkling screen after turn-on or sudden shut off after starting up.
﹡ Battery low, please charge the device.
• No sound via earphone.
﹡ Check if volume is set at the lowest.
﹡ Check if audio le is damaged. Play other audio to reconrm.
﹡ Damaged le may result in noise or staccato only.
• Copy function is not working, fail to play music.
﹡ Check if PC and device is proper corrected.
﹡ Conrm whether storage space is full.
﹡ Conrm whether USB cable is damaged.
﹡ Conrm whether USB is out of connection.

17
SPECIFICATIONS
Dimension: 190 x 116 x 11
Processor: RK3026
Internal Memory: 512M
RAM: 4G
TF card: 128M-32G
Display: 7INCH
Risolution: 1024 x 600
Battery: 3000 mah
In Standby time: 80hours
Play Video time: 3hours
USB: 2.0
HDMI: no
Camera: 0.3M front
G-sensor 3D: yes
Integrated Microphone: yes
Wifi 802.11 b/g/n: yes
Operating System: Android 4.4 Kitkat
Video Play Format: AVI,MPG,MKV,RM, RMVB, MP4,
MOV, VOB, DAT, FLV, TS, 3GP,WEBM, VP8), etc...
Audio Play Format: MP1, MP2, MP3, WMA, WAV, OGG, OGA, APE,
FLAC, AAC, M4A, 3GPP, etc…
Image Format: JPG, JPEG, BMB, GIF, PNG, JFIF etc;
Network application: WWW browser, Google search, Alawar market,
You Tube, MSN, Facebook, Skype, Email POP3/SMTP/IMAP4, flash 11.1,
Color

Produced, imported and distributed by:
Futura Graca spa
via Domenico Fontana 12
00185 Roma - Italy
MADE IN PRC
Correct Disposal of This Product (Waste Electrical and electronic equipment - WEEE - European WEEE Directive 2002/96/EC)
(Applicable in the European Union and other European countries with separate collection systems ).
This marking on the product, accessories or literature indicates that the product and its accessories technical (such as the charger,
headset, USB cable) should not be disposed with other household wastes at the end of its life.
To prevent possible harm to the environment or human health from uncontrolled waste disposal, the user is encouraged to separate
the product and these items from other types of waste and recycle them responsibly to promote the sustainable reuse of material
resources. For more information about treatment, recovery and recycling of this product, please contact the territorial unit responsible
for the disposal service or the shop where you purchased the product.
This product and its electronic accessories should not be mixed with other commercial wastes for disposal.
Table of contents
Other Miia Tablet manuals


