Miia MT-733G ACTIIVE User manual

ENG Instruction manual
TAB
733G
actiive
7”
MIIA MT-733G


1
1 Read Me
1.1 Acknowledgement
Thanks for your purchase
MT-733G
of Miia. Its CPU is MTK8312 Dual core, which apply the
Cortex-A9, dominant frequency is 1.3GHz, it is based on Android 4.2 operation system, and easy to
expand the third application procedure.
The product is designed with various functions, including WCDMA, WIFI, BT, GPS, FM,
voice call and so on. It is easy to achieve wireless communication and internet, you have access to
surf the internet anytime and anywhere; it is also built with high accuracy GPS module, so that it
can be used for navigating through installing map software. There are many sensors which offer
you brand-new operation and entertainment; besides, it has camera shooting, which leads
electronic consumption to enter into a fresh palm internet entertainment time.
The manual systemically introduces the functions, use techniques and announcements, please
read this manual carefully before your operation.
1.2 Announcements
Preventive main attention
· Please always keep the TABLET dry. To avoid the device short trouble, corrosion fault
and electric short, please prevent the device, battery and charger from water and
moisture, and don’t operate the device or charger by wet hand.
· To avoid failure of device, battery and charger, please prevent the device, battery,
charger from violent shock or shake.
· To avoid failure of device, battery and charger, please prevent the device, battery,
charger of all over heating or too cold circumstance
· Never shock, throw, prod the TABLET, or drop, extrude, bend the TABLET.
· Never disassemble the device and accessories arbitrarily, otherwise the device and
accessories are not in our company warranty scope.

2
2 Introduction
2.1 Operation and Preparation
Battery Charging
If this navigator is rst used, please use AV adapter to fully charge it.
1. Apply the power adapter to charge for TABLET.
Status and Reminder
Reminder icons
When some remind message appears in your reminder window, please click column and slip
the screen to open the reminder list. Choose the menu you need, and conrm the information.
Then you can close the reminder window through clicking the column to slide up. Please refer to
below status icons:
New email Airplane Mode on
USB connected USB debugging connected
Return button Downloading
Setting button & Display Home button
recently-used application
Current electric volume. WIFI connected, internet is available
Reminder board
Reminder icons will work while receiving emails, WIFI is open, you can open the reminder
board to view the detailed information.
Open the reminder board
When the reminder column shows new reminder icon, please hold the column and slip down
your nger, then the reminder board is opened.

3
3 Quick Start Guide
3.1 Keys Function
Keys Function Description
Power button Short press to sleep/wake up,
long press to startup and shutdown.
Volume +(up) increase the volume
Volume - (down) decrease the volume
HOME button (home) click it in any interface will return to main interface.
Back button (back) click it in any interface will return to previous menu
Menu button This button will display in menu interface.
Setting button Can set the system and other menus
& display recently browsed history
3.2 Startup and Shutdown
Startup
Long press POWER key for three seconds, you can enter into startup picture. The system enters
into screen lock status, please unlock it.
Shutdown
1. Long press POWER, it will popup shutdown window.
2. Shutdown window contains mute mode, airplane mode,reboot mode and shutdown four options.
3. Click Shutdown is the last step.
4
3.3 Open and Close of the Screen
Screen will be closed on its own when no operation happens.
1. Screen will be closed on its own if no operation happens for some time to save battery power
2. When screen is open, press POWER key, the screen will be closed immediately.
Open the screen when it is closed.
If the screen is closed, short press POWER to open the screen. The screen will be locked
open it, it will show the picture as below picture, left slide to unlock and enter into camera, right
slide the unlock icon to unlock the screen.
Picture 3.1
3.4 Usage of Touch Screen
TABLET operating methods
There are below methods to view the main screen, menu and application procedure in your TABLET.
Click
When you want to use the screen keyboard typing or choose application in the main interface, you
only need to touch it by your nger.
Press on
If you want to open some item (textbox or the link in the webpage), or shortcut and main procedure
move, you can press on this item.
Quickly slide or slide
Quickly slide or slide indicates make quick vertical or horizontally movement by nger.
Pull
Before you pull, you need to hold the it with strength until you pull it into the position you want.
Rotate
For most pictures, you only need to rotate the TABLET sidewise to change the screen direction
from horizontally to vertical. For instance, when you are typing words, and watching movies.

5
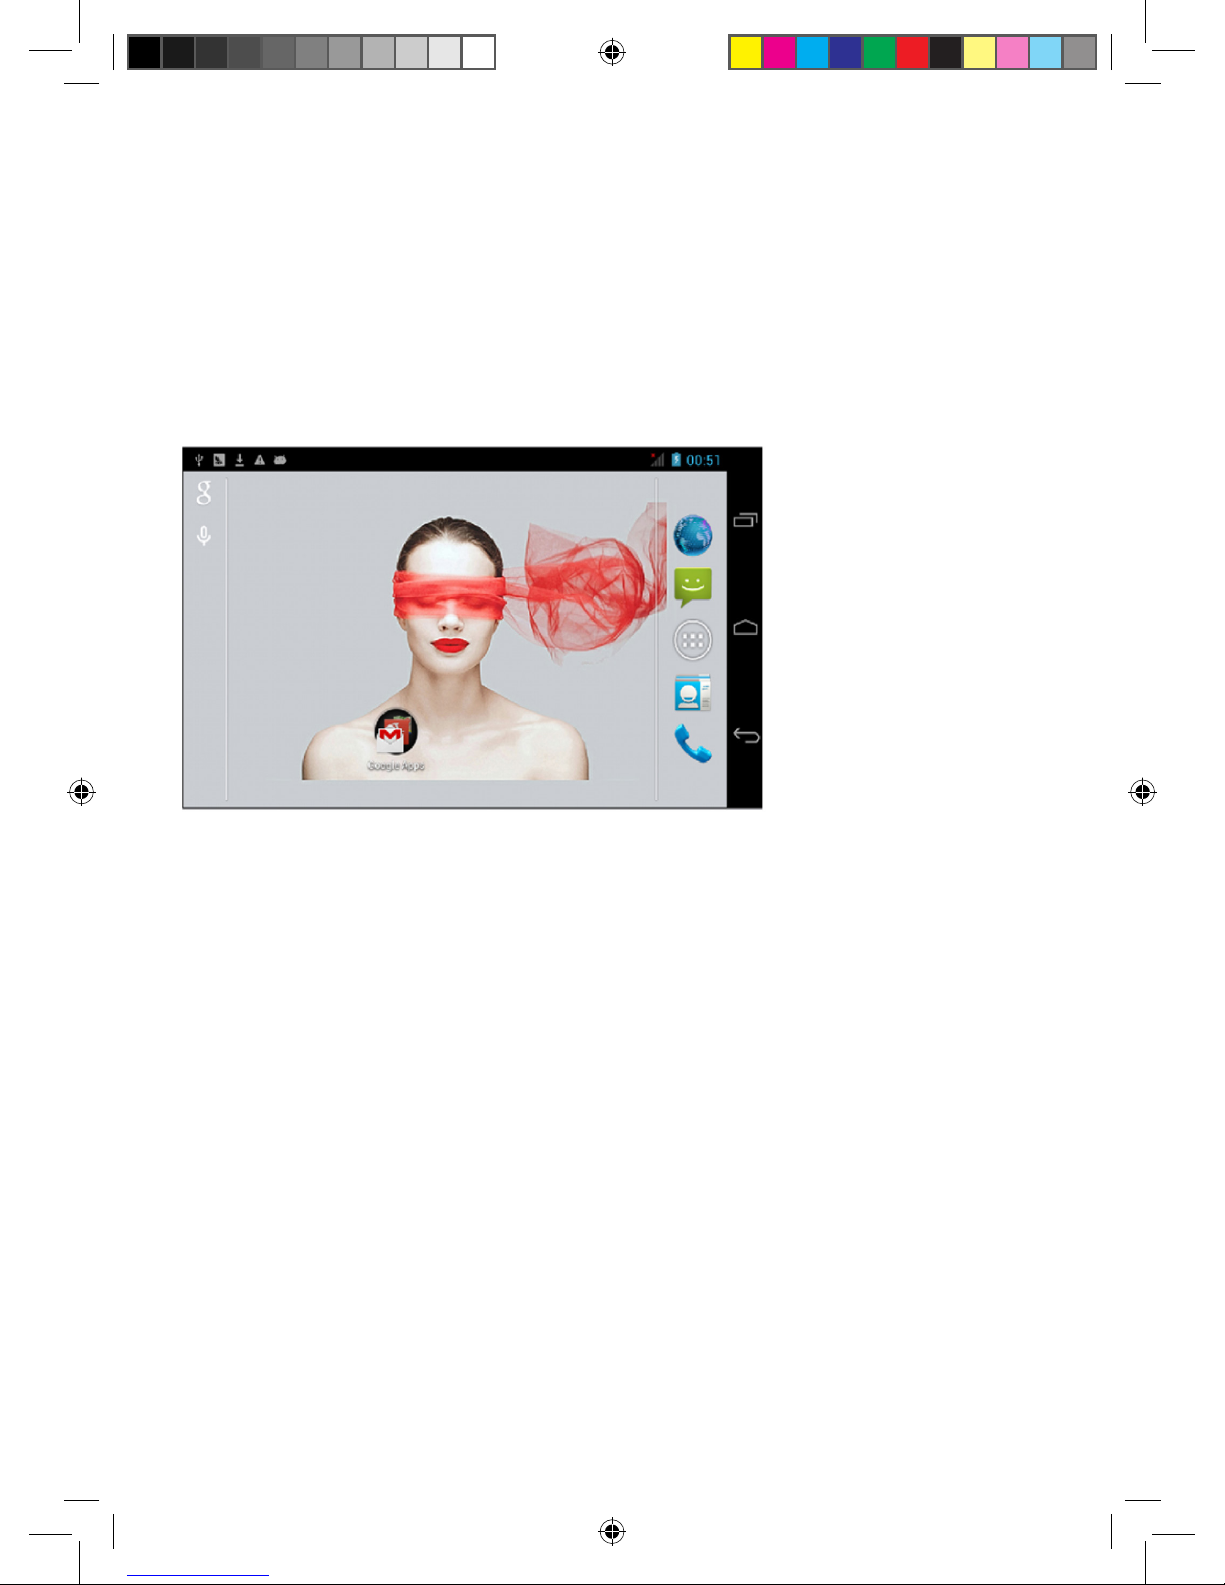
3.5 Home Page
Main interface as below picture 3.2, long press the blank and it will popup windows to set
wallpaper, folder, widgets, and shortcut.
Picture 3.2
The extended home page
The home page can be extended beyond the wideness of screen to provide more space, which you
can put new-added shortcuts and widgets. Click the blank space in home page
then slide right or left to extend to the right or left of the screen. In the home page, there are
two extended pictures, as Picture 3.3.
Picture 3.3
Search Battery volume
Time
Set the system and other
menus.
& display recently
browsed history
Home
Return
6
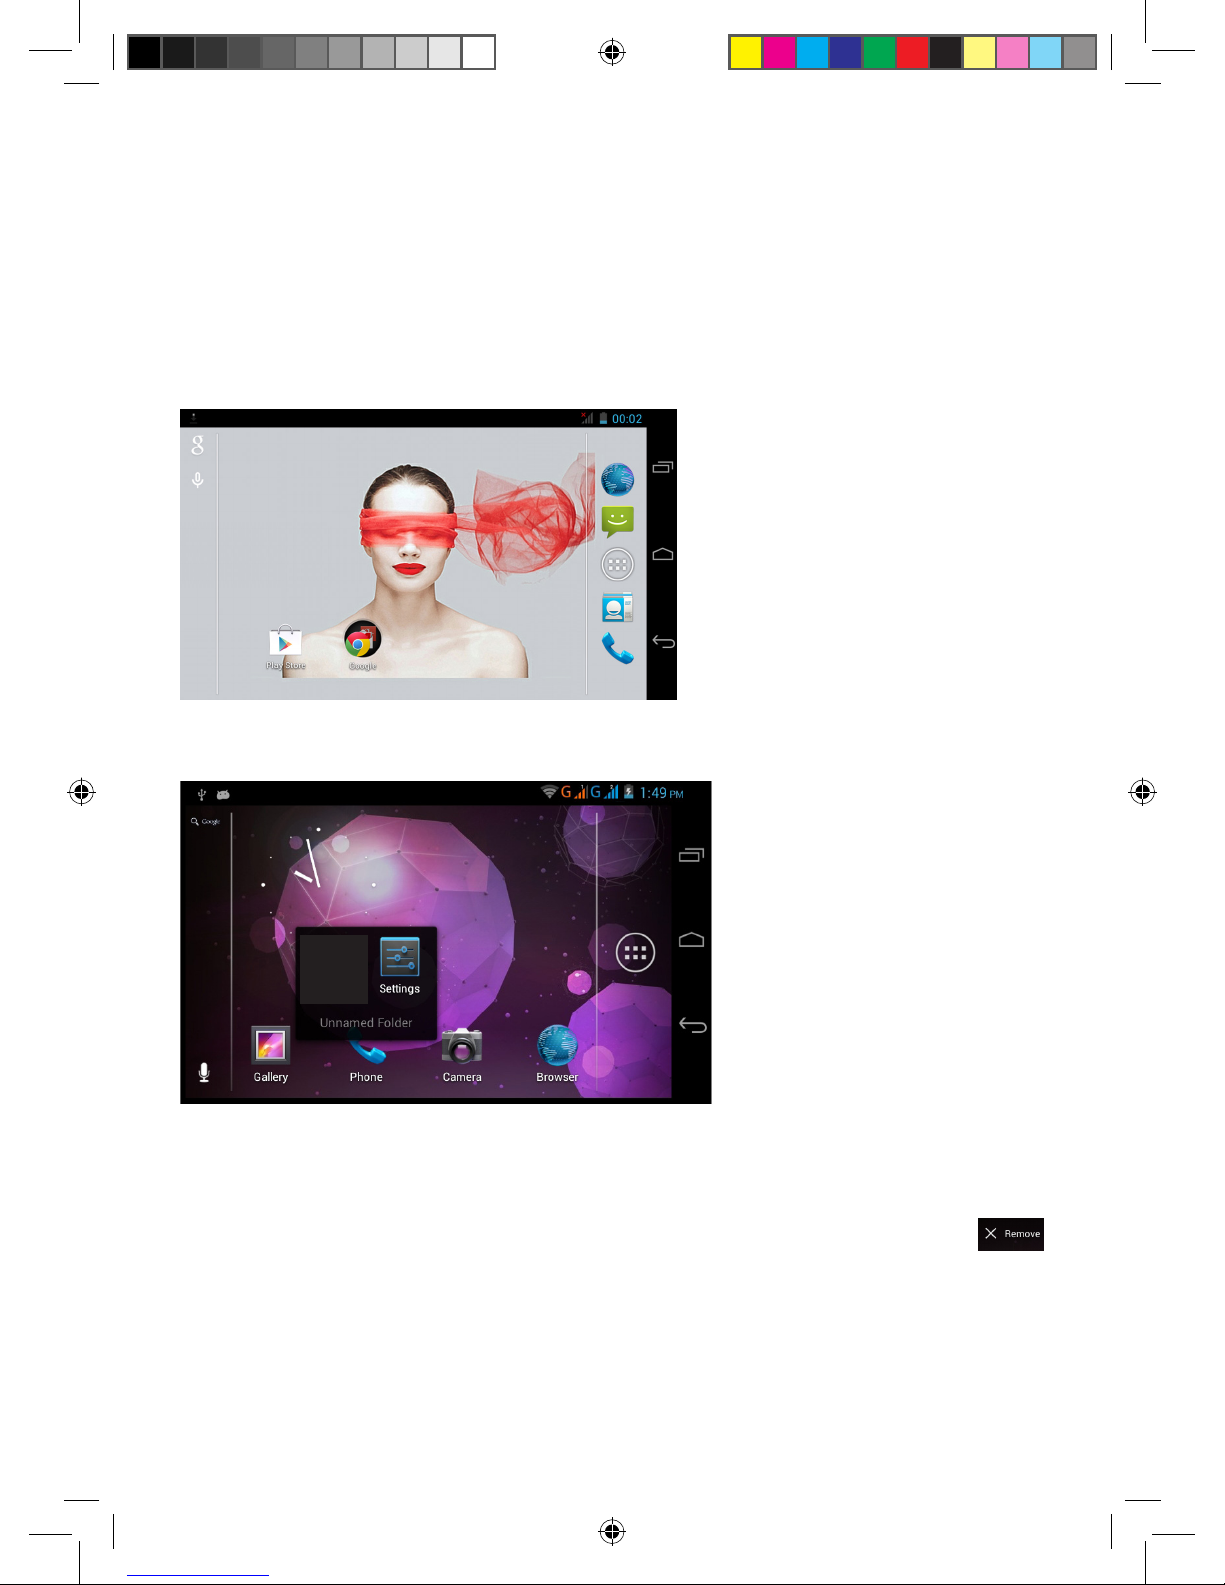
The shortcut icons management in desktop application.
Create folder icon in desktop
1. Drag the icons need to be put together on one icon (can also overlay several icons) as Picture 3.4.
2. Then click the overlayed icons, the applications can be folded, as Picture 3.5.
Click the unnamed folder in the black box, it will popup the hidden keyboard, the folder name can be
renamed (this is similar with Apple IOS system), the icons position can be changed through long press.
Picture 3.4
Picture 3.5
Remove the icons in desktop
1. Long press the icons need to be remove, then on the right above of the screen, it will appear
icons.
2. Drag the icon to the above of the remove icon, till the icon become red, then move your nger to
delete the icon.
Change the wallpaper of desktop
1. In home page, long press any blank space in main screen, it will popup a window to change the wallpaper.
2. Click the gallery or wallpaper gallery to select the wallpaper.
7
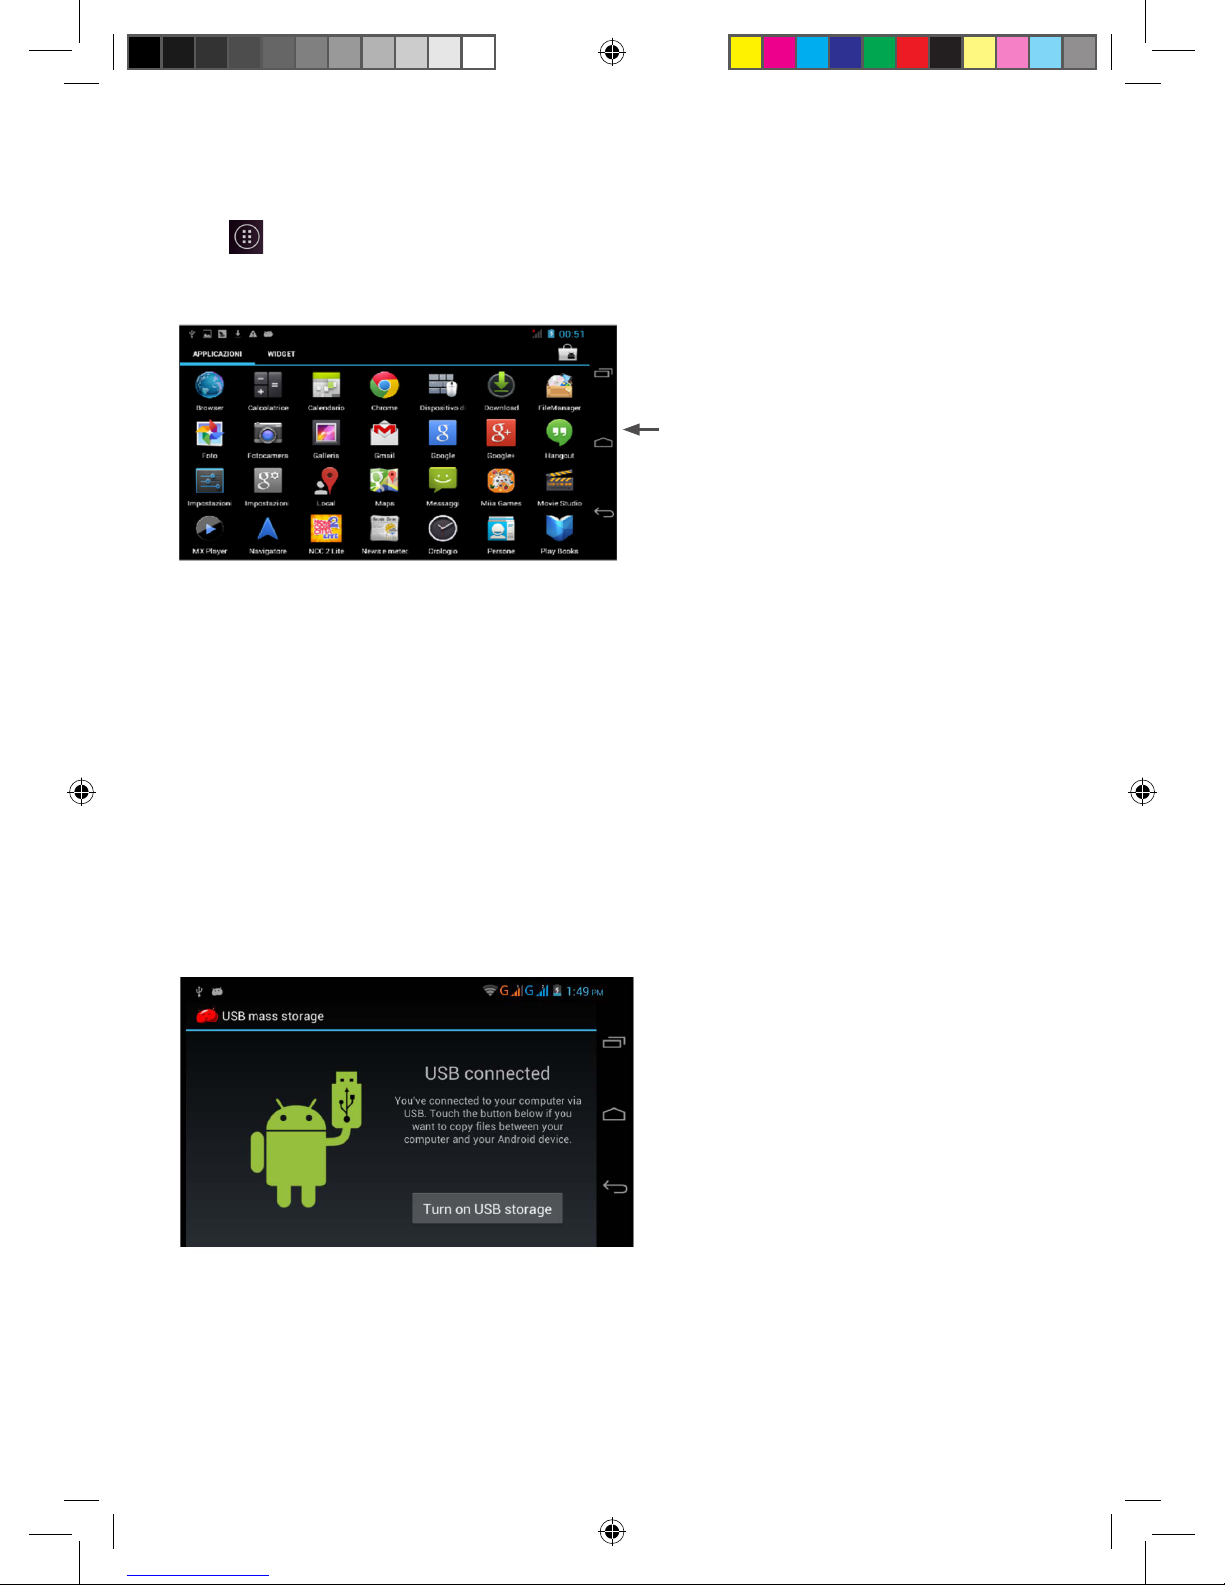
3.6 Visit Application Procedures
Click in right top of Picture 3.2, enter into main interface as Picture 3.6, choose the application
procedure you want to visit.
Picture 3.6
3.7 USB Connection
TABLET storage configuration
Before transmitting documents, you have to conduct storage conguration for your TABLET:
1. Connect the TABLET and computer by USB cable, the reminder column will show the remind
information.
2. Open the reminder board; please view the TABLET status and reminder to learn how to open the board.
3. In the reminder board, click the “USB Connected”, it will as below Picture 3.4, then click “open
USB storage conguration”.
4. Now the USB is connected successfully.
Picture 3.7
Copy the document into memory card
1. Connect the TABLET to computer with USB cable.
2. As TABLET storage conguration, it is connected with computer successfully.
3. Open the “My computer” in your computer, check the items in “removable disc”.
Return to home page

8
4. Copy the documents you need into “removable disc”.
5. After copying nishes, click “shutdown the USB storage conguration” to uninstall.
Notice: When the TABLET is connected with USB cable, and you open the USB storage
conguration, you can’t view the memory card through the TABLET. Only after you detach
the USB cable, you can view the memory card in the TABLET.
3.8 Operation Technique
Enter widgets interface
In the application interface, click widgets on the above of screen, or slide the screen, it will sw itch
into widgets interface. Long press any widget to create its shortcut, then you can enter into the
application through the shortcut icon.
Create application shortcut icons in the desktop
In the application interface or widgets interface, long press any icon to switch into desktop
automatically, drag and hold the icon, you can move to any position in the desktop.
Remind: If the target position has no space, the widget won’t be add in the main screen.
9
4 Basic Settings
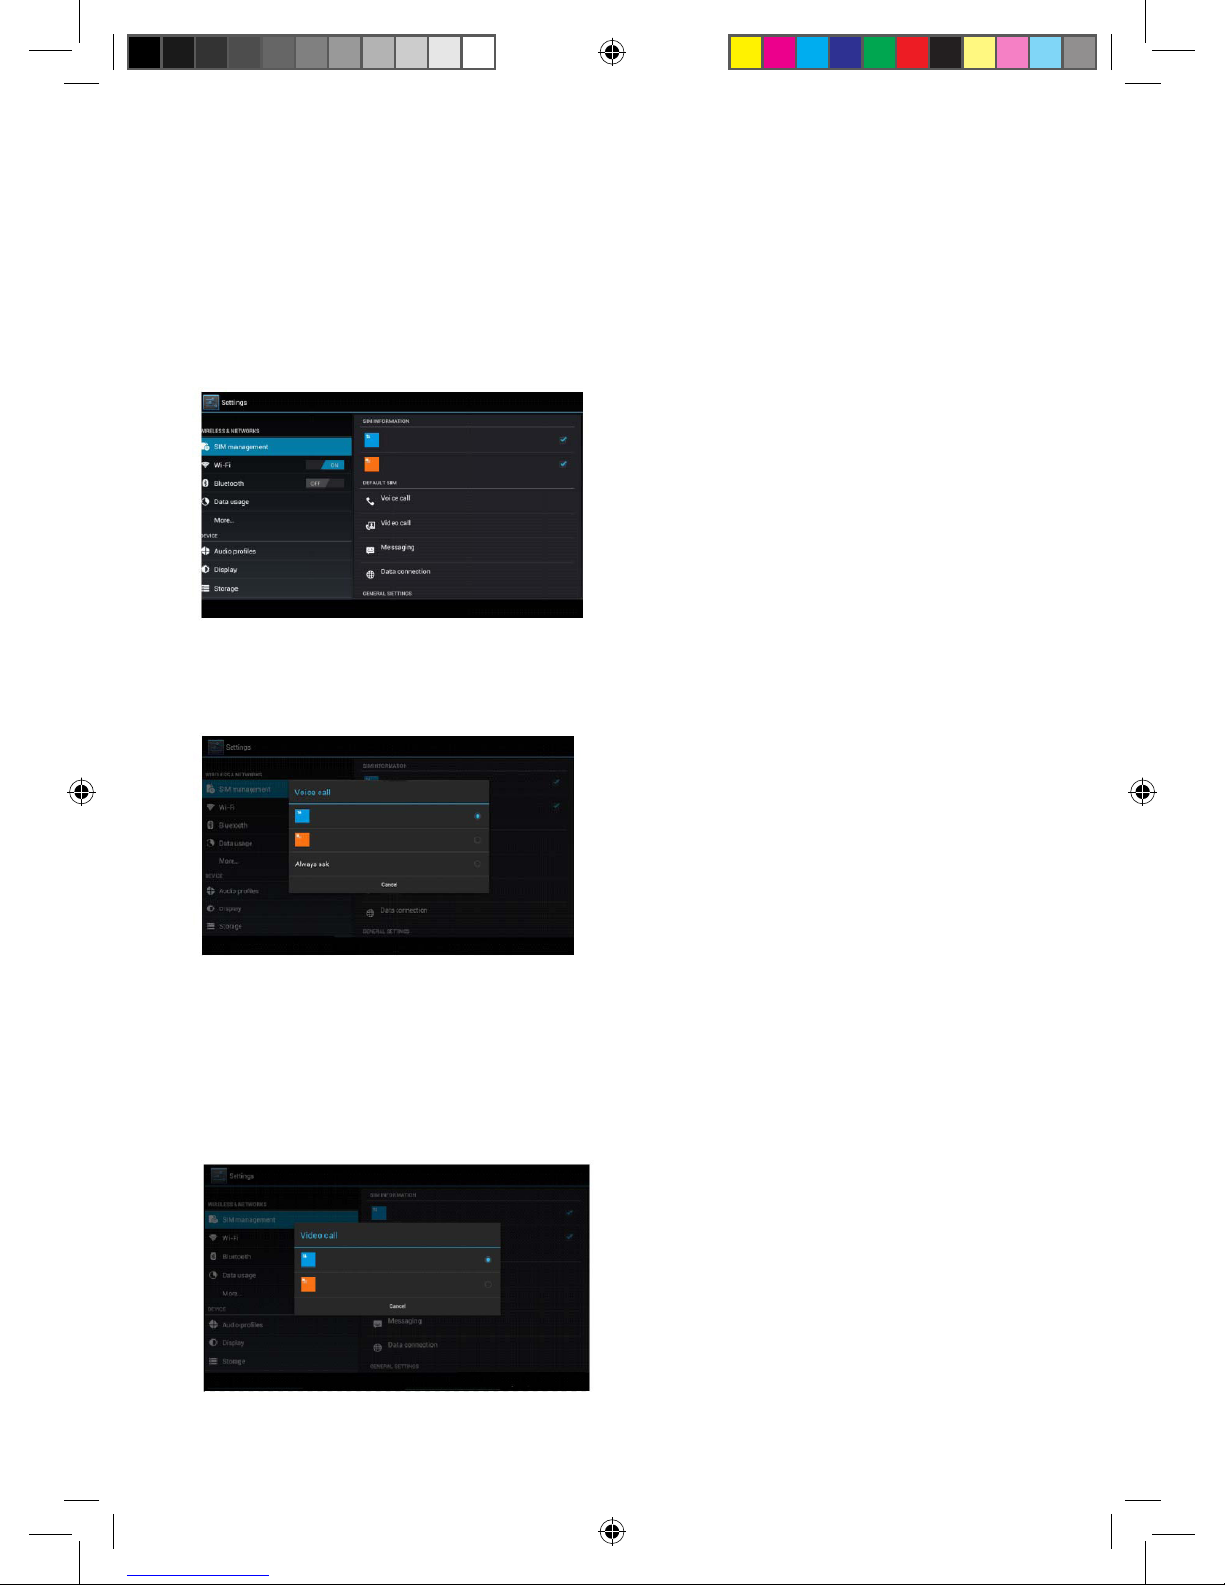
4.1 SIM Management
4.1-1 Voice call
Click settings in main menu, choose SIM Management, as Picture 4.1
Picture 4.1
Click voice call, choose defaulted SIM card, as Picture 4.2
Picture 4.2
4.1-2 Video Call
Click settings in main menu, choose SIM Management, and click video call, choose defaulted
SIM card when makes video call, as Picture 4.3
Picture 4.3
10
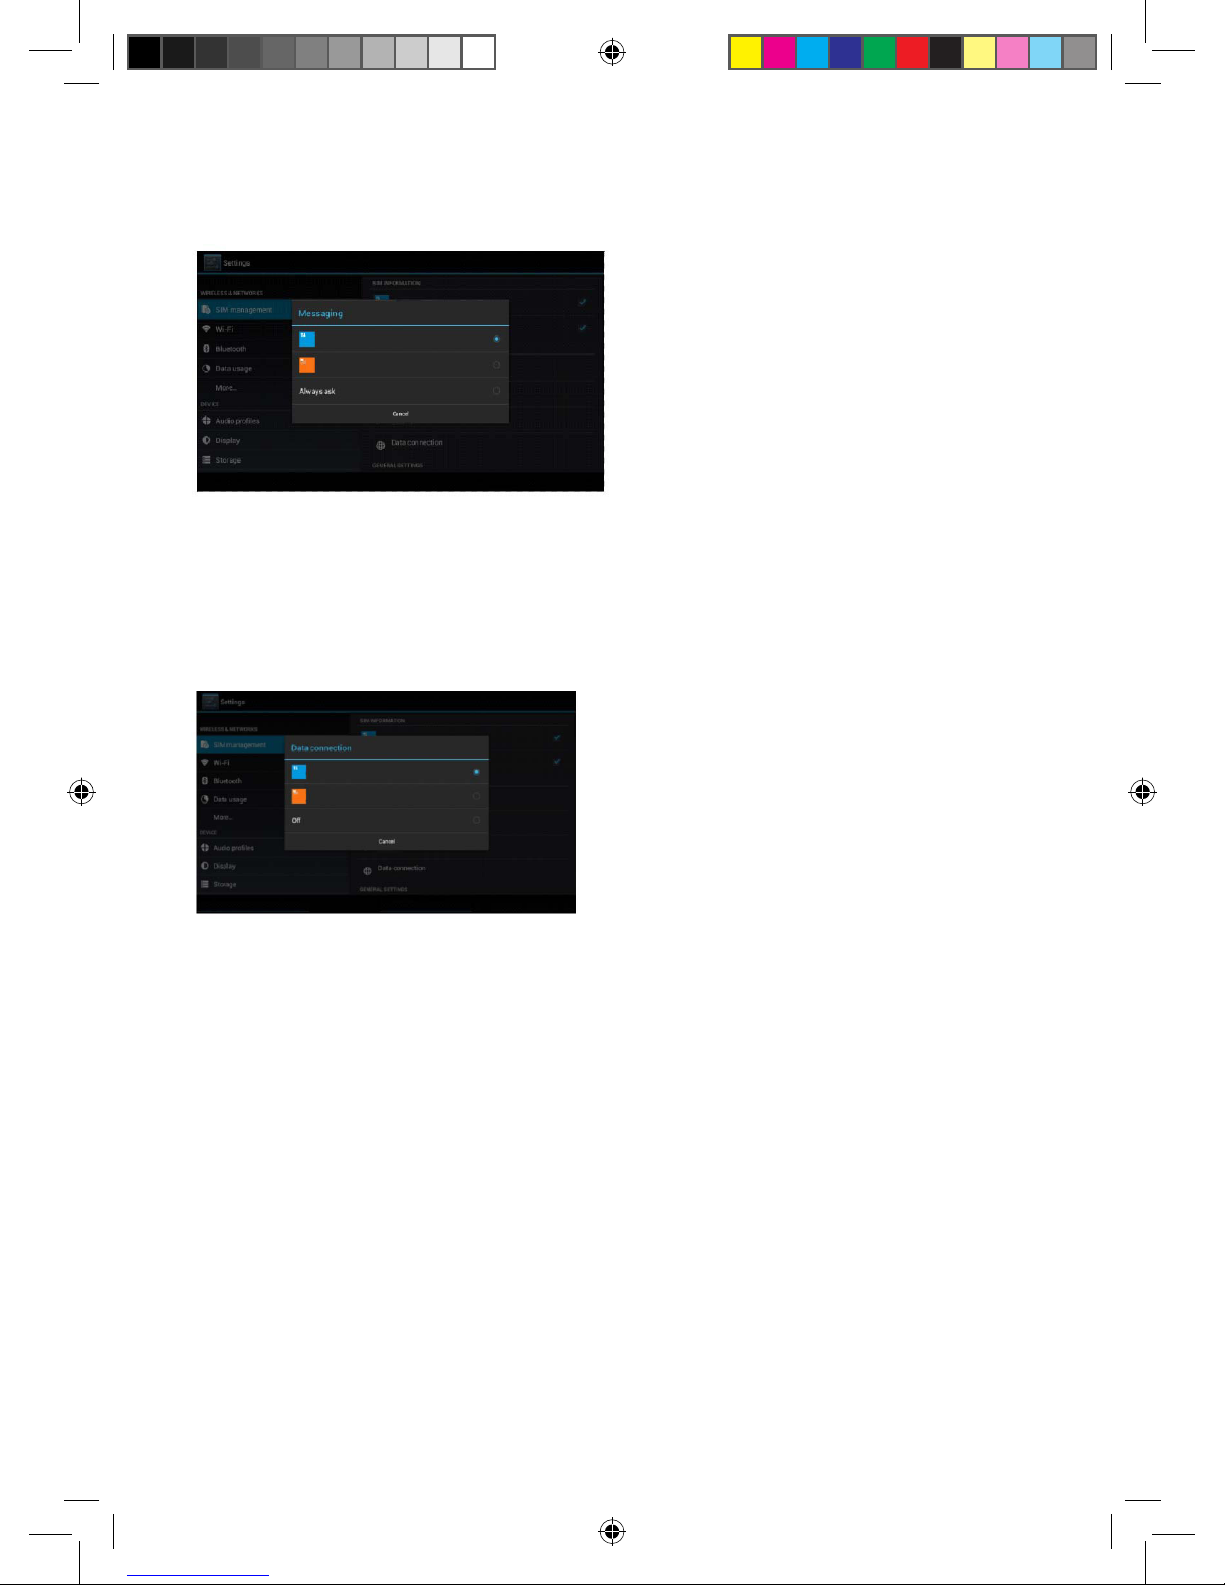
4.1-3 Message
Click settings in main menu, choose SIM Management, click message, choose the defaulted SIM
card when sends message, as Picture 4.4
Picture 4.4
4.1-4 Data Connection
Click setting application in main menu, choose SIM management, click data connection, choose
the defaulted SIM card, as Picture 4.5
Picture 4.5
11
4.2 Wireless and Internet
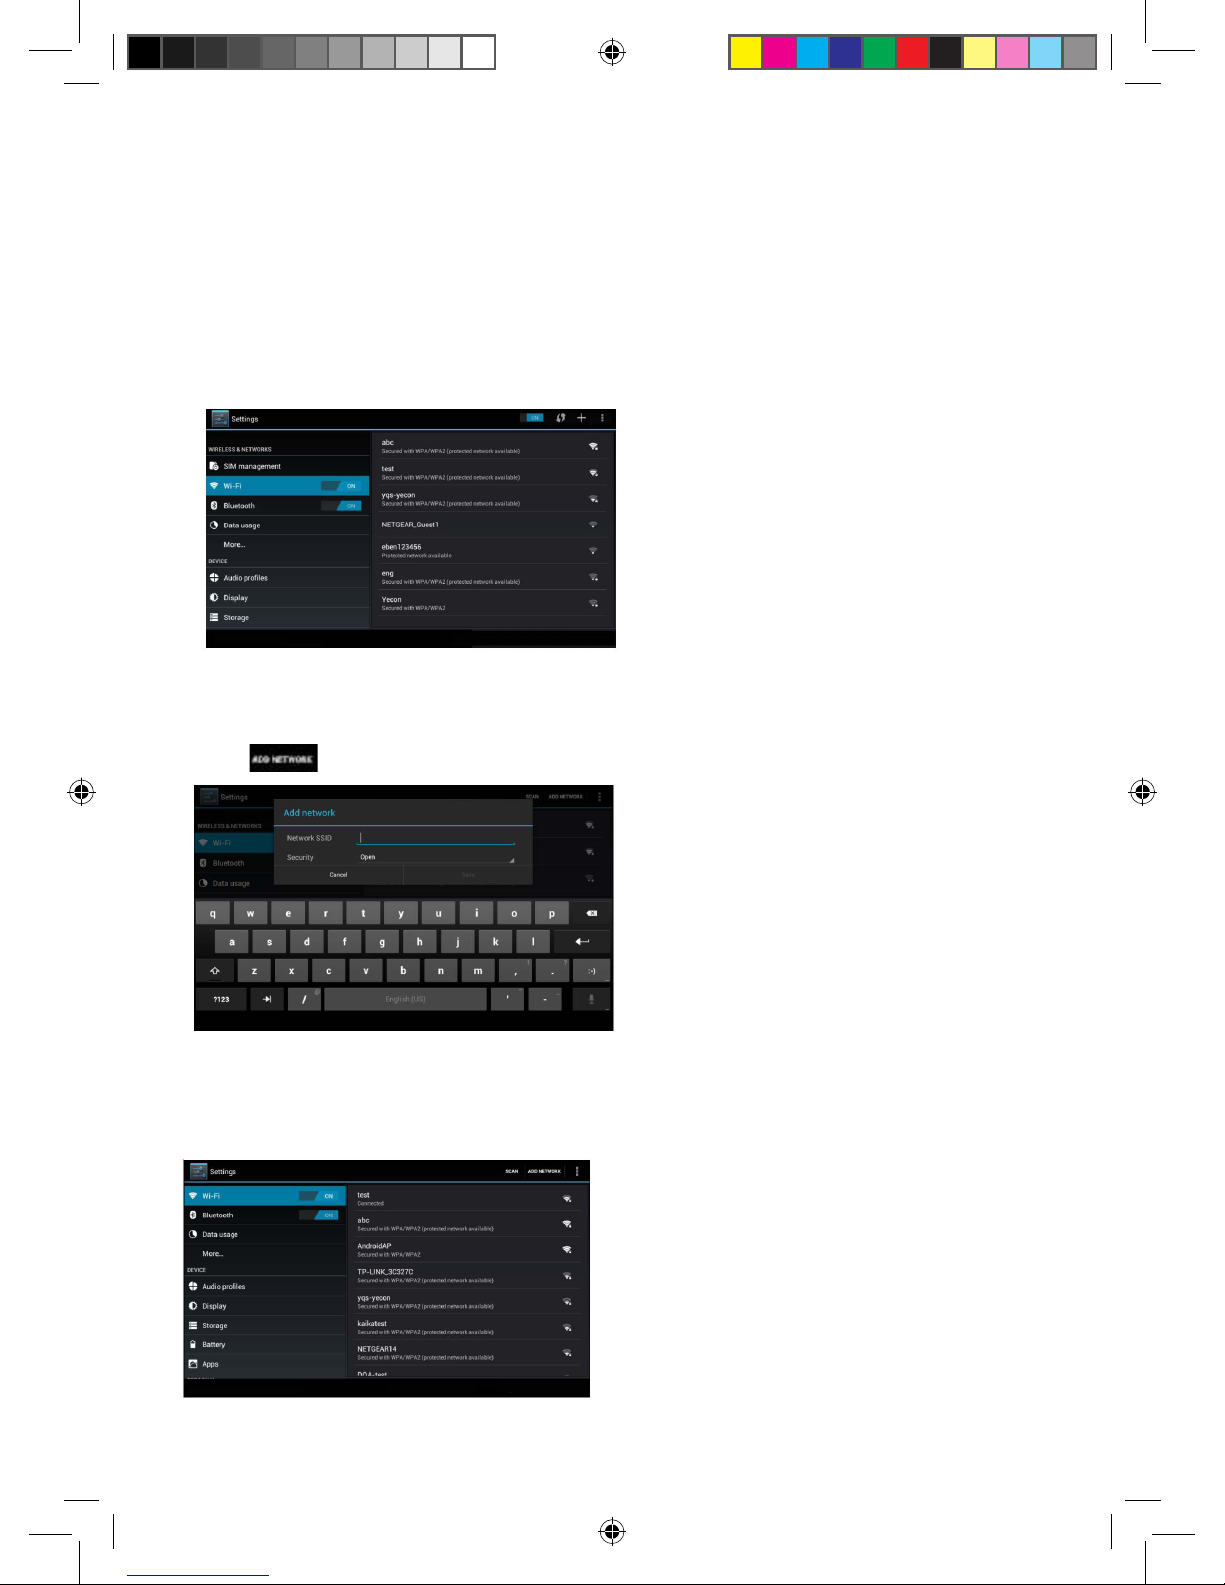
1. Connect Wi-Fi
1) In the main menu or interface, choose setting application procedure.
2) Click WLAN, open wi, TABLET will automatically search the available Wi wireless internet.
As Picture 4.6
3) Choose the Wi-Fi internet you want to connect, if it has password, it will popup the password
window, enter password, click connect.
Picture 4.6
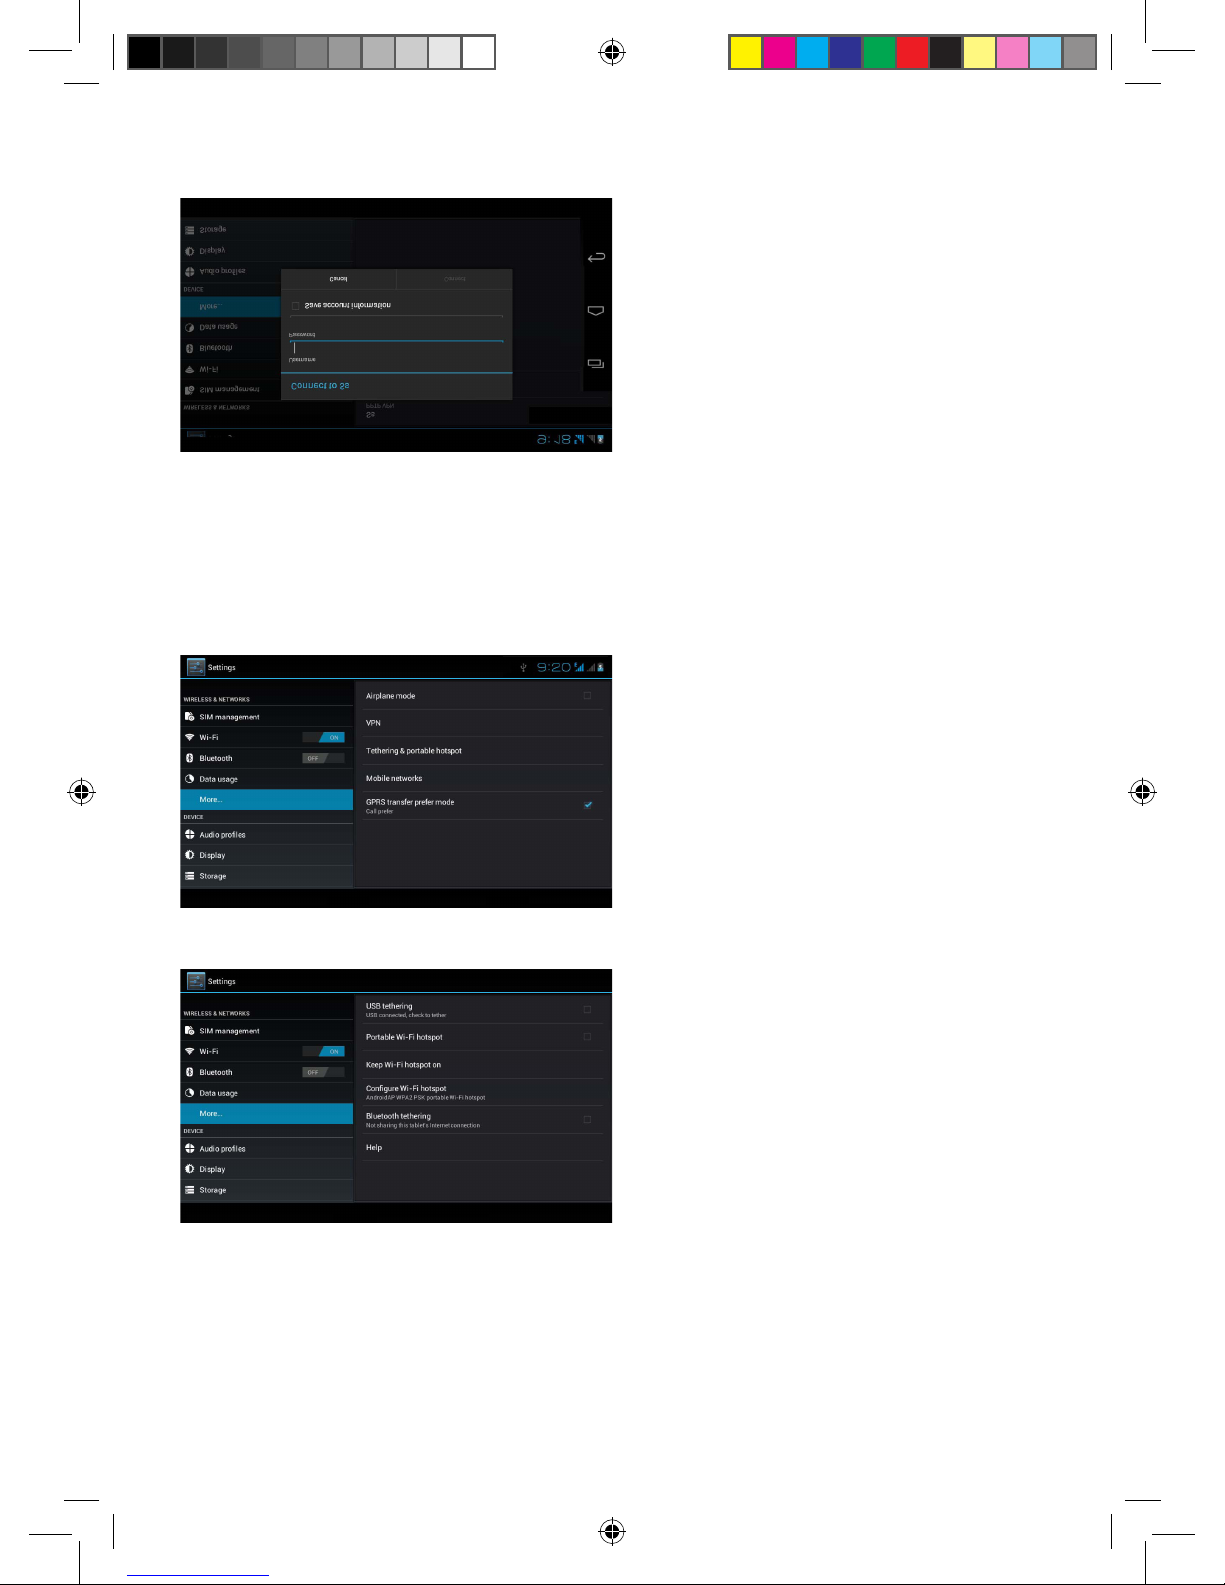
2. Add Network
1) Click icon in right top, as Picture 4.7
Picture 4.7
2) Input network SSID, the wireless network name, click save.
3) Click user name already saved, click connect to use network, as Picture 4.8
Picture 4.8
12
3. Network Notice
If you open Network Notice, when WIFI signal appears, the right bottom will
remind you available WLAN network, as Picture 4.6
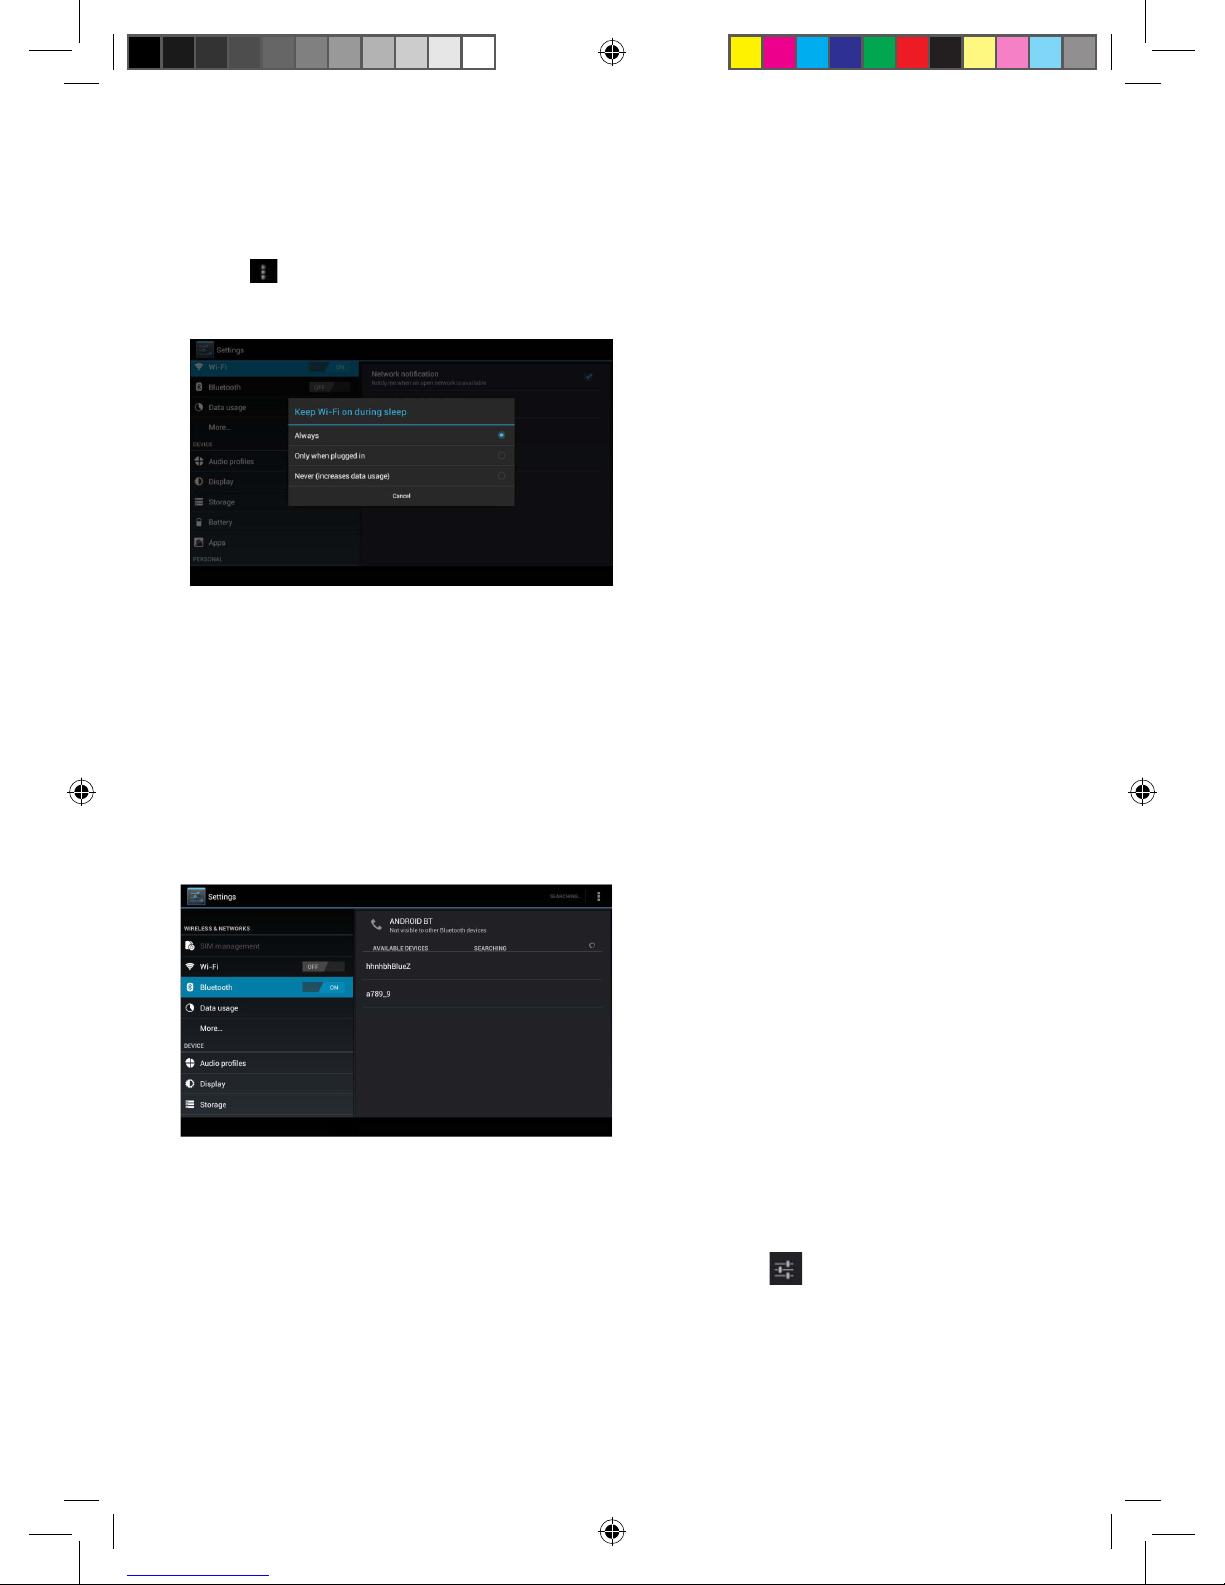
4. Keep WI-FI on during sleep..
1. Click icon in right top of Picture 4.8, select advanced.
2. Click Keep WI-FI on during sleep, as Picture 4.9
Picture 4.9
4.3 Bluetooth
Bluetooth function operation
1. Click setting application in main menu interface
2. Click bluetooth and open it.
3. If somebody open bluetooth in your surroudings, click search device in right above,
then TABLET will automatically search the bluetooth device nearby. As picture 4.10
Picture 4.10
4. Click the available Bluetooth device, it will popup request window, enter into related password,
and match the device to connect.
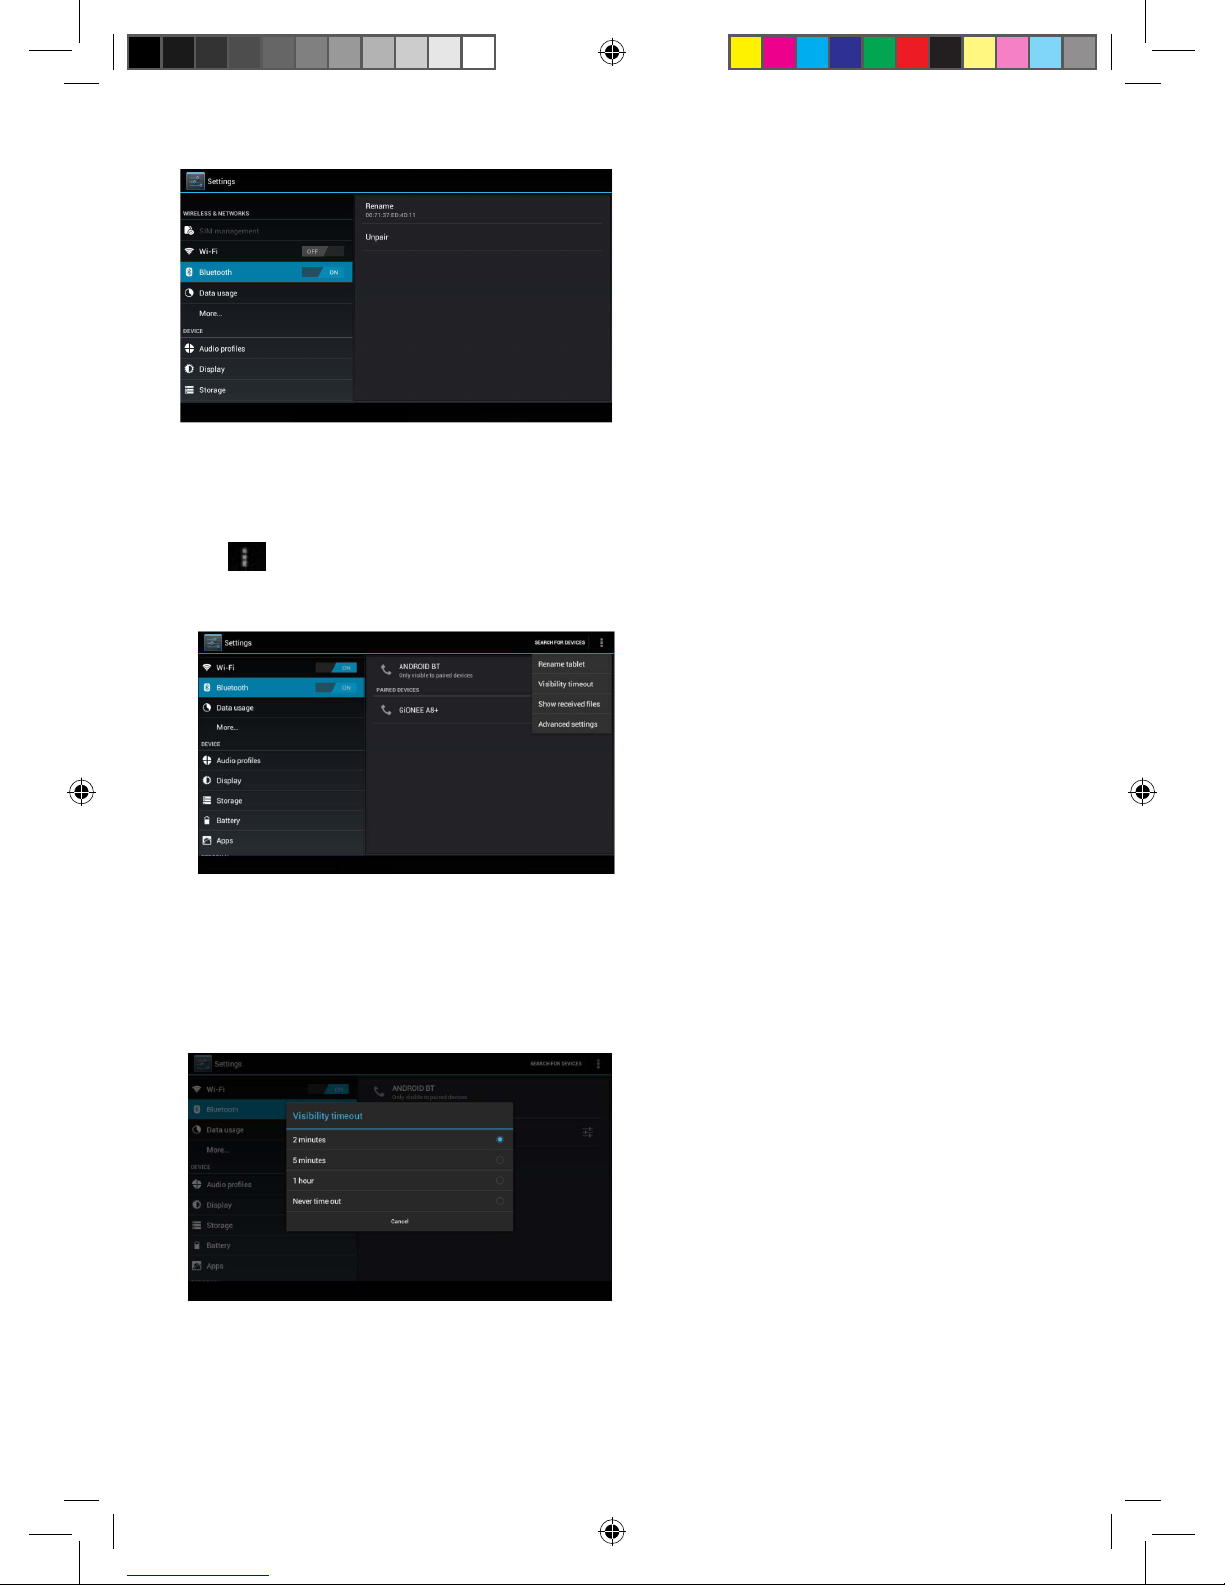
5. After match successfully, choose the operation you want to, click to enter into Picture 4.11.
13
Picture 4.11
Bluetooth setting
1. Rename tablet
Click icon in right top of Picture 4.10, as Picture 4.12, select rename tablet, you can rename it
as you want
Picture 4.12
2. Check visibility timeout
Select visibility timeout setting in Picture 4.12, choose the time you want to set, as Picture 4.13
(Note: check overtime setting is the time setting when Bluetooth is checked)
Picture 4.13
3. Display the le you received
Choose display the le you received in Picture 4.12, you can view download and upload les.

14
4. Bluetooth advanced setting
Choose Bluetooth advanced setting in Picture 4.12, enter into Picture 4.14
Picture 4.14
5. File transmission
Open le transmission service, Connect Bluetooth FTP and customer device to visit and operate
the le.
6. Bluetooth distance induction device
Open Bluetooth distance induction device, when two Bluetooth devices distance is quite far or
connection is cut off, the Bluetooth will remind you with sound.
4.4 More
4.4-1 Airplane Mode
Airplane Mode can turn off WIFI and GSM card function quickly, when airplane mode is turned
on, WIFI and GSM can’t get any signal, then airplane mode is turned off, WIFI and GSM module
will recover to previous state.
4.4-2 VPN
Open VPN, click add VPN network, as Picture 4.15. Input name and server address, then save.
Picture 4.15
15
Click VPN, as Picture 4.16, input VPN user name and password, click connect.
Picture 4.16
4.4-3 Network sharing and portable hot spots
Portable WI-FI hot spots
1. Click setting application in main menu.
2. Click more when wi is well connected, open network share and portable hot spot
Picture 4.17
Picture 4.18
3. Click keep WI-FI hot spots on, choose open time.
4. Return to previous menu, open portable WLAN hot spots, click congure WI-FI hot spots

16
Picture 4.19
5. Set passwords you want to, password should be more than 8 numbers.
4.5 Mobile Networks
1. 3G Service
Click 3G service, as Picture 4.20, choose available defaulted SIM card, GSM is 2G network,
WCDMA is 3G network.
Picture 4.20
Access Point Name( APN)
Click mobile network, as Picture 4.21
Picture 4.21

17
Choose access points name (APN), choose SIM card you need to connect,
Choose connect type, as Picture 4.22
Picture 4.22
Network Operator
Click network operator, choose SIM card you need to connect, system will search available GSM
and WCDMA network, as Picture 4.23
Picture 4.23
4.5.1 GPRS data prior mode
After Open GPRS data prior mode, systems will priority chooses your network.

18
4.6 Storage
Open setting function, click memory, click preferred install location, you can choose install new
application to choose preferred install location.
System storage: it is the space TABLET leave for system le, as Picture 4.27. it can’t be viewed.
Picture 4.27
Internal storage: it is internal storage is TABLET local NAND storage, as Picture 4.28, if you need to
check the storage content, you can check it in main menu.
Picture 4.28
SD card: You can check storage space, SD card available space, unmount SD card and erase SD
card, as Picture 4.29
Picture 4.29
Table of contents
Other Miia Tablet manuals


