Mikrona Re.Formance Series User manual
320.8779.02 / 1912
Re.Formance Line INSTRUCTION MANUAL 1912

2
Re.Formance Line Instruction manual
1. Overview ................................................................................................................................................................................................ 3
1.1 Re.Forma Hi. ................................................................................................................................................................................................. 3
1.2 Re.Forma ....................................................................................................................................................................................................... 3
1.3 Re.Forma Lite. ............................................................................................................................................................................................... 3
2. Notes ...................................................................................................................................................................................................... 4
2.1 Warranty / Liability ......................................................................................................................................................................................... 4
2.2 General information ...................................................................................................................................................................................... 4
3. Introduction ........................................................................................................................................................................................... 4
3.1 Definitions ...................................................................................................................................................................................................... 4
3.2 General warning ............................................................................................................................................................................................ 4
3.3 Documentation purpose ............................................................................................................................................................................... 5
3.4 Responsibility limitations .............................................................................................................................................................................. 5
3.5 Transport and storage ................................................................................................................................................................................... 5
3.6 Packing disposal ........................................................................................................................................................................................... 5
3.7 Working chair disposal ................................................................................................................................................................................. 5
4. Equipment description .......................................................................................................................................................................... 6
4.1 Intended use ................................................................................................................................................................................................. 6
4.2 Warranty ........................................................................................................................................................................................................ 6
4.3 Identification and labelling ............................................................................................................................................................................ 6
4.4 General features ............................................................................................................................................................................................ 7
4.5 Technical specifications ................................................................................................................................................................................ 7
5. Installation ............................................................................................................................................................................................. 8
5.1 Supply status ................................................................................................................................................................................................ 8
5.2 Unpacking ..................................................................................................................................................................................................... 8
6. Using the product ................................................................................................................................................................................. 8
6.1 Model Re.Forma ............................................................................................................................................................................................ 8
6.2 Model Re.Forma Lite. .................................................................................................................................................................................... 9
6.3 Model Re.Forma Hi. ...................................................................................................................................................................................... 9
7. Maintenance ........................................................................................................................................................................................ 10
7.1 Cleaning ...................................................................................................................................................................................................... 10
8. Accessories ......................................................................................................................................................................................... 11
8.1 Castors ........................................................................................................................................................................................................ 11
8.2 Footrest ring ................................................................................................................................................................................................ 11
8.3 Seat adjustment with foot plate control ...................................................................................................................................................... 11
8.4 Gas spring with different height ranges ...................................................................................................................................................... 11
Table of contents

3
Instruction manual
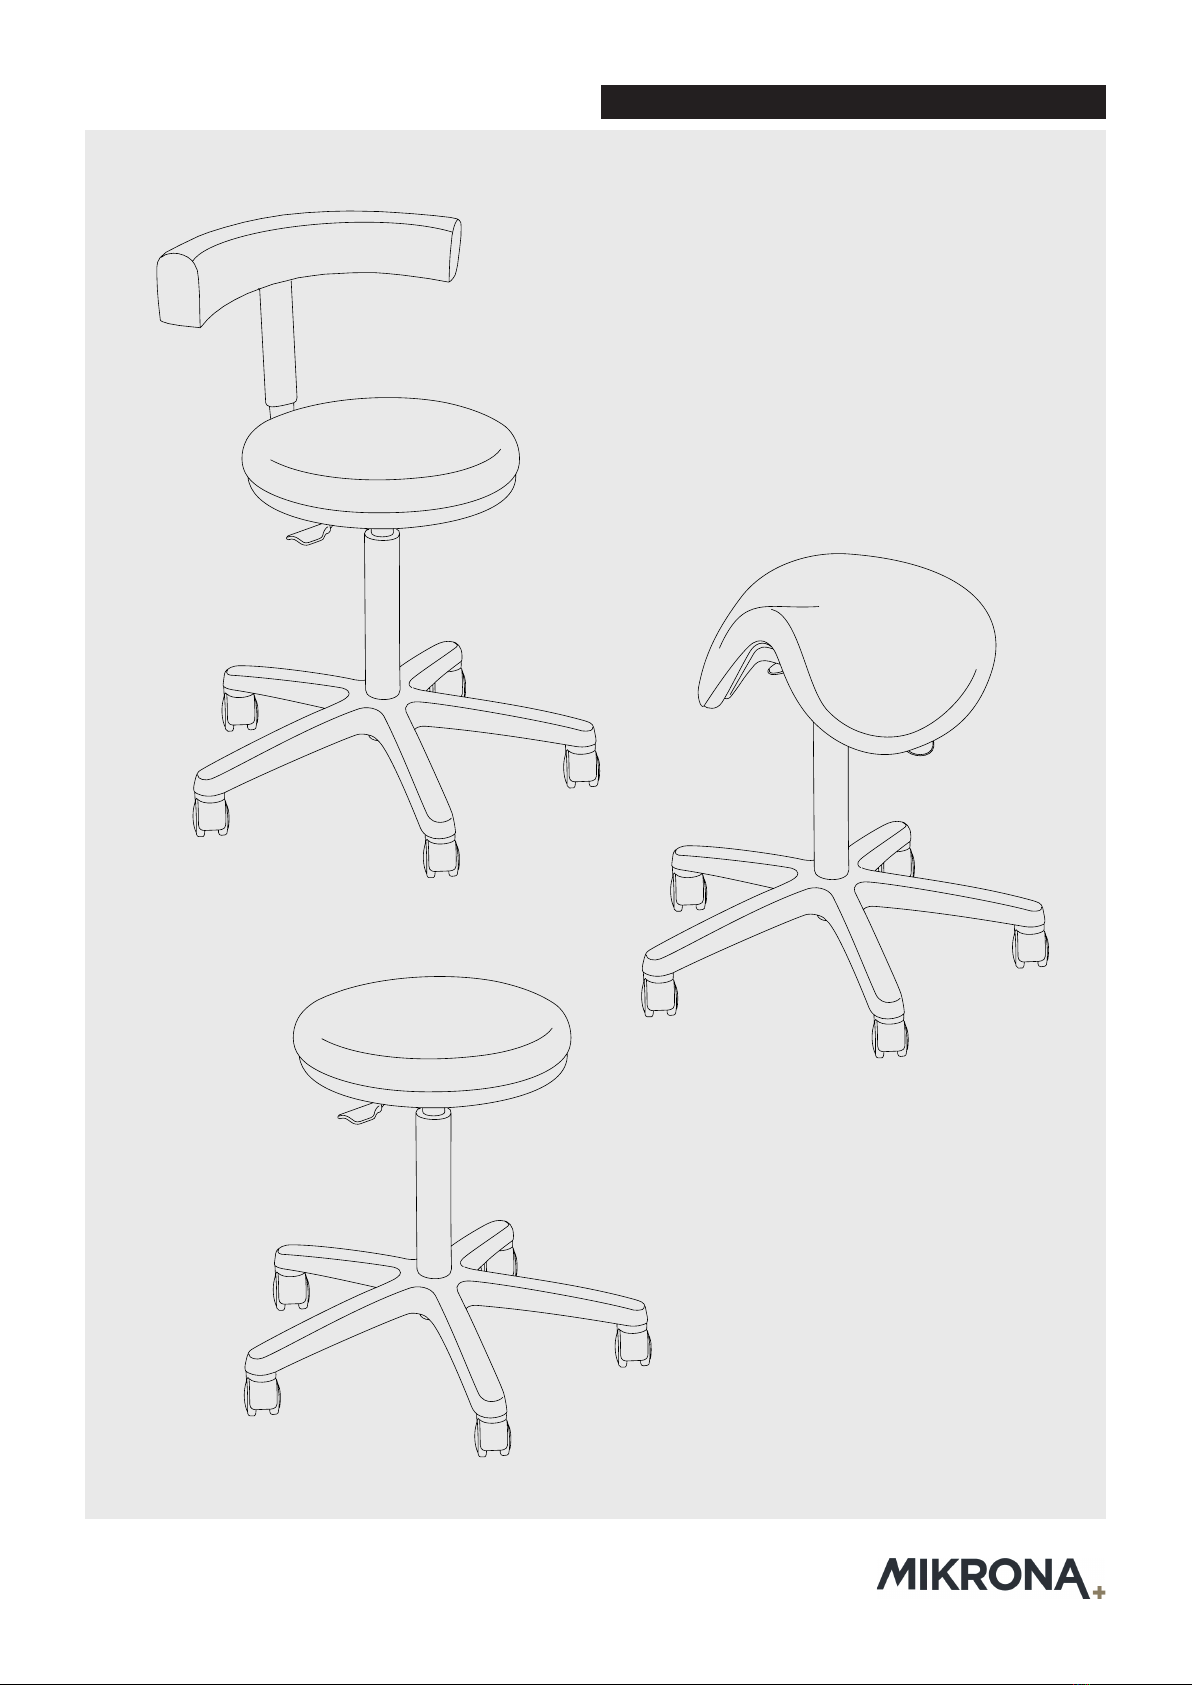
1. Overview
1.1 Re.Forma Hi.
Seat
1.2 Re.Forma
Lever
Base
Castor
Seat
Lever
Base
Castor
Backrest
1.3 Re.Forma Lite. Seat
Lever
Base
Castor
1.2 Re.Forma
1.3 Re.Forma Lite.
4
Re.Formance Line Instruction manual
The warranty and liability for defects shall be governed by the General
Terms and Conditions of Mikrona Technologie AG as of January 2016
(GTC). The GTC can be downloaded on the website of Mikrona Tech-
nologie AG (www.mikrona.com).
It is essential that this instruction manual be read by every user / ope-
rator before initially operating the working chair in order to prevent
faulty operation and other damages.
The warranty claims are governed by the GTC. Furthermore, it is re-
commended to pay attention to the recommendations and warnings
within the operating and maintenance instructions.
2. Notes
2.1 Warranty / Liability
3. Introduction
3.1 Definitions
2.2 General information This instruction manual is an integral part of the working chair. Always
keep it easily accessible in close range of the product. Compliance
with the operating instructions is condition to intended use and correct
operation of the working chair. Instruct new employees appropriately
and forward the operation manual to successors.
User / operator safety and failure-free operation of the working chair is
only provided when using original components. Only use accessories
that are listed in the operation manual or authorized by Mikrona Tech-
nologie AG for this particular purpose. The company Mikrona Tech-
nologie AG does not warrant secure operation and function if other
accessories are used. Related damages may not be claimed under
this warranty.
Important information in the operating instructions concerning the
safety of individuals and the device are highlighted with the following
terms and symbols:
Note
Contains important information, which should be highlighted with re-
spect to the text.
Caution / Warning
Before conducting certain procedures this message may be dis-
played. If not observed, it could cause damage to the operator and the
equipment.
3.2 General warning Upon user request, the manufacturer agrees to provide list of compo-
nent parts, calibration instructions or other information available, which
will assist the user’s technical personnel to conduct repairs to those
parts of the chair which are considered repairable by the manufacturer.
Warning
The manufacturer will accept responsibility for the safety, reliability and
performance of the equipment on the following conditions:
• The installation operations, modifications or repairs have been per-
formed by authorised personnel.
• The equipment is utilized in accordance with the operating instruc-
tions.
5
Instruction manual
3.3 Documentation purpose This manual shows the Re.Formance line working chair and contains
information regarding their correct use, functions, performances, main-
tenance, troubleshooting and corresponding solutions.
This manual is intended for the final user, the professional that uses
the equipment to perform his job.
3.4 Responsibility limitations The Manufacturer must be relieved of any responsibility in the fol-
lowing cases:
• Improper use or usage by untrained personnel for professional use
• Lack of maintenance or servicing
• Unauthorized modification or interventions
• Use of non-original spare parts, or not model-specific
• Failure to comply with the instructions (even partially)
• Exceptional events
3.5 Transport and storage The equipment, if contained in its original packaging, may be exposed
for a period of no more than 10 weeks to environmental conditions
within the following ranges:
Min Max
Environment temperature -5 °C +40 °C
Relative humidity
(condensation included)
10% 100%
Atmospheric pressure 500 hPa
(mbar)
1060 hPa
(mbar)
3.6 Packing disposal All materials used for packaging are recyclable and respect the envi-
ronment:
• Cardboard box
• Polythene film or bubblewrap
Please deliver the packing to an authorized landfill, for the recovery of
these materials.
3.7 Working chair disposal Working chair disposal does not present risk of any type.
For proper environmental safeguard, please deliver the working chair,
now out of order, to an authorized landfill collecting recyclable and
non-recyclable materials.

6
Re.Formance Line Instruction manual
4. Equipment description
4.1 Intended use The product described in this manual is a medical operator’s working
chair. It is intended to comply with the general requirements of a
medical practitioner or his assistant during medical examinations or
therapies (e.g. dental therapies, ENT, podiatry or gynaecology exami-
nations).
4.2 Warranty Note
Upholstery damage caused by contact with clothes or clothing acces-
sories (e.g. belts) having metal, sharp, pointed or similar parts will not
be replaced under warranty.
Caution
The use of disinfectants or detergents with a strong alcoholic con-
tent on the plastic components of the equipment may damage the
surface of the product.
4.3 Identification and labelling The working chair identification label is found outside the working
chair under the seat. Here you can find the working chair model, the
serial number and other information.
The figure shows the label position in the various versions and a fac-
simile.

7
Instruction manual
4.4 General features This chapter offers a full view of the main features of the Re.Formance
line working chair.
Moreover, it shows the main working chair versions, their components
and their corresponding accessories (see chapter 8).
Re.Forma
Re.Forma Lite
Re.Forma Hi
Swivelling base, black, on 5 non-braked castors
Saddle seat, adjustable in height and inclination
Round seat, adjustable in height
Symmetrical working chair, for use both on the right
and on the left side of the patient chair
Aluminium base, black
Aluminium base, chrome-plated
Seat adjustment with foot plate control
Castors with friction
Height adjustable footrest ring
Standard gas spring
Short gas spring
Backrest, adjustable in height
Backrest with integrated armrest
Legend
Basic feature
Feature not provided
Optional feature
4.5 Technical specifications The Re.Formance working chairs comply with Medical Device Directi-
ve 93/42/EEC and subsequent modifications.
Re.Forma
Re.Forma Lite
Re.Forma Hi
Swivelling base, external diameter mm 600 600 600
Seat height from the floor (min.) – with standard gas spring mm 545 545 500
Seat height from the floor (max.) – with standard gas spring mm 745 745 750
Seat height adjustment – with standard gas spring mm 200 200 200
Seat height from the floor (min.) – with short gas spring mm 415 415 420
Seat height from the floor (max.) – with short gas spring mm 500 500 505
Seat height adjustment – with short gas spring mm 85 85 85
Seat height from the floor (min.) – with standard gas spring and foot control mm 585 585 590
Seat height from the floor (max.) – with standard gas spring and foot control mm 685 685 690
Seat height adjustment – with standard gas spring and foot control mm 100 100 100
Seat height from the floor (min.) – with short gas spring and foot control mm 525 525 530
Seat height from the floor (max.) – with short gas spring and foot control mm 575 575 580
Seat height adjustment – with short gas spring and foot control mm 50 50 50
Seat tilting angles deq - - -8°/+6°
Seat width mm 380 380
450x350
Backrest height adjustment mm 60 - -
Gross Weight kg 18 13 13
Net Weight kg 13 8 8
Safe working load kg 135 135 135
Packing dimensions mm
620x620
x940(h)
620x620
x940(h)
620x620
x940(h)

8
Re.Formance Line Instruction manual
5. Installation
5.1 Supply status The following elements must be contained inside the packaging:
• A Re.Formance line working chair
• An operating instruction manual
In case of mistake or missing parts, contact the dealer to manage the
problem.
5.2 Unpacking To remove the packing, it is necessary to remove the staples, which
close the upper portion of the cardboard box.
It is recommended to take the working chair out of the cardboard box
by lifting it from the top, after having removed the polystyrene block,
which keeps the working chair in its correct packing position.
Once the plastic bag has been removed, the working chair is ready for
use.
6. Using the product
6.1 Model Re.Forma Description
It offers a wide circular seat adjustable in height and an ambidextrous
backrest. This characteristic makes it also suitable for a medical assis-
tant.
Controls
The figure shows the available controls for the Re.Forma working
chair. They consist essentially in a lever (H), placed under the seat,
and a knob (K) placed on the backrest.
Seat height adjustment
In order to adjust the working chair seat height in a comfortable way,
it is recommended to sit on the working chair and use your own body
weight.
• To lower the seat, keep pulled the lever H. The seat moves down-
wards under the operator’s body weight.
• To raise the seat, keep pulled the lever H while standing up to eli-
minate body weight pressure on the working chair. The seat moves
upwards.
Backrest height adjustment
In order to adjust the backrest height in a comfortable way, it is recom-
mended to operate from the back of the working chair.
• Grab the backrest.
• Press the knob K.
• Raise or lower the backrest to the desired position.
• Release the knob K.

9
Instruction manual
6.2 Model Re.Forma Lite. Description
The Re.Forma Lite is the simplest version among the three available
ones. It offers a wide circular seat adjustable in height.
Controls
The figure shows the available controls for the working chair. They
consist essentially in a lever (L), placed under the seat, that controls
the manual movements of seat height adjustment.
Seat height adjustment
In order to adjust the working chair seat height in a comfortable way, it
is recommended to sit on the working chair and to use your own body
weight.
• To lower the seat, keep pulled the lever L. The seat moves down-
wards under the operator’s body weight.
• To raise the seat, keep pulled the lever L while standing up to eli-
minate body weight pressure on the working chair. The seat moves
upwards.
6.3 Model Re.Forma Hi. Description
The Re.Forma Hi working chair was designed for all the practitioners
that need a correct posture of the vertebral column even without a
backrest supporting them. Seat tilt position adjustment allows to find a
suitable working position, and relax the vertebral column by transmit-
ting the weight directly to the legs instead of the lower back.
Controls
The figure shows the available controls for the working chair. They
consist of 2 levers (L1 and L2), placed under the seat, that control the
manual movements of the working chair itself.
To adjust the working chair in the most comfortable way, it is recom-
mended to sit on the working chair and to use your own body weight.
Seat height adjustment
• To lower the seat, keep pulled the lever L1. The seat moves down-
wards under the operator’s body weight.
• To raise the seat, keep pulled the lever L1 while standing up to eli-
minate body weight pressure on the working chair. The seat moves
upwards.
Seat tilt position adjustment
To adjust the seat tilt position in the most comfortable way, it is recom-
mended to sit on the working chair and to use your own body weight.
Then, follow these instructions:
• Keep the lever L2 pulled.
• Move your body weight along the seat to find the desired position.
• Release the lever L2.
10
Re.Formance Line Instruction manual
7. Maintenance
7.1 Cleaning
Re.Formance working chairs are made to require no maintenance du-
ring their life. Thus there are no specific adjustments to be carried out
at any time.
If the working chair is not used for some time, it is recommended to
cover it in order to protect it against dust.
Warning
It is recommended to have any technical adjustment as well as
any repair of the working chair carried out by specialized mainte-
nance technicians.
For a better and longer life of the equipment, it is necessary to perform
an accurate, methodical and periodical general cleaning of the wor-
king chair. It is recommended to proceed as follows.
Caution
The use of disinfectants or detergents with a strong alcoholic con-
tent on the plastic components of the apparatus may damage the
surface of the product. It is recommended to avoid the use of any
dissolvent, strong detergent or abrasive agent, even to remove
“tenacious” stains.
Upholsteries
The machined working chair upholstery has to be cleaned using a
non-alcoholic disinfectant and a soft cloth to avoid any surface scrat-
ching and to guarantee a better elasticity and smoothness of the
surface.
Plastic or metallic parts
The polyurethane parts, as well as the metal parts (painted and not
painted) have to be cleaned with a soft cloth dipped in water and
soap.

11
Instruction manual
8. Accessories
8.1 Castors The working chair can be equipped with various types of castors. The
basic version is provided with non-braked castors.
Castors with friction
Independently from other characteristics (black or chrome-plated, nor-
mal or anti-static wheels), upon request it is possible to mount castors
with friction. These castors allow the working chair to move only when
the operator is correctly seated on it, in order to guarantee maximum
safety and prevent the working chair rolling away from the operator
when sitting down.
8.2 Footrest ring Upon request at the moment of placing the order, the working
chair can be equipped with a footrest ring. Such footrest helps the
operator’s comfort, allowing him to vary the leg position while working.
The footrest has a lever that allows height adjustment. To adjust it,
proceed as follows:
• Unscrew the knob P at the centre of the ring.
• Set the desired footrest height.
• Tighten the knob P again.
8.3 Seat adjustment with foot plate control Upon request at the moment of placing the order, the working chair
can be equipped with a seat height adjustment via a foot control. In
order to adjust the working chair seat height in a comfortable way, it is
recommended to sit on the working chair and to use your own body
weight.
The footrest has a plate that allows height adjustment. To adjust it,
proceed as follows:
• To lower the seat, keep pushed the plate P downwards by
pressing on one side. The seat moves downwards under the
operator’s body weight.
• To raise the seat, keep pushed the plate P while standing up to
eliminate body weight pressure on the working chair. The seat
moves upwards.
Caution
Do not push the plate at two or more sides at the same time.
When the working chairs are provided with foot control, the lever that
controls seat height has no function.
8.4 Gas spring with different height ranges Re.Formance line working chairs can be equipped, upon request at
the moment of placing the order, with a shortened gas spring, in order
to suit the specific needs of some operators.

The manufacturer pursues a policy of continuous product development.
Therefore, it reserves all rights to change the technical and aesthetical characteristics of the product at any time.
MIKRONA TECHNOLOGIE AG Wiesenstrasse 36 | 8952 Schlieren | Switzerland
This manual suits for next models
3
Table of contents
Popular Indoor Furnishing manuals by other brands

fantastic furniture
fantastic furniture HAVANA Assembly instructions

LDI Spaces
LDI Spaces Safco 4214 Assembly instructions

modway
modway EEI-3342 Assembly instructions

LHFD
LHFD C1930023 Assembly instructions

Sensio
Sensio Gatsby SE30695P0 manual

Furniture of America
Furniture of America CM7966-M Assembly instructions


Steelcase
Steelcase Tableau-Run-offs Assembly Directions

Officeworks
Officeworks ND 21 Assembly instructions

Cooper Lighting
Cooper Lighting Nuage 301-IW Specification sheet

Nijpels Meubelen
Nijpels Meubelen Malaga 02SR 150 Assembly instructions

Sauder
Sauder Cannery Bridge 429510 manual

Pollard
Pollard 121 Assembly instructions