2 Safety instructions
Bestimmungsgemäßer Gebrauch
E-drum sets consist of a drum module and drum pads. The drum module converts the digital trigger signals from the drum pads
into various drum sounds. Use the unit only as described in this manual. Any other use or use under other operating conditions is
considered to be improper and may result in personal injury or property damage. No liability will be assumed for damages
resulting from improper use.
This device may be used only by persons with sucient physical, sensorial, and intel‐ lectual abilities and having corresponding
knowledge and experience. Other persons may use this device only if they are supervised or instructed by a person who is
responsible for their safety.
Safety
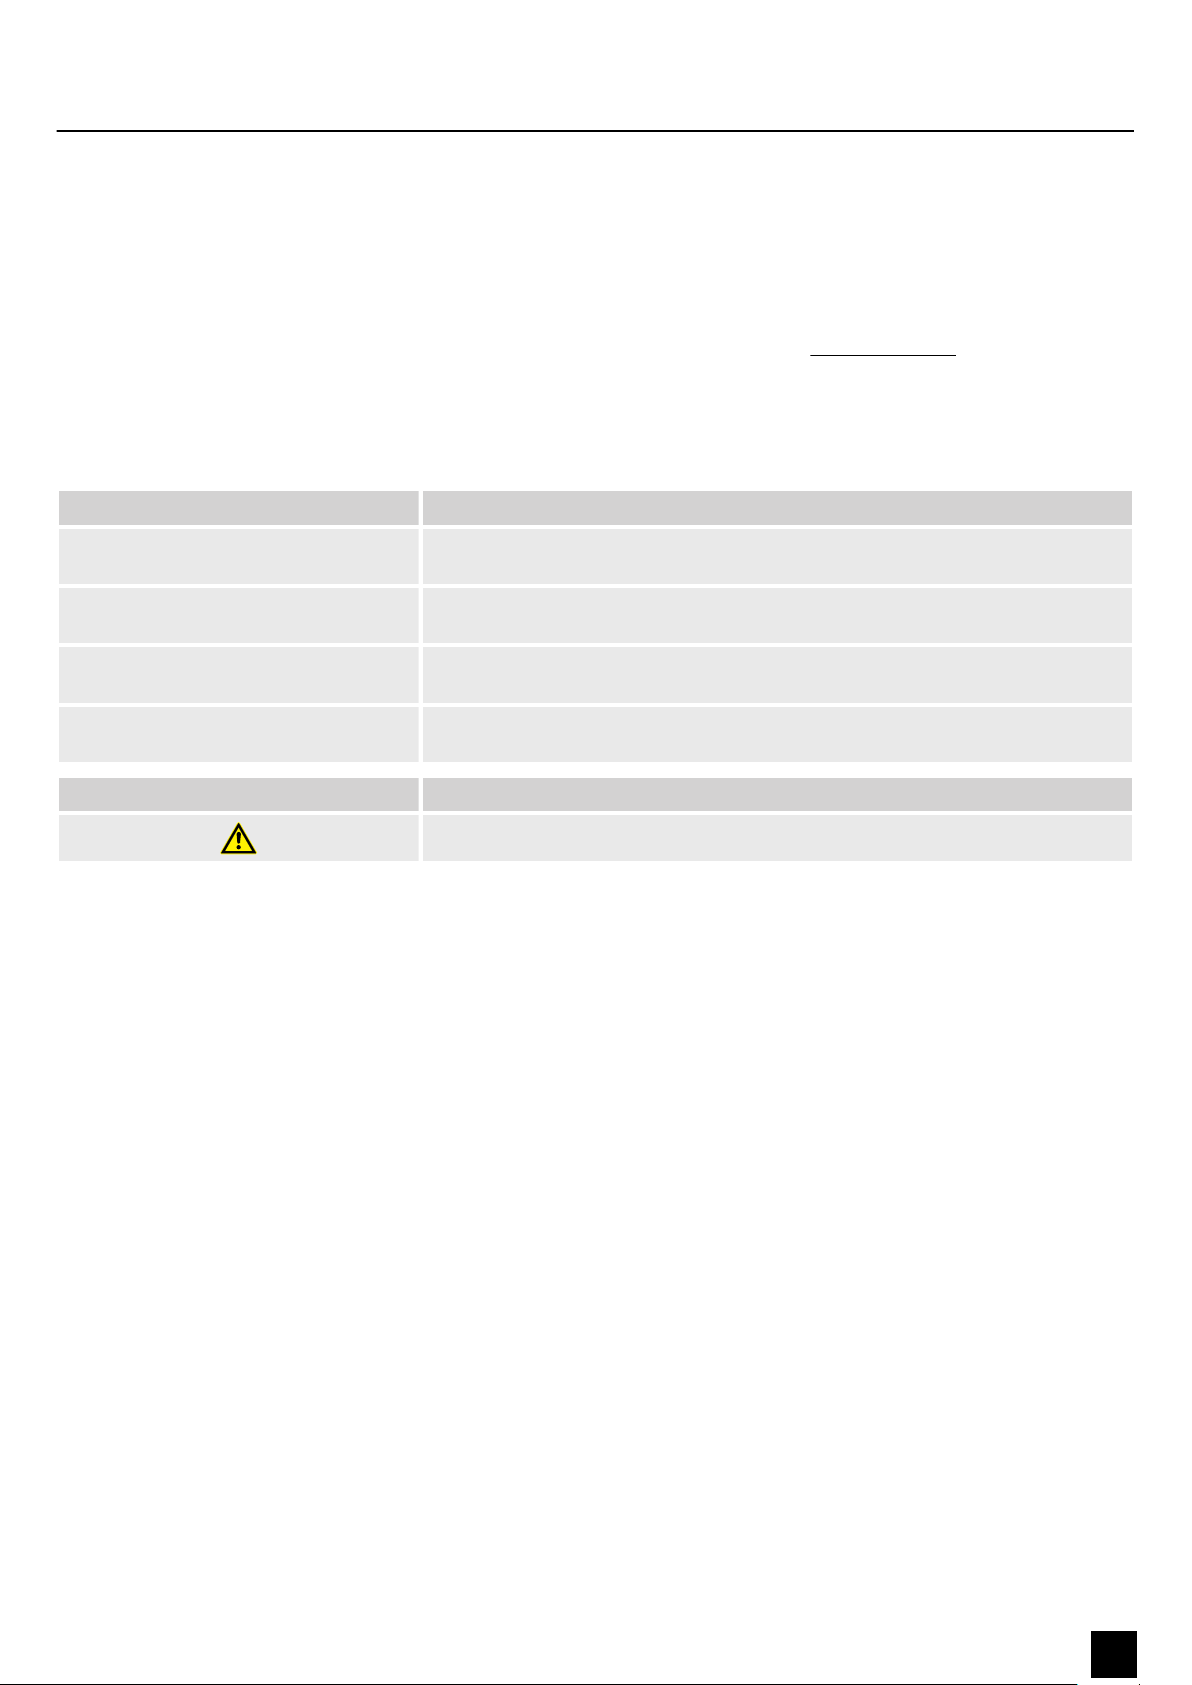
DANGER!
Risk of injury and choking hazard for children!
Children can suocate on packaging material and small parts. Children can injure themselves when handling the device. Never allow chil‐
dren to play with the packaging material and the device. Always store packaging material out of the reach of babies and small children.
Always dispose of packaging material properly when it is not in use. Never allow children to use the device without supervision. Keep small
parts away from children and make sure that the device does not shed any small parts (such knobs) that children could play with.
WARNING!
Possible hearing damage due to high volumes on speakers or headphones!
With speakers or headphones connected, the device can produce volume levels that may cause temporary or permanent hearing impair‐
ment. Over an extended period of time, even levels that seem to be uncritical can cause hearing damage. Do not operate the device perma‐
nently at a high volume level. Decrease the volume level immediately if you experience ringing in your ears or hearing impairment.
NOTICE!
Damage to the device if operated in unsuitable ambient conditions!
The device can be damaged if it is operated in unsuitable ambient conditions. Only operate the device indoors within the ambient condi‐
tions specied in the “Technical specications” chapter of this user manual. Avoid operating it in environments with direct sunlight, heavy
dirt and strong vibrations. Avoid operating it in environments with strong temperature uctuations. If temperature uctuations cannot be
avoided (for example after transport in low outside temperatures), do not switch on the device immediately. Never subject the device to
liquids or moisture. Never move the device to another location while it is in operation. In environments with increased dirt levels (for
example due to dust, smoke, nicotine or mist): Have the device cleaned by qualied specialists at regular intervals to prevent damage due
to overheating and other malfunctions.
NOTICE!
Damage to the external power supply due to high voltages!
The device is powered by an external power supply. The external power supply can be damaged if it is operated with the incorrect voltage
or if high voltage peaks occur. In the worst case, excess voltages can also cause a risk of injury and res. Make sure that the voltage speci‐
cation on the external power supply matches the local power grid before plugging in the power supply. Only operate the external power
supply from professionally installed mains sockets that are protected by a residual current circuit breaker (FI). As a precaution, disconnect
the power supply from the power grid when storms are approaching or it the device will not be used for a longer period.
NOTICE!
Possible staining due to plasticiser in rubber feet!
The plasticiser contained in the rubber feet of this product may react with the coating of the oor and cause permanent dark stains after
some time. If necessary, use a suitable mat or felt slide to prevent direct contact between the device’s rubber feet and the oor.
Safety instructions
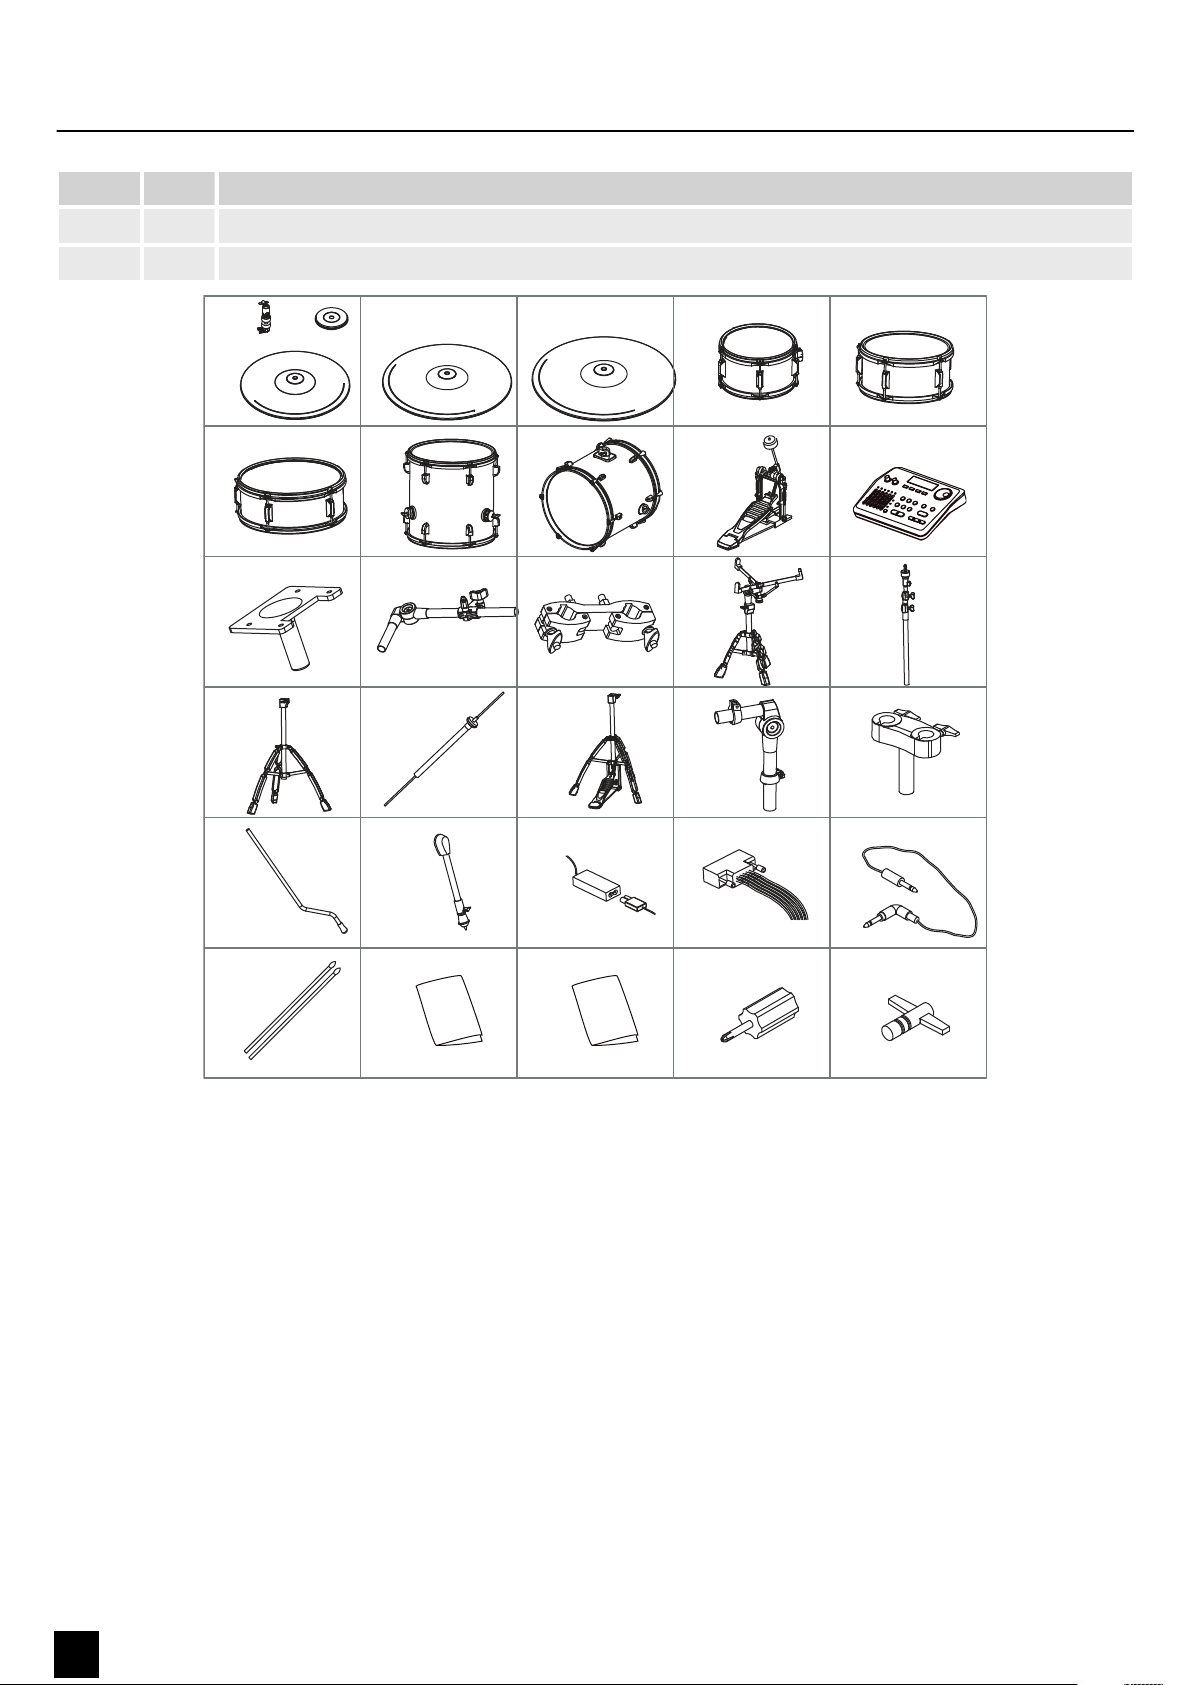
6MPS-750X PRO
E-Drum Set