manuals.online logo
Brands
  1. Home
  2. •
  3. Brands
  4. •
  5. MIMAKI
  6. •
  7. Printer
  8. •
  9. MIMAKI JVS4 Series User manual

MIMAKI JVS4 Series User manual

- 1 -
QUICK REFERENCE INK FILLING GUIDE
TYPES OF INK
•Be sure to use the inks and ink cartridges specified by MIMAKI.
•Water-soluble pigment ink [Pigcm]
•Water-soluble pigment ink [PigOG]
•Water-soluble dye ink [Dye]
•Disperse dye ink [Sub]
FILLING INK FOR THE FIRST TIME AFTER PURCHASE OF PLOTTER
INITIAL SETTING OF INKS
1. Turn the power on.
After the initial operation, the device displays the type of ink set in
each ink station.
2. By pushing the JOG keys [ ] and [ ], specify the
type of ink set in the R-row ink station.
[Pigcm] Water-soluble pigment ink (light cyan, light magenta)
[PigOG] Water-soluble pigment ink (Orange, Green)
[Dye] Water-soluble dye ink
[Sub] Disperse dye ink
3. Move the cursor by pushing the JOG keys
[] and [ ].
4. By pushing the JOG keys [ ] and [ ], specify the
type of ink set in the F-row ink station.
5. Press the [ENTER] key.
6. Insert the ink cartridges into the ink stations.
Align two projecting portions of the ink cartridge with rails on the ink
stations. Once the ink cartridge is inserted to reach the normal
position, the buzzer will sound.
Insert the respective ink cartridges into the corresponding ink
stations.
7. The print head is automatically filled with ink.
8. Once the ink-filling procedure completes, the
device enters the LOCAL mode.
INK TYPE
R : Pigcm F : Dye
INK TYPE
R : Dye F : Dye
INK TYPE
R : Dye F: Dye
INK TYPE
R : Dye F : Pigcm
CARTRIDGES SET
FILL UP
<< LOCAL >>
D200588
- 2 -
REPLACING INK WITH INK OF THE SAME TYPE
WHEN THERE IS A SMALL AMOUNT OF INK
•When the amount of ink becomes small during
plotting.
The amount of ink of the color indicated is running out. Set a new ink
cartridge of K (black) in the R-row ink station.
•When the amount of ink completely runs out during
plotting.
The amount of ink of the color indicated has completely run out.Set a
new ink cartridge of C (Cyan) in the F-row ink station.
1. Either of the messages shown above is displayed
on the LCD during plotting.
The plotting operation is not interrupted even when “Near End” is
displayed. Proceed to Step 2 at the end of the plotting operation.
If “Ink End” is displayed, the carriage stops during the plotting
operation. In this case, the plotting operation is interrupted.
2. Install a new ink cartridge.
Pull out the ink cartridge of the indicated color and then load a new
ink cartridge.
3. When the ink cartridge has been loaded, drawing is
possible again.
REPLACING INK WITH INK OF A DIFFERENT TYPE
• • • EMPTY OUT WASTE INK TANK BEFORE REPLACEMENT.• • •
1. Cause the display to give the indication "LOCAL".
2. Press the [ENTER] key.
3. Press the [ ] and [ ] key until the display gives the
indication [INK CHANGE].
4. Press the [ENTER] key.
Specify the type of ink to be filled in the left ink station.
5. Set the type of ink to be filled in the R-row ink
station by pushing the JOG keys [ ] and [ ].
6. Set the type of ink to be filled in the F-row ink. sta-
tion by pushing the JOG keys[ ], [ ], [ ] and [ ].
7. Press the [ENTER] key.
8. Take out the changing ink cartridge from the ink
station.
Discharge of the filled ink is started.
9. Install the washing Liquid cartridge.
Load the Washing Liquid cartridge at the position of the ink dis-
charged in step 8. Washing is started automatically.
10. Take out the washing liquid cartridge from the ink
station.
Discharge of the washing liquid is started.
11. Repeat steps 9 and 10.
12. Install new ink cartridges.
Filling of ink is started automatically.
When filling of ink is completed, [INK CHANGE] is ended.
13. Press the [END] key twice, and the menu returns to
the LOCAL mode.
< LOCAL > INKnearEND
K - - - - - - - - - - -
< LOCAL > INKEND
- - - - - - - C - - - -
FUNCTION
MAINTENANCE < ENT >
MAINTENANCE
LIST < ent >
MAINTENANCE
INK CHANGE < ent >
Ink Type
R : Pigcm F : Pigcm
Ink Type
R : Dye F : Pigcm
Ink Type
R : Dye F : Pigcm
WASH
REMOVE CARTRIGE
WASH
P L E A S E W A I T
WASH
S E T C L E A N T O O L
WASH
R E M O V E T O O L
WASHING
P L E A S E W A I T
CARTRIDGE SET
KCMYcm - - - - - -
<< LOCAL >>
width : 1272mm
- 3 -
SETTING FOR 1-WAY HIGH-SPEED PLOTTING R-ROW=F-ROW (SAME SETS)
Loading cartridges of the same type in R-row and F-row ink stations.
1. High-speed plotting using water-soluble pigment ink (Light set)
2. High-speed plotting using water-soluble pigment ink (Orange, Green set)
3. High-speed plotting using Water-soluble dye ink
4. High-speed plotting using Disperse dye ink
SETTING FOR 2-WAY MULTI-PLOTTING R-ROW
≠
F-ROW (DIFFERENT SETS)
Loading cartridges of the different type in R-row and F-row ink stations.
1. Setting water-soluble pigment ink (Light set) and water-soluble pigment
ink (Orange, Green set)
2. Setting water-soluble pigment ink (Light set) and water-soluble dye ink
3. Setting water-soluble pigment ink (Orange, Green set) and water-soluble
dye ink
4. Setting water-soluble pigment ink (Light set) and Disperse dye ink
5. Setting water-soluble pigment ink (Orange, Green set) and Disperse dye
ink
6. Setting water-soluble dye ink and Disperse dye ink
- 4 -
TO CONTINUE PLOTTING EVEN WHEN THE INK RUNS OUT DURING PLOTTING
[PRINT CONT.] FOR 1-WAY HIGH-SPEED PLOTTING
Even if the ink in one ink station runs out during plotting, this function permits the current plotting
operation to be continued without interruption by using the other ink station.
1. Select a type.
1. Press the [FUNCTION] key.
2. Press the [ENTER] key.
3. Select any Type1 through 4 by pushing the JOG keys [ ] and
[].
2. Press the [ENTER] key.
3. Press the [ ] and [ ] key until the display gives the
indication [PRINT CONT.].
4. Press the [ENTER] key.
5. Set a PRINT CONT. by pushing the JOG keys [ ]
and [ ].
Here, select ON.
6. Press the [ENTER] key.
7. Push the [END] key twice, and the menu returns to
the LOCAL mode.
SETTING THE TYPE OF INK TO BE USED [INKTYPE] FOR 2-WAY MULTI-PLOTTING
This function selects the type of ink that is to be used.
1. Select a type.
1. Press the [FUNCTION] key.
2. Press the [ENTER] key.
3. Select any Type1 through 4 by pushing the JOG keys [ ] and
[].
2. Press the [ENTER] key.
3. Press the [ ] and [ ] key until the display gives the
indication [INKTYPE].
4. Press the [ENTER] key.
5. Set a type of ink to be used by pushing the JOG
keys [ ] and [ ] .
Here, select Dye.
6. Press the [ENTER] key.
7. Push the [END] key twice, and the menu returns to
the LOCAL mode.
FUNCTION
SET UP <ENT>
SET UP
SELECT : TYPE.1
TYPE.1
PRINT MODE < ent >
TYPE.1
PRINT CONT. < ent >
TYPE.1
PRINT CONT. : OFF
TYPE.1
PRINT CONT. : ON
TYPE.1
PRINT CONT. < ent >
<< LOCAL >>
width : 1272mm
FUNCTION
SET UP <ENT>
SET UP
SELECT : TYPE.1
TYPE.1
PRINT MODE < ent >
TYPE.1
INKTYPE < ent >
TYPE.1
INKTYPE : Pigcm
TYPE.1
INKTYPE : D y e
TYPE.1
INKTYPE < ent >
<< LOCAL >>
width : 1272mm
- 5 -
MENU TREE
[FUNCTION] TYPE1 to 4 PRINT MODE QUALITY STANDARD, FINE, HIGHspd
SET UP EXTEND 360 >720 OFF, ON 720 >1440 OFF, ON
DIRECTION PRINT : UNI-D, BI-D
INK LAYERS 1 to 9
DRYING TIME EACH LINE : 0.0s to 9.9s BEFORE Autcut : 0s to 999s
AUTO CUT OFF, ON
PRIORITY PLOT MODE : HOST, PLOT INK LAYERS : HOST, PLOT
DRYING TIME : HOST, PLOT AUTO CUT : HOST, PLOT
INK TYPE : HOST, PLOT REFRESH : HOST, PLOT
MEDIA COMP. : HOST, PLOT
MARGIN RIGHTmargin -9 to 95mm
LEFTmargin -9 to 95mm
REFRESH LEVEL 0 to 3
MEDIA SET SET SELECT, WIDTH
BOAD OFF, ON
VACUME STANDARD, LOW
MM/INCH INCH, MM
INK TYPE Pigcm, PigOG, Dye, Sub
MODE STAMP OFF, ON
ARTWORKmode OFF, ON
AUTO CLEANING OFF, ON
PRINT CONT. OFF, ON
MEDIA COMP. -500 to 500
SETUP RESET RESET
[FUNCTION] LIST
MAINTENANCE
DATE DUMP
PRINT adjust PRINT START Adjust Pattern TYPE1 to 7
ADJUST VALUE -15 to 15
STATION CARRIAGEout
WIPER EXCHG
HEAD HEIGH
ARTWORKtest PATTERN : NOZZLE
PATTERN : 100% STD1 to 3 NORMAL1 to 3
FILL UP INK Select Head Loading operation
INK CHANGE Pigcm, PigOG, Dye, Sub
USE HEAD ALL, FRONT, REAR
[FUNCTION] English, Japanese, Portuguese, Italian, Spanish, French, German
DISPLAY
- 6 -
Printed in Japan
©MIMAKI ENGINEERING Co., Ltd.
D200588-1.10-28012002

Other MIMAKI Printer manuals

MIMAKI UJV100-160 Installation instructions

MIMAKI

MIMAKI UJV100-160 Installation instructions

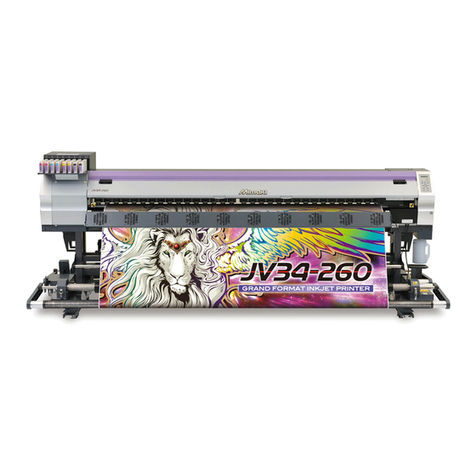
MIMAKI JV34-260 User manual

MIMAKI

MIMAKI JV34-260 User manual

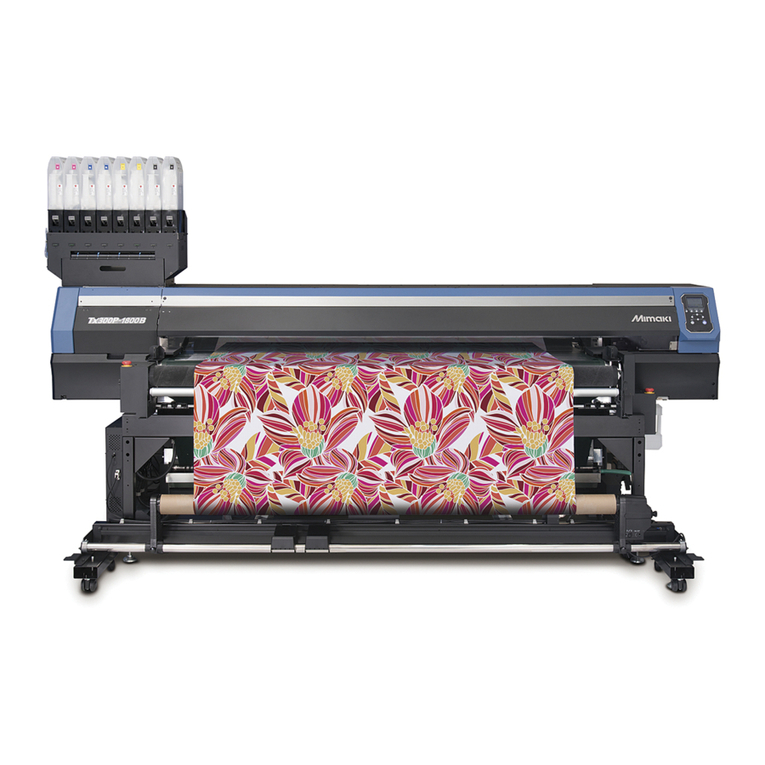
MIMAKI Tx300P-1800B Maintenance manual

MIMAKI

MIMAKI Tx300P-1800B Maintenance manual

MIMAKI JV5-320S User manual

MIMAKI

MIMAKI JV5-320S User manual

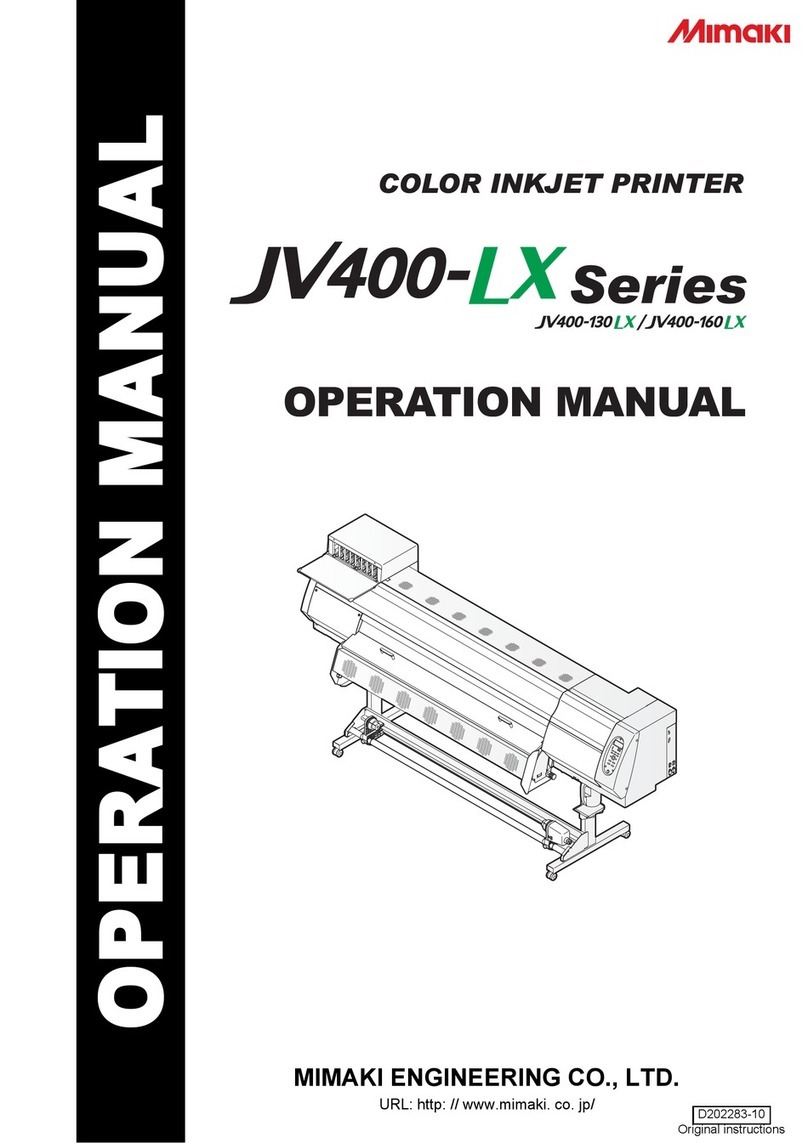
MIMAKI JV400-LX User manual

MIMAKI

MIMAKI JV400-LX User manual

MIMAKI TS34-1800A User manual

MIMAKI

MIMAKI TS34-1800A User manual

MIMAKI UJF-A3MkII Series User manual

MIMAKI

MIMAKI UJF-A3MkII Series User manual

MIMAKI JV400-SUV-160 User manual

MIMAKI

MIMAKI JV400-SUV-160 User manual

MIMAKI JV3-160SP Owner's manual

MIMAKI

MIMAKI JV3-160SP Owner's manual

MIMAKI jv34 series Installation and operation manual

MIMAKI

MIMAKI jv34 series Installation and operation manual

MIMAKI JV33-160A Operating manual

MIMAKI

MIMAKI JV33-160A Operating manual

MIMAKI JV100 Maintenance manual

MIMAKI

MIMAKI JV100 Maintenance manual

MIMAKI TX300P-1800 Maintenance manual

MIMAKI

MIMAKI TX300P-1800 Maintenance manual

MIMAKI CJV150 series Technical manual

MIMAKI

MIMAKI CJV150 series Technical manual

MIMAKI UJF-3042 MkII User manual

MIMAKI

MIMAKI UJF-3042 MkII User manual

MIMAKI UJV100-160 User manual

MIMAKI

MIMAKI UJV100-160 User manual

MIMAKI TS30-1300 User manual

MIMAKI

MIMAKI TS30-1300 User manual

MIMAKI ML Tiger-1800B MKII User manual

MIMAKI

MIMAKI ML Tiger-1800B MKII User manual

MIMAKI JV330 Series Maintenance manual

MIMAKI

MIMAKI JV330 Series Maintenance manual

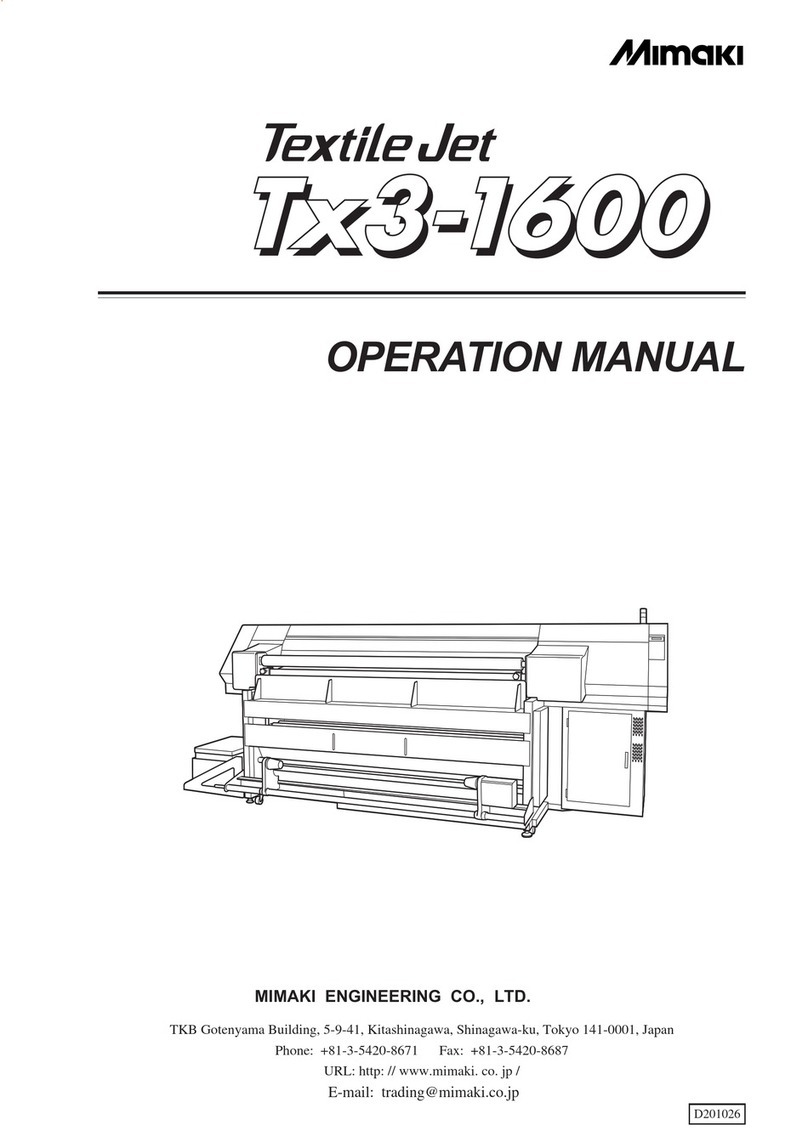
MIMAKI Textile Jet Tx3-1600 User manual

MIMAKI

MIMAKI Textile Jet Tx3-1600 User manual

MIMAKI SIJ-320UV Maintenance manual

MIMAKI

MIMAKI SIJ-320UV Maintenance manual

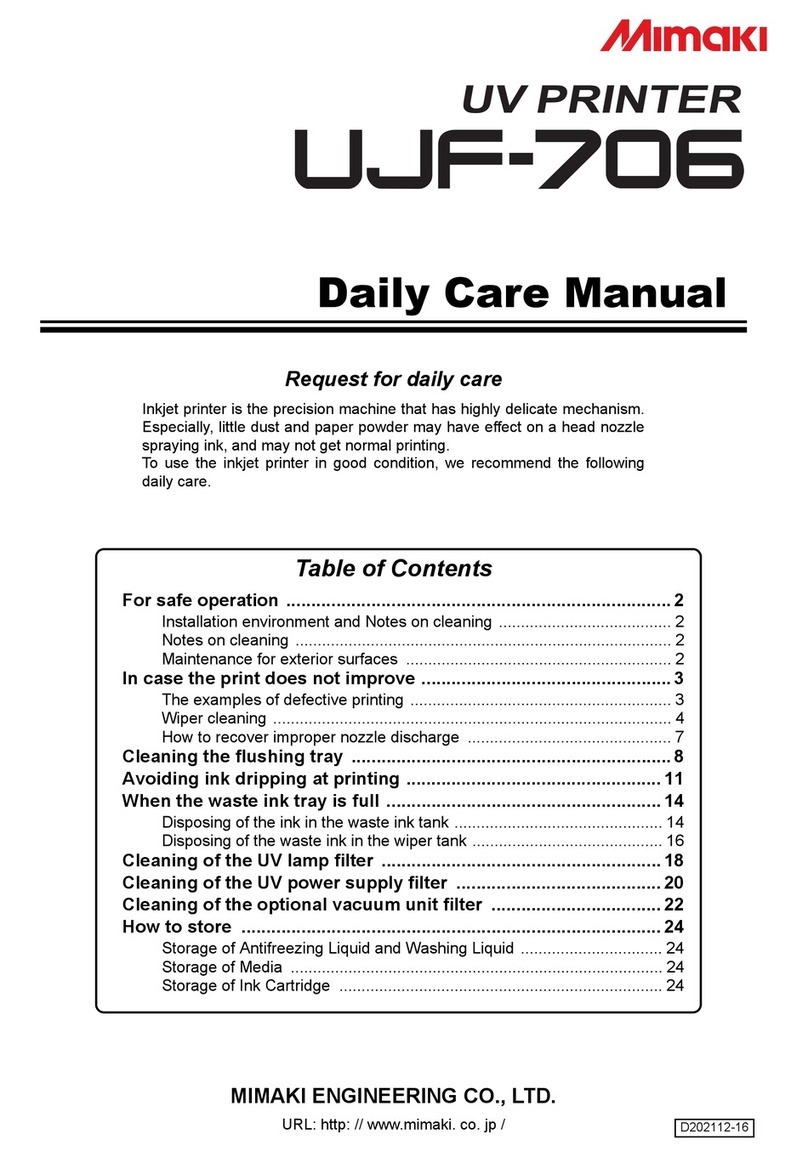
MIMAKI UJF-706 User manual

MIMAKI

MIMAKI UJF-706 User manual

MIMAKI JV34-260 User manual

MIMAKI

MIMAKI JV34-260 User manual

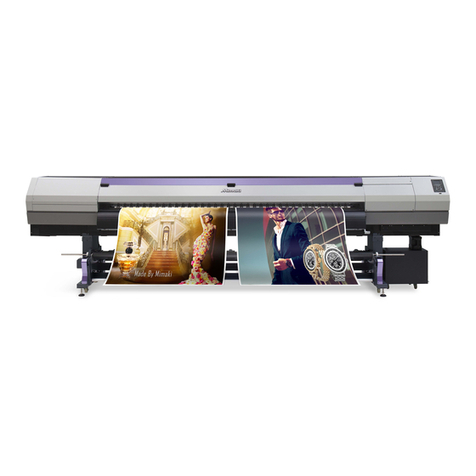
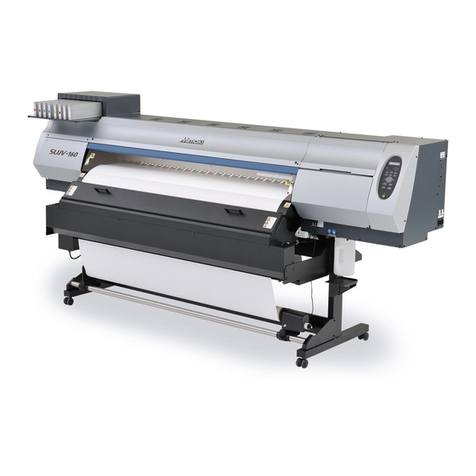
MIMAKI SUJV-160 Maintenance manual

MIMAKI

MIMAKI SUJV-160 Maintenance manual

Popular Printer manuals by other brands

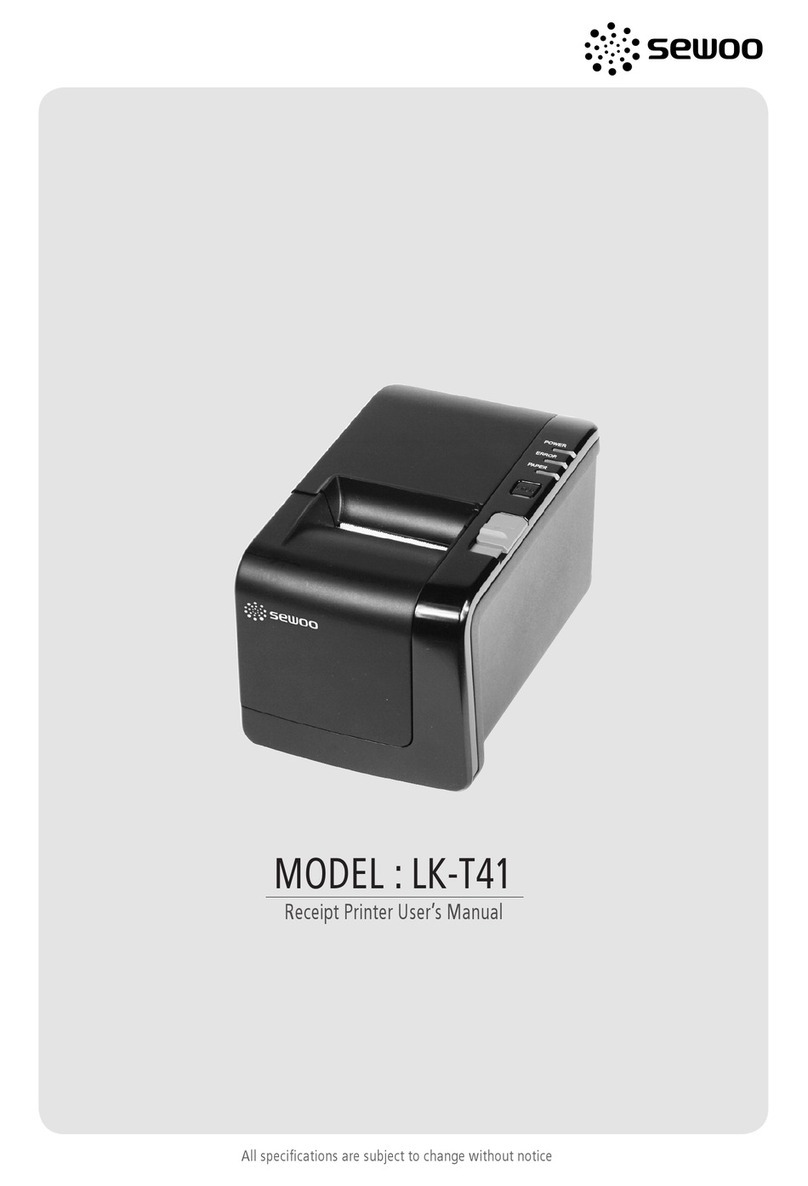
SEWOO LK-T41 user manual

SEWOO

SEWOO LK-T41 user manual

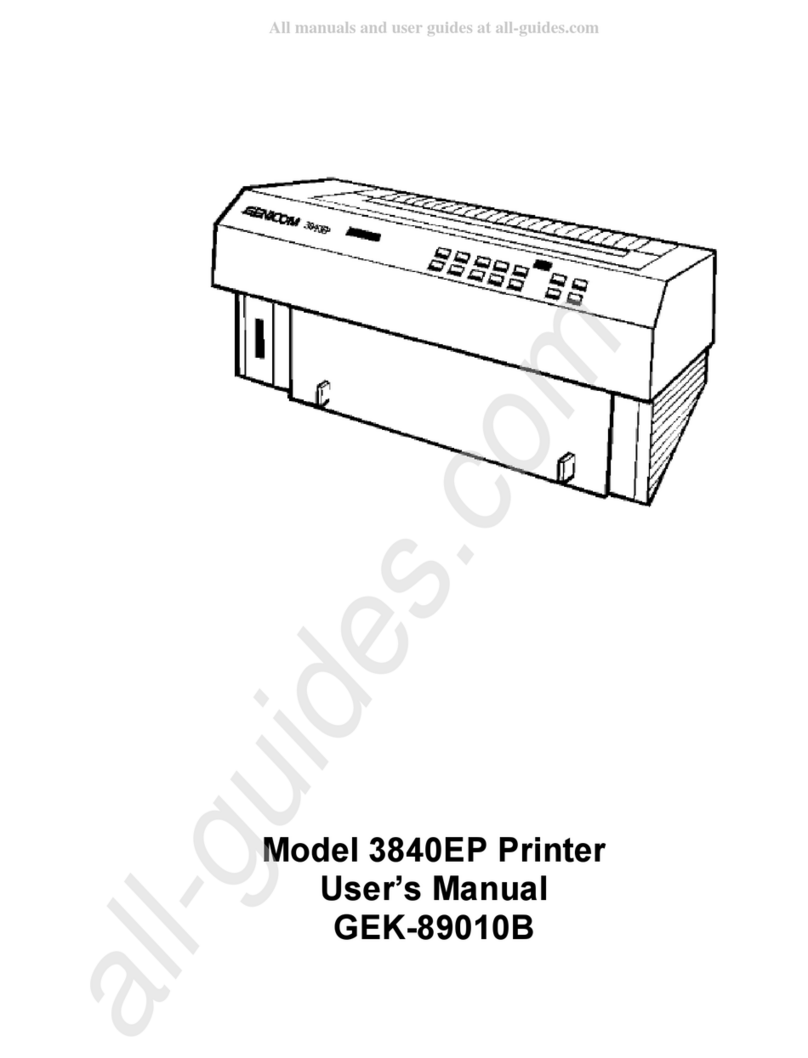
Gencom 3840EP user manual

Gencom

Gencom 3840EP user manual

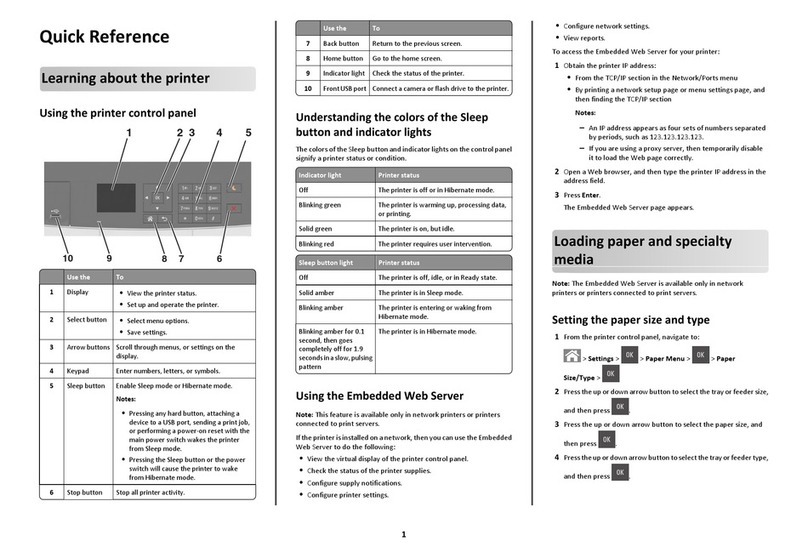
Lexmark CS410 series Quick reference guide

Lexmark

Lexmark CS410 series Quick reference guide

Evolis Elypso user guide

Evolis

Evolis Elypso user guide

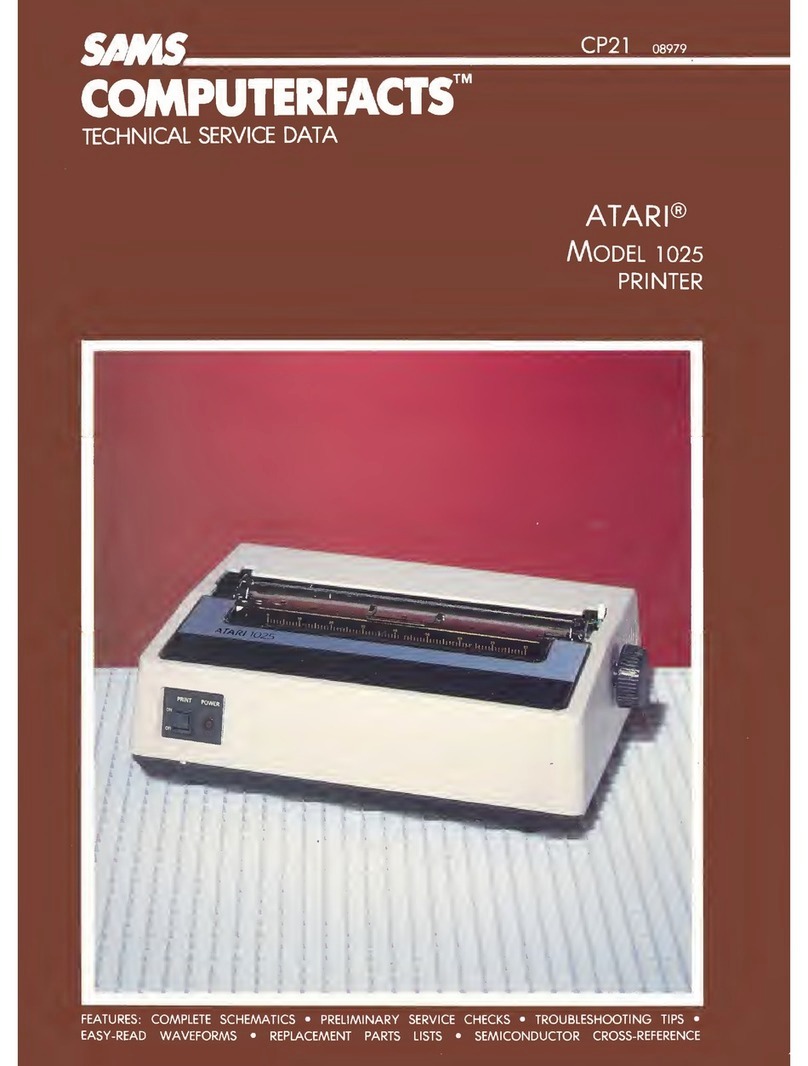
Atari 1025 Technical service data

Atari

Atari 1025 Technical service data

Lexmark Z2400 Series user guide

Lexmark

Lexmark Z2400 Series user guide

LabelTac Pro X user manual

LabelTac

LabelTac Pro X user manual

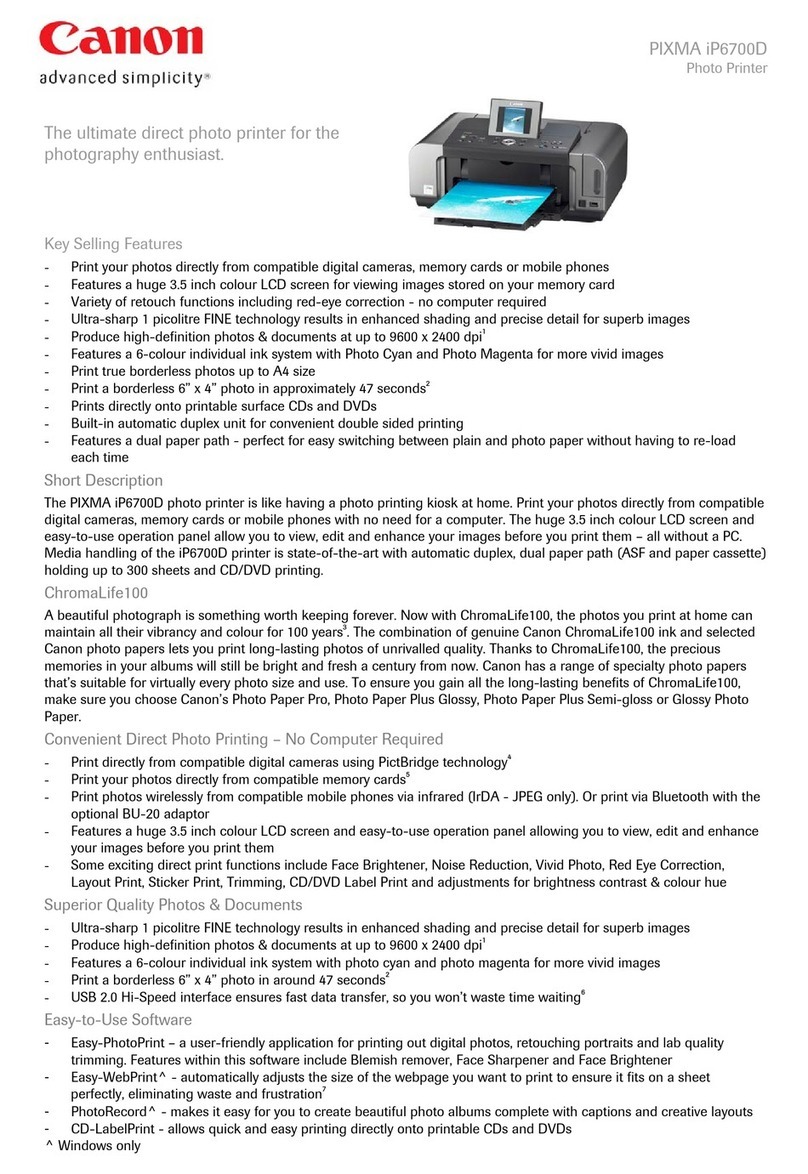
Canon iP6700D - PIXMA Color Inkjet Printer Specifications

Canon

Canon iP6700D - PIXMA Color Inkjet Printer Specifications

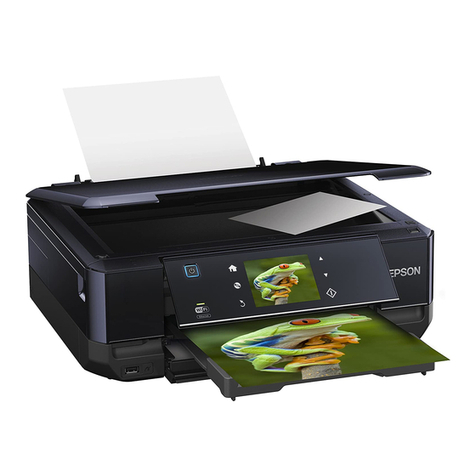
Epson Expression Photo XP-750 Basic guide

Epson

Epson Expression Photo XP-750 Basic guide

Roland SOLJET Pro III XC-540 Service notes

Roland

Roland SOLJET Pro III XC-540 Service notes

Epson DFX-5000+ Service manual

Epson

Epson DFX-5000+ Service manual

Lexmark CS510 Series Specfications

Lexmark

Lexmark CS510 Series Specfications

Canon PIXMA MX340 Series Simplified service manual

Canon

Canon PIXMA MX340 Series Simplified service manual

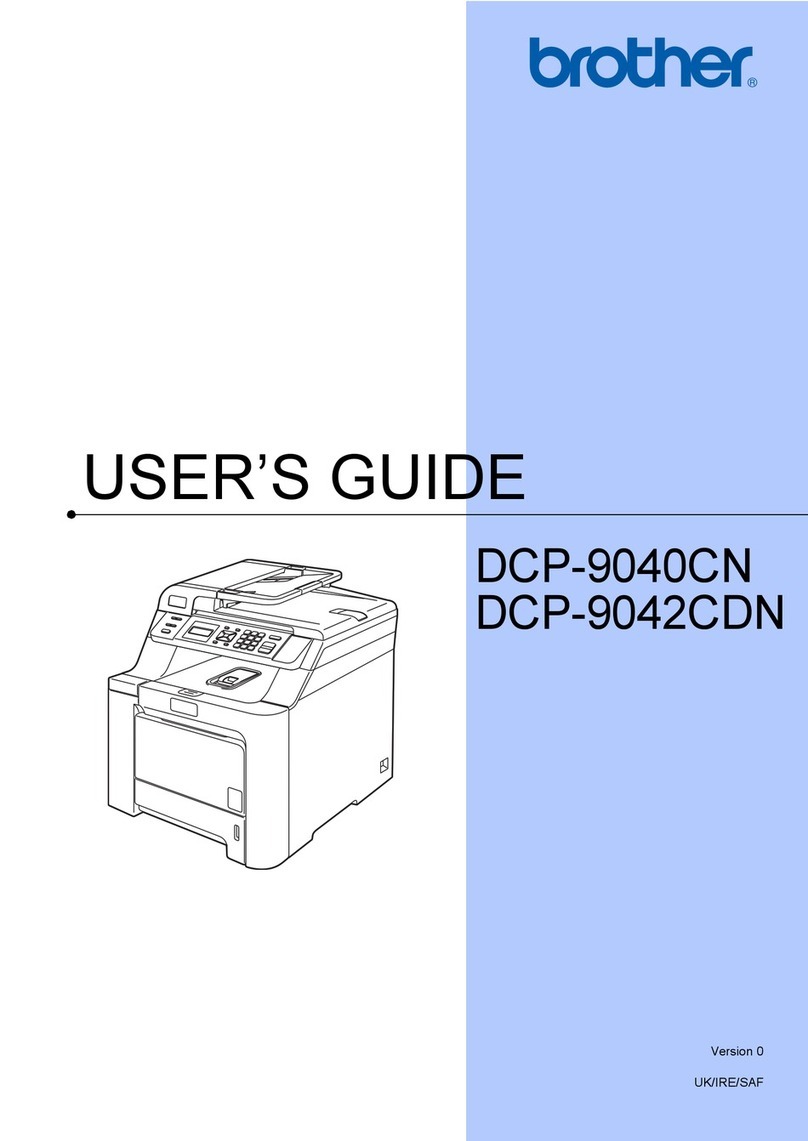
Brother DCP-9042CDN user guide

Brother

Brother DCP-9042CDN user guide

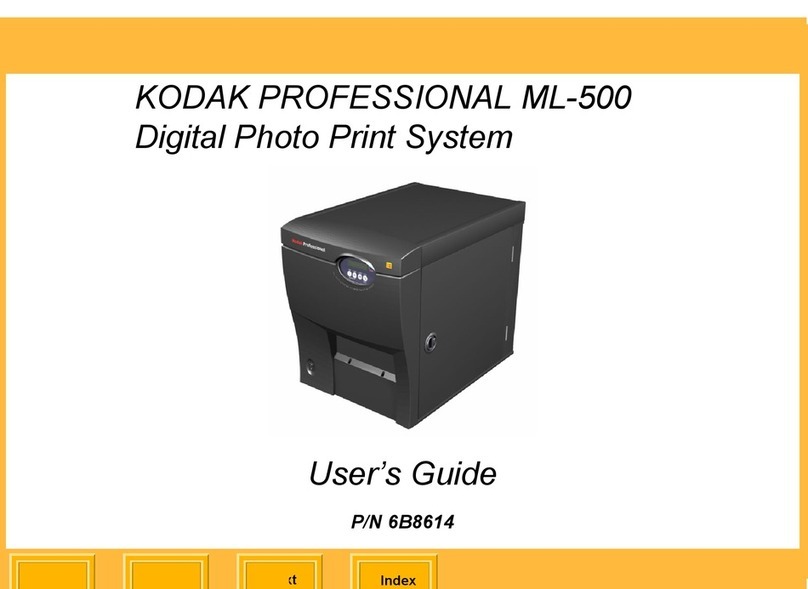
Kodak Professional  ML-500 user guide

Kodak

Kodak Professional ML-500 user guide

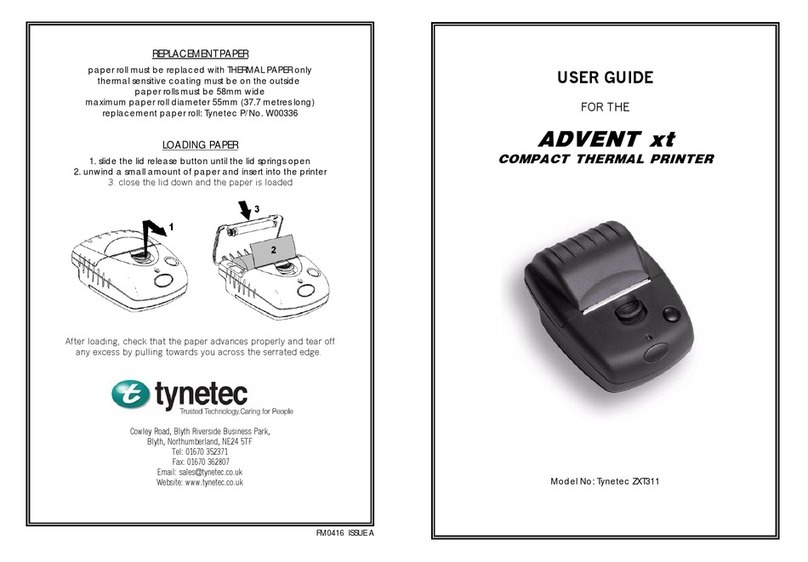
Tynetec xt user guide

Tynetec

Tynetec xt user guide

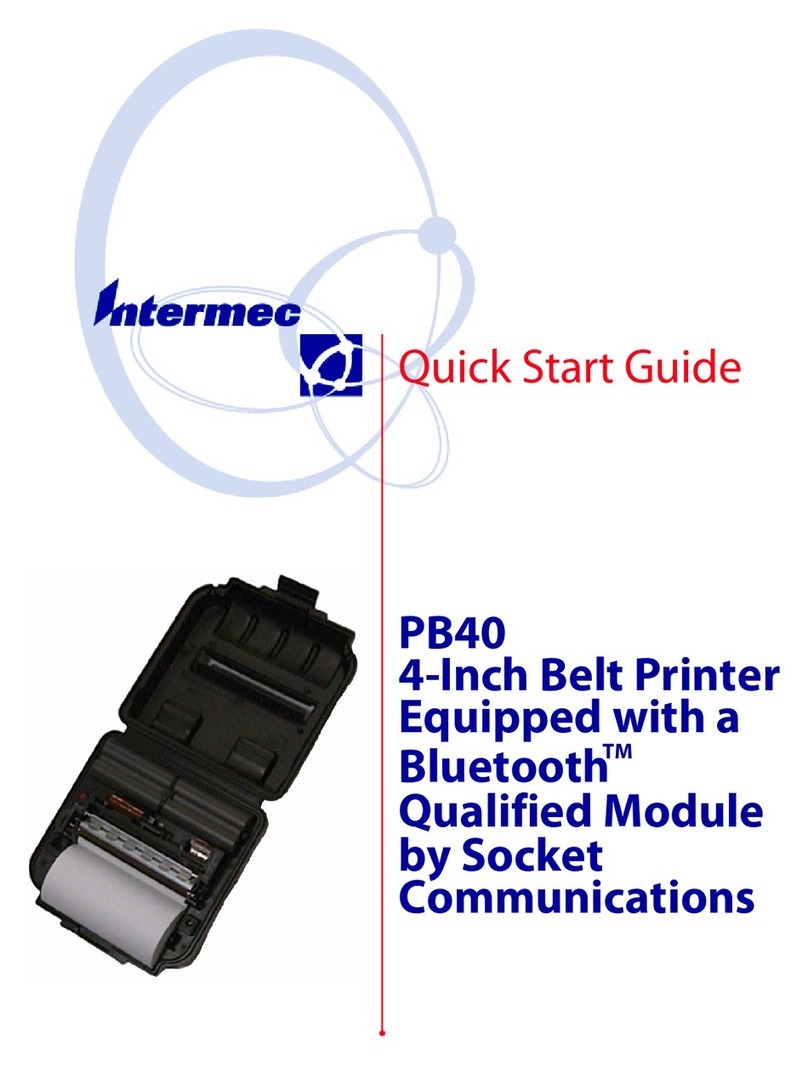
Intermec PB40 quick start guide

Intermec

Intermec PB40 quick start guide

Star Micronics TSP100ECO Specifications

Star Micronics

Star Micronics TSP100ECO Specifications

manuals.online logo
manuals.online logoBrands
  • About & Mission
  • Contact us
  • Privacy Policy
  • Terms and Conditions

Copyright 2025 Manuals.Online. All Rights Reserved.