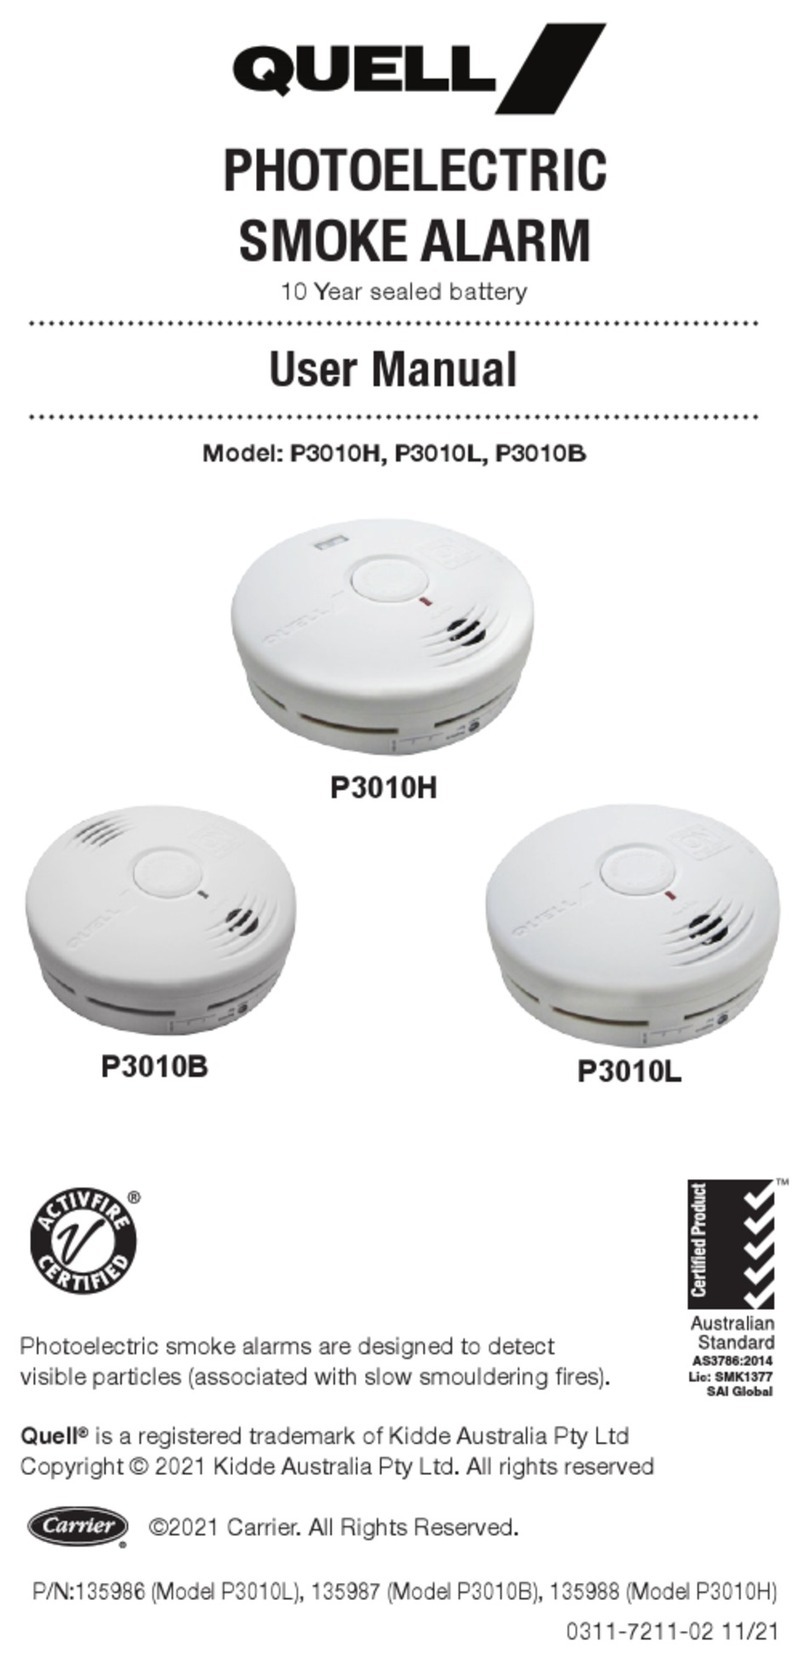
Carrier Kidde Quell Q301 User manual

PHOTOELECTRIC
SMOKE ALARM
User Manual
9V DC Battery powered
Model: Q301, Q301H
Photoelectric smoke alarms are designed to detect visible
particles (associated with slow smouldering res).
Quell®is a registered trademark of Kidde Australia Pty Ltd
Copyright © 2021 Kidde Australia Pty Ltd. All rights reserved
0301-7226-02 10/21
P/N:136000,136001,135999,136423,137051
AS3786:2014
Lic: SMK1377
SAI Global
©2021 Carrier. All Rights Reserved.

IMPORTANT: READ ALL INSTRUCTIONS BEFORE INSTALLATION
AND KEEP THIS MANUAL NEAR THE ALARM FOR FUTURE REFERENCE
CONTENTS OF THIS MANUAL
1. Product Features................................................................................. 1
2. Product Specications........................................................................2
3. Recommended Locations for Alarms................................................3
4. Locations to Avoid...............................................................................7
5. Installation............................................................................................9
6. Operating and Test............................................................................ 11
7. Nuisance Alarms and Hush Function.............................................. 13
8. Troubleshooting ................................................................................ 14
9. Battery Replacement......................................................................... 15
10. Cleaning Your Alarm........................................................................ 16
11. Limitations of Smoke Alarms.......................................................... 17
12. Good Safety Habits...........................................................................18
13. What to do When the Alarm Sounds...............................................19
14. Warranty & Contact Details............................................................. 20
Thank you for purchasing this smoke alarm. It is an important part of
your family’s home safety plan. You can trust Quell to provide the highest
quality safety products.
Please take a few minutes to thoroughly read this user guide, and save
it for future reference. Teach children how to respond to the alarms, and
that they should never play with the smoke alarm.
If you have any questions about the operation or installation of your
alarm, please call our toll free Customer Service at 1800 654 435

IMPORTANT: READ ALL INSTRUCTIONS BEFORE INSTALLATION
AND KEEP THIS MANUAL NEAR THE ALARM FOR FUTURE REFERENCE
1. Product Features
Model Q301 / Q301H is powered from a 9V DC battery. The smoke
alarms ensure protection in the event of a power failure.
• Hush feature silences nuisance alarms for up to 10 minutes.
• The smoke alarm will sound a short beep about once every 40
seconds if the battery is low.
• Red LED Flashing every 40-50 seconds indicates smoke alarm is
working normally, or is in alarm(Red LED ashing every second).
• Loud alarm sounder – 85 dB
• Test button checks smoke alarm operation.
WARNING! REMOVAL OF SMOKE ALARM BATTERY WILL
RENDER THIS UNIT INOPERATIVE.
The smoke alarm is a sealed unit, return to supplier for any repairs.
1
!

2. Product Specications
2
Model Q301, Q301H
Electrical Rating 9V DC battery
Sensor Photoelectric
Operating Temperature 0 °C to 40°C
Operating Humidity Up to 93% Humidity
(Non-Condensing)
Storage and Transport
Conditions
-20° C to +60° C, 5-95%RH
(non-condensing)
Loud alarm 85 decibels at 3 metres

3. Recommended Locations for Alarms
Laws on smoke alarms vary from state to state and you should
be aware of what the requirements are in your state - for more
information please refer to your local re emergency services or
state regulations.
Recommended Locations
• In each room where an occupant sleeps with the door closed. (A
closed door may prevent an alarm located outside the room from
waking the occupant).
• In the immediate area of bedrooms and the exit path from all sleeping
areas (Figure 1A).
• In stairwells, as stairwells act like chimneys for smoke and heat.
• In any room where large electrical appliances are operated
(e.g. portable heaters or humidiers).
• If a hallway or room is more than 7m long install alarms at both ends.
• For maximum household protection see Figure 1C.
Things to Consider
For Ceiling Mounting:
Smoke, heat and other combustion products will rise to the ceiling and
spread horizontally. Mounting the alarm in the centre of the ceiling
positions it closest to all points in the room.
• When mounting an alarm on the ceiling, locate it at a minimum of
300mm from the side wall (Figure 2A).
• For sloped, peaked or cathedral ceilings the alarm should be placed
between 500mm and 1500mm from the highest point of the ceiling
(Figure 2B).
• The alarms in rooms with ceiling slopes greater than 1m in 8m
horizontally, should be located on the high side of the room
(Figure 2B).
For Wall Mounting:
• When mounting the alarm on the wall, use an interior wall with the
top edge of the alarm at a minimum of 100mm and a maximum of
300mm below the ceiling (Figure 2A).
3

3. Recommended Locations for Alarms
DINING
ROOM
LIVING
ROOM
Smoke Alarms for Minimum Protection
Smoke Alarms for Additional Protection
KITCHEN BEDROOM
BEDROOM
BEDROOM
LIVING
ROOM KITCHEN
BEDROOMBEDROOM HALL
BASEMENT
Figure 1A
Figure 1C
Figure 1B
SINGLE FLOOR PLAN MULTIPLE FLOOR PLAN
BEDROOM
FAMILY ROOM
WORKSHOPBASEMENT
KITCHEN
HALL
GARAGE
MASTER
BEDROOM
FIRE
EXTINGUISHERS
SMOKE
ALARMS
FIRE BLANKET
TOTAL HOME PROTECTION
4
Not within 3m of cooking appliances

3. Recommended Locations for Alarms
CEILING
300 mm
MINIMUM
10 mm
MINIMUM
MAXIMUM
SIDE WALL
BEST
PLACEMENT
ACCEPTABLE
PLACEMENT
DO NOT INSTALL
DEADAIR
NOT IN
THIS AREA
ANYWHERE IN THIS
AREA
500 mm
1000 mm
DEAD AIR
DO NOT INSTALL
Figure 2A
4 5
300 mm
CEILING APEX

3. Recommended Locations for Alarms
NOT IN
THIS AREA
ANYWHERE IN THIS
AREA
SLOPED CEILING
1000 mm
500 mm
DEAD AIR
DO NOT INSTALL
Figure 2C
Figure
• When mounting the alarm on a sloping ceiling, it should not exceed
1500mm away from the apex. The spacing of additional alarms, if
any, should be based on a horizontal distance measurement, not a
measurement along the slope of the ceiling (see Figure 2B )
2B
• In rooms with open joists or beams not exceeding 300 mm, ceiling
mounted alarms shall be located on the bottom of such beams. (See
Figure 2C )
• Alarms installed on an open-joist ceiling shall have the smooth ceiling
spacing reduced to no more than half of the listed spacing when
measured at right angles to the solid joist. (See Figure 2C)
The alarm should be
located between 500
mm and 1500 mm of
the highest point.
6

3. Recommended Locations for Alarms
Mobile Home Installation:
For Well Insulated Mobile Homes
Install alarms as recommended on the previous pages.
In mobile homes that are not well insulated extreme heat or cold can
be transfered through poorly insulated walls and roofs. This may create
a thermal barrier which can prevent the smoke from reaching an alarm
mounted on the ceiling.
For Poorly Insulated Mobile Homes
Install the alarm on an inside wall with the top edge of the alarm at a
minimum of 100mm and a maximum of 300mm below the ceiling
(Figure 2A).
For minimum protection, install at least one alarm close to the bedrooms.
For additional protection, see Figure 1A.
Warning: test your alarm operation after caravan or mobile
home vehicle has been in storage, before each trip and at least
once a week during use.
4. Locations To Avoid
6 7
!
• Smoke alarms should not be installed within 0.9m(3 ft)
• of the door to a bathroom containing a tub or shower
• forced air supply ducts used for heating or cooling
• ceiling or whole house ventilating fans
• other high air ow areas
• Areas where curtains or other objects will block the sensor. Smoke
must be able to reach the sensor to accurately detect conditions.
• Install at least 300mm away from a light tting.
• No closer than 400 mm outside the circumference of a ceiling fan.
• Keep out of insect infested areas.
• Avoid excessively dusty, dirty or greasy areas.
• Do not install in areas where the temperature is colder than 0°C or
hotter than 40°C.
• Do not install in areas where the relative humidity (RH) is greater
than 93%.
• Normal cooking may cause nuisance alarms. If a kitchen alarm is
desired, it should have an alarm silence feature and should not be
installed within 3m of cooking appliances.
• Avoid dead air spaces such as the peak of an “A” frame ceiling.
“Dead Air” at the top may prevent smoke from reaching the alarm in
time to provide early warning. Refer to Figure 2A and 2B.

4. Locations To Avoid
Installation
Note: Smoke alarms are not to be used with detector guards unless
the combination (alarm and guard) has been evaluated and found
suitable for that purpose.
Mounting
CAUTION: This unit is sealed. The cover is not removable!
• Remove the mounting plate from the back of the alarm by holding the
plate and twisting the alarm clockwise. As indicated by the “OFF” arrow
on the alarm cover.
• Hold the mounting plate against the selected installation location (wall
or ceiling) and mark the centre of the holes with a pencil. To ensure
aesthetic alignment of the alarm with the hallway, or wall, the “A” line
on the mounting plate should be parallel with the hallway when ceiling
mounted, or horizontal when wall mounted (Figure 3A and 3B).
• Drill a hole through the pencil marks and use the enclosed screws and
anchors to secure the mounting plate. Use a 3/16 inch drill bit to screw
the anchor holes.
• Press the battery reminder tab down into the battery compartment
while inserting the battery (Figure 3E).
WARNING: Please ensure batteries are inserted correctly with positive
and negative terminals connected to the corresponding point on the
smoke alarm.
CAUTION: If the battery reminder tab is not held down in the battery
compartment by the battery, the unit will not attach to the mounting plate.
Place the alarm onto the mounting plate, making sure the alignment
marks are lined up. Twist the alarm anti-clockwise in the direction
indicated by the “ON” arrow on the alarm cover (Figure 3D) until it locks
in place.
8
!
!
!
This manual suits for next models
1
Table of contents
Other Carrier Smoke Alarm manuals

Carrier
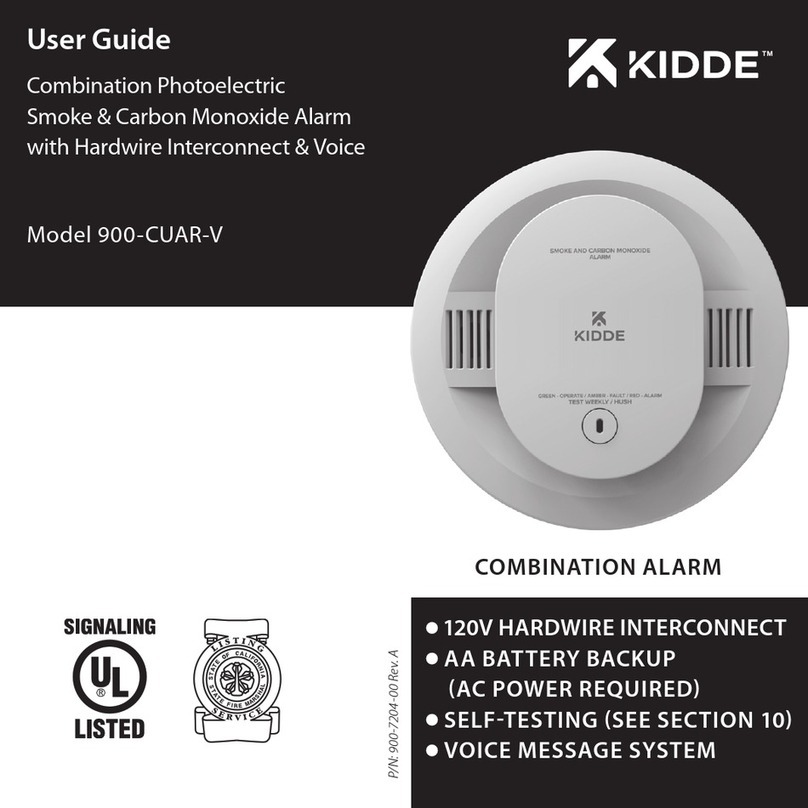
Carrier KIDDE 900-CUAR-V User manual

Carrier
Carrier Kidde Quell C3010K-CO User manual

Carrier
Carrier Cavius 2007 User manual

Carrier
Carrier Kidde Quell P3010H User manual

Carrier
Carrier Cavius Series User manual

Carrier
Carrier Quell Q1400 User manual

Carrier
Carrier KIDDE P4010ACS-WF User manual

Carrier
Carrier 48/50Z030-105 User manual
Carrier
Carrier CRSMKSUP001A00 User manual

Carrier
Carrier 48/50HG014-028 User manual