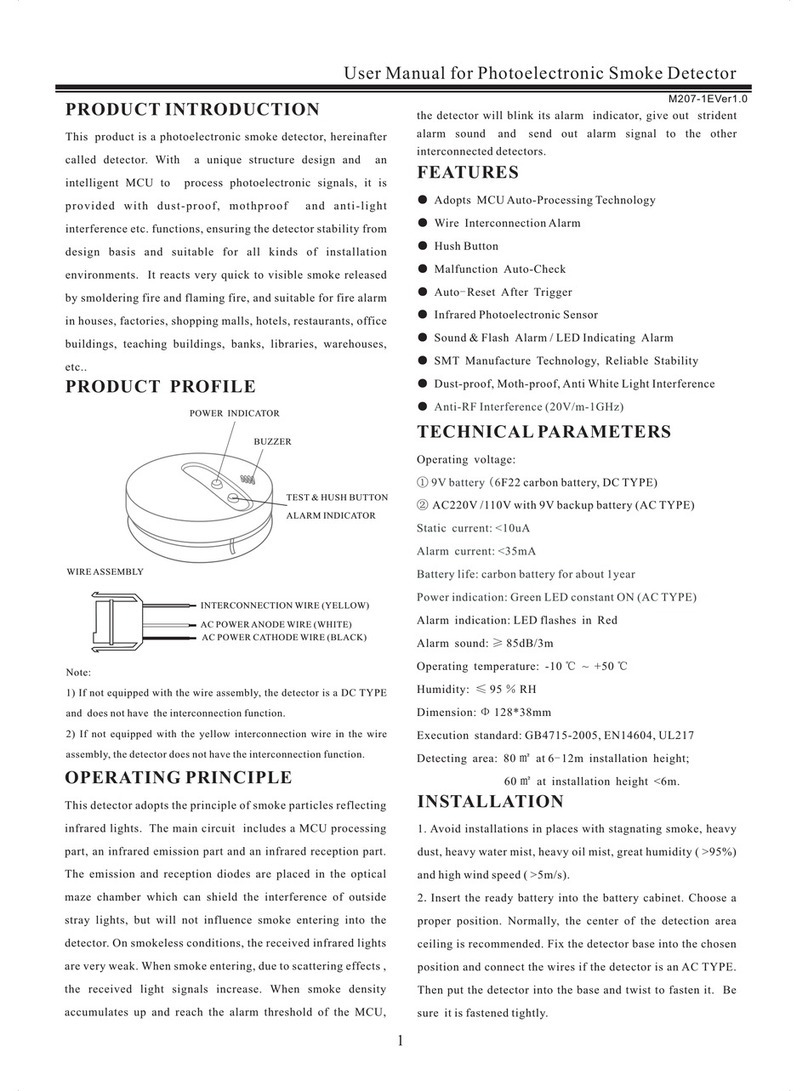
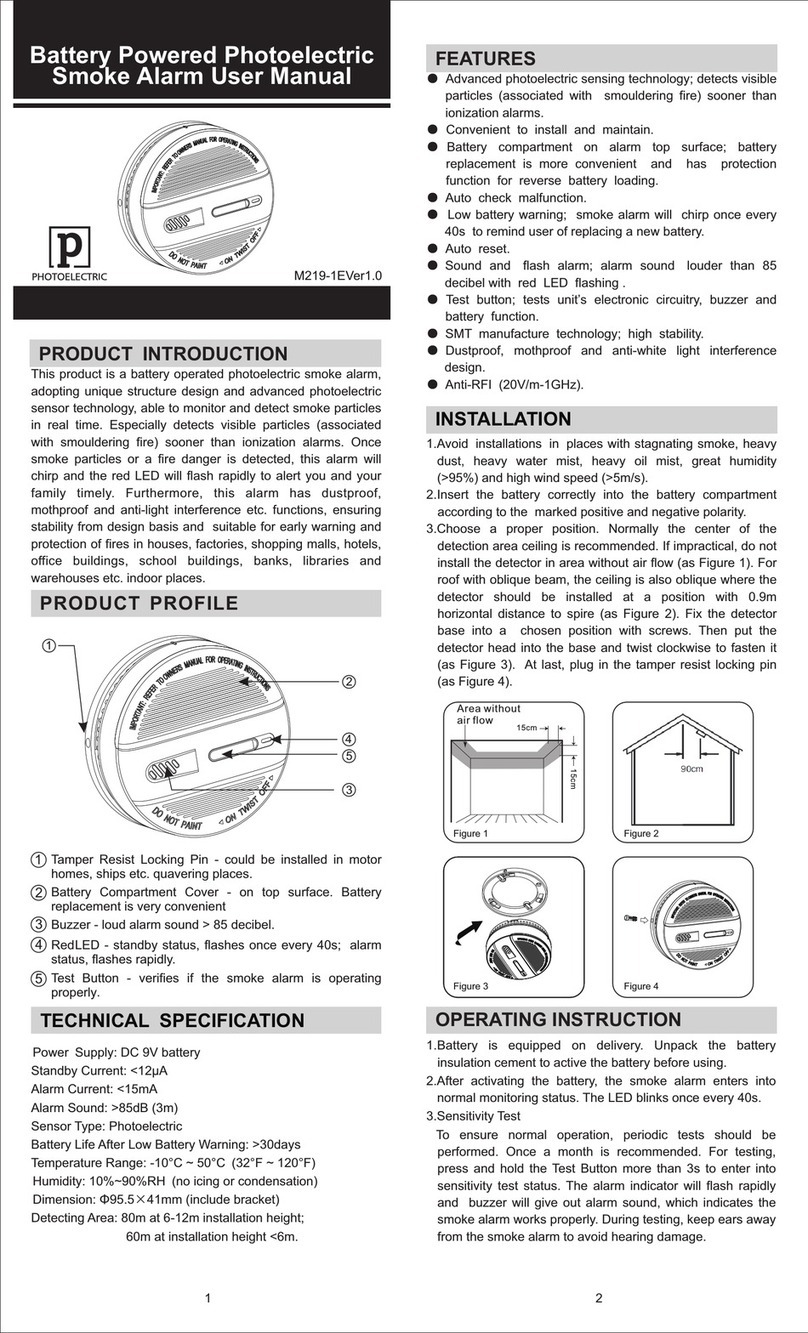
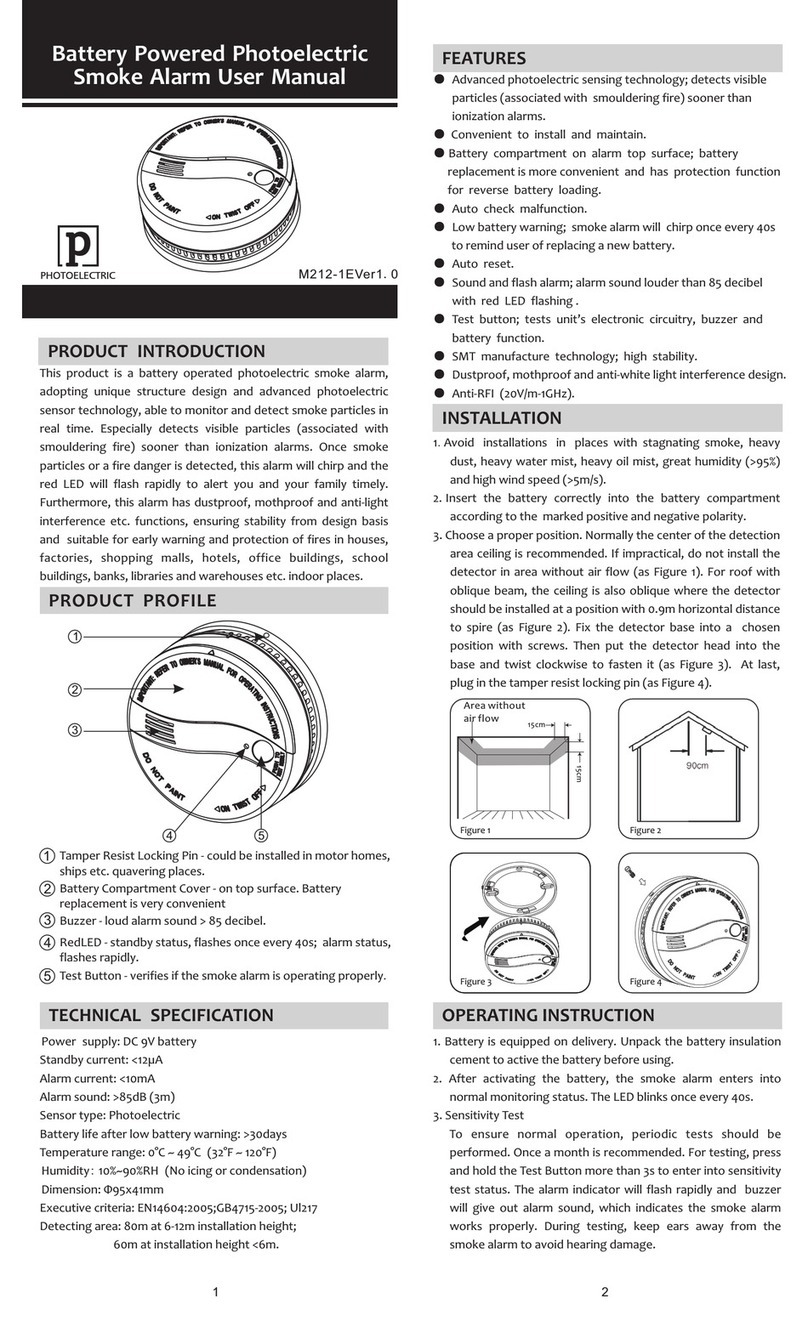
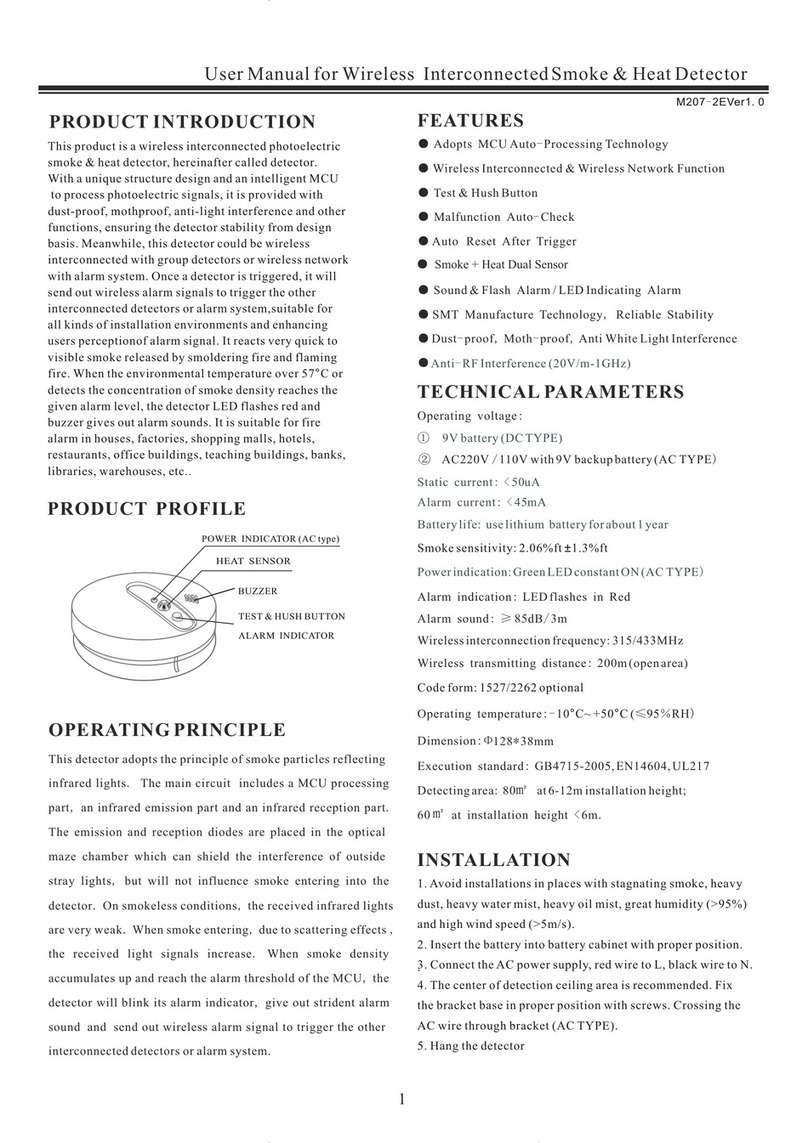
Heiman SMOKI NS-626PHS User manual

IMPORTANT! PLEASE READ CAREFULLY AND SAVE.
This user's manual contains important information about your Smoke Alarm's
operation. If you are installing this Smoke Alarm for use by others, you must leave this
manual—or a copy of it—with the end user.
M213-4 OVer1.0
SMOKE ALARM
Mode:HM-626PHS
Ten-year Battery Operated
Photoelectric Smoke Alarm
Mode:NS-626PHS
0832-CPR-F1091
1138b/02
Standards tested to: EN14604:2005/AC:2008
Distributor:Newtonstein Corp.
19C Trolley Square, Wilmington, Newcastle, Delaware, 19806, USA.
Manufactured under License from H. Technologies Ltd.
this is a certified and audited product as per regulations.

PACKING LIST
PART NAME QUANTITY
Smoke alarm
Mounting bracket
Anchor plug
Screw
Manual
1 Piece
1 Piece
2 Pieces
2 Pieces
1 Piece
Photoelectric alarms are generally more effective at detecting
slow, smoldering fires that smolder for hours before bursting into
flame. Sources of these fires may include cigarettes burning in couches
or bedding.
Ionization alarms are generally more effective at detecting
fast, flaming fires that consume combustible materials rapidly and
spread quickly. Sources of these fires may include flammable liquids or
paper burning in a waste container.
However, both types of alarms provide adequate detection of both types
of fires.
If you desire the earliest detection of both smoldering fires and fast
flaming fires, you should install smoke alarms that combine both
photoelectric and ionization sensing technologies in one unit.

PACKING LIST
Smoke Alarm Mounting Bracket
Anchor plug
Screw Manual
Magnetic Panel

1. SUPERIOR FEATURES
2. IMPORTANT SAFETY INFORMATION …………02
3. WHERE TO LOCATE………………………………05
4. LOCATIONS TO AVOID……………………………10
5. HOW TO INSTALL …………………………………11
6. LED INDICATORS AND HORN PATTERNS ……15
7. FALSE ALARM CONTROL ………………………16
8. TESTING THE SMOKE ALARM …………………17
9. MAINTENANCE AND CLEANING ………………19
10. PRACTICE FIRE SAFETY………………………21
11. WHAT TO DO IN CASE OF A FIRE ……………22
12. TROUBLESHOOTING ……………………………23
13. LIMITATIONS OF SMOKE ALARMS ……………24
14. LIMITED WARRANTY ……………………………29
……………………………01
CONTENTS

1. SUPERIOR FEATURES
01
●Battery Operated
Long-life lithium-ion battery sealed in the alarm to lengthen
its lifetime to 10 years in standby condition.
●Operating Light (LED)
Flashes approximately every 53 seconds confirming unit is
powered.
●Low Battery Warning
Alarm beeps every 40 seconds when the battery needs
replacing.
●Alarm Pause (Hush mode)
Silence your smoke alarm by momentarily pressing the test
button when non-emergency smoke (e.g. steam), causes
nuisance alarms. The red light flashes every 10 seconds to
remind you that the smoke alarm has been silenced. The
alarm will automatically reset after 15 minutes.

02
2.IMPORTANT SAFETY INFORMATION
WARNING!
PLEASE READ AND SAVE THESE INSTRUCTIONS.
●DO NOT remove or disconnect battery to quiet unwanted
alarms. This will remove your protection. Open windows or
fan the air around smoke alarm to silence it.
●The test button accurately tests all smoke alarm functions.
DO NOT use any other test method. Test smoke alarm
weekly to ensure proper operation.
●This smoke alarm should be installed only by a licensed,
qualified electrician. Observe and follow all local and national
electrical and building codes for installation.
●
Test the sensitivity, circuitry, batteries, horn.
●Loud 85 Decibel Piezo Electric Alarm
Automatically resets when hazardous condition has passed.
●Easy Installation
Fixings supplied.
Sensitivity Test Button

03
●
protection for buildings that require complete fire alarm
systems. Buildings of this type include hotels, motels,
dormitories, hospitals, nursing homes, and group homes.
This is true even if they were once single family homes.
However, this smoke alarm MAY be used inside individual
rooms as SUPPLEMENTAL protection.
●Install a smoke alarm in every room and on every level of the
home. Smoke may not reach the smoke alarm for many
reasons. For example, if a fire starts in a remote part of the
home, on another level, in a chimney, wall, roof, or on the
other side of a closed door, smoke may not reach the
smoke alarm in time to alert household members. A smoke
alarm will not promptly detect a fire EXCEPT in the area or
room in which it is installed.
●Smoke alarms may not alert every household member every
time. The alarm horn is loud in order to alert individuals to a
potential danger. However, there may be limiting
circumstances where a household member may not hear the
alarm (i.e., outdoor or indoor noise, sound sleepers, drug or
alcohol usage, the hard of hearing, etc.).
This smoke alarm IS NOT designed to be the PRIMARY

04
If you suspect that this smoke alarm may not alert a
household member, install and maintain specialty smoke
alarms. Household members must hear the alarm's warning
sound and quickly respond to it to reduce the risk of damage,
injury, or death that may result from fire. If a household
member is hard of hearing, install special smoke alarms with
lights or vibrating devices to alert occupants.
●Smoke alarms can sound their alarms only when they detect
smoke. Smoke alarms detect combustion particles in the air.
They do not sense heat, flame, or gas. This smoke alarm is
designed to give audible warning of a developing fire.
However, many fires are fast-burning, explosive, or
intentional. Others are caused by carelessness or safety
hazards. Smoke may not reach the smoke alarm QUICKLY
ENOUGH to ensure safe escape.
●Smoke alarms have limitations. This smoke alarm is not
foolproof and is not warranted to protect lives or property
from fire. Smoke alarms are not a substitute for insurance.
Homeowners and renters should insure their lives and
property. In addition, it is possible for the smoke alarm to fail
at any time. For this reason, you must test the smoke alarm
weekly and replace every 10 years.

3. WHERE TO LOCATE
05
3.1 As a minimum, smoke alarms should be located between
sleeping areas and potential sources of fire such as living
rooms and kitchens. In single story homes with one sleeping
area, a smoke alarm should be installed in the hallway, as
close as possible to the living accommodation. To ensure
audibility in bedrooms, no smoke alarm should be further
away than 3m from any bedroom door. It may be necessary
to install more than one smoke alarm, particularly the
hallway is more than 15m long. In single story homes with
two separate sleeping areas, a minimum of two smoke
alarms is required, one outside each sleeping area. In
multilevel or split level homes, as a minimum a smoke alarm
should be installed on the ground floor between the staircase
and any rooms in which a fire might start and on each story
in circulation areas which form part of escape route (normally
hallways and landings).

06
3.2 Additional alarms should be installed in bedrooms in
anticipation of fires originating here, caused by faulty wiring,
lights, appliances, smokers or other hazards.
3.3 For best protection, smoke alarms should be installed in
every room in your home, apart from those listed in the
Section 4 LOCATIONS TO AVOID. Heat alarms should be
used in kitchens, boiler rooms, laundry rooms, garages and
such like, where smoke alarms would be unsuitable.
3.4 Install smoke alarms in circulation areas at a distance no
greater than 7.5m from the farthest wall, no greater than
7.5m from a door to any room in which a fire might start and
no greater than 7.5m from the next smoke alarm.
3.5 As it is impossible to predict the source of a fire, the best
location for an alarm is usually the center of a room or
hallway. If it is necessary to place a smoke alarm on a wall,
always locate the detection element of the alarm 150mm to
300mm (6 to 12 inches) below the ceiling and the bottom of
the alarm above the level of doors and other openings.

Dead air area
Center
1 5 c m
1 5 c m
07
3.6 In rooms with simple sloped, peaked or gabled ceilings,
install smoke alarms on the ceiling 900mm (3 feet) from the
highest point of the ceiling. “Dead air” at the peak of a ceiling
may prevent the smoke from reaching the alarm in time to
provide an early warning.
3.7 Read Section 4 LOCATIONS TO AVOID and Section 13
LIMITATIONS OF SMOKE ALARMS in this manual.
CAUTION: Research indicates that substantial increases in
warning time can be obtained with each properly
installed, additional alarm. It is strongly recommended
that advice in 3.3 above be followed to ensure maximum
protection.

Single Story,
one sleeping area
KITCHEN
LIVING ROOM
DINING ROOM BEDROOM BEDROOM
BEDROOM
08
Single Story,
more than one sleeping areas
KITCHEN
LIVING ROOM
TV ROOM
DINING
ROOM
BEDROOM
BEDROOM
BEDROOM

KITCHEN
FINISHED BASEMENT
LIVING ROOM
BEDROOMBEDROOM HALL
Two Story dwelling
09
Smoke alarms for limited protection
Additional smoke alarms for better coverage
Heat alarms
IMPORTANT:
These alarms are intended to primarily for single-occupancy
private dwellings. For use in other applications the
manufacturer's advice must be sought.

10
4. LOCATIONS TO AVOID
DO NOT locate smoke alarms :
4.1 In turbulent air from fans, heaters, doors, windows, etc.,
which could draw smoke away from the alarm.
4.2 In high humidity area such as bathrooms and shower rooms, or
where the temperature exceeds 39˚C ( 100˚F) or falls below 5˚C (
40˚F), as high humidity can trigger nuisance alarm.
4.3 A t the peal of an “A” frame ceiling. “Dead air” at the top may
prevent smoke from reaching the alarm in time to provide
early warning.
4.4 Less than 300mm (12 inches) from the wall when mounted on
the ceiling.
4.5 In insect-infested areas.T iny insects may affect performance.
4.6 In kitchens, boiler rooms, laundry rooms, garages. Combustion
particles from cooking or car exhaust and dust and moisture
could trigger a nuisance alarm.
4.7 In very dusty or dirty areas. Dirt and dust can build up and
impair performance.
4.8 Within 300mm (12 inches) of light fittings or room corners.
4.9 In locations which would make routine testing or maintenance
hazardous (e.g. over a stairwell).

11
5.1 Using needle-nose pliers or a utility knife, detach one locking
pin from the mounting bracket to separate the alarm from
the mounting bracket.
5. HOW TO INSTALL
4.10 On poorly insulated walls or ceilings.
4.11 Near objects such as ceiling decorations which might impede
the path of smoke to the alarm.
4.12 Within 1500mm (5 feet) of fluorescent light fittings.

12
Mounting slot
5.2 Draw a horizontal or vertical line 6 inches (10 cm) long on
the area of ceilings or walls where this smoke alarm is
intended to locate (see Section 3 WHERE TO LOCATE).
5.3 Locate the mounting bracket in your chosen position. Align
the two longest mounting slots with the line. Draw a mark in
the center of each slot.
5.4 Drill the holes at the marks with a 3/16-inch (5mm) drill.
5.5 Insert the anchor plugs and screw the mounting bracket to
the chosen position. DO NOT OVER-TIGHT THE
SCREWS, this will distort the mounting bracket.

13
5.6 Attach the alarm to the mounting bracket and turn clockwise
to lock into place.

14
5.7 To engage tamper-resist feature, insert the locking pin into
the notch on edge of smoke alarm after alarm is properly
positioned.
NOTE: Only when the smoke alarm has attached to the
mounting bracket can it be activated.
5.8 Test the smoke alarm. See Section 8 TESTING THE
SMOKE ALARM.

CONDITION HORN
LED
6.LED INDICATORS AND HORN PATTERNS
15
Normal Operation
Test Condition
Hush Mode
Alarm Condition
Low Battery
Malfunction
None
None
Short quick beeps
Short quick beeps
One beep every 40
seconds
Two beeps every 40
seconds
Red LED flashes
every 53 seconds.
Red LED flashes rapidly.
Red LED flashes every
10 seconds.
Red LED flashes every
40 seconds.
Red LED flashes every
40 seconds.

7.FALSE ALARM CONTROL
16
The alarm features a False Alarm Control that, when activated,
silences unwanted alarms for up to 15 minutes.
To use the False Alarm Control:
Press and release the test button during an unwanted alarm to
silence the alarm horn. This means the smoke alarm is in False
Alarm Control.
If the smoke alarm does not go into False Alarm Control and
continues to sound its loud alarm horn or if it initially goes into
False Alarm Control then resounds the alarm, the smoke is too
heavy and could be a possibly dangerous situation— take
emergency action.
This manual suits for next models
1
Table of contents
Languages:
Other Heiman Smoke Alarm manuals
Popular Smoke Alarm manuals by other brands

Teknim
Teknim TFD-1251 Installation & user manual

Smoke hollow
Smoke hollow 44241G2 Assembly & operation

System Sensor
System Sensor DH400ACDCP Installation and maintenance instructions

SIGRIST
SIGRIST FireGuard 2 Integral instruction manual

VESDA
VESDA VESDA-E VES-A00-P Product guide

Xtralis
Xtralis VESDA VLI Product guide

Satel
Satel MSD-300 manual

Xtrails
Xtrails VESDA-E VEP-A10-P Product guide

Pittway
Pittway System Sensor Innovair DH100ACDC Installation and maintenance instructions

Secutron
Secutron MRI-4010 Installation and maintenance instructions

ESL
ESL 429 Series installation instructions

DELTA DORE
DELTA DORE TYXAL Installation and user guide