MistAway Gen III+ Manual

MistAway® Tankless Misting Unit – Gen III+
Copyright © 2010 by MistAway® Systems, Inc.
Visit us on the web at
www.mistaway.com
Set Up Instructions

• Pressing Green ►button will cycle through each of four System
Modes. The ▲at the top of the display points to the active
System Mode.
1.OFF – Unit will perform a daily agitation cycle and otherwise
sit idle.
2.ON – Unit will allow Remote and MANUAL MISTs, but no
AUTO MISTs.
Section 3
Setting Up the Unit
Using the Controller • With the display showing day, time
and level, press Green ►button to
position the ▲at top of display
pointing to the active System Mode:
• OFF - daily agitation cycle only
• ON – remote and manual, but no
programmed mist
• AUTO Everyday – program runs
daily. This is the usual mode.
• AUTO Custom – program runs on
days configured in CUSTOM PGM
11. Set System Mode
• Clear area
• Pres MIST button on transmitter
• Unit will FILL, DOSE, insecticide,
Agitate (AGT) and MIST.
12. Test by Activating
Remote Mist
• DATA Menu, read AFR (average
flow rate) value
13. Determine Nozzle
Flow Rate of Circuit
Section 3
Setting Up the Unit
3.AUTO-EVERYDAY – Misting program runs daily. This is the
most commonly used System Mode.
4.AUTO-CUSTOM – Misting program runs only on days set in
CUSTOM PGM menu.
• Pressing Red MENU/STOP button displays triangular cursor by
DAY/TIME position on left side of display. Use ▲or ▼buttons to
cycle through menu structure. Use Green ►button to select
menu item and view or change data element within that item.
• Within a menu item, the convention is that the flashing data
element can be changed with the ▲or ▼buttons. Move to the
next data element with the Green ►button.
• Exit the menu item by pressing the MENU button. The unit will
revert to previous System Mode in 3 minutes if the MENU button
is not pressed.
• Clear any error code by pressing the Red MENU/Stop button for
5 seconds. The System Mode will return to its previous state
(usually AUTO Everyday).
• To reset the controller to factory settings, unplug the unit, and
hold down MENU and the ▲buttons while plugging the unit
back in. Mist Cycles, remote duration and number of nozzles
must be reentered.
• Secure key in a safe location.
14. Close Lid and Lock
flow rate) value
• Enter that value as the nozzle flow
rate, NFR, to be used in system
error calculations
• DATA Menu, NFR. Press Green ►
button for 5 seconds, then use the ▲
or ▼buttons to adjust value to be
the same as read in AFR.
Flow Rate of Circuit

• On firm level surface.
• Free from flooding or sprinklers.
• Near GFCI outlet and faucet.
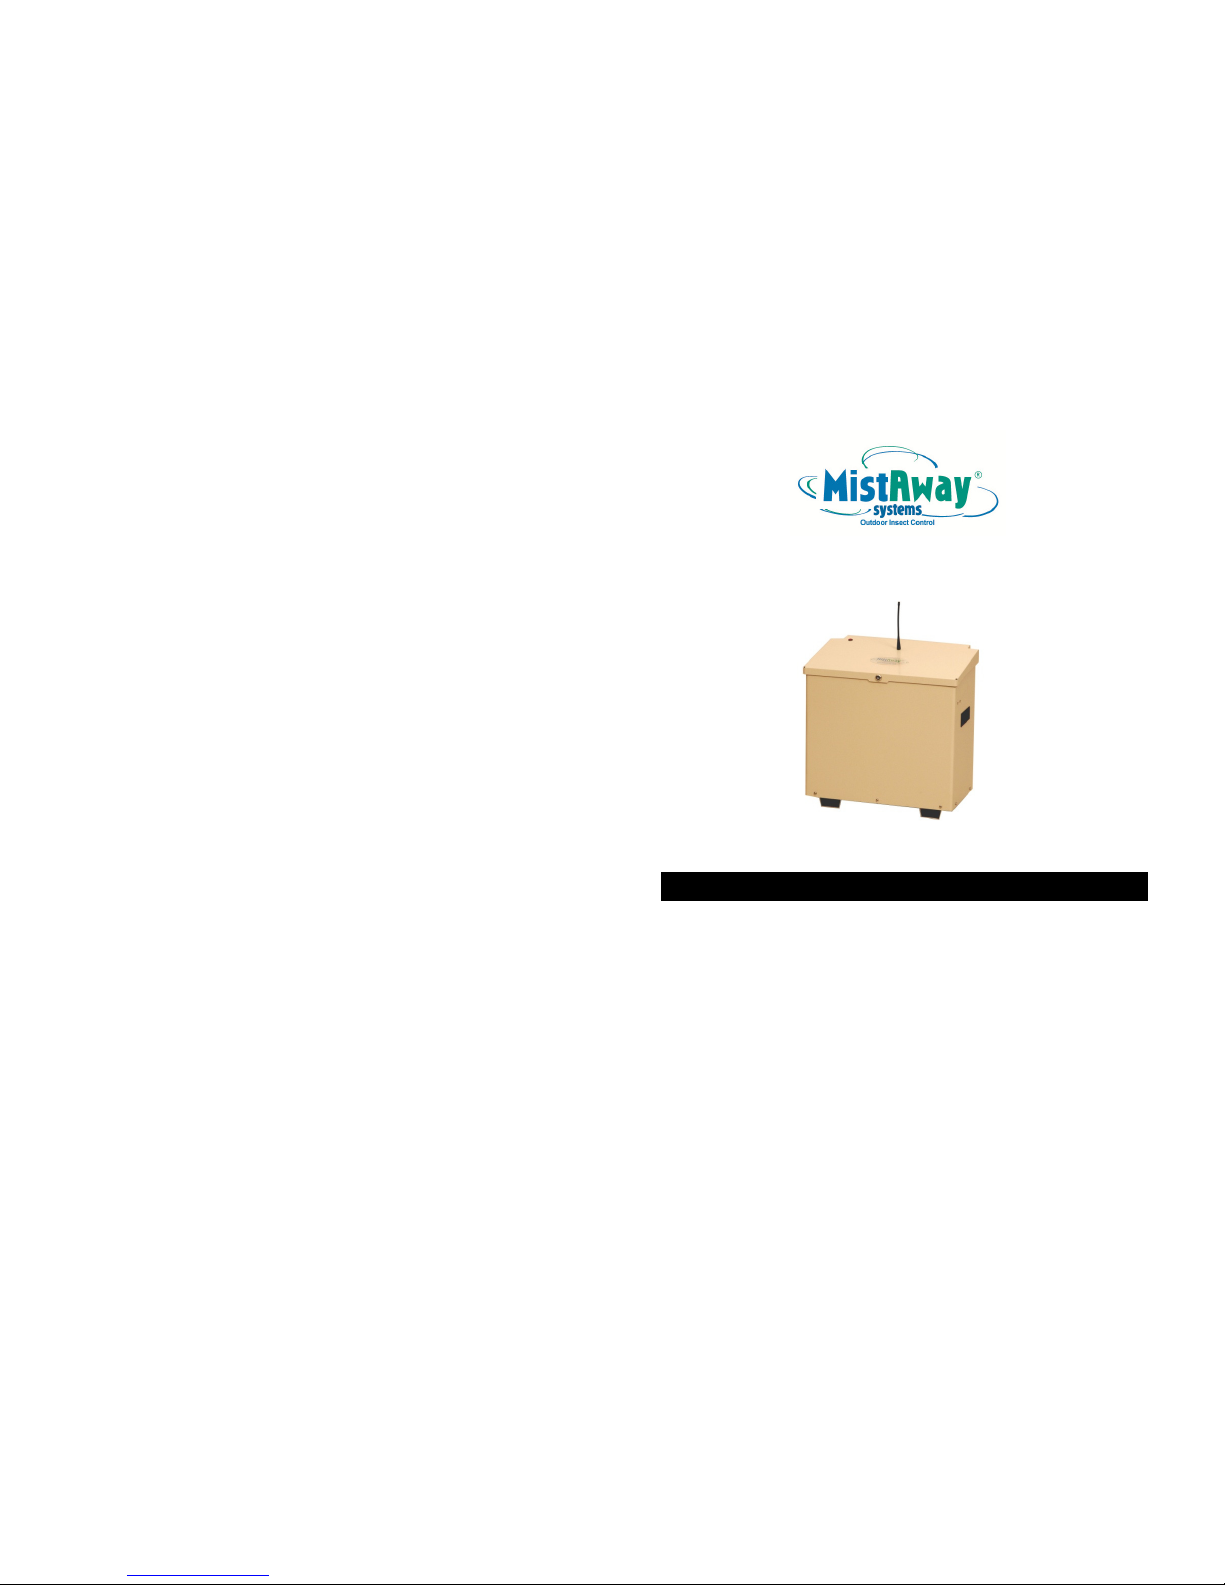
1. Position Gen III+ Unit
• Confirm faucet is able to deliver at
least 1 gal/min..
• Be careful not to introduce dirt or
other contaminants into line.
• Insert 3/8” tubing/filter assembly into
3/8” bulkhead fitting located at the
back right corner of unit.
• Thread adapter onto faucet (or
optional hose bib “Y”).
• Measure and cut 3/8” nylon tubing
• Run water to flush line before
connecting to filter inlet.
2. Install Water Supply
Line
3. Connect Nozzle
Circuit
• To ¼” bulkhead fitting at back right
corner of unit.
• If zone kit, install according to
instructions provided.
Section 3
Setting Up the Unit
• SET-UP Menu, ALT.
• If sensor installed, set
time (in seconds) that
alarm will sound prior to
each scheduled and
remote mist.
j. Establish
optional
External Alarm
• CYCLES Menu.
• 2 – 3 scheduled mists of 30 – 60
seconds in duration is common.
• See Section 5, Managing Insecticide
for field standard frequency, duration
and mist times.
• Blinking C# identifies each
automatic mist cycle with current
mist duration and mist time. Limit is
24 cycles per day.
•
Set mist duration and time (note
a. Set AUTO
MIST Cycles
9. Set Misting Schedule
Section 3
Setting Up the Unit
• GFCI Outlet.
• 115 volts minimum. Confirm voltage
with multi-meter.
• 15 amp circuit required. Unit draws
9 amps when misting. Ensure total
load of unit plus all other devices on
circuit does not exceed breaker
rating.
5. Connect Electric
Power
instructions provided.
4. Connect Remote
Antenna
• Thread onto coax fitting on top of
unit.
• MAINTENANCE Menu, scroll to INS.
• Depress Green ►button 5 seconds
• Unit will fill and mist for 5 minutes or
until stopped.
• Confirm pump pressure (240 psi)
and insert plastic plug into pump
adjustment port.
• Confirm no leaks in nozzle circuit
• If zone valve installed, repeat for
INS2.
6. Run Inspection
Cycle
•
Set mist duration and time (note
AM/PM) for each desired scheduled
mist.
• MAINTENANCE Menu, scroll to
CHG.
• Depress Green ►button 5 seconds.
• DOSE will flash for extended period
as batch tank of fresh water is
brought to target concentration.
10. Charge Insecticide
• If you don’t want to schedule mists
for every day.
• CUSTOM PGM Menu.
• Set selected days to ON or OFF.
• System Mode must be set to AUTO
Custom.
b. Set AUTO MIST
Days

• Remove factory cap and seal from
pour port.
• Thread bottle cap onto pour port,
ensuring it is not cross-threaded or
too tight.
a. Secure Cap on
Bottle
• Remove seal on vent port so that
bottle does not collapse as
insecticide is pumped out.
• Insert bottle into coupler (Pressing
button on coupler will free bottle for
removal.)
• EMPCAR (empty cartridge)
continues to appear in display.
b. Vent Opposite
Port and Insert
Bottle into
Coupler
7. Install Insecticide and Program Dose Settings
• MAINTENANCE Menu, scroll to
REFILL
• Depress Green ►button 5 seconds
to enter routine.
c. Set Dose
Settings
Section 3
Setting Up the Unit
• DAY/TIME Menu.
• Set to ON if daylight savings in
effect, OFF if not.
• Press Green ►to advance.
a. Set Daylight
Savings Time
switch
• Set Day and Time. (note AM and PM)
• Exit by pressing Menu button.
b. Set Day and
Time
8. Program System Setup
• SET-UP Menu, REM.
• Set duration in seconds.
c. Set REMOTE
MIST Duration
• Set dip switches in remote
transmitter. (see Section 4, Using the
Remote)
• SET-UP Menu, LRN.
• Depress Green ►button 5 secs,
until LRN On and countdown starts.
• Depress Remote Transmitter button
until DONE is displayed.
d. Orient Remote
Transmitter
Section 3
Setting Up the Unit
to enter routine.
• Set MIX ratio (parts water to 1 part
concentrate) to target. Default is
108:1 See Section 5, Managing
Insecticide for guidance
• Push Green ►button to advance
• Set bottle size (BOT) in ounces.
Default is 64 oz. Range is 2 to 256
oz.
• Push Green ►button to advance
• Set LEVEL in the bottle. Eight bars
indicates a full bottle of the size
entered in previous step. Four bars
indicates bottle is ½ full.
• Push Green ►button
• DONE will be displayed.
• VENT will be displayed. Confirm
VENT by pushing Green ►button.
• SET-UP Menu, MAN.
• Set duration in seconds.
e. Set MANUAL
MIST Duration
• SET-UP Menu, SEN.
• If sensor installed, ON. Otherwise
OFF.
h. Establish
optional Wind
Sensor
• SET-UP Menu, NOZ.
• If zone valve installed, repeat for NZ2.
f. Set # of nozzles
• SET-UP Menu, WND.
• Set max wind speed.
i. Set Max Wind
Speed (wind
sensor required)
• SET-UP Menu, AGT.
• Set duration of agitation that occurs
prior to each AUTO mist. Default is
15 seconds.
• Set time of once-daily agitation.
Default is 3:00 pm.
• SET-UP Menu, RAG.
• Set duration of agitation that occurs
prior to each REMOTE mist.
g. Set Agitation
Parameters
Table of contents
Other MistAway Lawn And Garden Equipment manuals