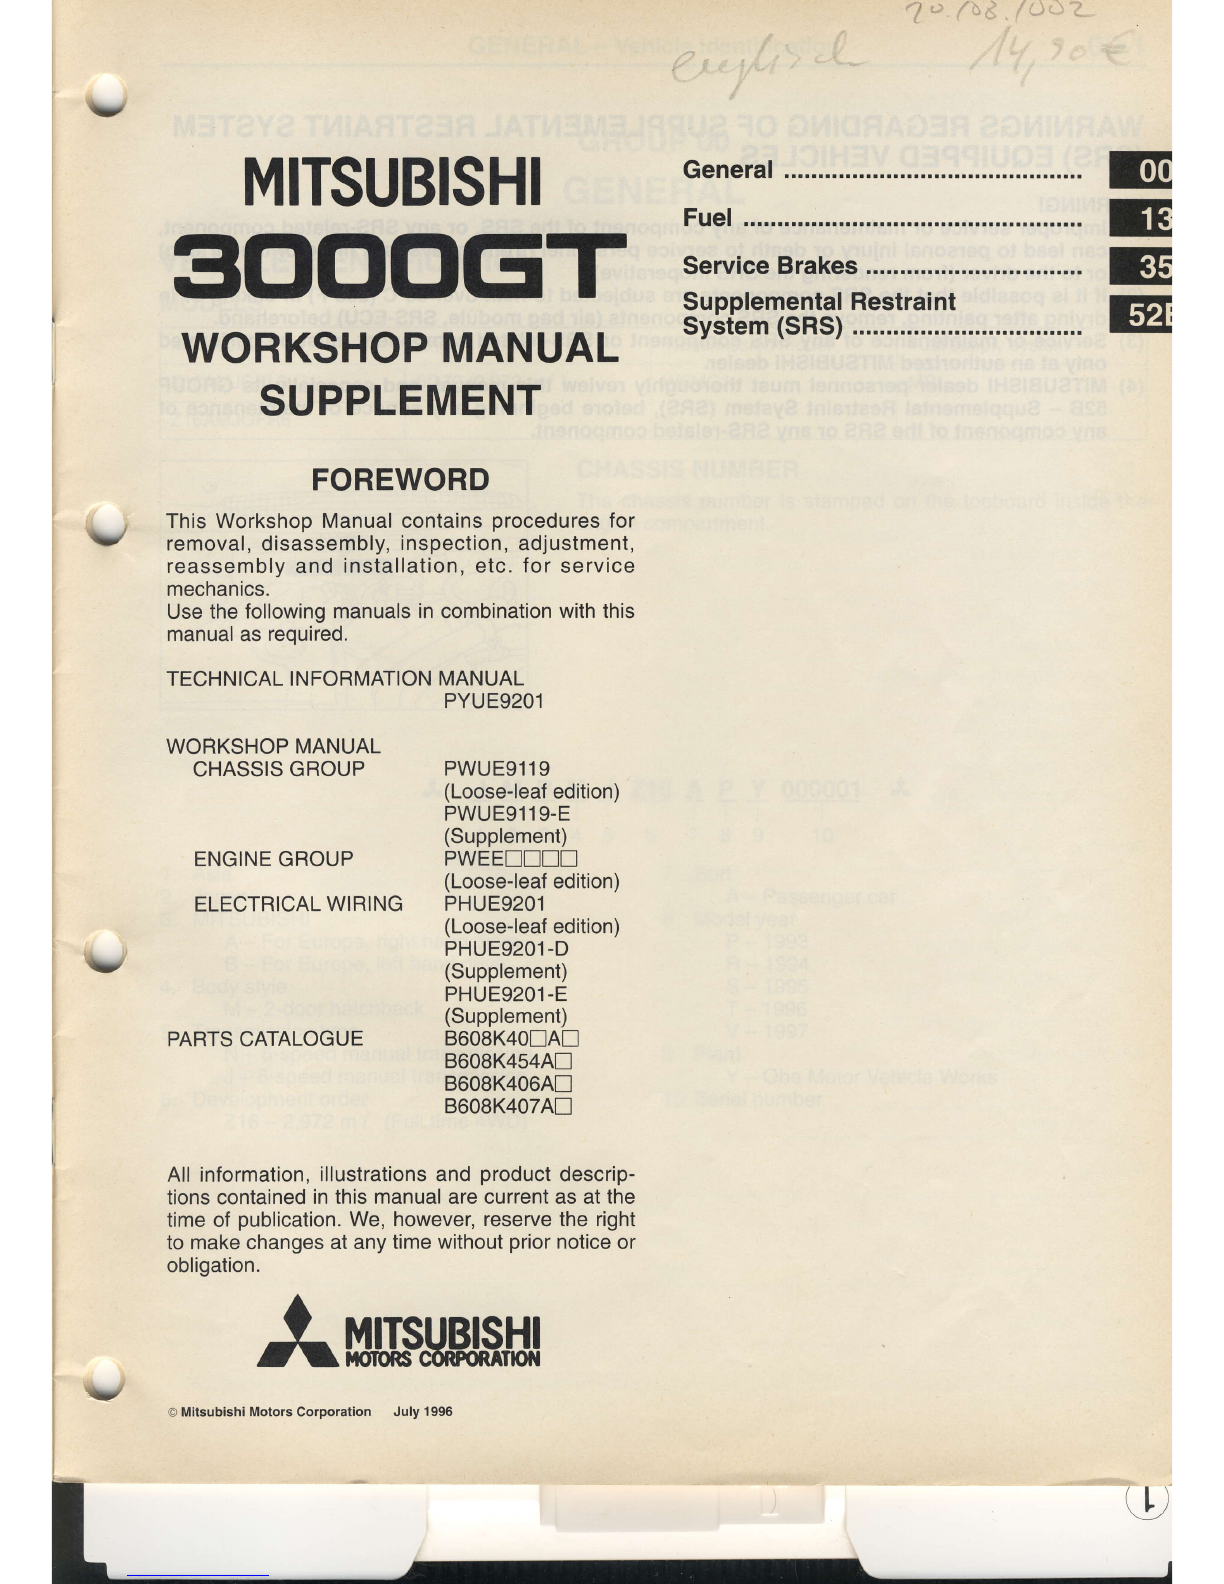
Mitsubishi 3000gt 1997 Instruction manual


Other Mitsubishi Automobile manuals

Mitsubishi
Mitsubishi LANCER EVOLUTION 2003 Technical document

Mitsubishi
Mitsubishi Outlander 2017 User manual

Mitsubishi
Mitsubishi MIRAGE 2014 User guide

Mitsubishi
Mitsubishi Lancer Family User guide

Mitsubishi
Mitsubishi Lancer Evolution IX 2006 Instruction manual

Mitsubishi
Mitsubishi 2009 Lancer RalliArt User manual

Mitsubishi
Mitsubishi 2015 OUTLANDER SPORT/RVR User manual

Mitsubishi
Mitsubishi Lancer Evolution-VII Instruction manual

Mitsubishi
Mitsubishi Eclipse 1990 User manual

Mitsubishi
Mitsubishi FUSO FE 2006 User manual

Mitsubishi
Mitsubishi 3000GT Instruction manual

Mitsubishi
Mitsubishi 2013 Outlander User manual

Mitsubishi
Mitsubishi OUTLANDER User manual

Mitsubishi
Mitsubishi 1985 Mirage Reference manual

Mitsubishi
Mitsubishi 1998 Galant User manual

Mitsubishi
Mitsubishi 3000GT 1991 User manual

Mitsubishi
Mitsubishi OUTLANDER User manual

Mitsubishi
Mitsubishi Fuso FK 2010 User manual

Mitsubishi
Mitsubishi i-MiEV User manual

Mitsubishi
Mitsubishi 2014 OUTLANDER User guide


