MixRC T23 User manual

MODEL: T23
1. With LCD
Remote Controller
2.With Gyro and Servo
Installed Inside

INTRODUCTION
The wire that fixed on the landing gear is the receiver
of the helicopter, disassembling this wire may be
dangerous or causes accident.
T23
640
315
515
630
370
14:1
148
3
Li-Polymer 7.4V
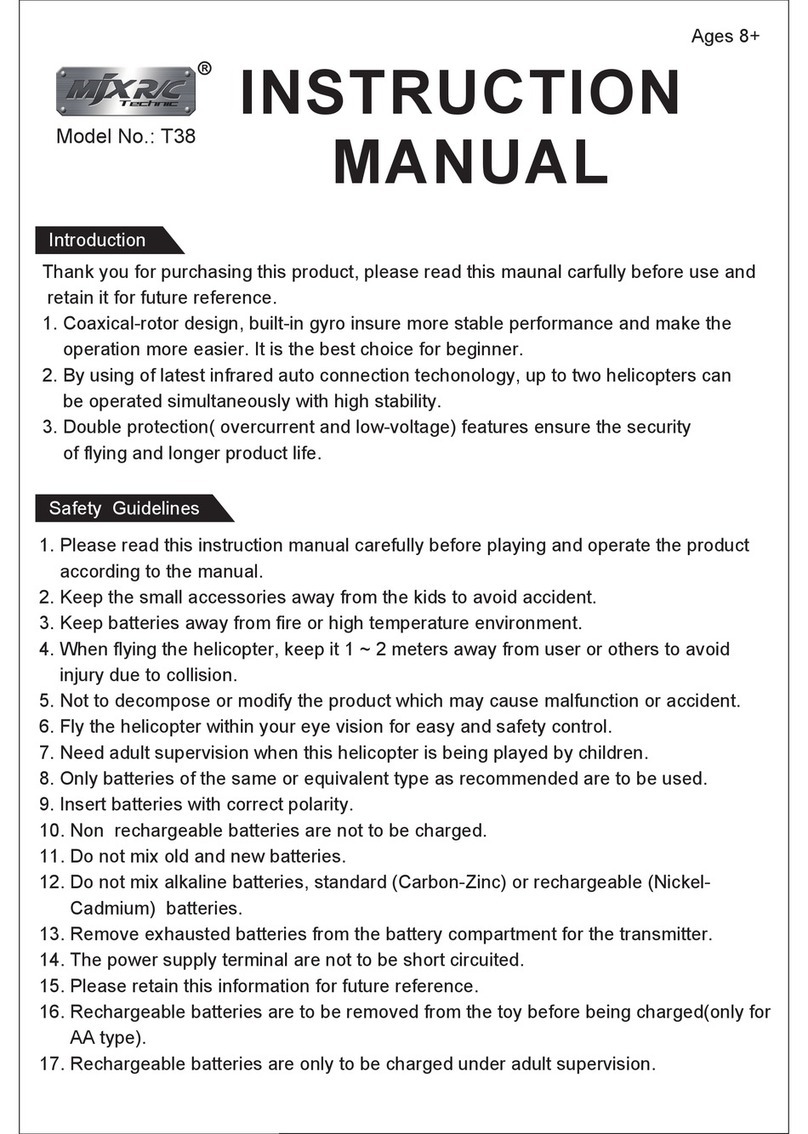
Thank you for purchasing this product,please read this maunal carefully before use and retain it for future reference.
1.Coaxical-rotor design,built-in gyro and unique function of digital speed setting and operation of the helicopter.It is the
best choice for beginner.
2.Adopt aluminum alloy outer casing,attractive design and elegant appearance.
3.Powered by 7.4V 1500mAh Li-polymer battery, the helicopter offers longer flight time.
4.Double protections( start-up and low-voltage) ensure the security of flying and longer product life.
5.Adopt microcomputer control LCD remote controller,which allows user to regulate the helicopter’s turing sensitivity and
speed of going forward/backward.
6.Installed with servo to control the helicopter’s forward and backward moving, the helicopter is strong enough to fly in
the environment that wind is up to force 3.
from

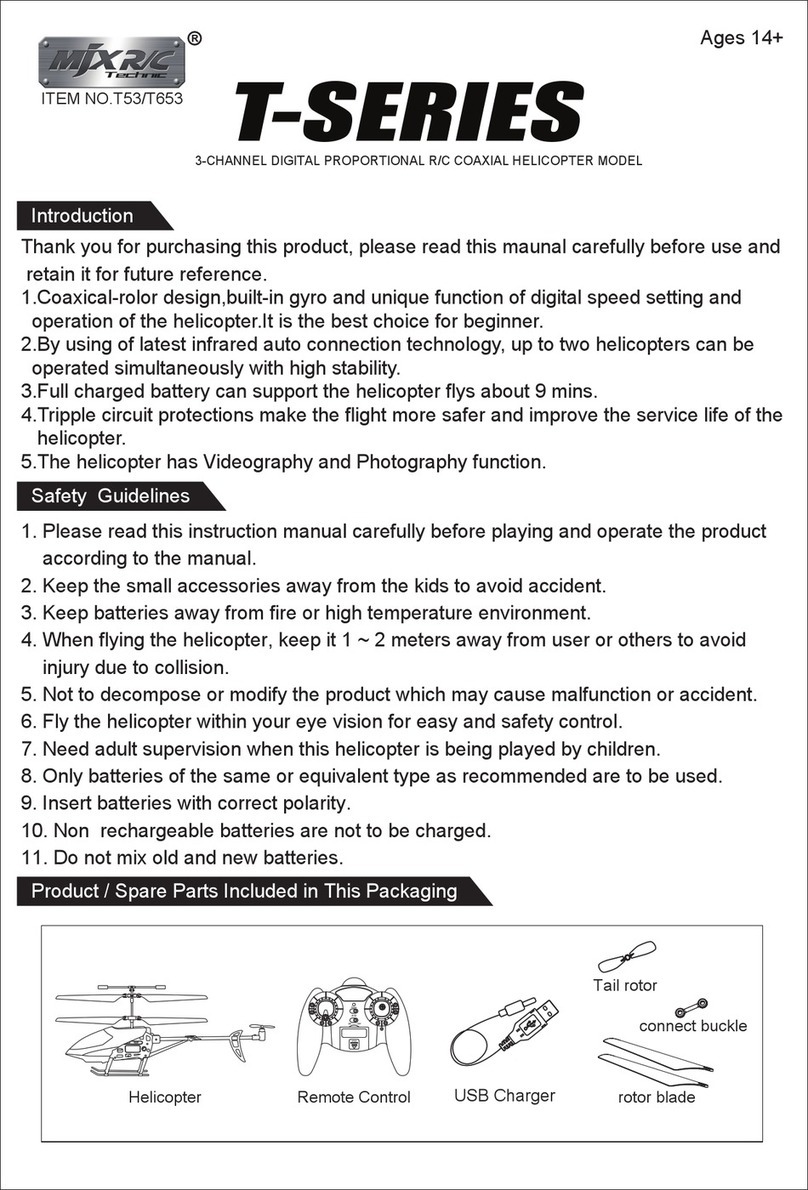
PRODUCT/SPARE PARTS INCLUDED IN THIS PACKAGING
LCD Remote Controller
Remote control 1
1
1
Charge controller
Antenna
Control stick 2
Description QT Y (pc)
Main Units & Accessories
Helicopter 1
1
1
Rechargeable battery pack
Charger
Manual 1
Description QT Y (pc)
Main Units & Accessories
1. Insert the antenna into the small hole locating at the top of the remote control unit.
Screw it until it is well tighten by turning clockwise . Insert the two control sticks
into the holes locating at the left and the right side of the remote controller
respectively.(Pic.1)
2. Installing the Batteries: Open the battery compartment cover by
turning the battery compartment screw counterclockwise. Insert
4X “AA”batteries into the battery compartment. Ensure the
batteries are inserted properly by matching the “+”and “-” symbols
as indicated. (Pic.2)
Indicator Light
Parameter Setting Knob
Power Switch
Throttle Stick
Up/Down
Speed Setting
LCD Screen
Forward/Backward
Regulation Button
Joystick Controls For
Forward / Backward /
Left / Right
Gyro Regulation Button
Antenna
Handle
Battery
Cover
Remote Controller
Channel Selector
Searchlight
Indicator Light Power Switch
Power Plug
Tail Light
Helicopter
Charging Socket
Battery Charging Plug
Pic.2
(Not included)
4
EXIT/LIGHT
MENU/OK
split charging device
all-in-one charging device

Please turn off the helicopter if not using. If you are planning
not to play the helicopter for a long time, charge the
helicopter for about 1 hour before storing it .
Pic.3 Pic.4
Turn the power switch of the
helicopter to "OFF" position .
If the red light of the charge controller blinks quickly during charging, it means that there’s something
wrong with the charge controller. Please stop the charging right away. The charger controller can not be
used until it is well repaired.
ONOFF
Pic.5
How to charge the helicopter by split charging device (Pic 3 & 4)
�Turn off the helicopter; unplug the battery cable from the helicopter.
�Insert the plug of the battery cable into the quadrate port of the charge controller (matching the plug to the port)
Insert the plug of the charger cable into the circular port of the charge controller, then, connect the plug of the charger
to AC power outlet to start charging.
Once charging is proceeding, the red power light of the charge controller is on. When charging is finished, both the red
light and green light of the charge controller are on.
Full charge takes about 3 hours.
How to charge the helicopter by all-in-one charging device (Pic 5)
�Turn off the helicopter.
�Unplug the battery cable from the helicopter, then, insert the plug of the battery cable into the port of the charger (matching
the plug to the port) to start charging.
�Once charging is proceeding, red light is on. When charging is finished, the red light will turn into green light.
Full charge takes about 3 hours.
To meet the different demands from different customers worldwide, two different charging devices have been designed for charging.
One is split charging device (1 piece charger +1 piece charge controller), the other one is all-in-one charging device (one charger
only)The product is included with either of the two charging devices. User should check the package to confirm which charging
device is included before reading the charging method.

Installing the Batteries: Open the battery compartment cover by
turning the battery compartment screw counterclockwise. Insert
4X “AA”batteries into the battery compartment. Ensure the
batteries are inserted properly by matching the “+”and “-” symbols
as indicated. (Pic.2)
THE REMOTE CONTROLLER’S PARAMETER SETTING
2. Flight Mode selection
Pic.5 Pic.6 Start-up layout
Pic.7 Pic.8
1. Activate the LCD remote controller
Signal icon
channel icon
Battery power icon
Battery voltage
leftward/rightward
turning sensitivity gauge
Speed icon
Upward/downward
indicator gauge
There are 2 flight control setting modes available : “Mode 1” & “Mode A”
Mode 1 is user self setting mode, the forward / backward speed
and the sensitivity of turning left /right can be adjusted by user.
Mode A is factory default setting mode,the forward/backward speed
and the sensitivity of turning left/right can’t be changed by user.
After the remote control is activated, you can select the flight mode by turning the parameter setting knob.
If you would like to use the factory setting, simply turn the knob until the display shows “Mode A”. The display will resume to the start-up
interface in a few second. Then, you can start your flight under the factory setting.
If you would like to enter the user setting mode, simply turn the knob until the display shows “Mode 1”.The display will resume to the
start-up interface in a few second. Then, you can start to adjust the setting as below
%
%
3.Parameter setting
Step 1. ( Setting of the forward / backward speed )
Press the “parameter setting” knob to access the forward / backward /speed setting and
leftward/rightward turning speed setting.
Display will show the blinking “ FbCS” ( pic. 9 )
( If you would like to adjust the leftward/rightward turning speed, please jump to Step 2)
Step.1 A – forward speed setting
● Press the “parameter setting” knob again. The letter “F” will start to blink. ( pic. 11 )
( If you would like to adjust solely the backward speed, please jump to Step. 1B )
● Press the “parameter setting” knob again. The letter “F” is blinking together with the
parameter ( pic.13).
You may tune up the forward speed by turning the “parameter setting” knob in a
clockwise direction or tune down by turning the “parameter setting” knob in a counter-
clockwise direction The parameter will show the reading accordingly.
( Reading is from min 0% to max 100% .The higher the reading, the faster the speed
and vice versa)
● Press the “parameter setting” knob again to store your setting and Letter “F” keeps
blinking. ( pic.11 )
( You may work on the adjustment of the backward speed now. Please follow the
Step.1 B – backward speed setting.)
● Press “EXIT /LIGHT” if setting is done & “FbCS” keeps blinking.(pic. 9)
( you may work on the left/ right turning sensitivity from here. Turn the “parameter setting”
knob you have entered the l leftward/rightward turning speed setting interface. Wording
“LRCS” is blinking. ( pic. 10), Pls follow the Step.2 to adjust the speed)
● Press again “EXIT /LIGHT” and return to start up interface.
Step. 1B – backward speed setting
When display is showing the blinking letter “F’’ ( pic. 11).Press“UP” key and the letter “b”
will start to blink. ( pic. 12 )
● Press the “parameter setting” knob again. The letter “b” is blinking together with the
parameter ( pic.14).
You may tune up the backward speed by turning the “parameter setting” knob in a
clockwise direction or tune down by turning the “parameter setting” knob in a counter-
clockwise direction The parameter will show the reading accordingly.
( Reading is from min 0% to max 100% . The higher the reading, the faster the speed
and vice versa)
● Press the “parameter setting” knob again to store your setting and Letter “b” keeps
blinking. ( pic.12 )
Press “EXIT /LIGHT” if setting is done & “FbCS” keeps blinking.
Press again “EXIT /LIGHT” return to the start up interface.
Install the batteries into the battery compartment with correct polarity and slide the power switch to “ON” position. The indicator light will start
to blink and the signal icon display as“ ”(Pic.5). To activate the remote control, slowly push up the throttle control stick to top and then push it
down to the bottom. It is activated once you hear the “beep” sound and the signal icon turns into “ ”(Pic.6). Then, the remote control will
automatically send out connectional signal and the indicator light will keep blinking for a few seconds until the remote control finishes signal
connection.
Operational Tip: In Mode A, user can turn either the throttle stick or the other joystick to skip the auto signal connection process.
Pic. 9
Pic. 10
Pic. 11
Pic. 12

%
%
%
%
%
%
Step.2 A – left turning sensitivity setting
● Press the “parameter setting” knob again. The letter “L” will start to blink. ( pic. 15 )
● Press the “parameter setting” knob again. The letter “L” is blinking together with the
parameter ( pic.17).
You may tune up the left turning sensitivity by by turning the “parameter setting” knob in
a clockwise direction or tune down by turning the “parameter setting” knob in a counter-
clockwise direction The parameter will show the reading accordingly. ( Reading is from
min 0% to max 100% . The higher the reading, the faster the speed and vice versa)
● Press the “parameter setting” knob again to store your setting and Letter “L” keeps
blinking. ( pic. 15 )
( You may work on the adjustment of the right turning sensitivity now. Please follow the
Step.2B – right turning sensitivity setting.)
● Press “EXIT /LIGHT” if setting is done & “LRCS” keeps blinking(pic. 10)
● Press again “EXIT /LIGHT” return to the start up interface.
There are 3 channels on the remote control: channel A, channel 1 and channel 2.
When selecting channel A, user can directly play the helicopter without the action
of signal connection. To play 2 helicopters at the same time, the remote control of
each helicopter should select channel 1 and channel 2 separately. Choosing the
same channel, the two helicopters will be out of control.
Push up/down the “up/down speed setting” key, the helicopter will ascend/descend at
the speed as the user assigned.
When the LCD screen displays as Pic 6, press “EXIT/LIGHT”, background light of the
LCD screen and the helicopter light can be turned on and turned off.
When power of the remote control is weak, the battery power icon on the LCD screen
will keep blinking and send out “beep” sound. The helicopter will not be under control
until new batteries are installed.
4.Channel connection setting
5.Up/down speed setting
6.Light control
7.Battery Lower power display
6
Pic. 13
Pic. 14
Pic. 15
Pic. 16
Pic. 17
Pic. 18
Step.2 – ( Setting of the leftward/rightward turning sensitivity)
Press the “parameter setting” knob to access the leftward/rightward turning speed setting
Display will show the blinking “ FbCS” ( pic. 9 ), turn the “parameter setting” knob , you
have entered the left /right turning sensitivity setting interface. Wording “LRCS” is
blinking.(pic.10 )
Step. 2B – right turning sensitivity setting
When display is showing the blinking letter “L’’ ( pic. 15 ).
● Press “UP” key and the letter ‘R’ will start to blink. ( pic. 16 )
● Press the “parameter setting” knob again. The letter “R” is blinking together with the
parameter ( pic.18).
You may tune up the backward speed by by turning the “parameter setting” knob in a
clockwise direction or tune down by turning the “parameter setting” knob in a counter-
clockwise direction The parameter will show the reading accordingly. ( Reading is from
min 0% to max 100% . The higher the reading, the faster the speed and vice versa)
●Press the “parameter setting” knob again to store your setting and Letter “R” keeps
blinking. ( pic. 16)
●Press “EXIT /LIGHT” if setting is done & “LRCS” keeps blinking. (pic.10)
●Press again “EXIT /LIGHT” return to the start up interface.
Must set the remote controller to the “OFF” position before operating step 1
1. Turn on the helicopter by switching the power button on the bottom of the helicopter, the helicopter’s indicator light will keep quickly
blinking for about 3 seconds while the helicopter is checking the middle point of the gyro. Then, the indicator light will blink slowly,
which indicates that the helicopter is ready to connect with the remote controller.
2. Firstly, select the “A”, “1” or “2” channel. Turn on the remote controller, the power indicator light on the remote controller will blink slowly,
slowly push up the throttle control stick to top and then push it down to the bottom, you will hear a “beep” sound. Then, the remote controller
send out connectional signal and the indicator light keep blinking before the remote controller finishes signal connection; Point the remote
controller to the helicopter, the indicator light of the helicopter will stay “ON” without blinking after it has successfully received the signal
from the remote controller. And the helicopter is ready for flight.
3. Push up the throttle stick to get the helicopter taken off.
Select channel 1 and channel 2 and operate maximum 2 helicopters simultaneously.
Not to use the same channel by 2 helicopters at the same time.
Set the connection on by on. Otherwise, it may not be connected.
Once turn off the power, the connection procedure must be repeated to operate the helicopter.
PREPARATION FOR FLIGHT

OPERATING
When the LCD is displayed as pic 5, press "EXIT/LIGHT" to turn on or turn off the searchlight. The light makes the helicopter look more
attractive at night flight.
7

8
CIRCUIT PROTECTION DEVICES
When the battery voltage of the helicopter drops to certain level, the helicopter will be out of control. Recharge is necessary to
resume the function.
Phenomenon Causes Solution
Shorten the The distance between the helicopter and
the remote controller.
Change another place where there is no interference.
The helicopter is underpowered.
The remote controller is underpowered.
The remote controller has not been started.
The indicator light of the helicopter
blinks very quickly.
The antenna is not extendede to the
longest. Extended the antenna to its longest
No reaction from the
helicopter.
The helicopter flys
intermittently.
Set the helicopter down to the ground and wait until
the indicator light stay "on" without blinking.
The distance between the helicopter and
the remote controller is too long.
Another remote controller nearby is sending
out signal of the same frequency
Get the battery of the helicopter charged.
Replace with new batteries of the remote controller.
Re-start the remote controller
If the helicopter keeps self-rotating in the air even there is no control signal given, you could adjust the gyro regulation
button to keep the helicopter balanced. If the helicopter nose is rotating counter clockwise, you could tuning the gyro
regulation button to the right. Contrarily, you could tune it to the left.
2.If the helicopter keeps moving forward/backward even there is no control signal given, you could adjust the forward/
backward regulation button to keep the helicopter balanced. If the helicopter keeps moving forward, you could tune down
the forward/backward regulation button. vContrarily, you could tune it up.
If the helicopter keeps moving forward,
you could tune down the forward/backward
regulation button until the helicopter
gets balanced.
If the helicopter keeps moving backward,
you could tune up the forward/backward
regulation button until the helicopter gets
balanced.
forward/backward
regulation button
forward/backward
regulation button
If the helicopter nose is rotating clockwise,
you could tuning the gyro regulation button
to the left the helicopter gets balanced.
gyro regulation
button
gyro regulation
button
If the helicopter nose is rotating counter
clockwise, you could tuning the gyro regulation
button to the right until the helicopter gets
balanced.
1.
Table of contents
Other MixRC Toy manuals