Mobibooth Aura V2 Photo Kiosk User manual

Setup Guide
Aura V2 Photo Kiosk
Version
Date
Author
Comments
1.0
6/22/22
MAG
Initial release
2.0
11/30/22
MEB
Updated tools & accessories
3.0
3/16/23
MAG
Removed Cloud, added Snappic
4.0
5/25/23
MAG
Removed Mobibooth Cloud™reference

V e r s i o n 4 L a s t m o d i f i e d M a y 2 5 , 2 0 2 3 P a g e 2of 18

V e r s i o n 4 L a s t m o d i f i e d M a y 2 5 , 2 0 2 3 P a g e 3of 18
Supported Devices ........................................................................... 5
Setup Video & Tools......................................................................... 6
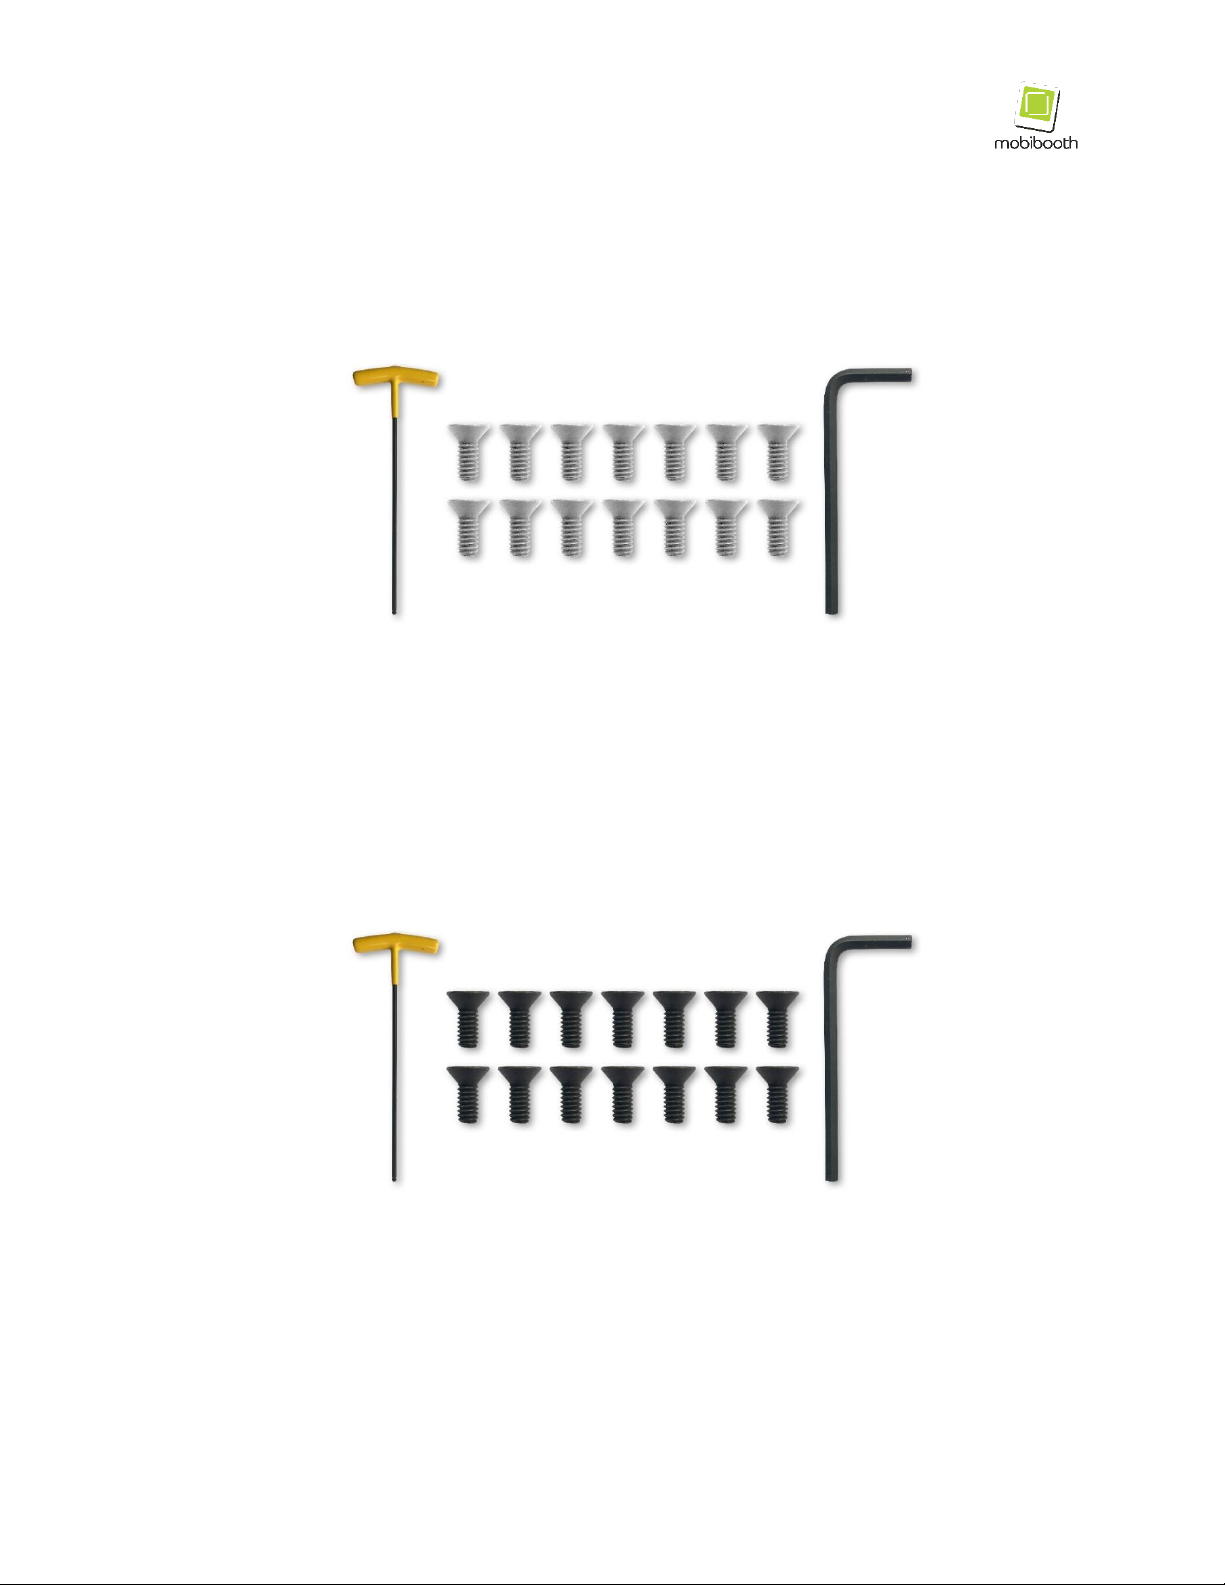
Tools & Accessories ........................................................................ 7
White Units..................................................................................... 7
Black Units ..................................................................................... 7
Assembly Instructions ..................................................................... 8
1. Unpack parts.............................................................................. 8
2. Attach baseplate........................................................................ 8
3. Flip lower assembly................................................................... 9
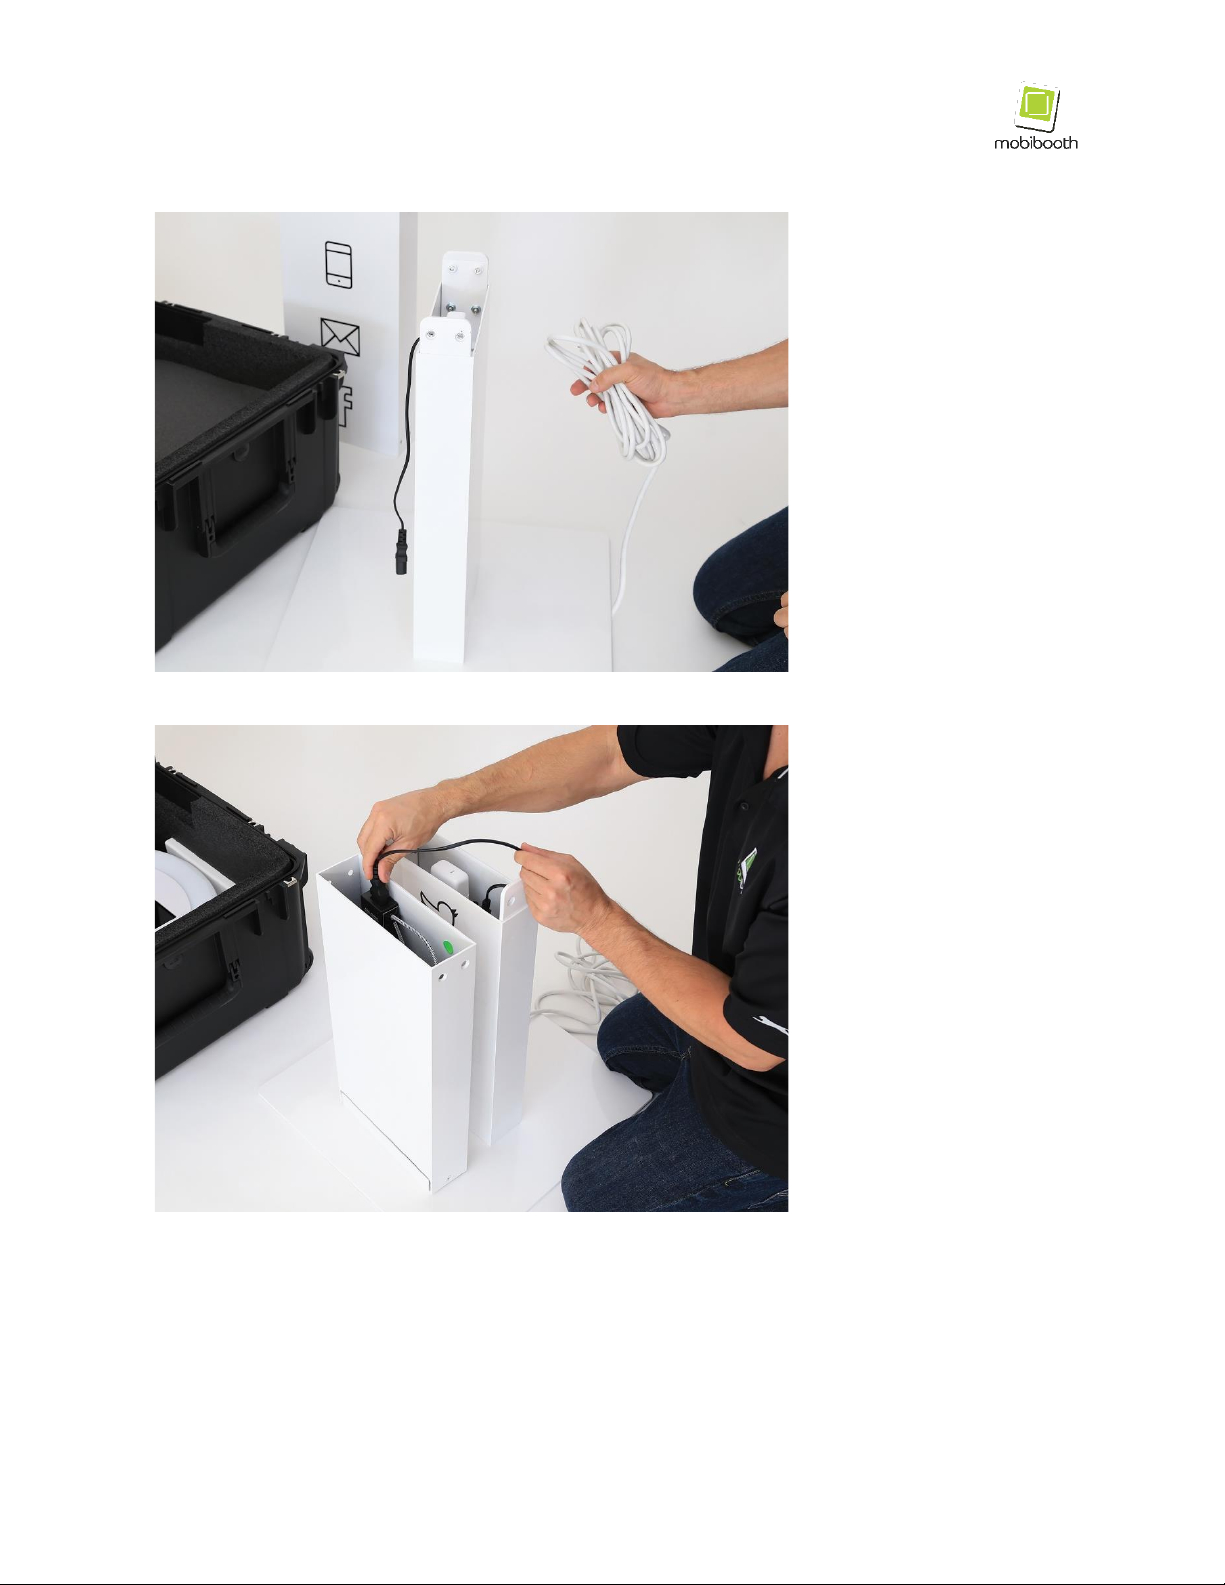
4. Connect power cables between tubes ..................................... 9
5. Install the top tube................................................................... 10
6. Install four tube bolts .............................................................. 11
7. Attach head assembly............................................................. 11
8. Fasten head assembly ............................................................ 12
9. Connect power cords .............................................................. 13
10. Power unit.............................................................................. 13
Bluetooth App Connectivity ........................................................... 14
1. Open Snappic app.................................................................... 14
2. Log into your account.............................................................. 14
3. Select your event ..................................................................... 15
4. Select accessories................................................................... 15
5. Select your Mobibooth controller ........................................... 16
6. Device type selection (not required)....................................... 16
7. Editing animations................................................................... 17
How to Pack Your Mobibooth Aura™............................................ 18

V e r s i o n 4 L a s t m o d i f i e d M a y 2 5 , 2 0 2 3 P a g e 4of 18

V e r s i o n 4 L a s t m o d i f i e d M a y 2 5 , 2 0 2 3 P a g e 5of 18
Supported Devices
iPad Models
iPad Pro 11-inch (2018)
iPad Pro 11-inch (2020)
iPad Pro 11-inch (2021)
iPad Pro 11-inch (2022)
iPad Pro 12.9-inch (2018)
iPad Pro 12.9-inch (2020)
iPad Pro 12.9-inch (2021)
iPad Pro 12.9-inch (2022)
iPad Air (2022)

V e r s i o n 4 L a s t m o d i f i e d M a y 2 5 , 2 0 2 3 P a g e 6of 18
Setup Video & Tools
Setup video available at: https://mobibooth.co/aura/assemble
In this video we cover:
• What parts are included with your photo booth.
• How to attach the baseplate.
• How to stack and secure vertical tubes.
• How to connect power cords.
• How to attach the head assembly.

V e r s i o n 4 L a s t m o d i f i e d M a y 2 5 , 2 0 2 3 P a g e 7of 18
Tools & Accessories
WHITE UNITS
Tools and accessories stored in the black velvet hardware bag include:
1 - T-handle tool.
14 - hex head bolts (8 white, 6 all silver).
1 - Allen wrench (hex keys) used for repairs only.
BLACK UNITS
Tools and accessories stored in the black velvet hardware bag include:
1 - T-handle tool.
14 - hex head bolts (extras are included).
1 - Allen wrench (hex keys) used for repairs only

V e r s i o n 4 L a s t m o d i f i e d M a y 2 5 , 2 0 2 3 P a g e 8of 18
Assembly Instructions
1. Unpack parts
Unpack the top tube,
bottom tube and
baseplate carefully
placing parts on
the floor.
Flip bottom tube
upside down and
place baseplate on
top.
2. Attach baseplate
Install and tighten
4 bolts snugly (do
not over tighten)
using T-handle tool.

V e r s i o n 4 L a s t m o d i f i e d M a y 2 5 , 2 0 2 3 P a g e 9of 18
3. Flip lower assembly
Pull the power cord
from the bottom of
the tube.
Flip the assembly
over so that the
baseplate is now on
the ground.
4. Connect power cables between tubes
Ensure that all power
cords and blocks are
securely installed in
the power strips
within the lower
tube.
Pull out the two
power cords.
(step 4 continued next page)

V e r s i o n 4 L a s t m o d i f i e d M a y 2 5 , 2 0 2 3 P a g e 10of 18
Connect the ring
light power cord to
the power block in
the top tube.
Plug the iPad USB
power cord into the
white power block.
5. Install the top tube
Place the top tube
onto the bottom tube
with aligning green
dots. Verify all cords
are inside and not
pinched.
Ensure the top tube
is sitting flush and
four bolt holes are
aligned.

V e r s i o n 4 L a s t m o d i f i e d M a y 2 5 , 2 0 2 3 P a g e 11of 18
6. Install four tube bolts
Install and tighten
four bolts to secure
the top tube to the
bottom tube.
Tighten bolts snug
being careful to not
over tighten them.
7. Attach head assembly
Feed the wiring
pigtail through the
oval opening in the
top of the pivoter.
(step 7 continued next page)

V e r s i o n 4 L a s t m o d i f i e d M a y 2 5 , 2 0 2 3 P a g e 12of 18
Attach the head
assembly using the
two front guide pins
to line up the bolt
holes.
8. Fasten head assembly
Install and tighten
two bolts at the rear
of the head
assembly base to
secure it to the
pivoter.

V e r s i o n 4 L a s t m o d i f i e d M a y 2 5 , 2 0 2 3 P a g e 13of 18
9. Connect power cords
Push the head
assembly forward to
maximum forward
angle to access the
head pigtail and
pivoter pigtail.
Connect power
cords for light (barrel
connector) and iPad
(USB-C).
10. Power unit
Plug the extension
cord into a standard
120 VAC outlet.
The unit’s light will
cycle white, red,
green, blue and then
turn off. Once this
cycle completes
connect the photo
booth app to the
Bluetooth controller
of the unit.

V e r s i o n 4 L a s t m o d i f i e d M a y 2 5 , 2 0 2 3 P a g e 14of 18
Bluetooth App Connectivity
As an owner of a Mobibooth photo kiosk, you have access to 10% off on
any new Snappic subscription. To take advantage of Mobibooth exclusive
savings go to https://mobibooth.co/getsnappic.
In this section, we will demonstrate how to connect the Mobibooth RGBW
Bluetooth® controller to the Snappic app. A similar interface will be used
by apps that have integrated with our controller. These apps include
Fotozap, Curator Live, PixBooth, and Touchpix at the time of this writing.
To watch our video walkthrough demonstrating RGB LED integration and
the Snappic app please visit https://youtu.be/KRb83LDxqGE.
1. Open Snappic app
Open the Snappic by tapping the app icon on the iPad’s screen.
2. Log into your account
Log into the app using your Snappic credentials. If you have not created
an account, you can do so at https://events.getsnappic.com.
Once you have logged into the app it will remember your account
credentials and automatically log you in upon launch.

V e r s i o n 4 L a s t m o d i f i e d M a y 2 5 , 2 0 2 3 P a g e 15of 18
3. Select your event
Select the event to use by tapping it in the events list.
4. Select accessories
Tap Select
Accessories on the
screen.
This will bring up a list
of all available
Bluetooth devices.
Your Mobibooth will
start with MOBIBLE_.

V e r s i o n 4 L a s t m o d i f i e d M a y 2 5 , 2 0 2 3 P a g e 16of 18
5. Select your Mobibooth controller
In the pop-up locate
the Mobibooth Ring
Light section.
Pair with your
Mobibooth tap the
device listed there.
6. Device type selection (not required)
It is no longer required
that you specify a
device type as the
firmware in the
hardware knows this.

V e r s i o n 4 L a s t m o d i f i e d M a y 2 5 , 2 0 2 3 P a g e 17of 18
7. Editing animations
Once connected to the
Bluetooth controller
the app is able to
customize several app
states.
To edit an app mode,
tap the Edit button.
Tapping Preview will
trigger the current LED
settings to execute.

V e r s i o n 4 L a s t m o d i f i e d M a y 2 5 , 2 0 2 3 P a g e 18of 18
How to Pack Your Mobibooth Aura™
1. Make sure
case is on
a level
surface.
2. Place head
assembly
in bottom
of case.
surface.
3. Place
square
foam pad
on top of
diffuser.
4. Place
baseplate
in next.
5. Place
square
foam pad
on top of
baseplate.
6. Place
bottom
tower
piece in
next.
7. Place
rectangle
foam pad
separator
next to
tower
piece.
8. Place top
tower
piece in
next.
Other manuals for Aura V2 Photo Kiosk
1
Table of contents