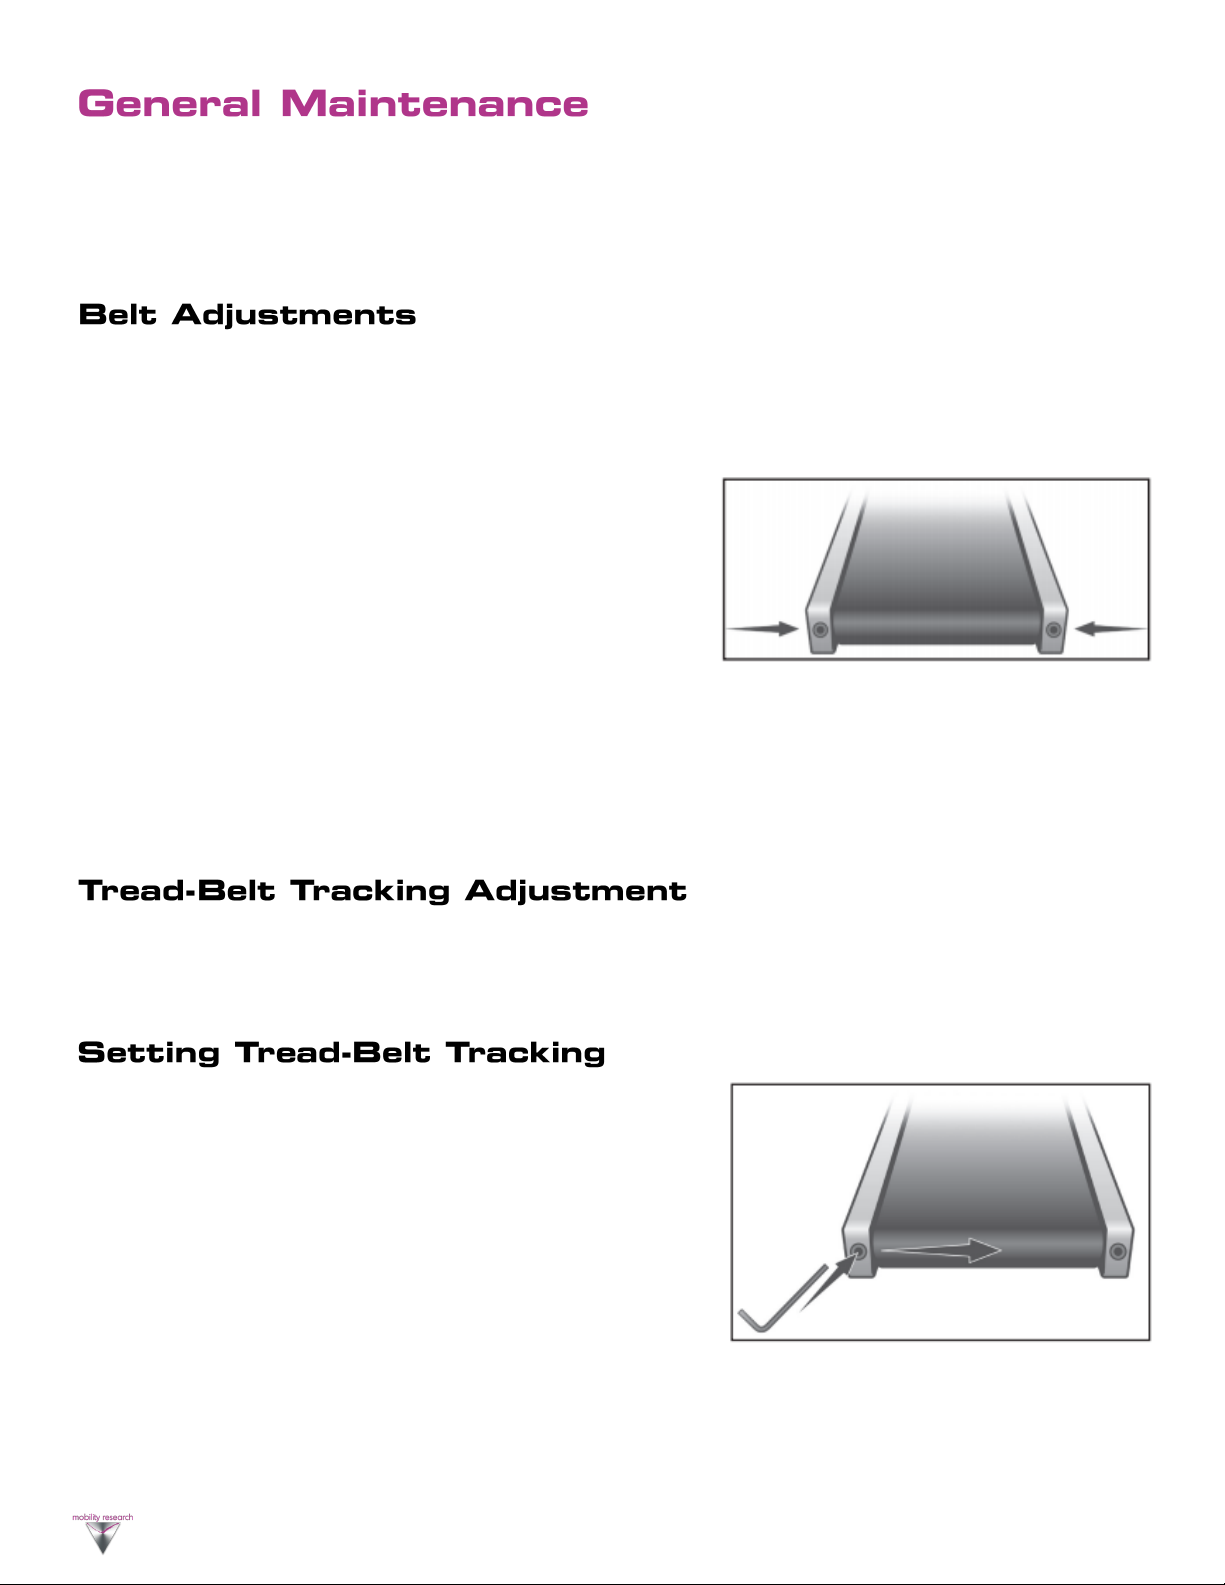
Mobility Research GaitKeeper GKS20 User manual


2
CAUTION: Health related injuries may result from incorrect or excessive use of exercise equipment.
MOBILITY RESEARCH STRONGLY recommends seeing a physician for a complete medical exam before undertaking an
exercise program, particularly if the user has a family history of high blood pressure or heart disease, is over the age of
45, smokes, has high cholesterol, is obese or has not exercised regularly in the past year. Mobility Research also
recommends consulting a fitness professional on the correct use of this product. If at any time while exercising the user
experiences faintness, dizziness, pain or shortness of breath, he or she must stop immediately.
WARNING: READ ALL INSTRUCTIONS BEFORE USING THE TREADMILL.
WARNING: Do not move the treadmill by lifting the console. Do not use the console as a handlebar during a
workout
DANGER: To reduce the risk of electric shock, always unplug the treadmill before cleaning or performing
maintenance
WARNING: To reduce the risk of burns, fire and electric shock or injury to persons, follow these instructions:
Attach the safety clip to your clothing before each workout and treadmill is in use.
Avoid exiting treadmill while the tread belt is in motion.
This equipment should never be left unattended when plugged in.
To avoid injury stand on the straddle covers before starting the treadmill, unless supported by LiteGait®
Do not exceed maximum user weight as outlined in the product specification section of this manual.
Wear shoes with rubber or high traction soles. Do not use shoes with heels, leather soles, cleats or spikes. Make
sure no stones are embedded in the soles. Do not use this product in bare feet. Keep all loose clothing, shoelaces
and towels away from moving parts.
Do not operate the treadmill while covered with a blanket, plastic, or anything that insulates or stops airflow.
Close supervision is necessary if the treadmill is used by children, or used near children. This also applies to
disabled persons.
Use this treadmill only for its intended use as described in this manual.
Do not use attachments not recommended by the manufacturer.
Never operate this treadmill if it has a damaged power cord or plug, if it is not working properly, if it has been
damaged or dropped, or if it has been submerged in water. In these cases, a qualified service technician should
examine this treadmill
Do not use the power cord as a handle for transporting.
Do not run the power cord along the side or under the treadmill.
Keep the power cord away from heated surfaces.
Position this product so the power cord plug is accessible to the user.
Never operate the equipment with the air vents blocked. Keep air vents free from clogs.
Never drop or insert any object into any opening.
Do not reach into or underneath the unit, or tip it on its side during operation.

3
Use the side handrails whenever additional stability is required. In case of emergency, such as tripping, the side
handrails should be grabbed and the user should place his/her feet on the straddle covers.
Use indoors only.
Do not operate where aerosol (spray) products are being used or where oxygen is being administered.
To disconnect power cord, first turn power switch to the off position, then remove plug from outlet.
Allow only trained personnel to service equipment
Never use near water or while wet. Using this treadmill around a pool, hot tub or sauna will void the warranty.
Avoid the possibility of bystanders being struck or caught between moving parts by making sure that they are out
of reach of the treadmill while it is in operation.
Allow only one person at a time on the treadmill while it’s operating.
Ensure that the sides of the treadmill are placed at least 20” away from a wall or other obstructions.
Never place liquids of any type directly on the unit.
Do not allow animals on or near the treadmill while it is operating.
Consult your physician before beginning any exercise program.
Do not use if you have a cold or fever.
SECTION INTENTIONALLY LEFT BLANK

4
Read and understand all instructions on this sheet and in the Owner’s manual before
plugging any power cord into an electrical outlet. This information sheet will help you
identify the voltage and cords you need where you live and will outline requirements
for:
• Grounded, dedicated lines
• Voltage
• Power cords
• Power adapters
• Extension cords
DANGER: Improper connection of the equipment grounding conductor can result in risk of electric
shock. Check with a qualified electrician or service provider if you are in doubt as to
whether the equipment is properly grounded or installed on a dedicated line. Seek a
qualified electrician to perform any modifications to the cord or plug. Mobility Research
is not responsible for injuries or damages as a result of cord or plug modification.
CAUTION: Place cords away from heat (such as baseboards). Use care to arrange any cord so it
doesn’t become an obstacle.
Extension Cords
Do not use an extension cord to supply power to any GaitKeeper treadmill.
GaitKeeper equipment must be grounded. If it should malfunction or break down,
grounding provides a path of least resistance for electric current to reduce the risk of
electric shock. GaitKeeper cords (except for cycle adapters) have an equipment
grounding conductor and a grounding plug. The plug must be plugged into an
appropriate outlet that is properly installed and grounded in accordance with all local
codes and ordinances where you live. Do not use a ground plug adapter to adapt the
power cord to a non-grounded outlet. Do not use a GFCI outlet or GFCI circuit breaker. A
dedicated line will assure that adequate power is available for safe operation over the
life of your GaitKeeper treadmill.
Voltage
Voltage required for your unit is located on the serial number decal (usually on the front
of the unit). Depending on where you live voltage requirements differ.
115 VAC
Standard US
Residential
Voltage
60 Hz
Standard US
Frequency
15 amps
Outlet Rating

5
WARNING: To reduce the risk of burns, fire, electric shock or injury, it is imperative to connect each product
to a properly grounded electrical outlet. A risk of electrical shock may result from improper connection of the
equipment’s grounding conductor. Check with a qualified electrician if you are unsure about proper
grounding techniques. Do not modify the plug provided with this product. If it will not fit an electrical outlet,
have a proper outlet installed by a qualified electrician. Your MOBILITY RESEARCH Fitness product must be
properly grounded to reduce risk of shock if the treadmill malfunctions. Your treadmill is equipped with an
electrical cord, which includes an equipment grounding conductor and a grounding plug. The plug must be
inserted into an outlet that has been properly installed and grounded in accordance with all local codes and
ordinances. A temporary adapter cannot be used to connect this plug to a two-pole receptacle in North
America. If a properly grounded 120 Volt/15 Amp outlet is not available, a qualified electrician must install
one.
SECTION INTENTIONALLY LEFT BLANK

6
SECTION INTENTIONALLY LEFT BLANK

7
1. Pull up on the knob
2. Pull the handrail insert out
3. Release Knob before inserting
handrail.
To Remove
To Insert
4. Rotate to preferred angle and
then insert until clicked into
place.
SECTION INTENTIONALLY LEFT BLANK

8
SPEED
INCLINE
ELAPSED TIME DISTANCE
MESSAGE WINDOW PERCENTAGE WINDOW
START BUTTONSELECT BUTTON
SPEED CONTROLS
DISPLAY
STOP BUTTON
INCLINE CONTROLS
REVERSE BELT
MOVEMENT DIRECTION
START BUTTONSELECT BUTTON
SPEED CONTROLS
DISPLAY
STOP BUTTON
INCLINE CONTROLS

9
1. Attach Safety Key to Safety Key Receptacle to enable use of treadmill.
2. Press START to begin Manual Workout.
3. Treadmill will start at minimum speed and incline settings.
4. Press STOP to pause manual workout.
5. Press STOP again to end manual workout.
6. Press START to resume workout at minimum speed and incline settings.
7. Manual workout will reset after being idle for 15 minutes.
1. Attach Safety Key to Safety Key Receptacle to enable use of treadmill.
2. Press SELECT to program workout.
3. Press SELECT to confirm selected Program
4. Press UP or DOWN speed OR incline buttons to select program.
5. During the program workout the percentage window shows the elapsed duration of the workout.
5. Press STOP to pause program workout.
6. Press STOP again to end manual workout.
Program Time 1. Press UP or DOWN speed OR incline buttons to set maximum time
duration (1 to 99 minutes).
2. Press SELECT to Confirm Program Setting.
3. Press START to begin program.
Program Distance 1. Press UP or DOWN speed OR incline buttons to set maximum distance.
2. Press SELECT to confirm program setting.
3. Press START to begin program.
Program Ramp 1. Press UP or DOWN speed OR incline buttons to set maximum incline.
2. Press SELECT to confirm maximum incline.
3. Press UP or DOWN speed OR incline buttons to set maximum exercise
time (10 to 99 minutes).
4. Press SELECT to confirm maximum exercise time.
5. Press START to begin program.
Ramp Program:
1st third of Exercise Time Elevation is inclined to maximum incline.
2nd third of Exercise Time Elevation is sustained at maximum incline.
3rd third of Exercise Time Elevation is declined to minimum incline.
INCLINE
1. Before a workout press the REVERSE button to change the direction of the walking surface belt. The
REVERSE direction has a maximum speed of 3 mph.
2. During a workout if you press the REVERSE button, the workout will slow down to a stop and then will
start in the reverse direction.

10
Dirt, dust, and hair can block air inlets and accumulate on the running belt. Please vacuum underneath your
treadmill on a monthly basis to prevent excess build-up of dirt that can get sucked up and get into the inner
workings under the motor cover. Every other month, you should remove the motor cover and carefully
vacuum out dirt and hair that may accumulate. UNPLUG THE POWER CORD BEFORE THIS TASK. (Use the chart
at the beginning of the manual to record your maintenance)
Tread-belt Tension Adjustment - Belt tension is not critical for most users. It is very important though for
joggers and runners in order to provide a smooth, steady running surface. Adjustment must be made from
the rear roller with the 6mm Allen wrench provided in the parts package. The adjustment bolts are located at
the end of the step rails as shown in the diagram below.
Tighten the rear roller only enough to prevent slippage at the
front roller. Turn the tread-belt tension adjusting bolts 1/4 turn
each and inspect for proper tension by walking on the belt and
making sure it is not slipping or hesitating with each step. When
an adjustment is made to the belt tension, you must be sure to
turn the bolts on both sides evenly or the belt could start
tracking to one side instead of running in the middle of the
deck.
DO NOT OVERTIGHTEN –Over tightening will cause belt damage and premature bearing failure. If you
tighten the belt a lot and it still slips, the problem could actually be the drive belt - located under the motor
cover - that connects the motor to the front roller. If that belt is loose it feels similar to the walking belt being
loose. Tightening the motor belt should be done by a trained service person.
The treadmill is designed so that the tread-belt remains reasonably centered while in use. It is normal for
some belts to drift near one side while in use, depending on a user’s gait and if they favor one leg. But if
during use the belt continues to move toward one side, adjustments are necessary.
If the belt is too close to the right side, turn the bolt counter-clockwise. The belt may require periodic
tracking adjustment depending on use and walking/running characteristics. Some users may affect tracking
differently. Expect to make adjustments as required to center the tread-belt. Adjustments will become less of
a maintenance concern as the belt is used. Proper belt tracking is an owner responsibility common with all
treadmills.
A 6mm Allen wrench is provided for this adjustment. Make
tracking adjustments on the left side bolt. Set belt speed at 3
mph. Be aware that a small adjustment can make a dramatic
difference which may not be apparent right away. If the belt is
too close to the left side, then turn the bolt only a 1/4 turn to
the right (clockwise) and wait a few minutes for the belt to
adjust itself. Continue to make 1/4 turns until the belt stabilizes
in the center of the running deck.

11
Damage to the running belt resulting from improper tracking / tension adjustments is not covered under the
limited warranty.
1. Every 2-3 months (or after 90 hours of use) check to see if the deck is still sufficiently lubed. A dry or
sticky deck will need to be cleaned and lubed.
2. Clean between the belt and deck to remove any debris that may be trapped. Use a clean, non-fraying rag.
Halfway between the end of the treadmill and motor cover, slide the rag under the belt until you can
grasp it at both sides. Drag the garment the entire length of the deck 1-2 times. When you’ve ascertained
that the belt is obstruction free, you can begin the lubing process.
3. We supply you with a tube of silicone based lube. Do not lubricate with anything other than approved
lube - as spray or water based lube can dry quickly or damage your machine. You will need to use a
significant amount of lube on your machine.
4. Turn the power switch off and unplug the power cord from the wall outlet
5. Measure 18” from the edge of the motor cover; kneel down and reach under the belt approximately 4-
6” from one edge. Squirt a line of lubricant in a slight “S” pattern 1/8’th wide and 15” long. Repeat on the
other side.
6. Plug the electrical cord back into the outlet and turn the power switch on.
7. Walk on the belt at a moderate speed for five minutes to evenly distribute the silicone lube.
1. On the main screen press and hold the SELECT button for 3 seconds to enter the lube message reset
mode.
2. Press the START key to reset.
3. Press the STOP key to return to main display.

12
Running Surface 20" x 56" 22" x 56"
Deck Cushioning Rubber Isolators Rubber Isolators
Adjustable
Handrails (Height)
Pediatric Position: 24"-36"
Adult Position: 28"-40"
Pediatric Position: 24"-36"
Adult Position: 28"-40"
Step Up Height 7.6" 7.0"
Power Source 110 V - 120VAC, 60Hz, 15 amp 110 V - 120VAC, 60Hz, 15 amp
220 V - 230VAC, 50Hz, 10 amp (optional)
Motor HP DC 3.0HP AC 2.0HP (w/Reverse)
Speed Range 0.1 - 6.0 mph 0.1 - 10.0 mph Forward,
0.1 - 3.0 mph Reverse
Incline Range 0 to 15% 0 to 15%
Console Removable console Removable console
Console Display Time, Distance, Speed, Incline,
Goal %
Time, Distance, Speed, Incline,
Goal %
Programs Time, Distance, Ramp, Manual Time, Distance, Ramp, Manual
Dimensions 73" L x 53.1" H
Frame Width 27.5"
Adjustabar Width 32.7”
Treadmill Foot Print 73” x 32.7”
73" L x 53.1" H
Frame Width 29.5”
Adjustabar Width 34”
Treadmill Foot Print 73” x 34”
Carton Size
(Estimated)
35" L x 77" W x 15" H
Max User Weight 400 lbs
400 lbs
Certifications TUVc TUVus,
Standard : UL 1647:2015 &
CAN/CSA C22. 2 No. 68-09 + GI1 + GI2 + GI3
TUVc TUVus,
Standard : UL 1647:2015 &
CAN/CSA C22. 2 No. 68-09 + GI1 + GI2 + GI3
220V
CE Mark: Low Voltage Directive (LVD) : EN/IEC60601
-1: 2006 –Medical Electrical Equipment
Electromagnetic Compatibility (EMC) Directive: EN/
IEC60601-1-2: 2007 - Medical Electrical Equipment -
Electro-Magnetic Compatibility

13
All MOBILITY RESEARCH products are distributed by
MOBILITY RESEARCH and are warranted to the original
registered product purchaser and the parts of the MOBILITY
RESEARCH product (the “Product”) listed below, under
normal use and service, shall be free of manufacturing defects
in workmanship and materials only for the period of time
beginning from the original date of purchase set forth below
Frame 3 Year
Motor
Drive Motor
Motor Controller
3 Year
Parts
Electrical
Wear Items
Cosmetics
3 Year
Labor 1 Year
Losses due to work stoppage, lost revenues, damages due to
neglect or abuse ARE NOT covered by this warranty.
Shipping and handling charges ARE NOT covered by this
warranty. Repairs may be conducted at factory at the
discretion of Mobility Research.
THIS WARRANTY AND REMEDIES SET FORTH ABOVE
ARE EXCLUSIVE AND IN LIEU OF ALL OTHER
WARRANTIES, REMEDIES AND CONDITIONS, WHETHER
ORAL OR WRITTEN, EXPRESS OR IMPLIED. MOBILITY
RESEARCH SPECIFICALLY DISCLAIMS ANY AND ALL
IMPLIED WARRANTIES, INCLUDING, WITHOUT
LIMITATION, WARRANTIES OF MERCHANTABILITY AND
FITNESS FOR A PARTICULAR PURPOSE. IF MOBILITY
RESEARCH CANNOT LAWFULLY DISCLAIM IMPLIED
WARRANTIES UNDER THIS LIMITED WARRANTY, ALL
SUCH WARRANTIES, INCLUDING WARRANTIES OF
MERCHANTABILITY AND FITNESS FOR A PARTICULAR
PURPOSE ARE LIMITED IN DURATION TO THE
DURATION OF THIS WARRANTY. NO MOBILITY
RESEARCH RESELLER, AGENT, OR EMPLOYEE IS
AUTHORIZED TO MAKE ANY MODIFICATION,
EXTENSION OR ADDITION TO THIS WARRANTY.
MOBILITY RESEARCH IS NOT RESPONSIBLE FOR DIRECT,
SPECIAL, INCIDENTAL OR CONSEQUENTIAL DAMAGES
RESULTING FROM ANY BREACH OF WARRANTY OR
CONDITION OR UNDER ANY OTHER LEGAL THEORY,
INCLUDING BUT NOT LIMITED TO LOST PROFITS,
DOWNTIME, GOODWILL, OR DAMAGE TO EQUIPMENT
AND PROPERTY.
Please activate your warranty by providing the following
information. This information will allow us to notify you for
product updates, recall information, clinical support, technical
support, maintenance information and to receive our E-
Newsletter. You may visit our website at http://litegait.com/
Product-Registration-Form and fill the registration form or fill
in the information below and mail or fax back. (Keep a copy
for your records)
Write Your Serial Number Here
Your serial number will be located on the front of the
treadmill motor cover
EXAMPLE OF SERIAL NUMBER STICKER
Model
Date of Purchase
Facility Name
Department Used in
Address
Phone #
Fax #
Clinical Contact
Phone #
Email
Biomed Contact
Phone #
Email
LIMITED WARRANTY
Other manuals for GaitKeeper GKS20
1
This manual suits for next models
1
Table of contents
Other Mobility Research Treadmill manuals
Popular Treadmill manuals by other brands

Keys Fitness
Keys Fitness 4600T Specifications

ICON Health & Fitness
ICON Health & Fitness NordicTrack Commercial X14i user manual

Tunturi
Tunturi T50 user manual

Bodyworx
Bodyworx JX300 owner's manual

SportsArt Fitness
SportsArt Fitness 3250 owner's manual

Vision Fitness
Vision Fitness T970HRT Service Service manual