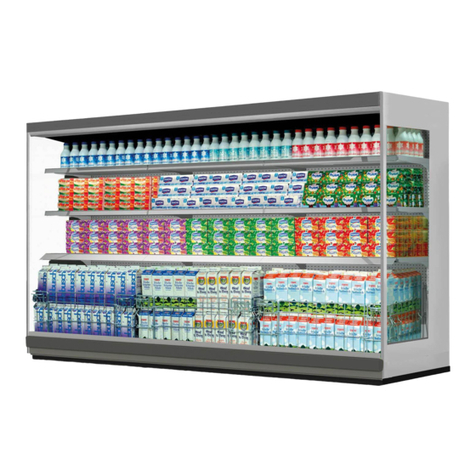
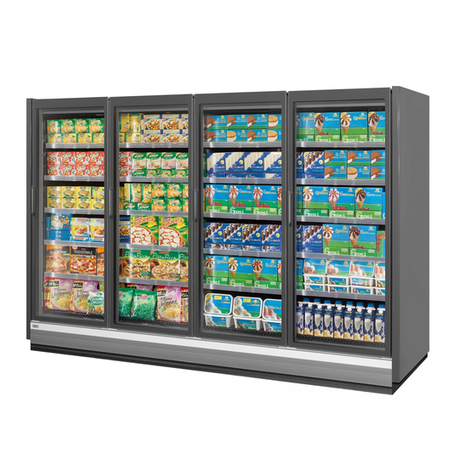
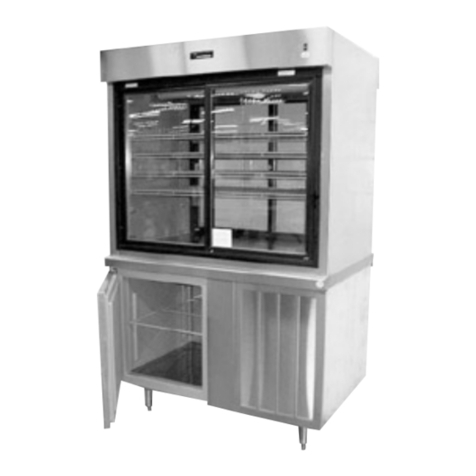
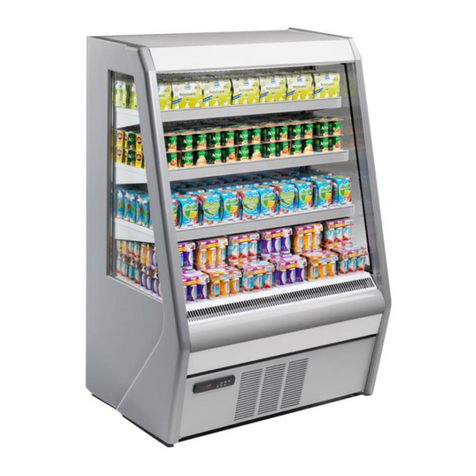
Modena Finesta SC 3157 User manual

User
Manual Book
Showcase Cooler
Finestra Series
SC 3157, SC 2127


3
TABLE OF CONTENT
Part 1: Safety Information 4
Environmental Notice 6
Part 2: Name of Parts 7
Part 3: Quick Start Guide 8
Before First Use 8
Restarting the Appliance 8
Defrost Drain Tray 8
Energy Saving TIps 8
Shelf Height Adjustment 8
Item Placement 8
Thermostat Setting 9
Part 4: Maintenance 10
Cleaning the Appliance 10
Defrosting 11
LED Lamp Replacement 11
Power Outage 11
When Not Used For A Long Time 11
Temporary Storage 11
Part 5: Troubleshooting 12
Part 6: Specification 14
This guide book explains everything you need to know about your new
product. Please contact our Customer Care should you need further
assistance through www.modena.com.

4
Read this user manual book carefully before operating the appliance!
•Installation should be performed by technician or professional.
Attempting to install the unit yourself could result in water leakage,
refrigerant leakage, electrical shock, or fire.
•Repairs, disassembly, and modifications should be performed only
by qualified technicians. Attempting to perform these yourself could
result in a fire, malfunction, and injury
•Do not splash water directly onto the appliance or wash it with water
as short circuit and electrical leakage may occur
•Do not put flammable and volatile substances into the appliance as
explosion and fire may occur
•Do not damage, modify, excessively bend, strain, twist or bundle up
the power cord. Power cord should not be squeezed as it can be
damaged and cause electrical shock
•Do not use cable extension as it may cause electrical shock, short
circuit, and fire
•Do not use or leave flammable spray cans near the appliance. Sparks
from electrical terminals could result in explosion and fire
•This appliance is designed to store and display drinks and
beverages. Do not use for other purposes than its intended use as
this could adversely affect the items inside the appliance
•Do not insert fingers, sticks, etc., into the cold air suction outlet, a
circulation fan is rotating at high speed. This could result in injury,
electrical shock, or improper performance
•This appliance is for indoor use only. Do not place in a place exposed
to rain
•Do not place heavy objects or items containing water on top of the
appliance. Objects could fall down and cause injury and spilled water
could deteriorate the insulation of electrical components and cause
electrical leakage
•Install the appliance on a level and sturdy place enough to support
the weight of the appliance. If it’s not sturdy enough, the appliance
could tip over and fall causing injury.
•If you find gas leakage, please do not touch the appliance, close the
gas leakage and open the door for better ventilation. Gas leakage
may cause explosion, fire, and burn injury.
PART 1: SAFETY INFORMATION

5
•Store the appliance in a location where it is not exposed to rain.
Using the appliance that has been exposed to rain could result in
electrical leakage and electrical shock
•Keep the appliance away from hot area or heat sources. Cooling
performance could drop if it is placed near heat sources or exposed
to direct sunlight
•Leave the disassembly and disposal to qualified experts
•Should the appliance need to be stored, make the storage location
is far from children’s reach and take precautions so the door could
not be closed completely. This can minimize the possibility of
children trapped inside the appliance
•Please allow space at least 10 cm from each side of the appliance
with other objects. If there is no adequate space, the cooling
performance could drop
•If installation in damp areas is unavoidable, install a circuit breaker.
If not, it could result in electrical shock.
•Do not hang from the door or climb onto the appliance. Appliance
may tip over and fall causing property damage and injury
•Disconnect the power plug from the power source before moving
the appliance. Damaged power cord could result in electrical shock
and/or fire
•Grab the door handle when closing the door. Holding at other
positions when closing the door could result in injury due to pinched
fingers
•Do not push against or apply excessive force onto the glass door as
it could break and cause injury
•When disconnecting the power plug, hold the main plug body. Pulling
from the cord could cause wire damage and overheating and fire
•Make sure that the appliance does not tip over or fall when it is
moved. A falling appliance could cause serious injury
•Do not throw objects onto the shelves and do not store objects more
than 30 kg on each shelf. The shelf could fall down and cause injury
•Be sure to attach and secure the shelves correctly. An improperly
attached shelf could fall down and cause injury

6
Environmental Notice
The packaging material used is recyclable. We recommend
that you separate plastic, paper and cardboard and give
them to recycling agents. To help preserve the environment,
the refrigerant used in this product is R600a/R290/R134a
(Hydrofluorocarbon - HFC), which does not affect the ozone
layer and has little impact on the greenhouse effect.
According to WEEE (Waste of Electrical and Electronic Equipment)
guidelines, waste from electrical and electronic devices should be
collected separately. If you need to remove of this appliance in the
future, do not throw it away with the rest of your domestic garbage.
Instead, please take the appliance to the nearest WEEE collecting
agents, where available.

7
1. Light box
2. Digital thermostat
3. Evaporator Fan
4. Door Handle
5. Shelf
6. Door Lock
*Above picture is for reference only. Difference between the picture and actual product
may occur
**Feature and equipments differ by each product
PART 2: NAME OF PARTS
1
2
3
4
5
6

8
Before First Use
•Open the packaging and open the door slightly
•The appliance has been cleaned before shipment, however clean the
inside before first use
•Plug the power plug into the power socket
•Allow the appliance to operate for 1 hour to cool the inside room
before inserting any items
Restarting the Appliance
Restarting the appliance immediately after power outage may cause
fuses to blow and activates the circuit breakre, compressor overload,
and/or other damages may occur
Defrost Drain Tray
•Defrosting is performed automatically and the defrost water is
collected in the drain tray
•Water in the drain tray will evaporate automatically. In high humidity
areas, water amount is higher, throw away the water at least once a
day
Energy Saving Tips
To save energy, follow below instructions:
•Open and close the door quickly and don’t let it open for a long time
•Install the appliance in a well ventilated area
Shelf Height Adjustment
The shelf height can be adjusted according to the item dimensions
placed inside the appliance
Item Placement
This appliance employs forced cooling system. If the cooling circulation
path is obstructed, the items can not be cooled perfectly. Pay attention
to the following:
•Do not let items obstruct the circulation path of air inlet and outlet
PART 3: QUICK START GUIDE

9
•Place the items so that they do not protrude from the shelves. The
gap between the shelf and the glass door is used for cold air
circulation
•Place the items evenly on all shelves
Thermostat Setting
1. Temperature settings
a. Press button until it flashes and display the set temperature.
Press or to modify and store the displayed value. Press
button to exit the adjustment and display the cold room
temperature
b. If no more buttons are pressed within 6 seconds, the cold room
temperature will be displayed (Set temperature adjustment
range: parameter E1-E2)
2. Power On/Off: Press and hold it for 3 seconds to turn off the
product. Press for 1 second, the measured temperature will be
displayed, the refrigeration will start after the delay time
3. Refrigeration LED: During the cooling process, the LED will turn on.
When the cold room temperature is achieved, the LED will turn off.
During the delay process, the LED will flash
4. Light: Press to turn on the light and press it again to turn it off
5. Defrost LED: During defrosting, the defrost LED will turn on, and will
turn off automatically once the defrosting process is finished

10
CLEANING THE APPLIANCE
To make sure that the appliance is in optimum condition, the interior
and accessories must be cleaned regularly.
•Before performing cleaning activity, switch off the appliance and
unplug the power cord.
•Do not clean the appliance using steam cleaner. Moisture from the
steam may damage the electrical components and cause electric
shock. Hot steam may damage plastic components. Appliance must
be dried completely before use.
•Do not allow such substances to come in contact with the
appliances.
•Do not use abrasive cleaners.
•Remove the foods from the appliance
•Clean the interior and accessories using cloth and lukewarm water.
After that, clean with clean water and dry completely.
•Dust can accumulate on the condenser and cause performance
drop. Clean the appliance condenser at least once a year using soft
brush or vacuum cleaner.
PART 4: MAINTENANCE
WARNING!
Appliance may not be connected to the main electrical socket
during cleaning! Risk of electric shock!
WARNING!
Essential oils and organic solvent may damage plastic
components. For example, lemon water, orange water, butyric
acid, cleaner that contains acetic acid.

11
•After everything is dried completely, install the accessories and
appliance to the initial position.
Defrosting
•This appliance has automatic defrost feature. If manual defrost is
needed, press and hold the button for 6 seconds.
•Automatic defrost cycle occurs every 6 hours and lasts for 20
minutes (factory default setting)
•To stop the defrost cycle, press and hold button for 6 seconds
LED Lamp Replacement
If your appliance is equipped with LED lamp, contact Service Center for
lamp replacement. LED lamp replacement must be performed by
qualified technician.
Power Outage
If power outage occurs, minimize the frequency of door opening. Avoid
placing new items into the appliance as it can raise the inside
temperature
When Not Used For A Long Time
Remove all items from the appliance and disconnect the power plug from
power source. Clean the inside compartment and let it dry. To prevent
mold formation and bad odor, leave the door slightly open to dry it
completely
Temporary Storage
Install a piece of wood or similar object between the door and the
cabinet to prevent the door from closing completely. Make sure that the
storage location is far from children’s reach. Should a child enter the
NOTE
If a manual defrost is started, it will reset the automatic defrost
timer. During defrost period, the defrost light will illuminate.

12
appliance and the door is closed, the child may not be able to open the
door from inside the appliance
Check the following before contacting our Service Center in the event
of malfunction:
Problem
Possible Cause
Recommended Action
Appliance does
not work
•Power cord is
unplugged or loose
•Blown fuse or
damaged fuse
•Defective socket
•Insert power cord
correctly
•Check the fuse,
replace if needed
•Malfunction must
be repaired by
qualified electrician
Appliance is not
cold
•Thermostat not
properly adjusted
•Too much items
•Door is opened
frequently
•Appliance is placed
•Adjust the
thermostat until it’s
cold
•Rearrange or
reduce the items
•Do not open the
PART 5: TROUBLESHOOTING
WARNING!
Before troubleshooting, unplug the unit from power source. Only a
qualified technician can perform troubleshooting not stated in this
manual.
IMPORTANT!
There are some normal sounds during use (compressor sound,
circulating refrigerant sounds)

13
Problem
Possible Cause
Recommended Action
in hot area
•Bad ventilation
•Frost accumulated
inside the appliance
door too frequent
•Place appliance in a
cool and dry place
•Ensure adequate
ventilation
•Defrost and clean
the appliance
Appliance is too
cold
•Thermostat
adjusted to
maximum position
•Adjust the
thermostat with
lower setting
Dew outside of
appliance
•Ambient
temperature and
humidity too high
•Place appliance in a
cool and dry place
Loud noise
•Appliance is
touching the wall or
other object
•Appliance pipe is
touching other
parts
•Reposition the
appliance and
follow the minimum
distance
•If needed, bend the
pipe to avoid
touching with other
objects

14
Model
SC 3157
SC 2127
Color
Stainless
Stainless
No. of doors
3
2
Capacity (L)
1560
1200
Rated Power Input (W)
850
650
Rated Current (A)
5.0
4.08
Rated Voltage (V)
220-240
220-240
Rated Frequency (Hz)
50
50
Refrigerant
R134a (2x230g)
R134a (300g)
Inner Light
LED
LED
Control panel
Digital
Digital
Product dimension
(WxDxH)(mm)
1560x725x2125
1200x750x2120
Product weight (kg)
140
129
*S = Stainless, R = Red, C = Cream, O = Orange, N = Green, U = Blue, W = White, V =
Silver, G = Grey, L = Black
Design and specification can change without prior notice to improve the quality of the
product. The illustration in this manual is schematic and can be different with your actual
product. The values on label or in other documents are according to laboratory test and
relevant standards. Values can vary depending on the actual operational and
environmental condition of the product.
PART 6: SPECIFICATION

05/21
PT MODENA INDONESIA
Jl. Industri Raya I Blok D-8,
Jatiuwung, Tangerang 15135
This manual suits for next models
1
Table of contents