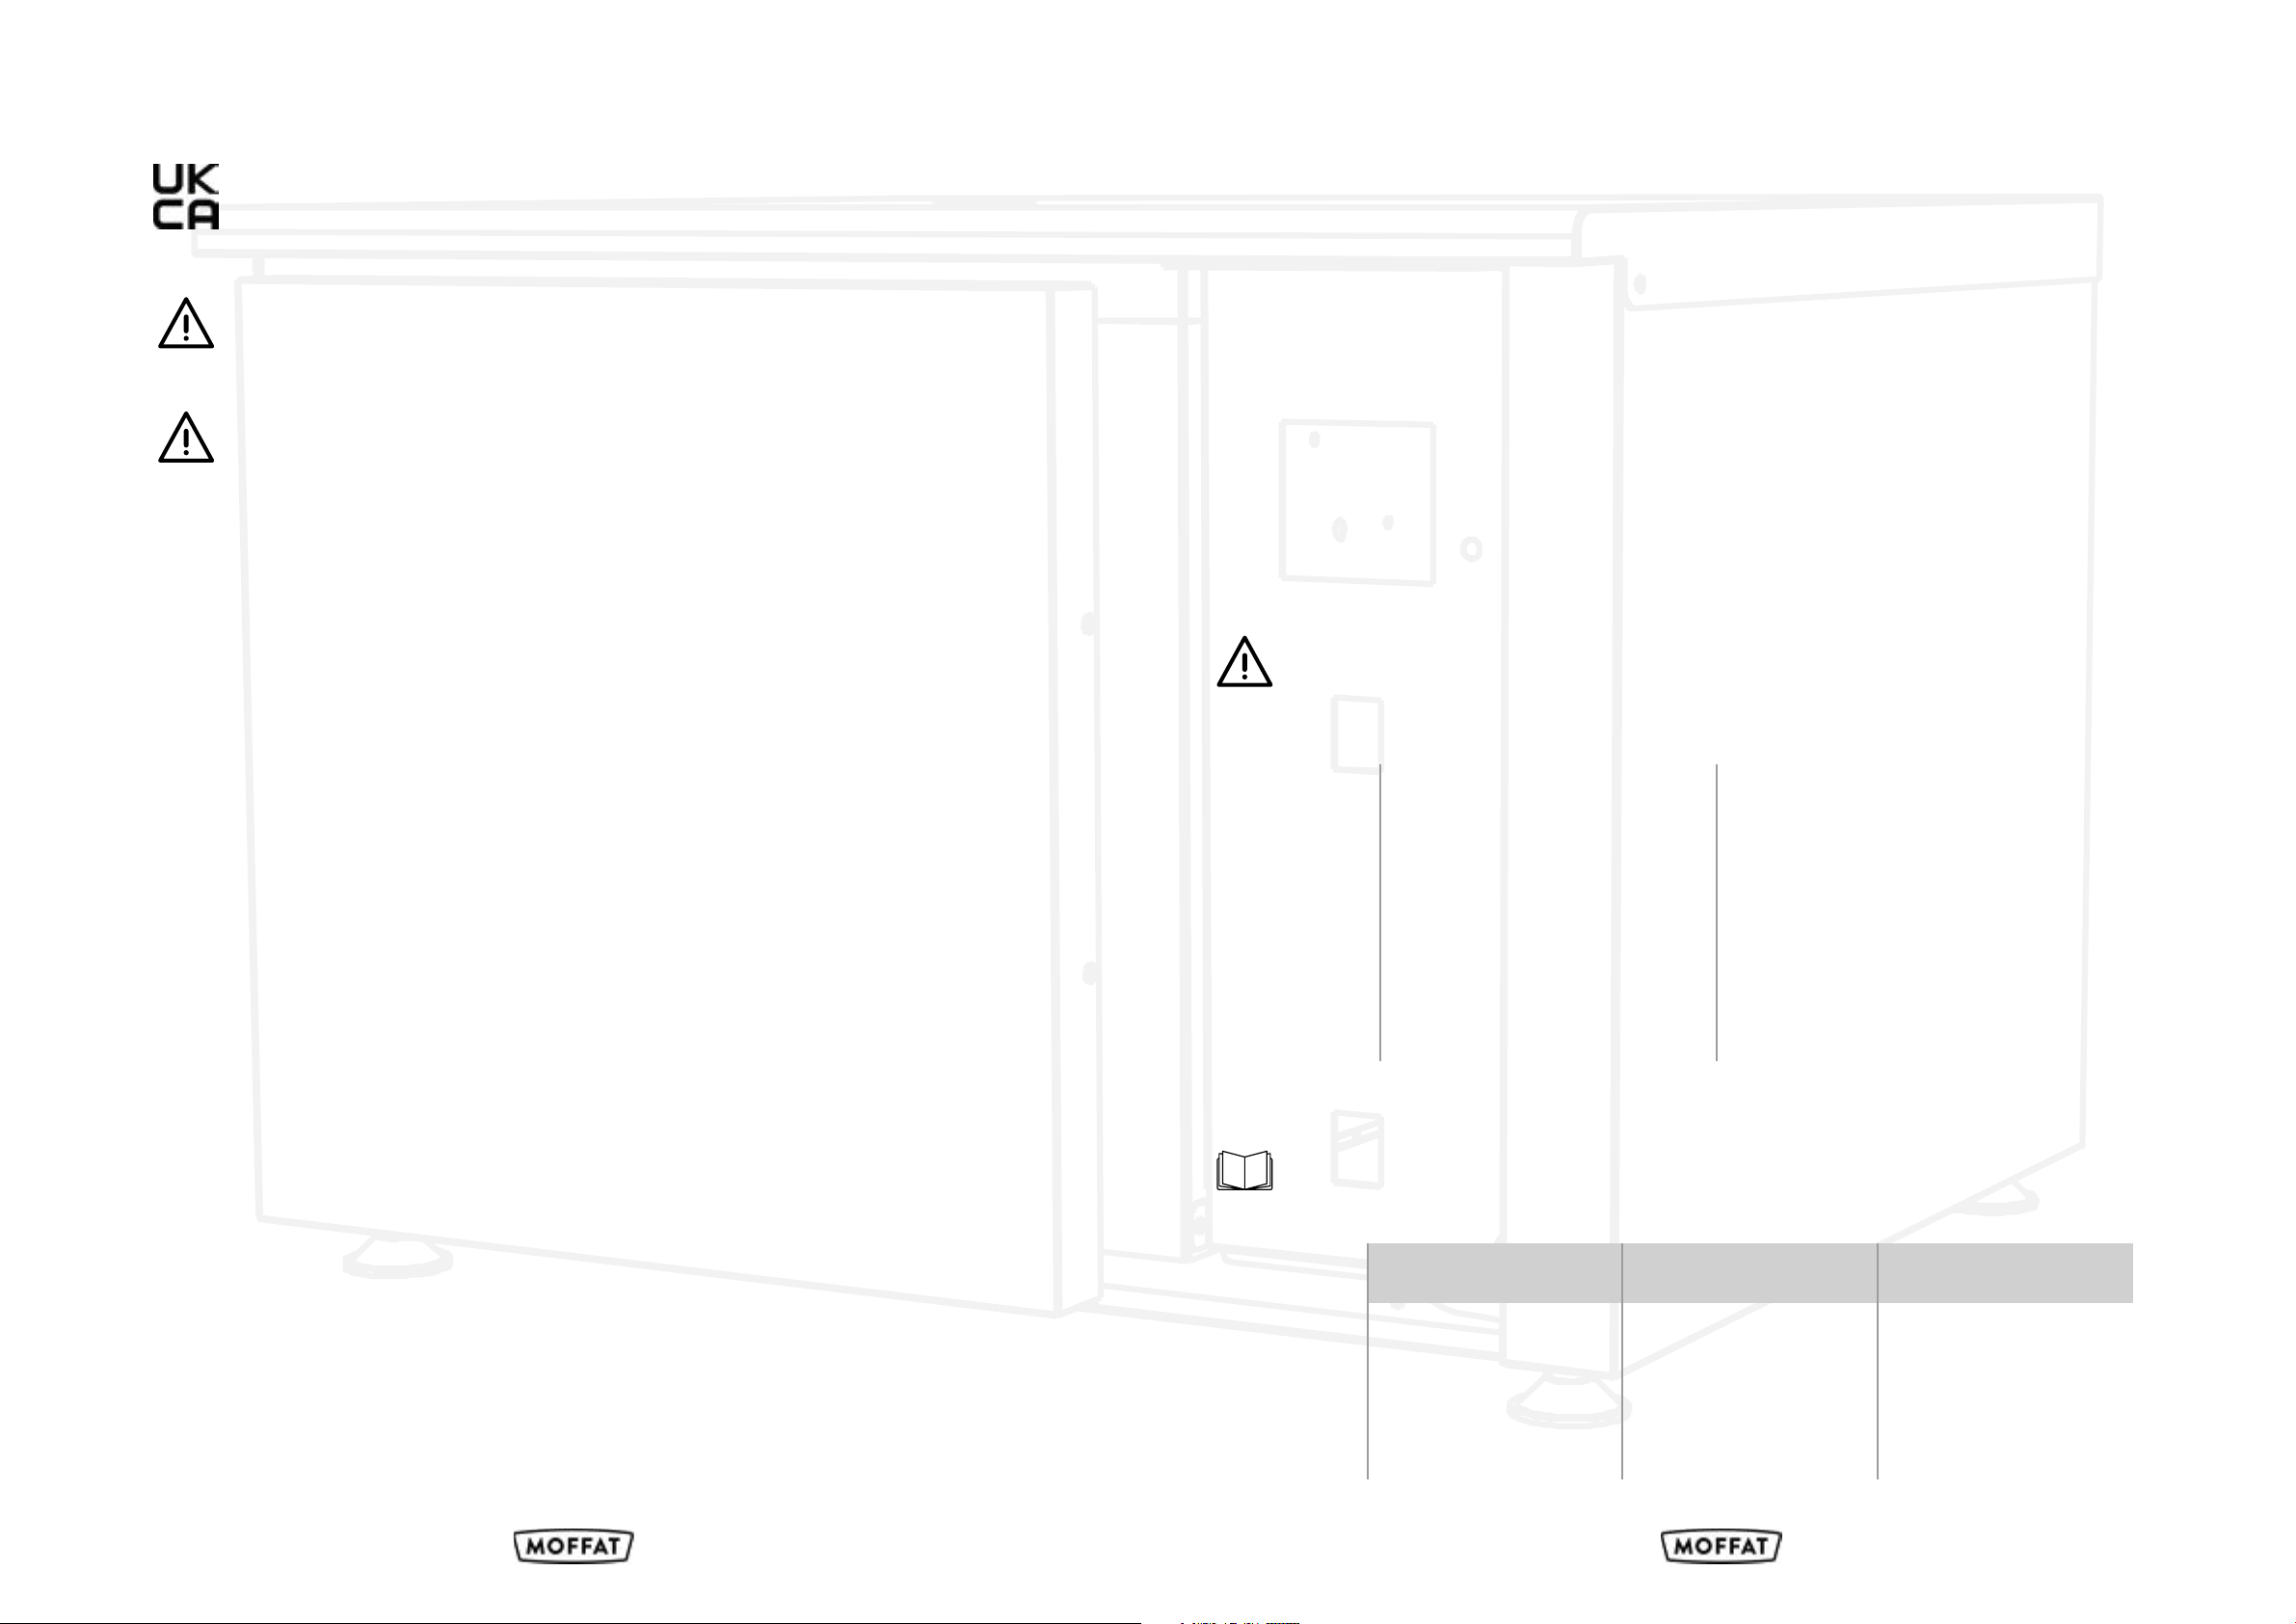
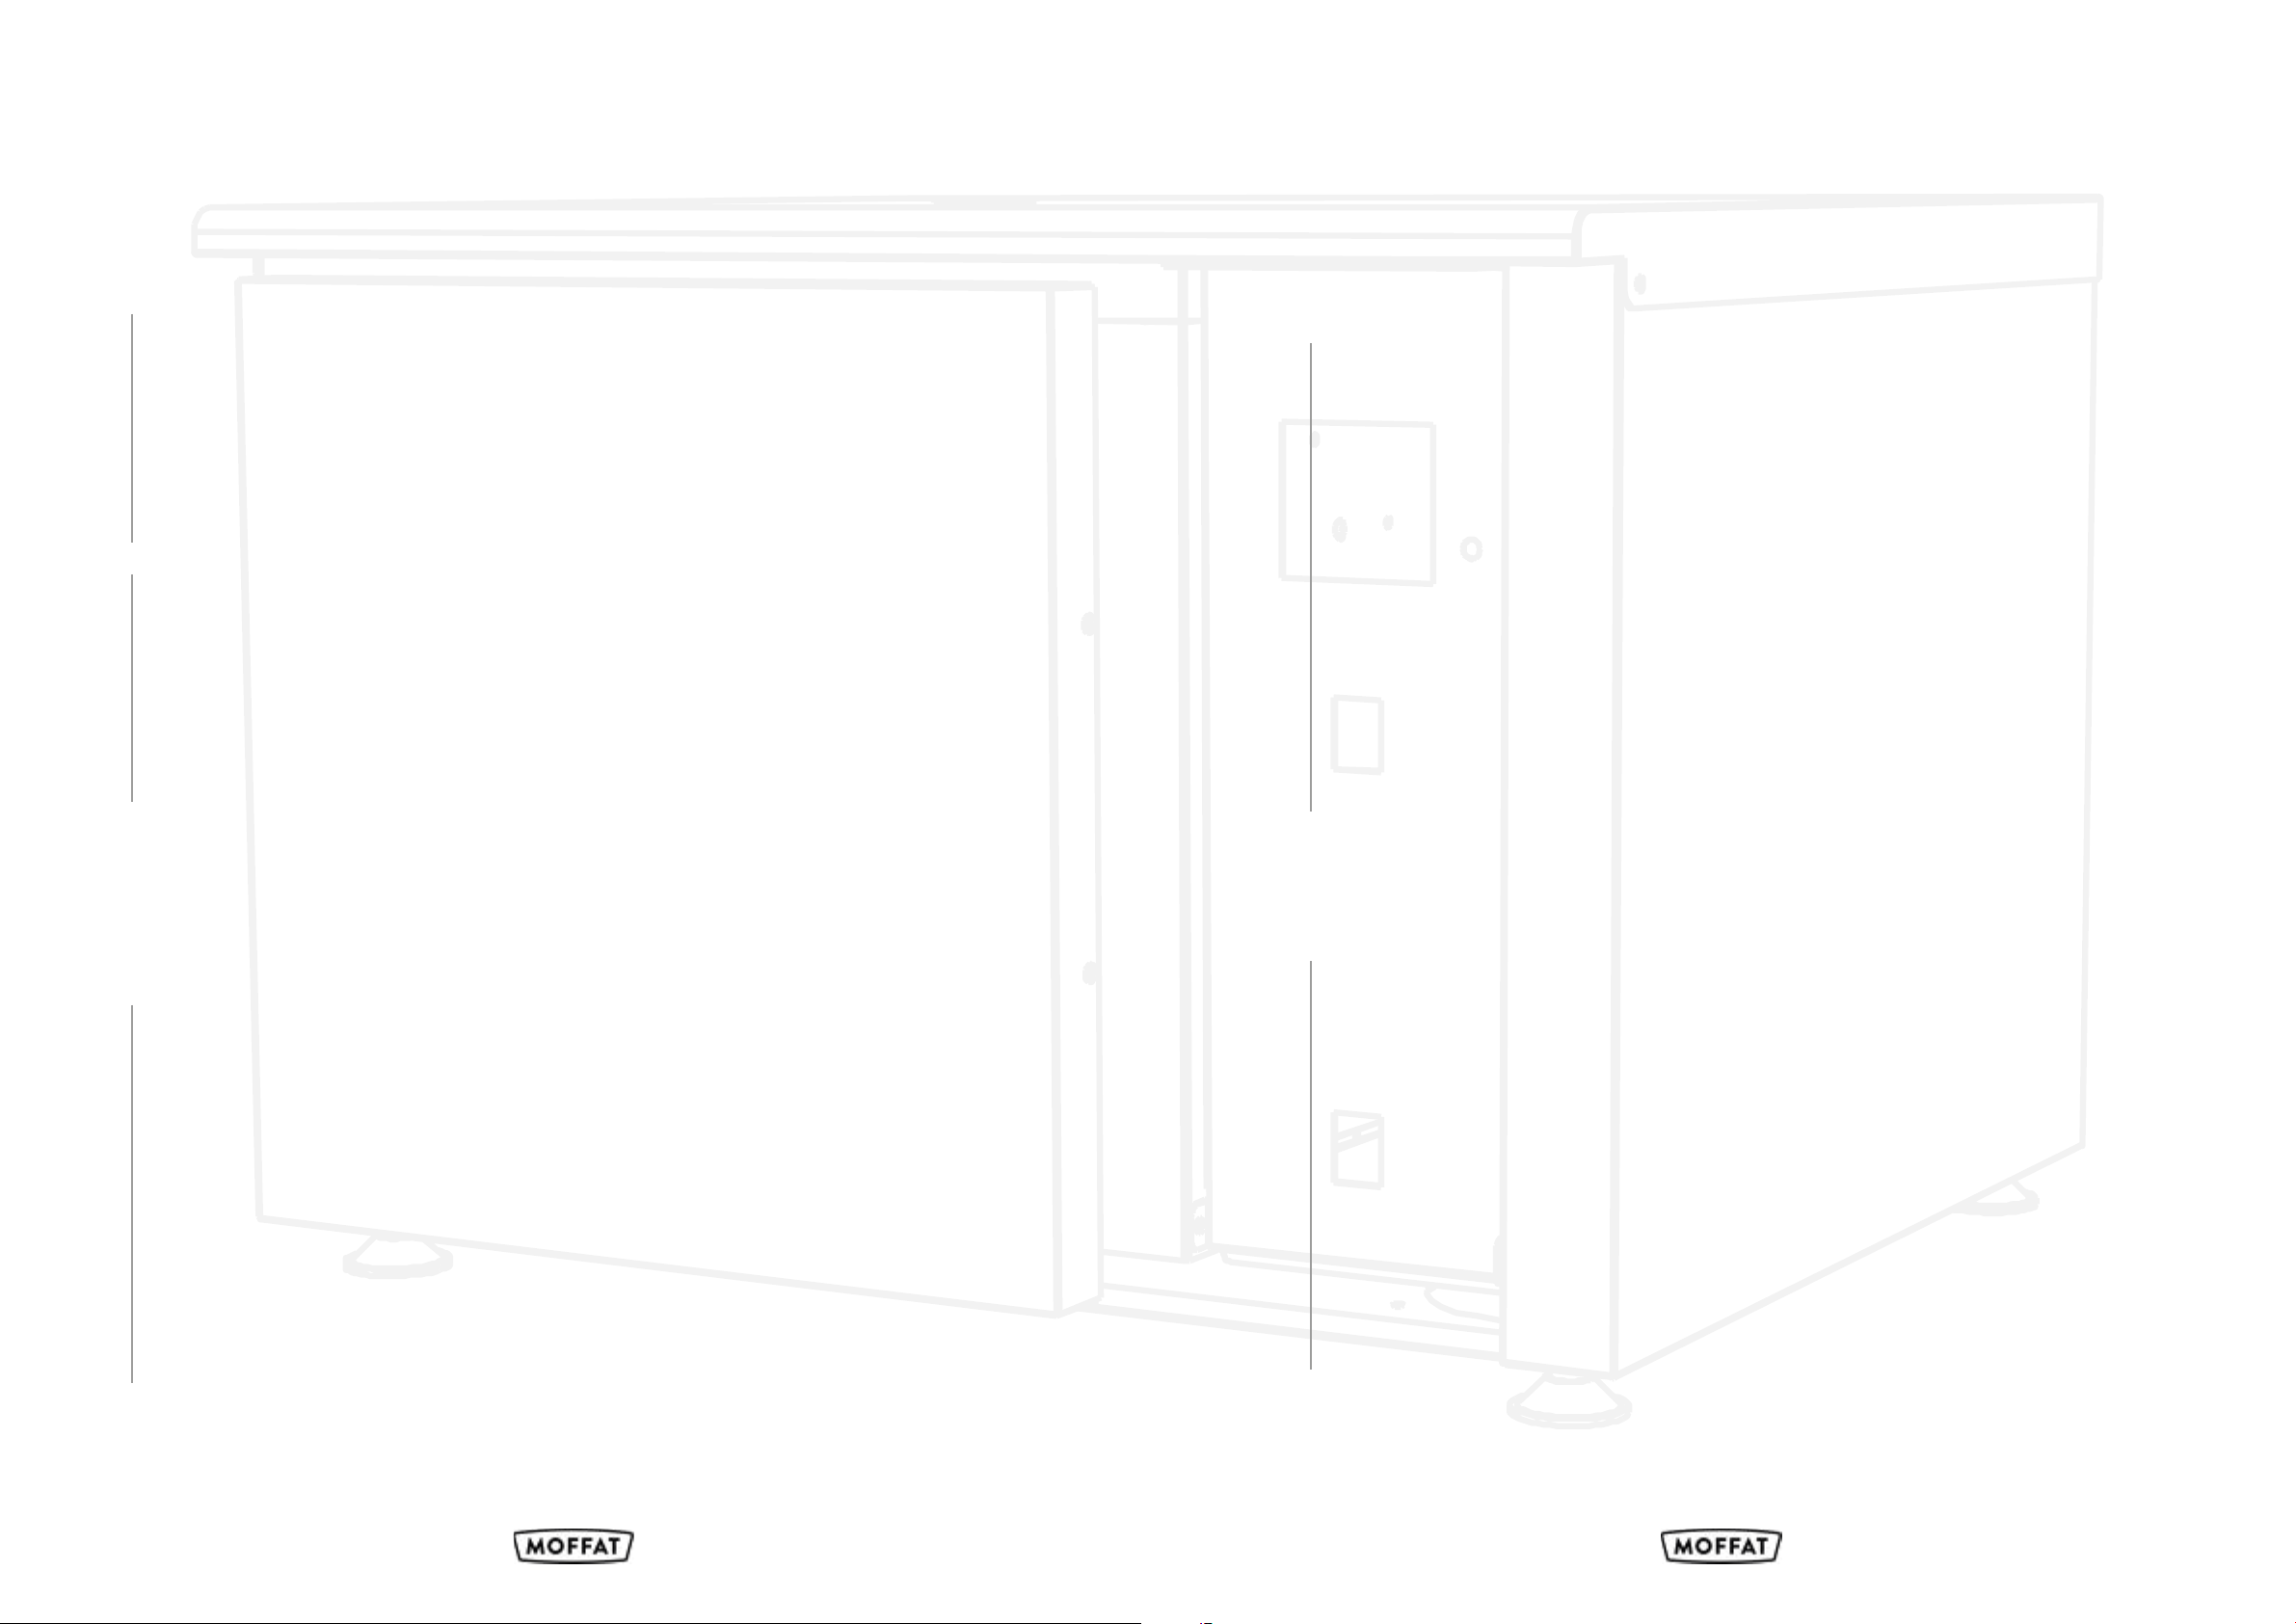
Installation options
The oven top and special stands are fitted with location supports channels.
Simply position one oven on top of the other making sure the feet are located into the support channels, Maximum limits for
stacking are shown in the diagram below.
4 5
2: General Installation
Before installation please read the following points:
• When placing the oven into position ensure there is adequate access.
• Move into position and adjust feet setting the oven level.
• The oven can be place either on a table top or on Moat's support stands
• Table tops must be strong enough to hold the weight of the oven
• Before installing, it is recommended that the area is cleaned.
This equipment is designed to be operated by suitably qualified persons. It is the
responsibility of the Supervisor or equivalent to instruct users, provide suitable
P.P.E., Show the mains isolating switch location, and inform users that parts
may become hot, causing injury if touched.
1. Remove all packaging & plastic coatings from the appliance.
2. Check for any damage.
3. Assemble all parts, shelves and shelf hangers etc.
4. Ensure all switches are in the OFF position.
5. Connect the mains input plug to the socket outlet.
6. Turn on and check the unit is functioning correctly.
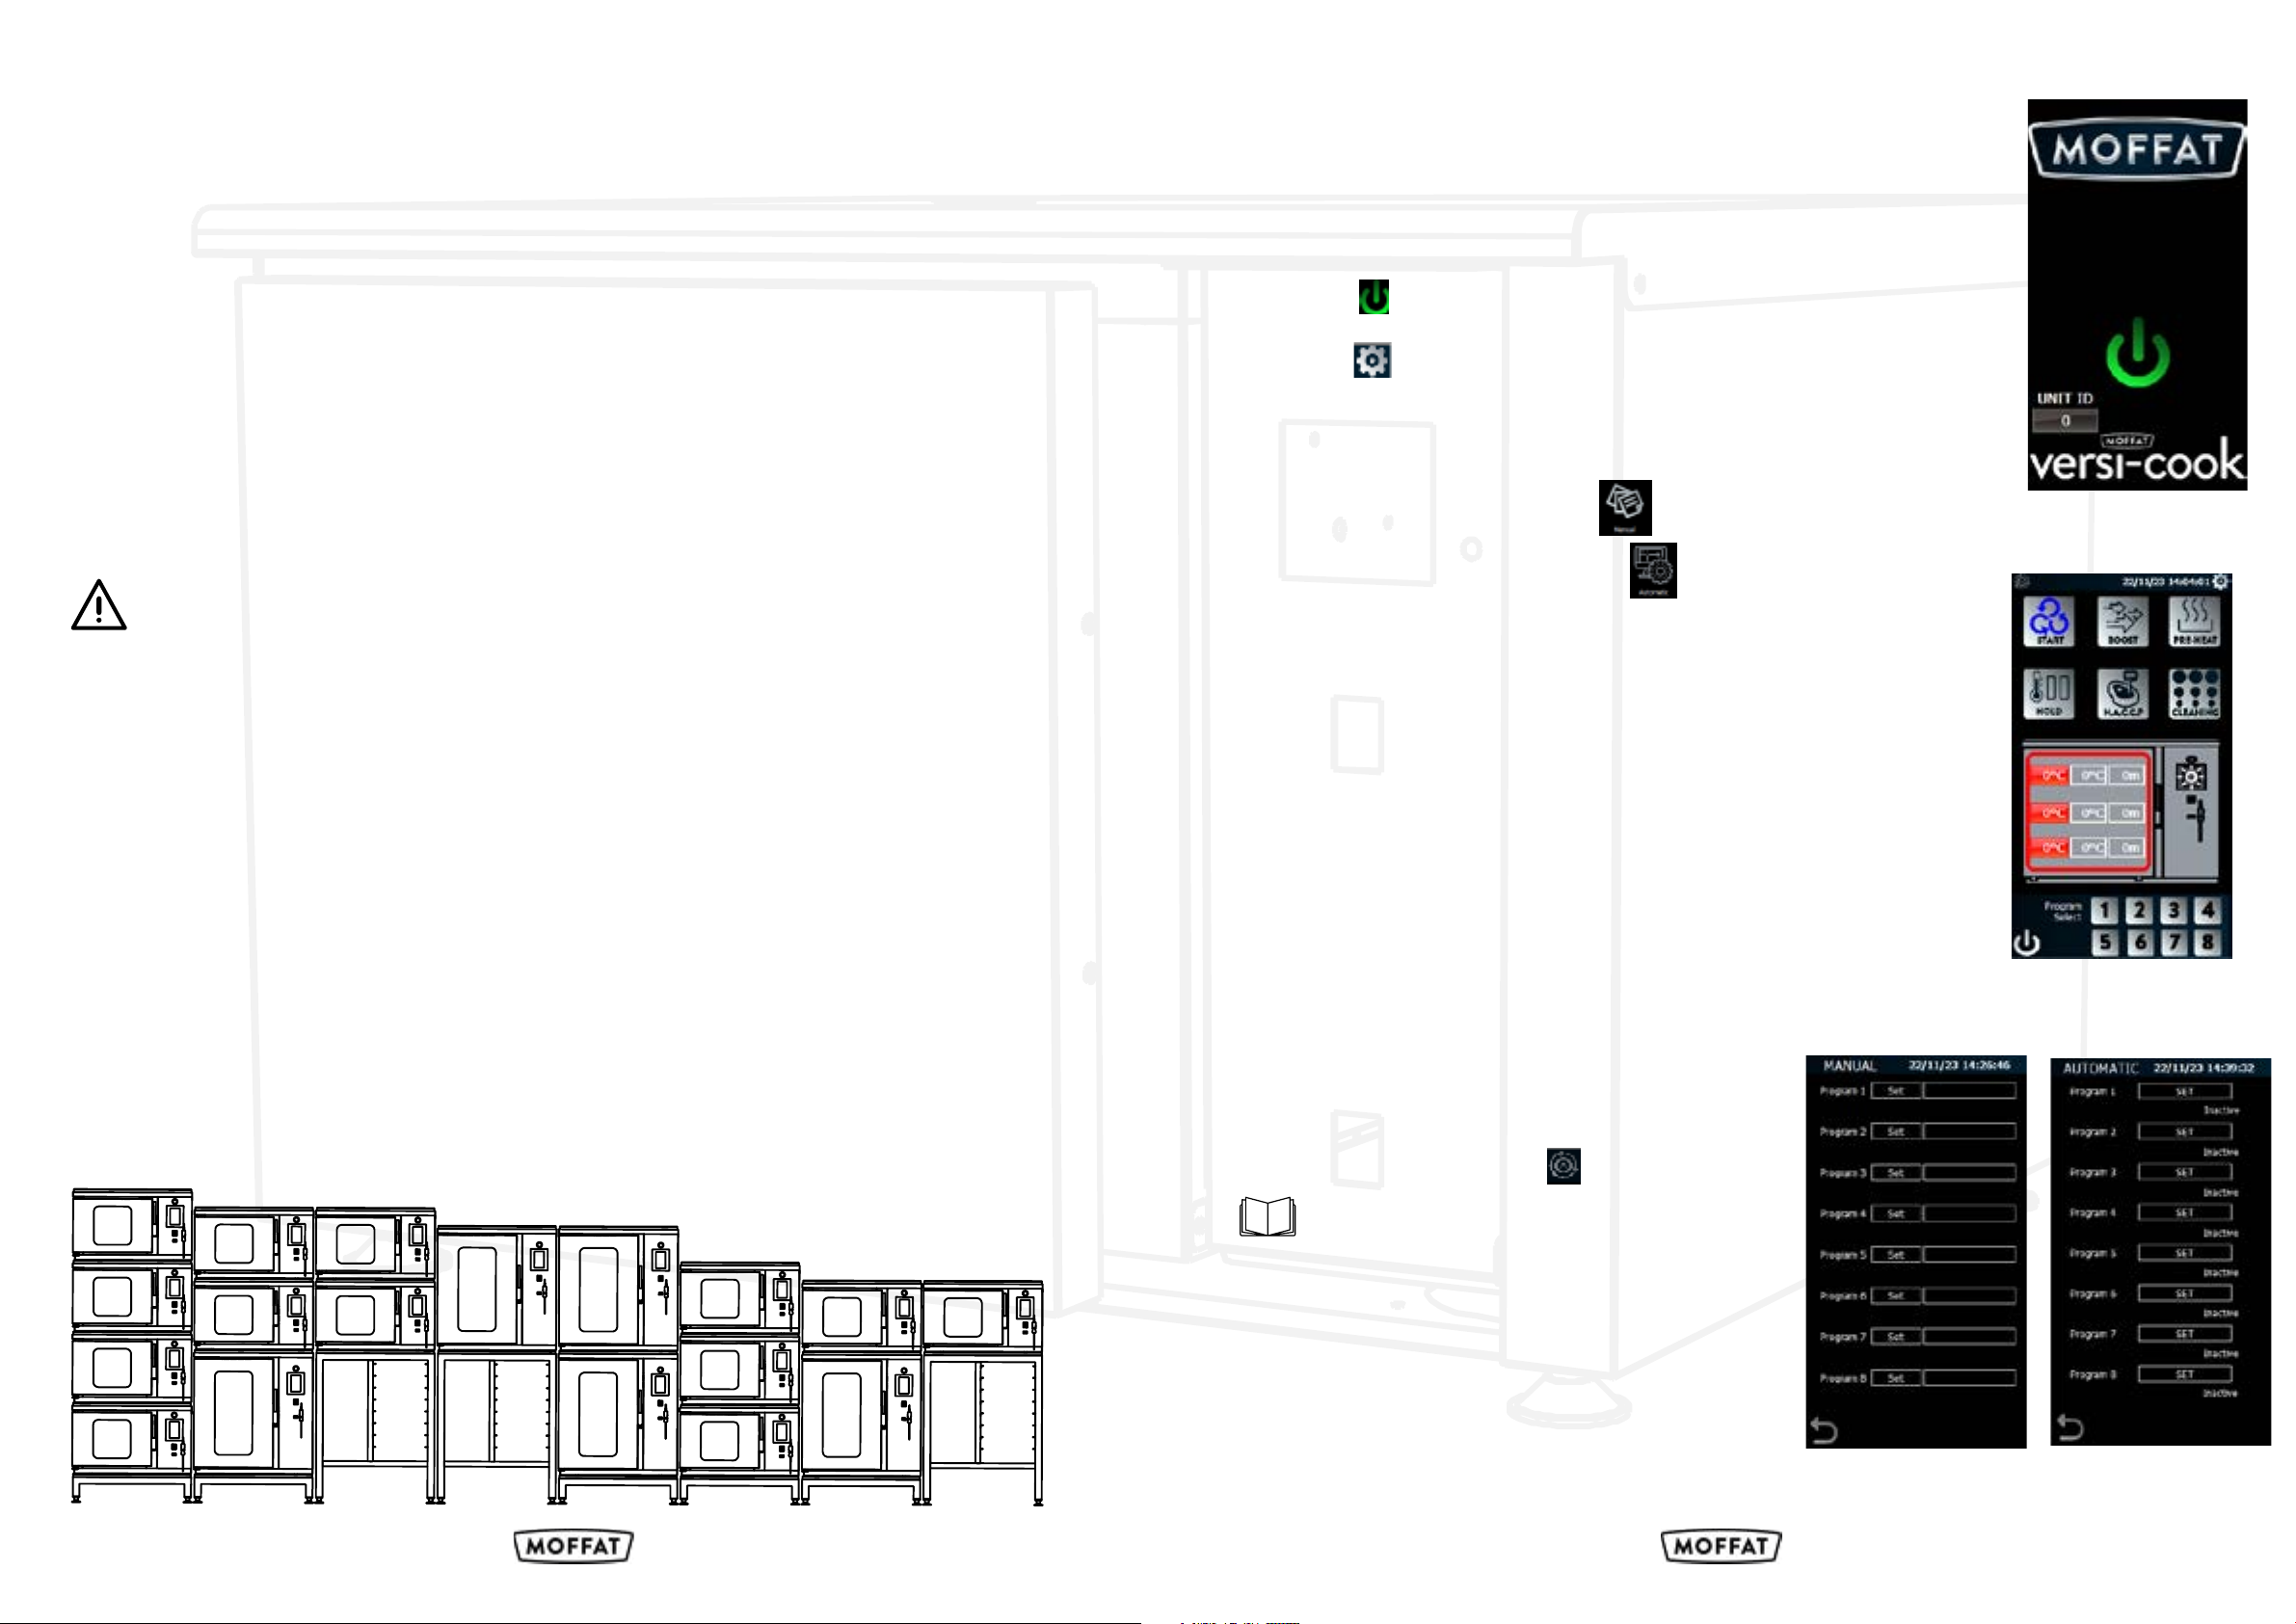
1. Plug in the appliance and establish power. The Stand-by Screen will be
displayed.
2. Touch the to enter the Main Screen.
3. Press the button to enter the Programming Screen. A prompt to enter
a password will be displayed, the default password is 1234. It is recom-
mended that this is restricted and kept safe by the responsible person on
site.
4. For manual programming select.
5. For automatic programming select.
6. Manual programming select desired number 1 through 8
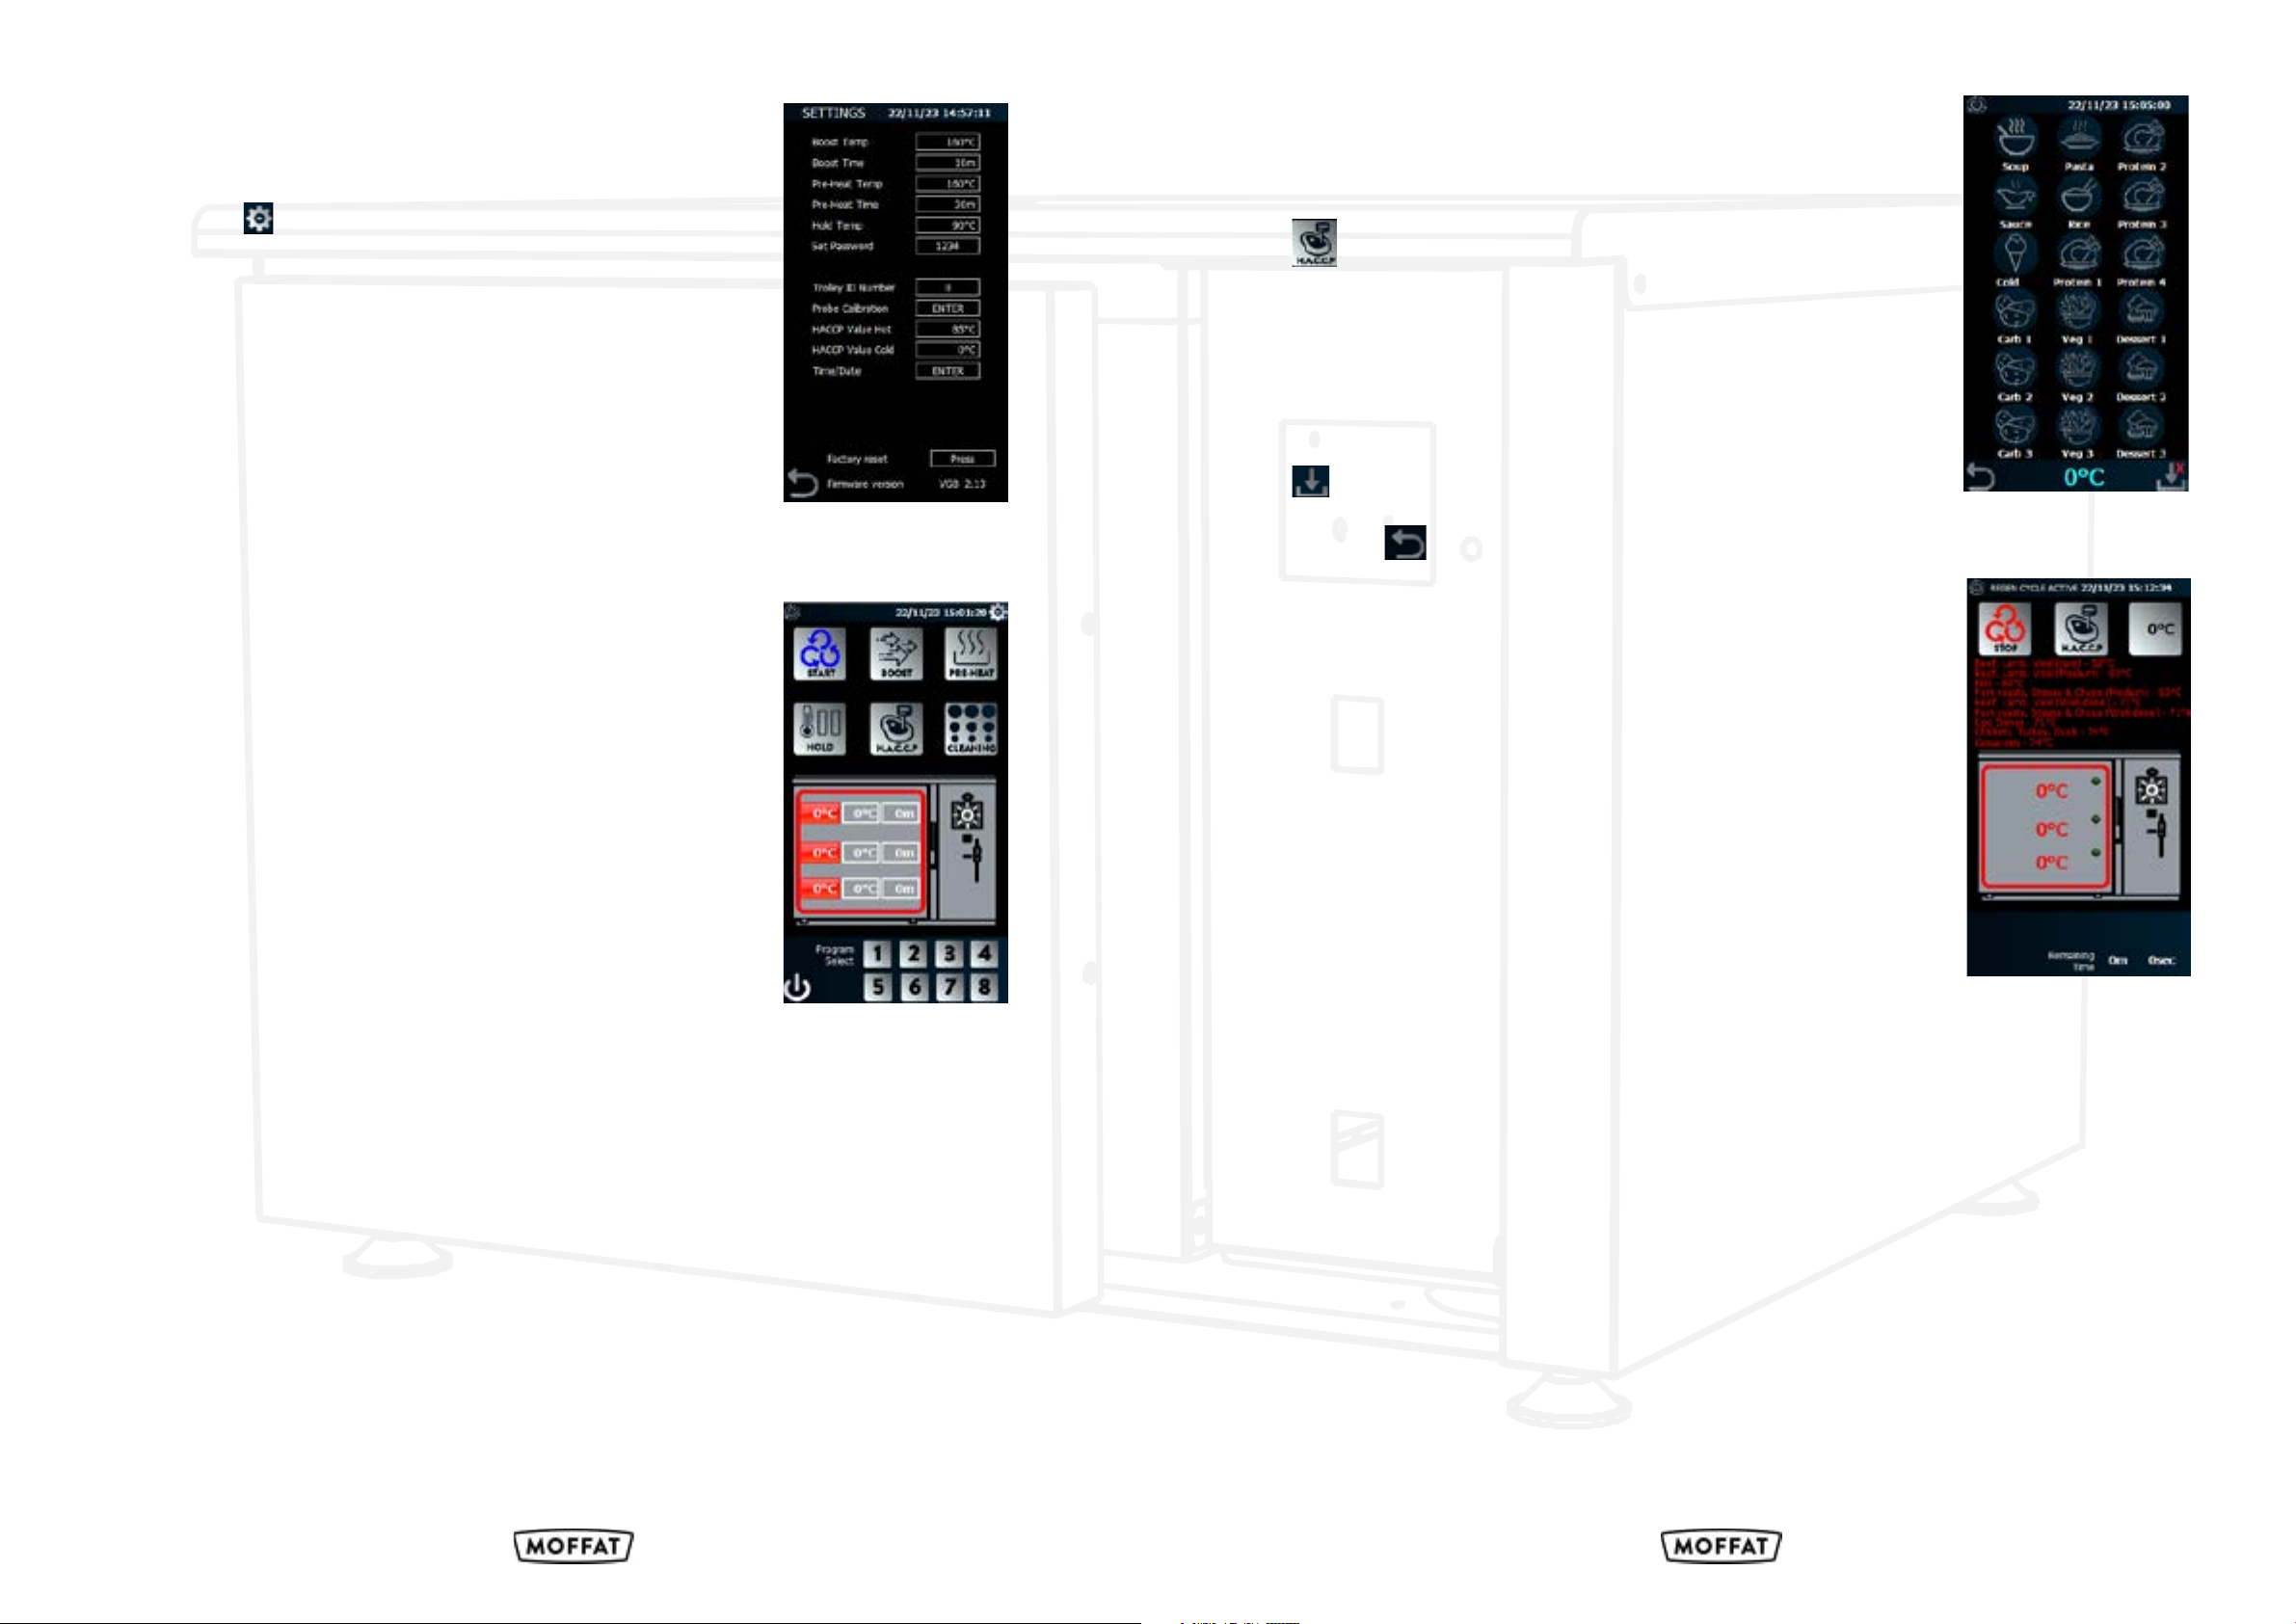
7. Name the program, input time and temps all of which are automatically
saved.
8. return to the home screen and select number of program to start regen
9. To use the 7-day timer, input required temperature and cooking times and
select the day,the Hour and Min when the program should start. name the
program, if pre-heat required input time and temp this will start before set
time (set prog time at 12:00 with 30 min pre-heat will strat pre-heating
at 11:30) if hold is required select enter hold mode. Set the program to
come on by selecting automatic mode on. auto-mode will automatically
start at set time
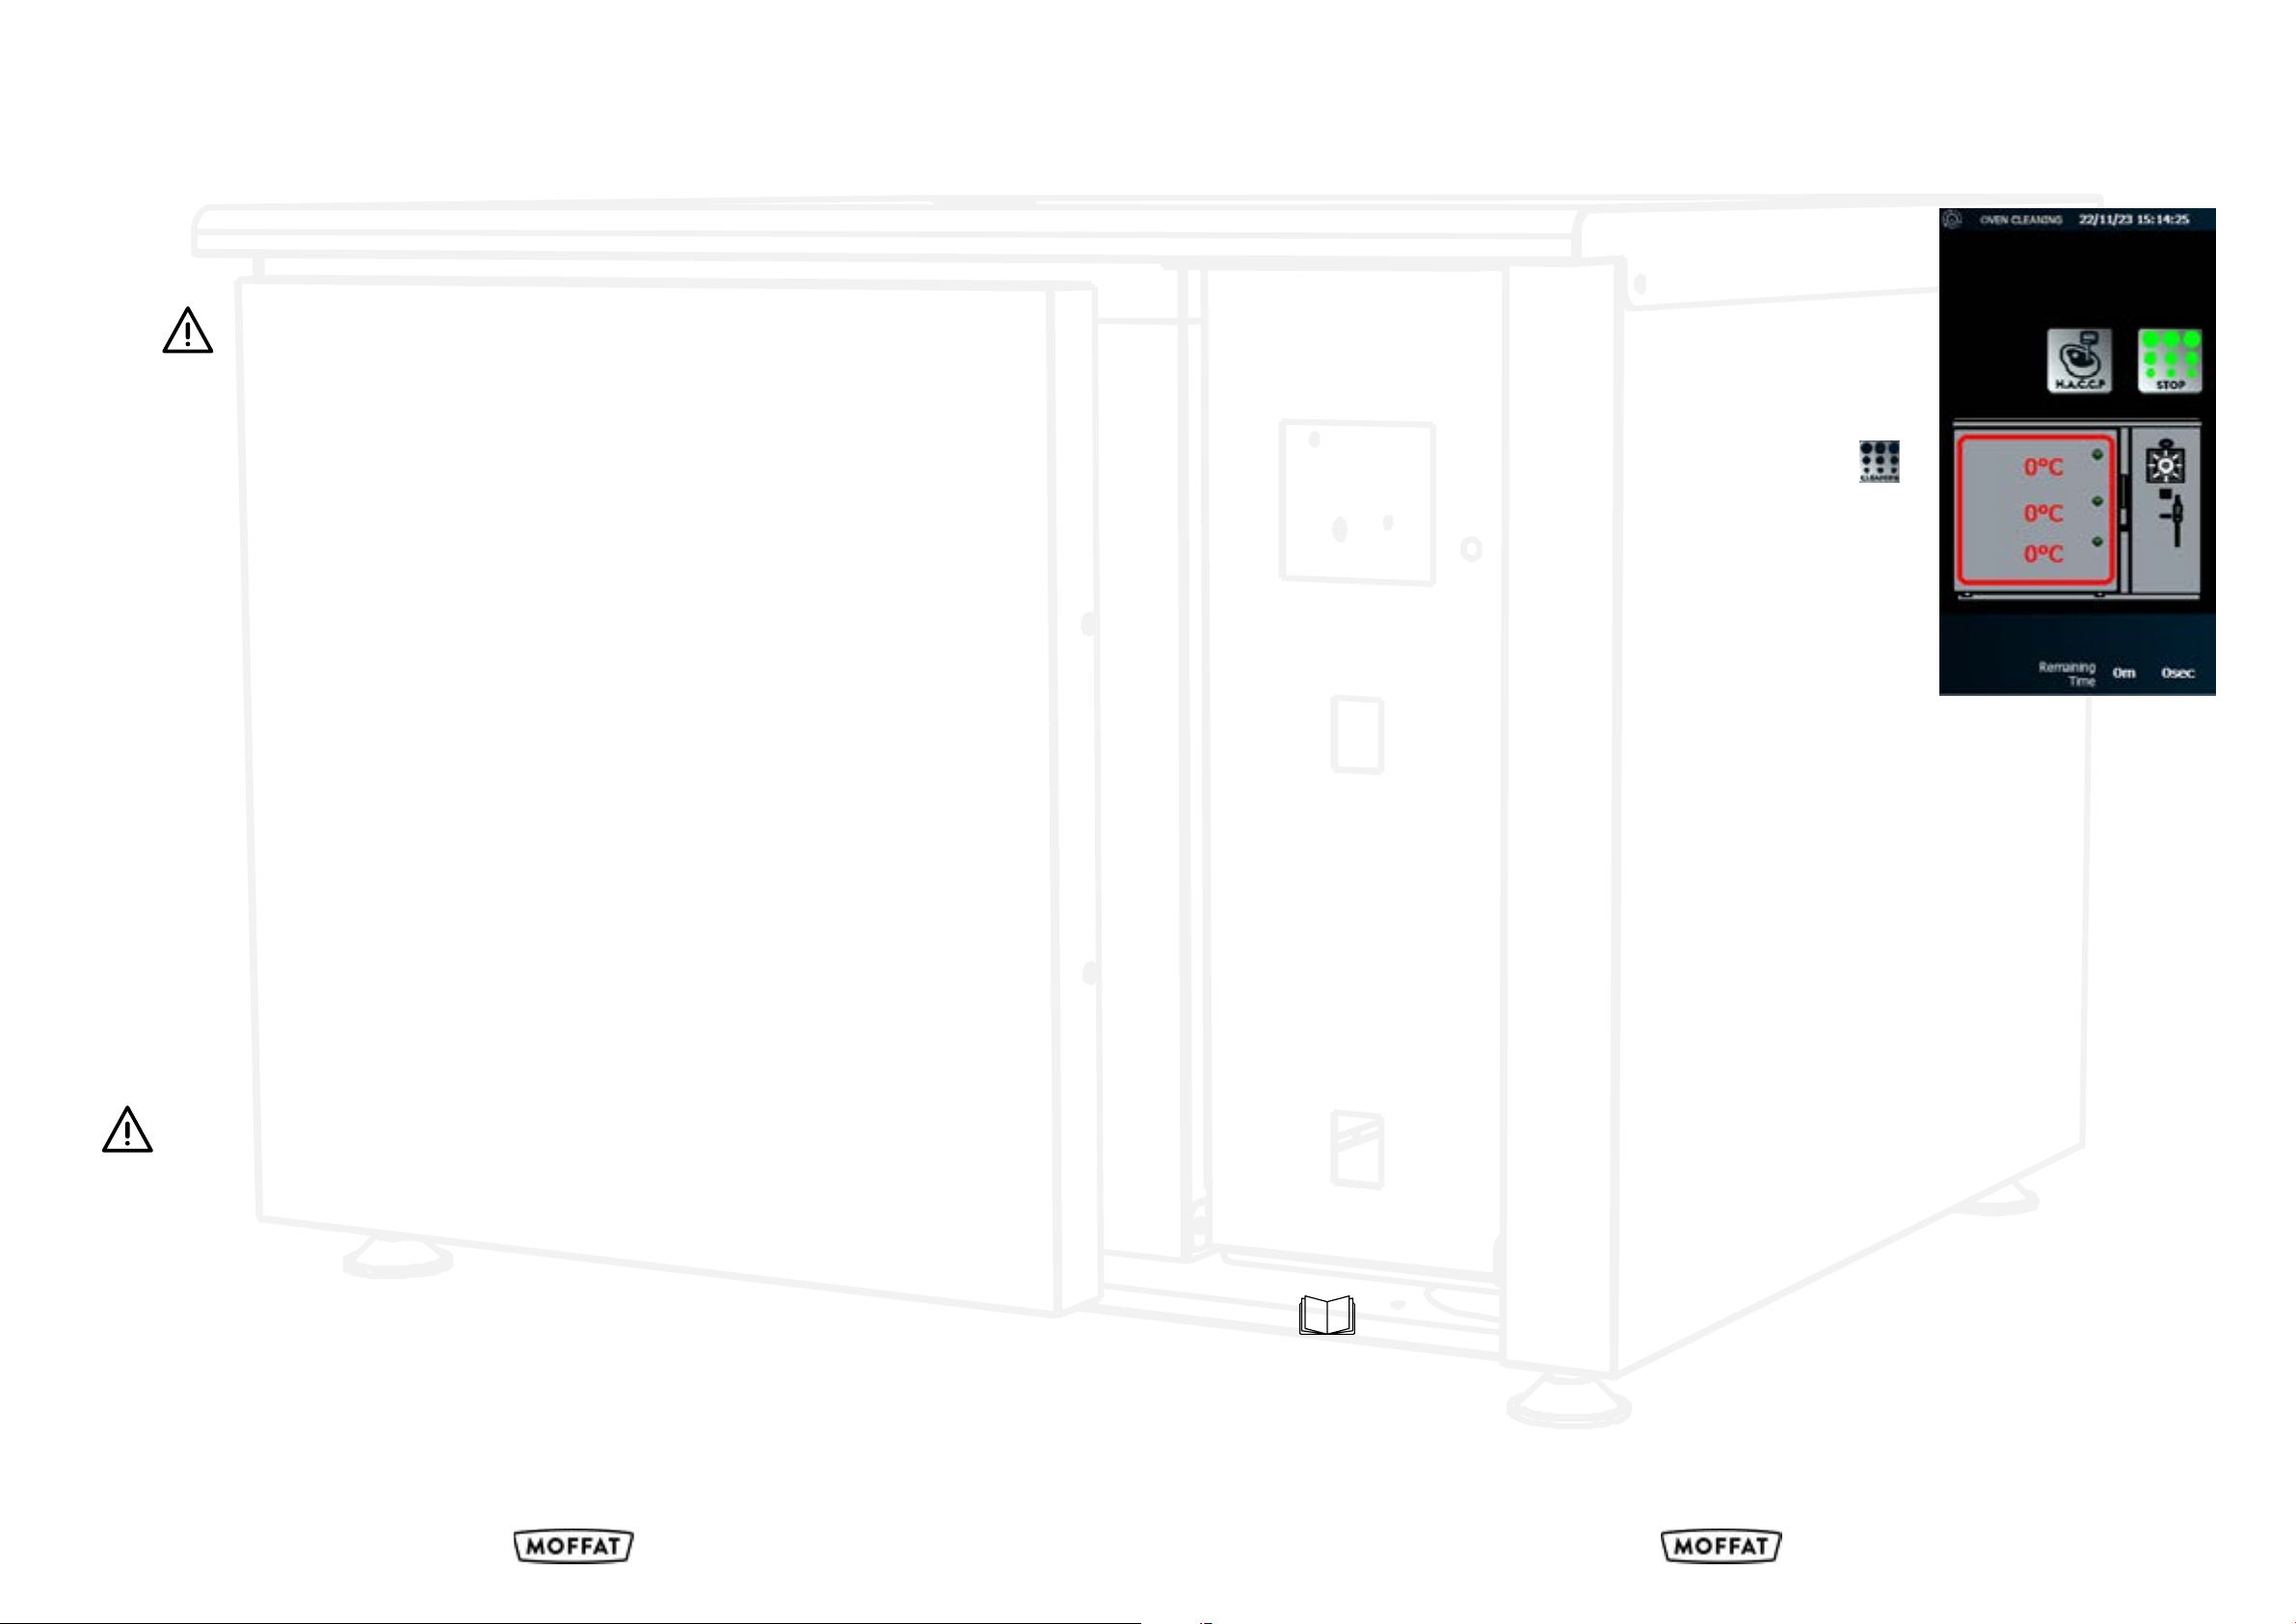
10.When auto mode is active, the automatic button will
illuminate and the green light at the top left will
illuminate and begin blinking.
3: Operation
Figure 1 Stand-by Screen
Figure 3 Home Screen
Figure 2 Programming Screens
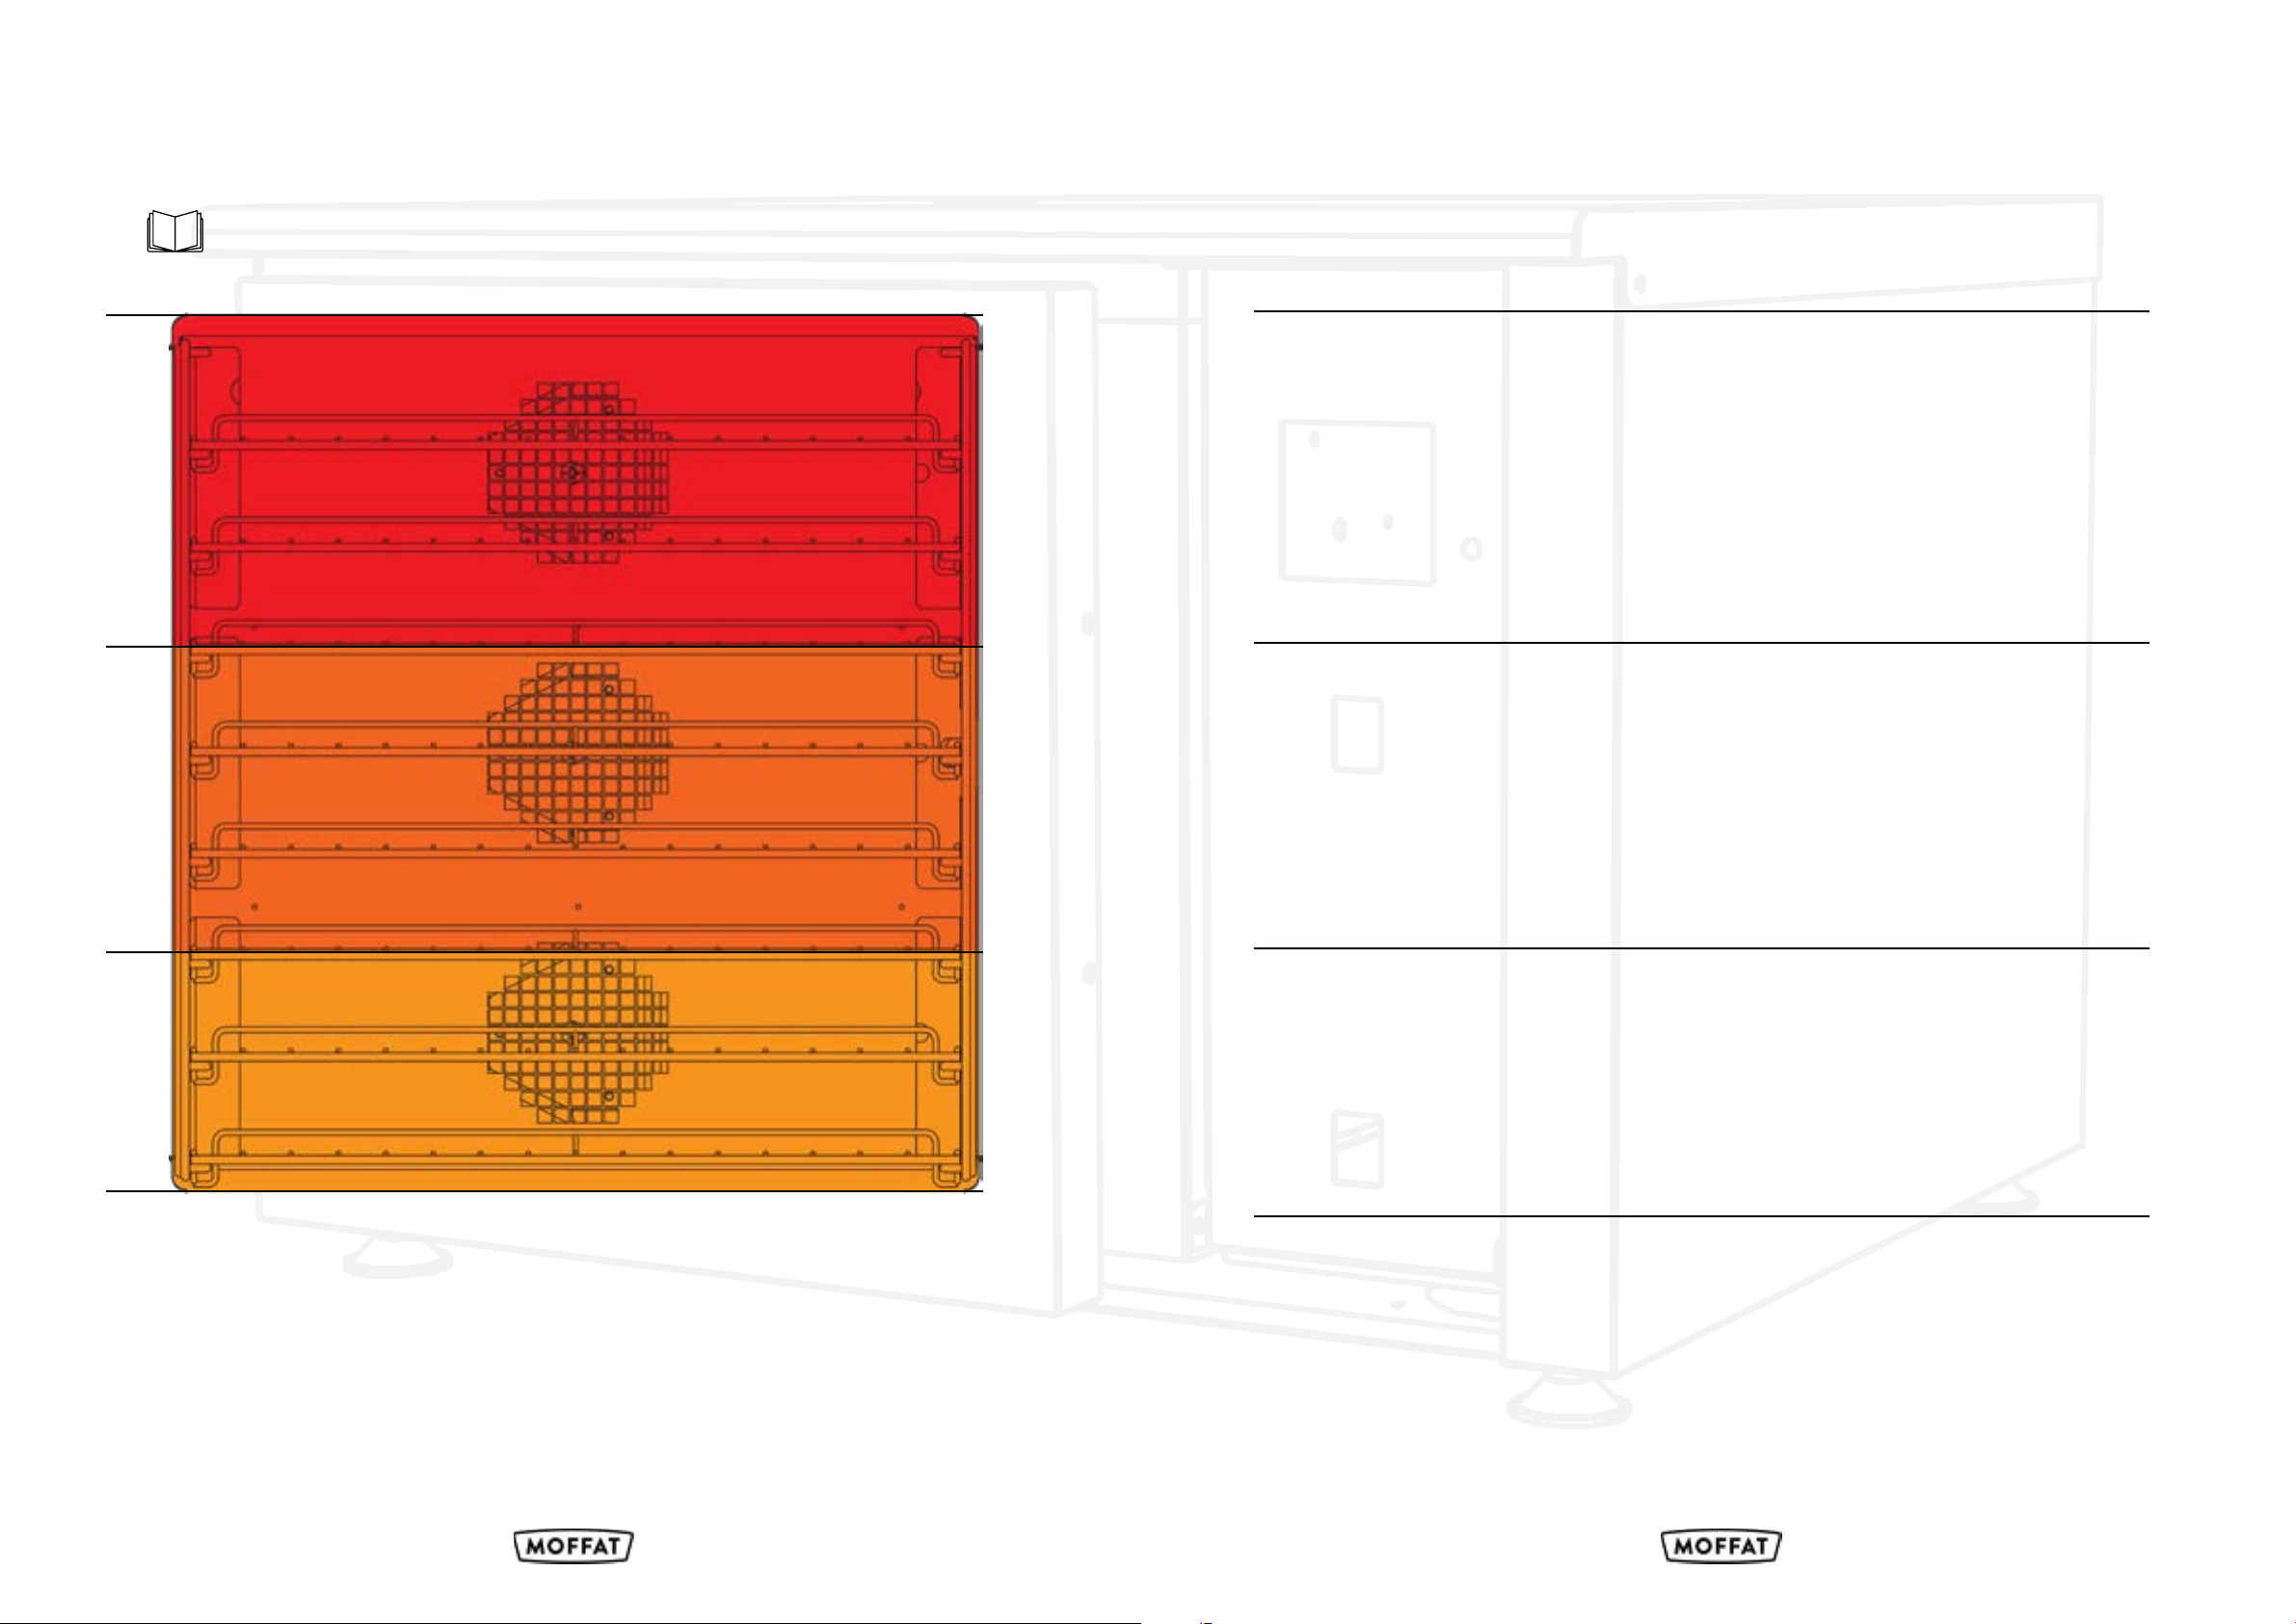
If times for each oven zone vary then they will turn on at
appropriate times to ensure all food is ready at the same
time.
For example if zone 1 is set for 100 mins and zone 2 is set
for 90mins. Zone 2 will turn on 10 mins after zone 1 to
ensure food in both zones are ready to serve at the same
time.