10
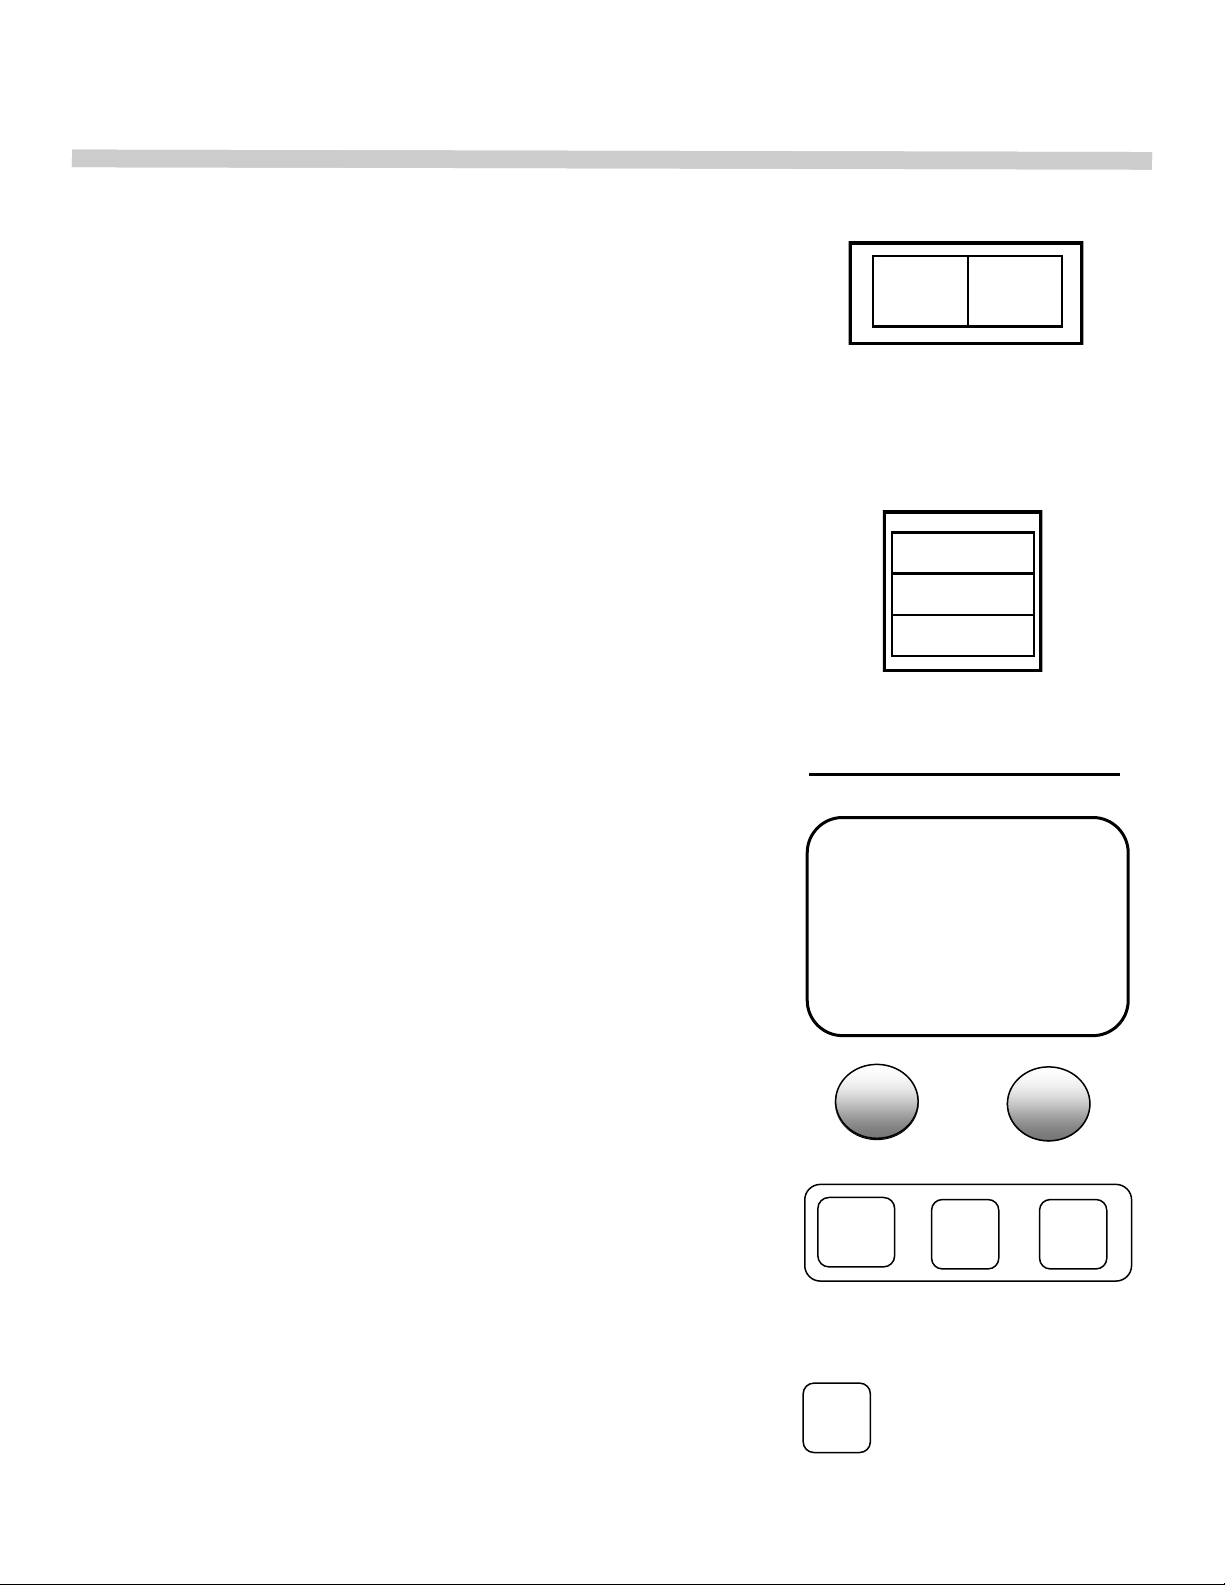
To manually set a Cook-n-Hold cycle, first momentarily
depress either the ―COOK/HIGH FAN‖ or ―ROAST/LOW FAN‖
key and immediately begin turning the ―TEMP‖ set dial until the
desired temperature appears in the display window. Next, set
the desired time using the ―TIME‖ set dial. The oven will come
on and begin preheating. The display will show either the word
―COOK‖ or ―ROAST‖ and the set time and temperature will
flash.
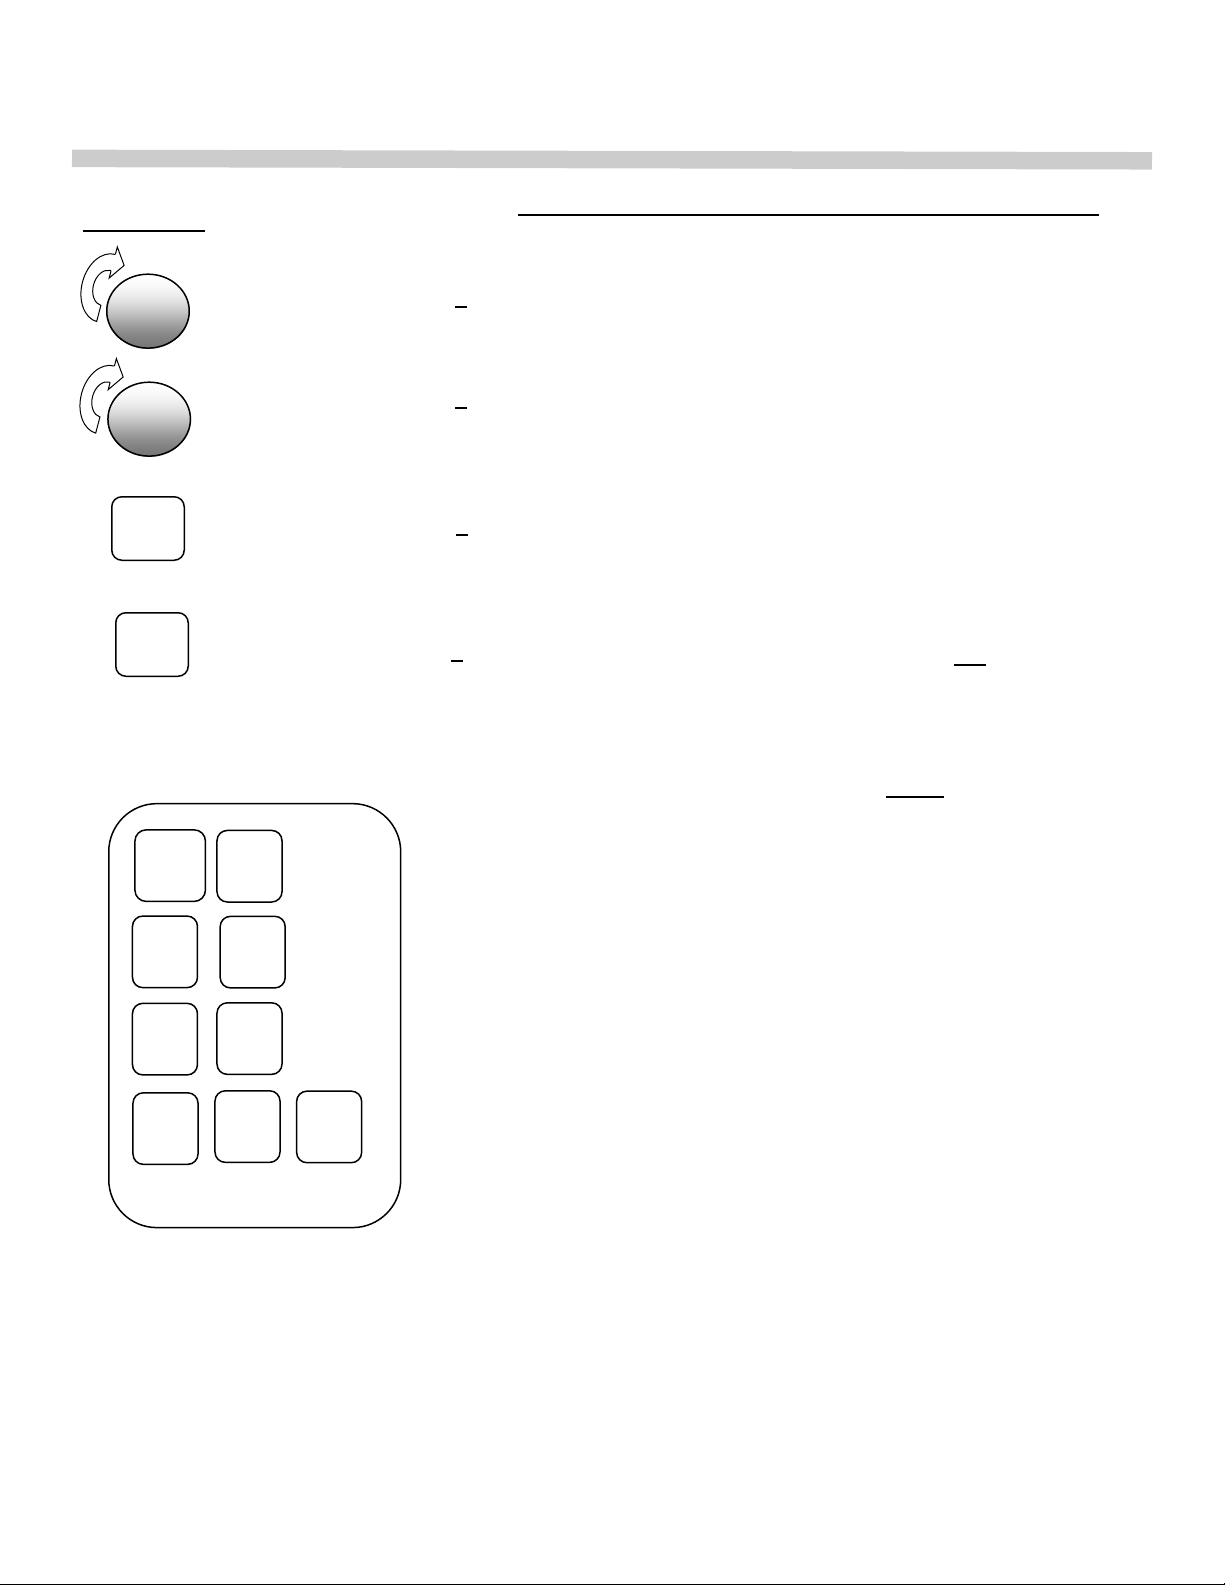
Now momentarily depress the ―HOLD‖ key and the word
―HOLD‖ will appear in the display. Immediately begin turning
the ―TEMP‖ set dial until the desired HOLD temperature is
displayed. HOLD time does not need to be set. The display will
return to the COOK or ROAST information after a short delay.
The word ―HOLD‖ will blink on and off as a reminder that a
HOLD temperature has been set. To review the HOLD set
temperature, momentarily depress the ―HOLD‖ button at any
time.
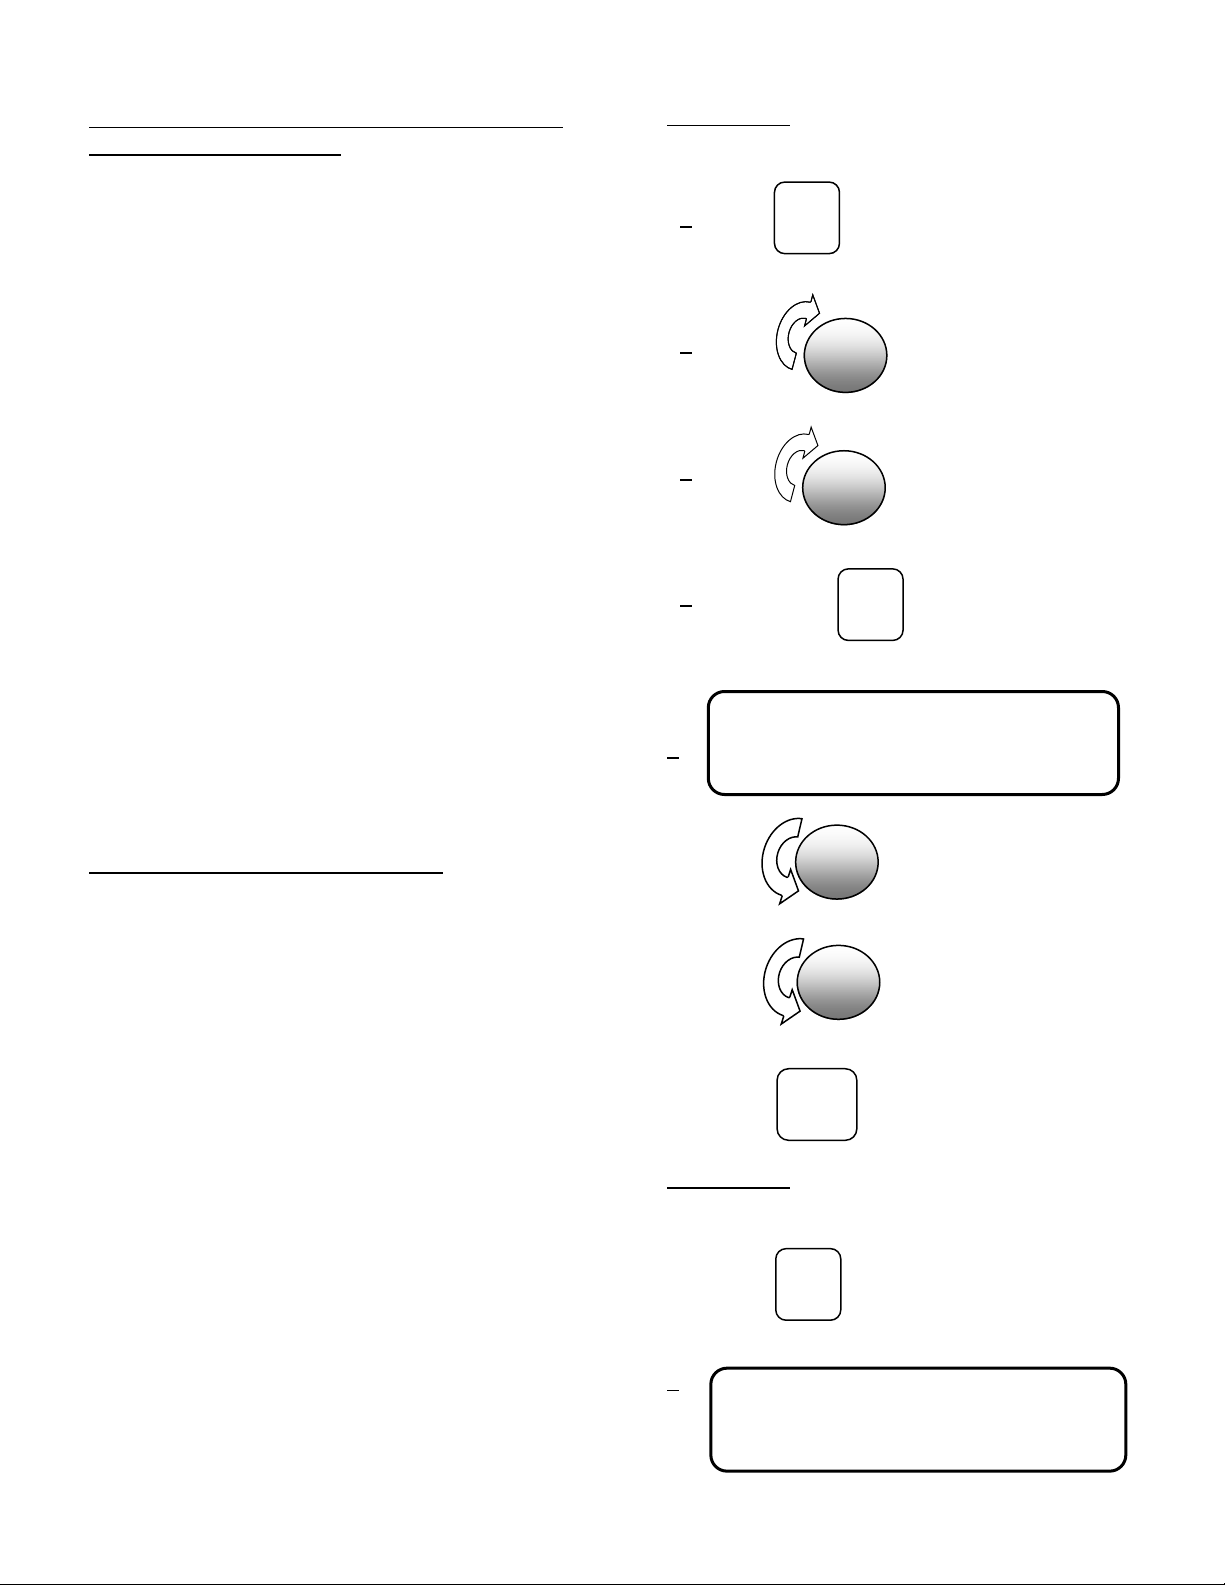
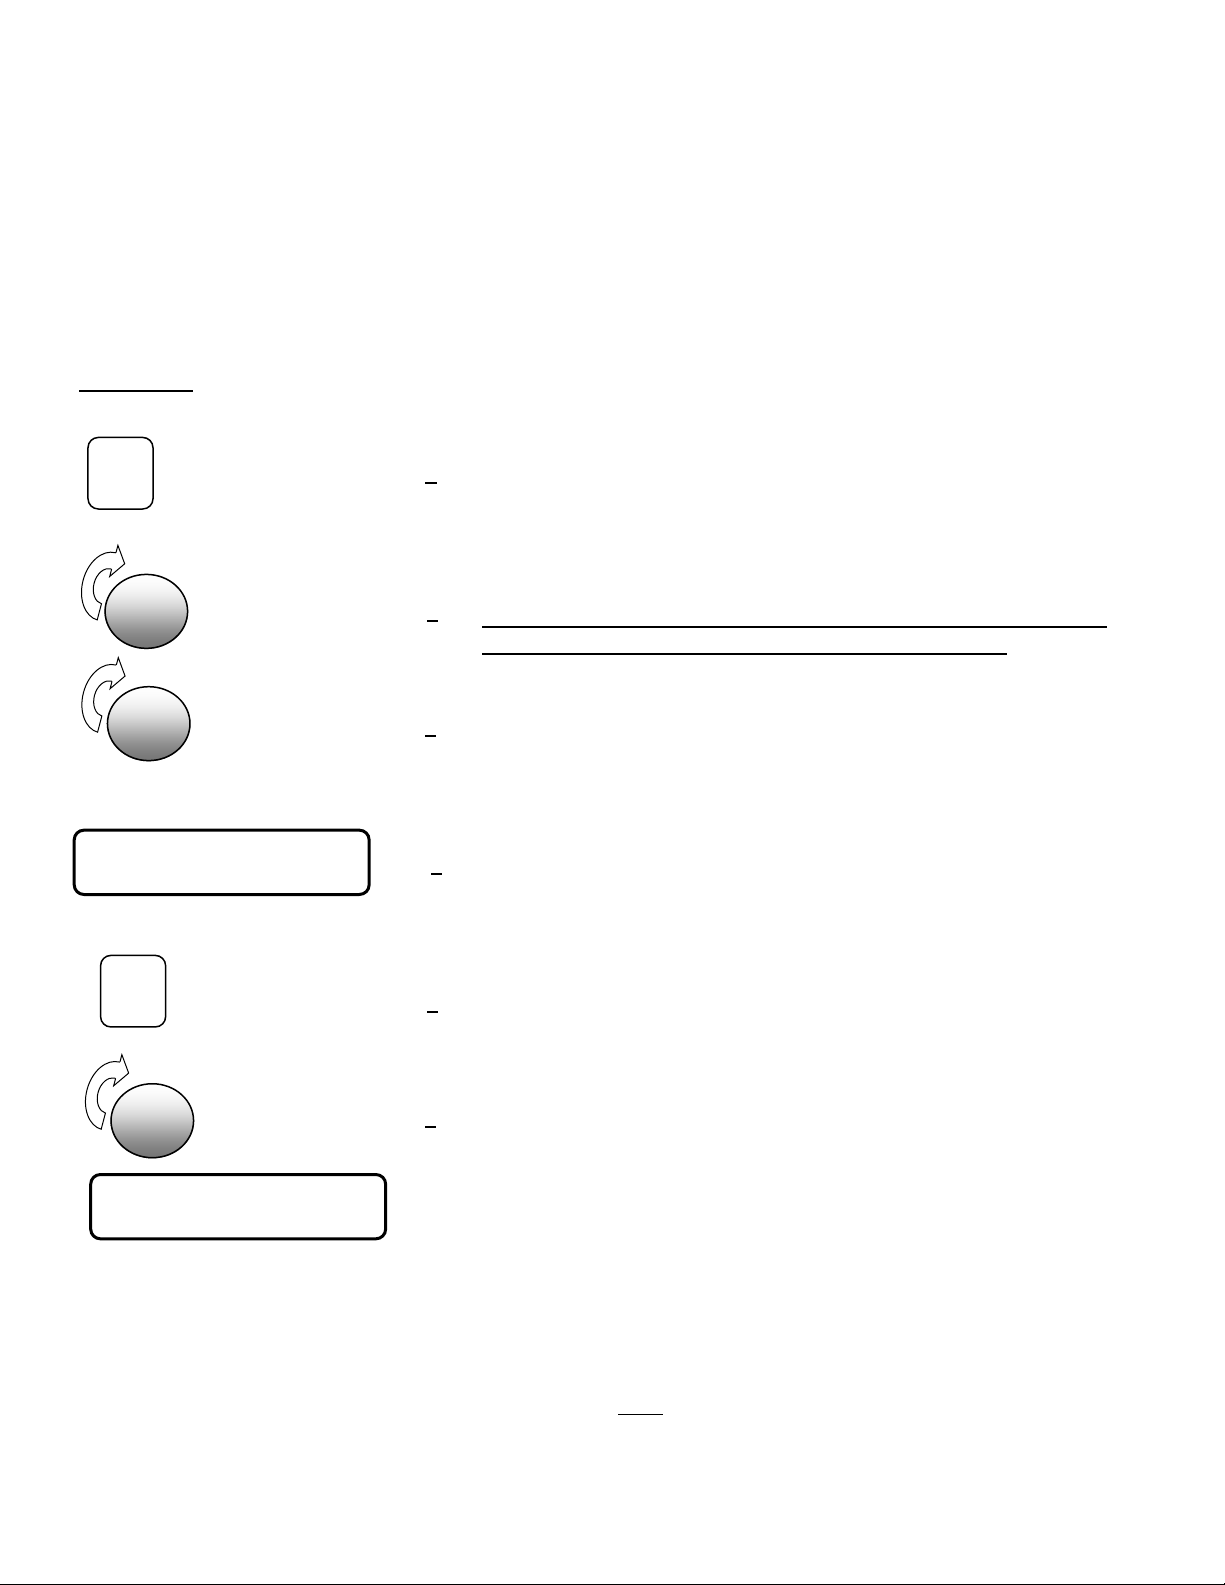
EXAMPLE 7–
Manually set a Cook-n-Hold cycle at 325°F on high fan for 2
hours and 45 minutes followed by a hold at 155°F:
1. Momentarily depress the ―COOK/HIGH FAN‖ key.
2. Immediately begin turning the ―TEMP‖ set dial clockwise
until 325° appears in the display.
3. Turn the ―TIME‖ set dial clockwise (past 59:55 MN) until
2:45 HR appears in the display.
4. The display will show the word ―COOK‖, and ―2:45‖ and
―325°‖ will be flashing. The oven will then begin preheating.
5. Momentarily depress the ―HOLD‖ key.
6. Immediately turn the ―TEMP‖ set dial clockwise until 155°
appears in the display. The display will show ―HOLD, 00:00
and 155°‖.
7. The display will automatically revert back to the COOK
mode after a short delay and display the COOK time and
set temperature. The word ―HOLD‖ will blink on and off.
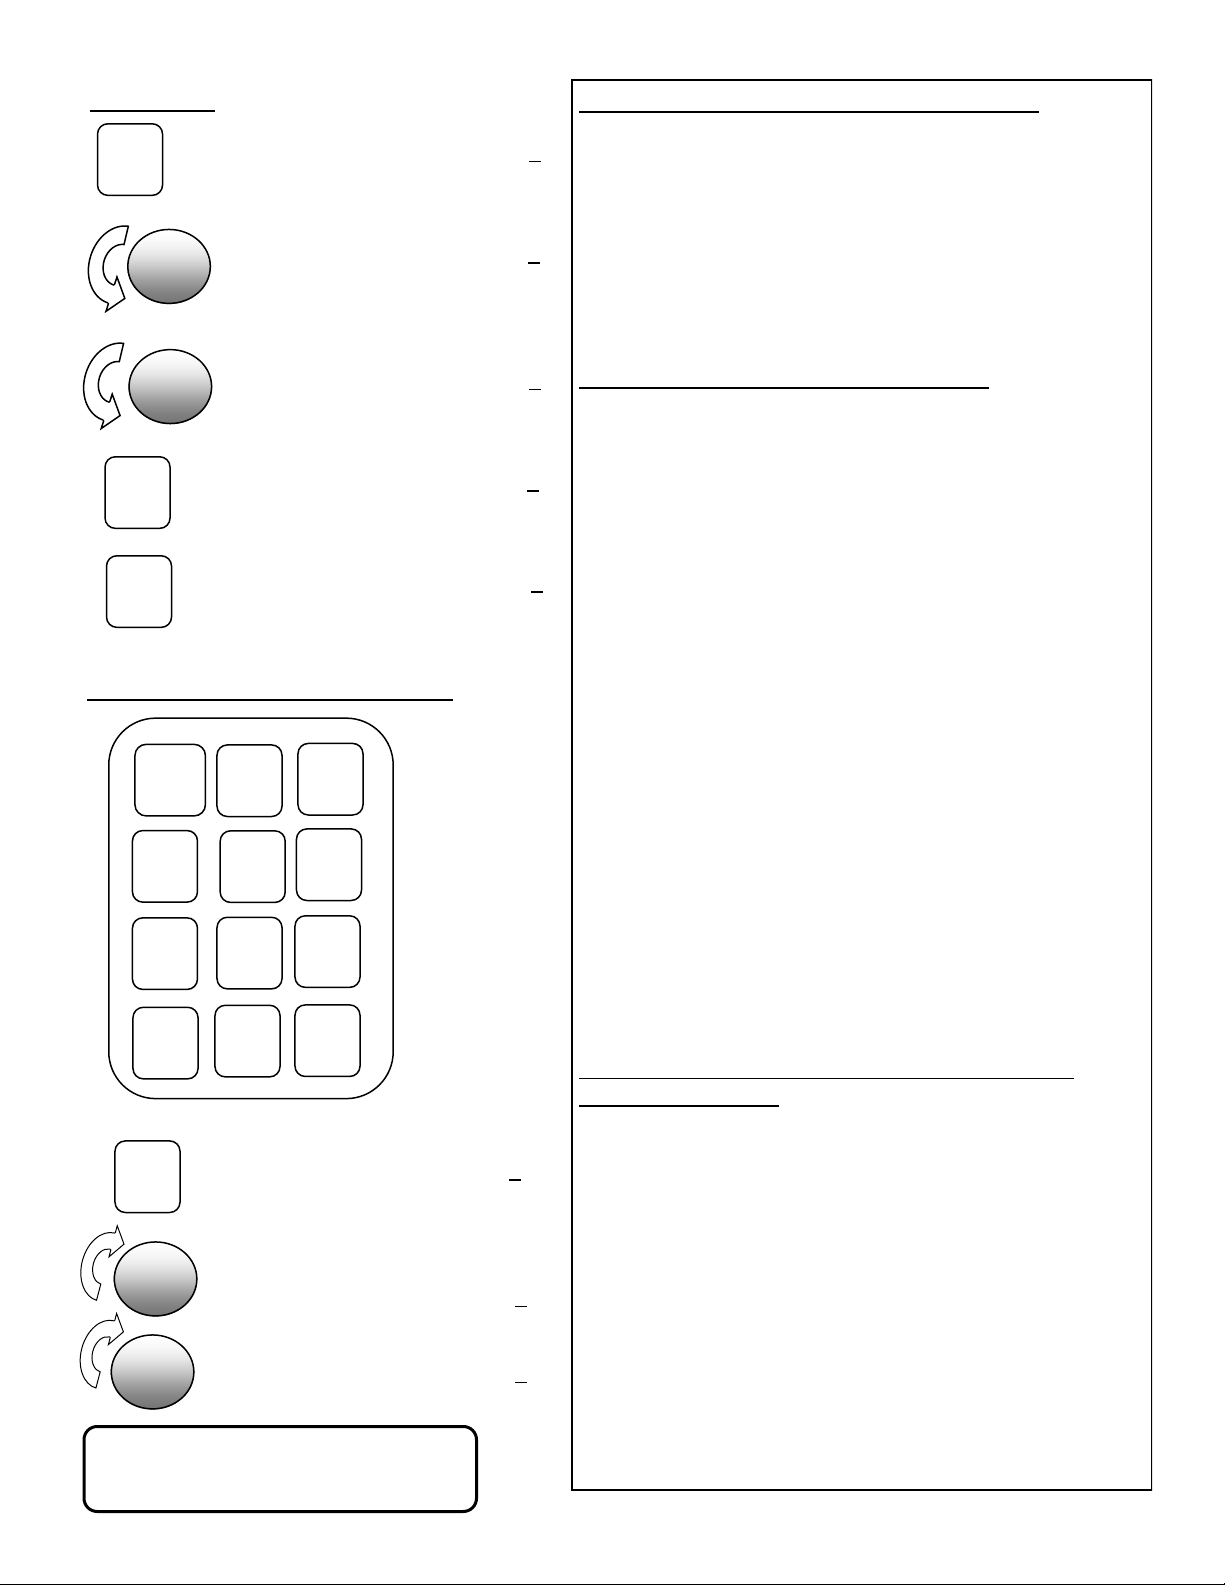
A Cook-n-Hold cycle can also be programmed into a
program key. First momentarily depress either the ―ROAST/
LOW FAN‖ or ―COOK/HIGH FAN‖ key. Immediately depress
and hold the desired ―PGM‖ key. With your other hand, turn the
―TEMP‖ set dial clockwise until the desired temperature is
displayed, and the ―TIME‖ set dial until the desired time is
displayed, release the ―PGM‖ key. The oven will now begin pre-
heating and the display will show the program selected and ei-
ther the word ―COOK‖ or ―ROAST‖ while the time and tem-
perature selected will flash. To continue programming, next
momentarily depress the ―HOLD‖ key and then immediately
depress and hold the same ―PGM‖ key. Use the ―TEMP‖ set
dial to your desired HOLD temperature in the display. The
display should read ―00:00, PGM(#), HOLD, (and the HOLD
temperature)‖. Now release the ―PGM‖ key.
EXAMPLE 7
Depress 1
Turn Temp to 325° 2
Turn time to 2:45 HR 3
4
Depress 5
Turn temp to 155° 6
COOK
HIGH
FAN
2:45
325°
COOK
HR
HOLD
00:00
155°
HOLD
2:45
325°
COOK