2
Safety and Care Advice
Operation
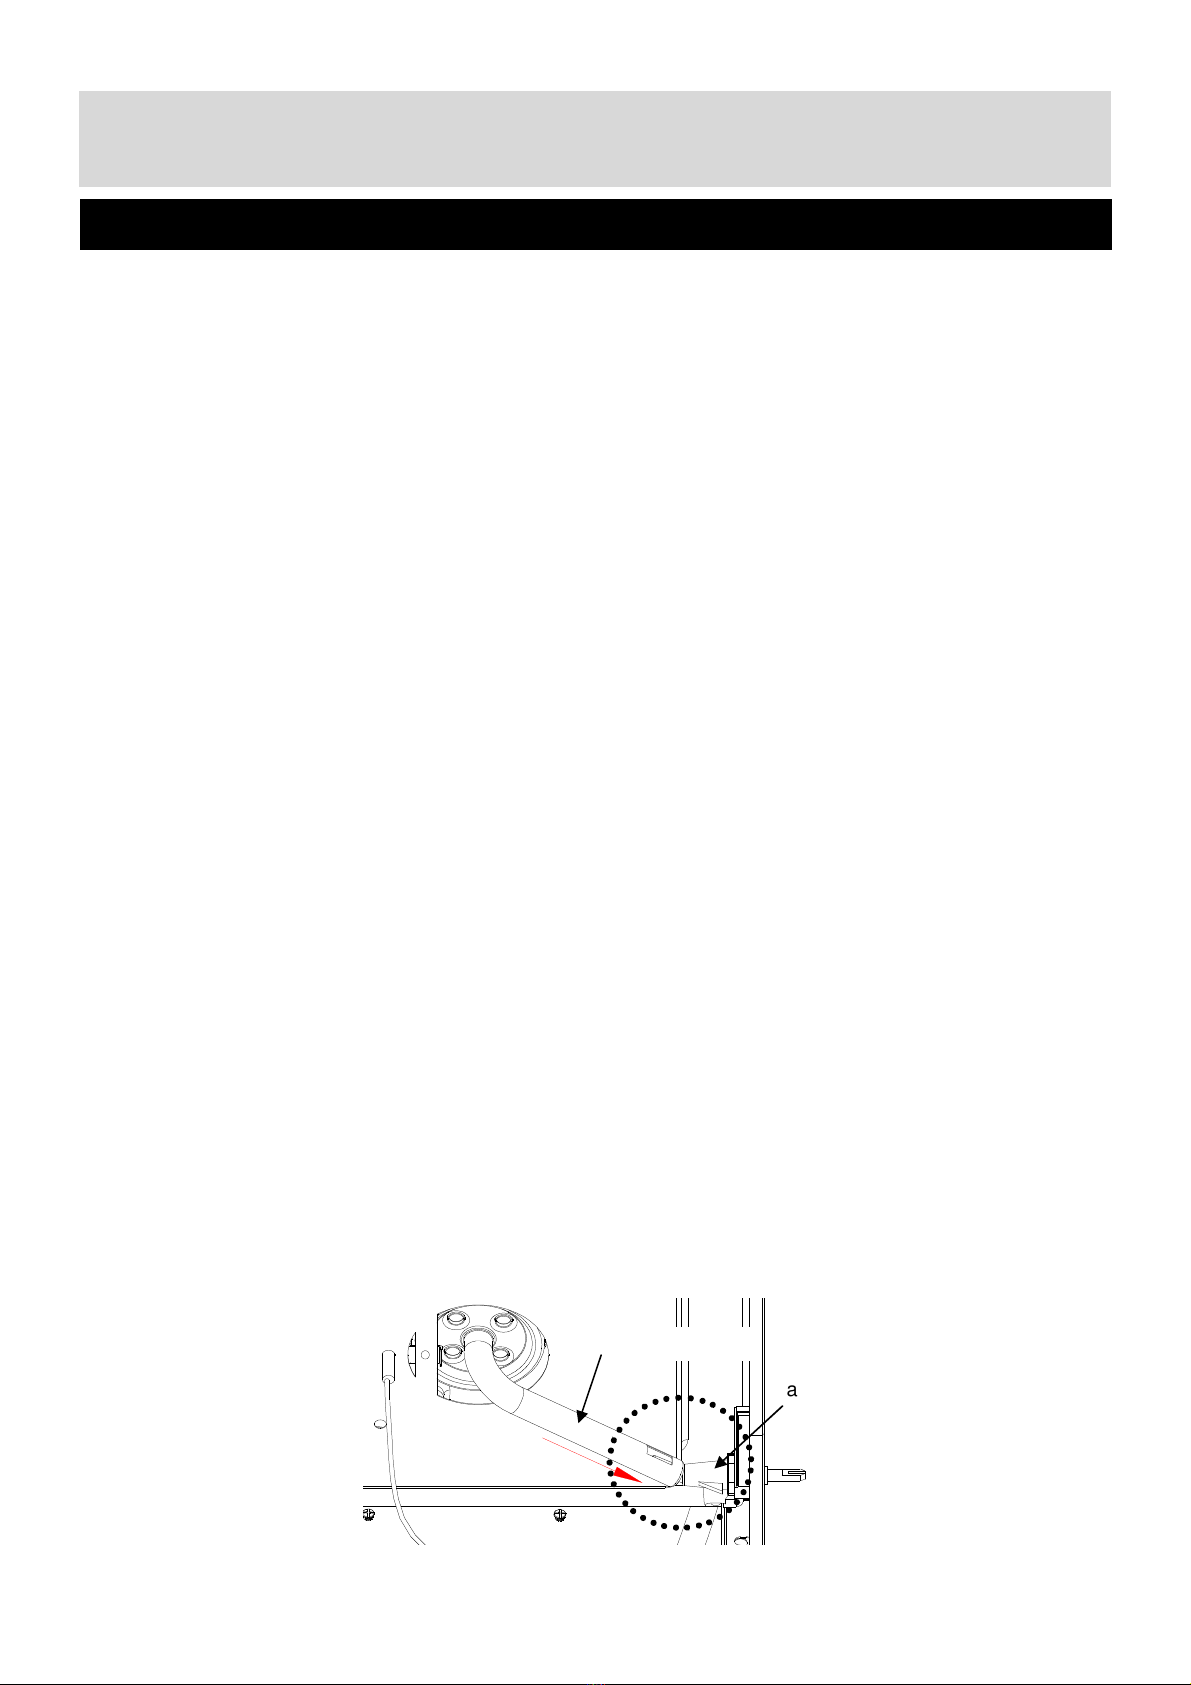
or tension. The hose should hang freely with no bends, folds, or kinks that could obstruct free flow of
gas. Apart from the connection point, no part of the hose should touch any hot barbecue parts. Always
inspect the hose for cuts, cracks, or excessive wear before use. If the hose is damaged, it must be re-
placed with hose suitable for use with LPG and meet the national standards for the country of use. The
length of the hose shall not exceed 1.5m. N.B.-The date on U.K. hose is the date of manufacture, not the
expiry date.
Fixing the Regulator to the Gas Bottle
Confirm all barbecue control knobs are in the off position. Connect the regulator to the gas bottle accord-
ing to your regulator and bottle dealer’s instructions.
Leak Testing (To be performed in a well-ventilated area.)
Confirm all control knobs are in the off position. Open the gas control valve on the bottle or regulator.
Check for leaks by brushing a solution of ½ water and ½ soap over all gas system joints, including all
valve connections, hose connections and regulator connections. NEVER USE AN OPEN FLAME to test
for leaks at anytime. If bubbles form over any of the joints, there is a leak. Turn off the gas supply and
retighten all joints. Repeat test. If bubbles form again, do not use the barbecue. Please contact your local
dealer for assistance. Leak test your barbecue annually. Check the hose connections are tight and leak
test them each time you reconnect the gas bottles.
Warning
Before proceeding, make certain that you understand the IMPORTANT INFORMATION section of this
manual.
Preparation Before Cooking
To prevent foods from sticking to the cooking grill, please use a long handled brush to apply a light coat
of cooking or vegetable oil before each barbecuing session. (Note: When cooking for the first time,
paint colours may change slightly as a result. This is normal and should be expected.)
Lighting the Main Burner
• Open the barbecue hood.
• Ensure all knobs are in the off position. Open the gas control valve on the gas bottle or regulator.
• From the “OFF” position, push in and turn the rightmost control knob anti-clockwise to the Max posi-
tion. Press the ignition button rapidly several times until the rightmost burner is lit.
• If the burner fails to ignite after above procedures, turn all the control knobs to the OFF position and
close the gas valve on the gas bottle. Wait five minutes, then repeat the above steps. If the barbecue
still fails to light, please refer to the manual ignition instruction in the section below.
• After successful lighting of the rightmost burner, ignite the remaining portion of the burner. Push in
and turn the leftmost control knob anti-clockwise until the burner is lit.
• Failure to follow this lighting sequence could result in hazardous situation occurring.
• After ignition, the burner should be burned at the high position for 3-5 minutes in order to preheat the
barbecue. This process should be done before every cooking session. The hood (where applicable)
should be open during preheating.
• After completion of preheating, the burner should normally be turned down to a lower position for
best cooking results.