6
Section 3: Operating
The Appliance
3.1. Switching on the Appliance
•Allow the appliance to stand for a minimum of
4 hours after installation, before switching on.
•Plug in the appliance and switch on at the
mains supply.
•Set the thermostat control to the required setting as
detailed in the Temperature Control section (3.2.).
•Leave the appliance for approximately 4 hours for
the correct temperature to be reached, before
putting in food.
3.2. Temperature Control
The thermostat automatically regulates the inside
temperature of the refrigerator and icebox sections.
By rotating the knob from position 1 to 5, colder
temperatures can be obtained. “ ” position shows that
the thermostat is o and the fridge is not operating.
For short term storage of food in the icebox compart-
ment you can set the knob between 1 and 3 position.
For long term storage you can set the knob between 3-4
position.
Important!
During high ambient temperatures e.g. on hot summer
days, it may be necessary to set the thermostat to the
coldest setting (position 5).
This may cause the compressor to run continuously in
order to maintain a low temperature in the cabinet.
Should a layer of frost develop on the rear wall of the
cabinet, turn the temperature regulator back to a
warmer setting (e.g. position 1 or 2), as this will cause
the compressor to switch o and allow automatic
defrosting to take place as normal.
Important note: Do not try and rotate the knob
beyond position 1, it will switch o your appliance.
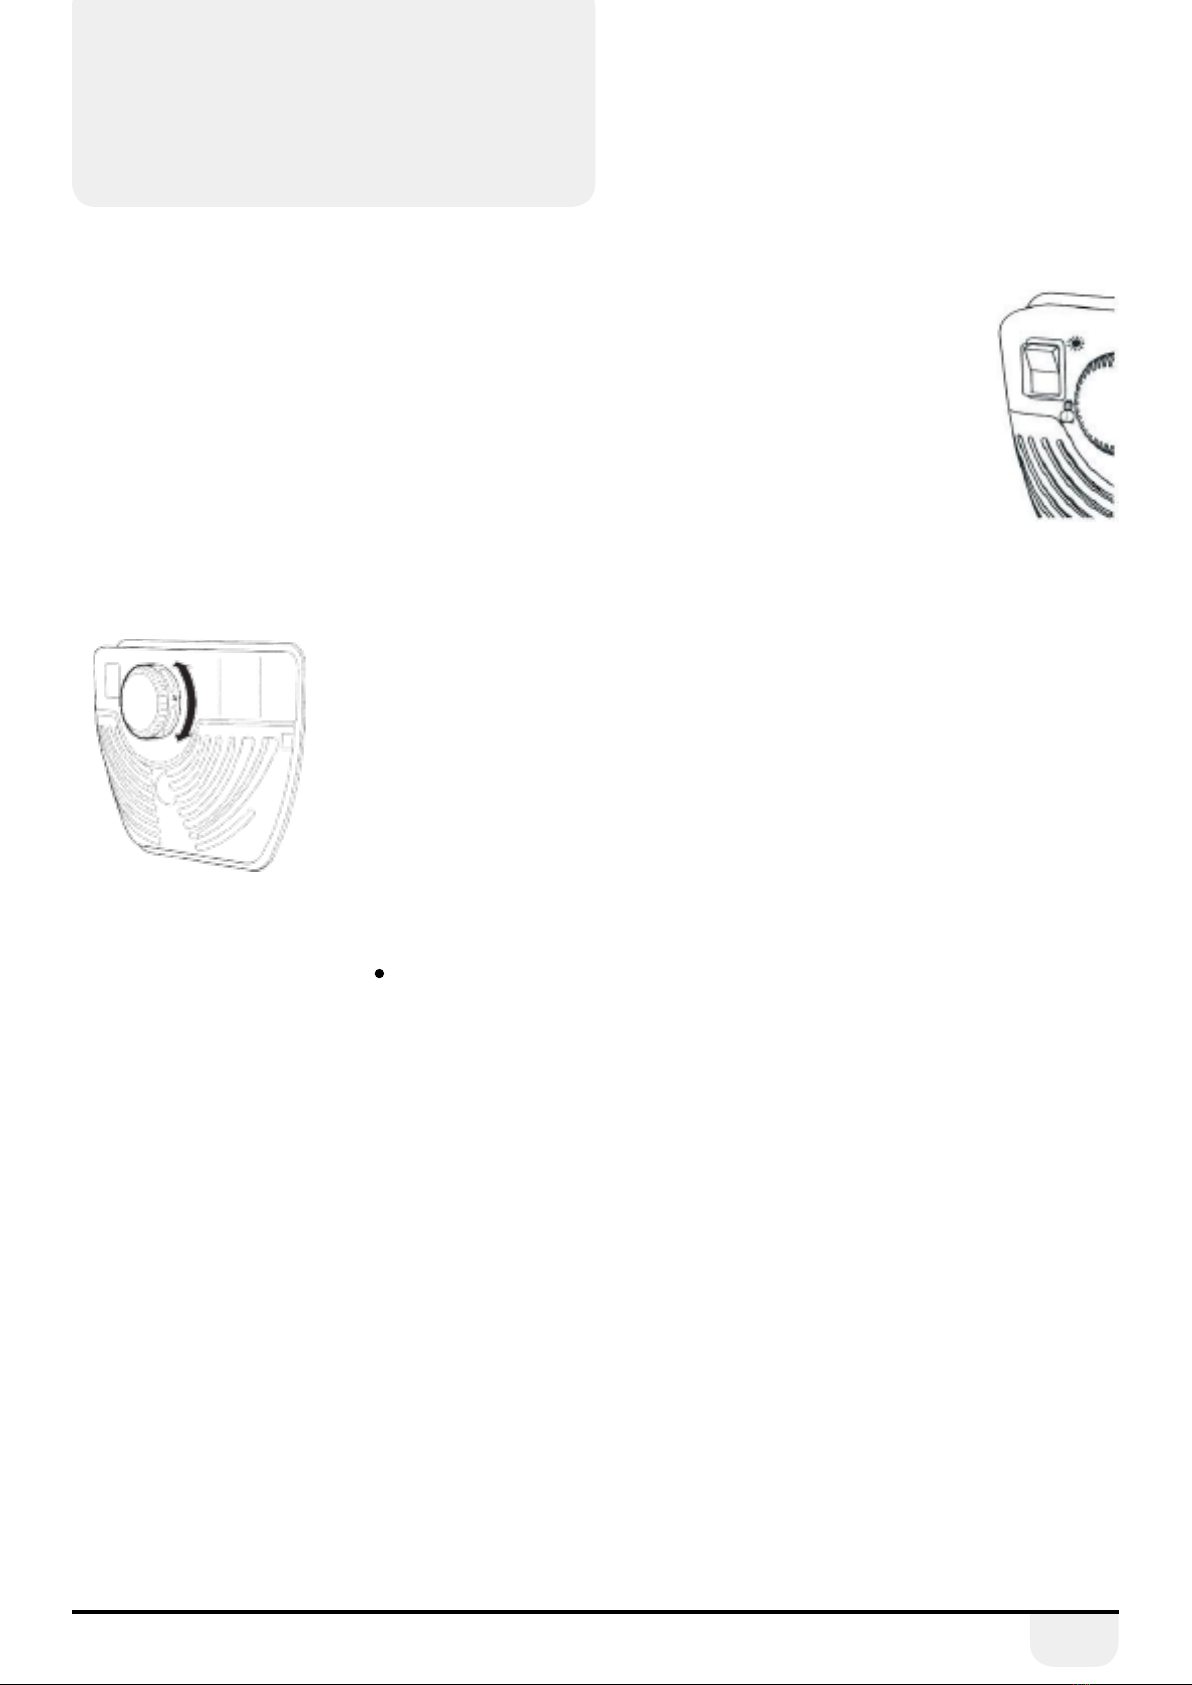
Super switch
Normally this switch should be set to
position (see Diagram Opposite), except
when the ambient temperature is low
as in winter, (ie. below 16°C) or when
the freezer temperature needs to be
maintained lower. In that case, set the
switch to position ON.
When the freezer compartment is cooled
down to a sucient temperature, or the
weather gets hot, turn the super switch o to
save electrical consumption.
3.3. Normal Operating Sounds
You may hear faint gurgling or bubbling sounds when the
refrigerant is pumped to the cooling system and through
the coils or tubing at the rear of the appliance. When the
compressor is in operation you may hear a slight whirring
sound or pulsating noise. The thermostat controls the
operation of the compressor, and you may hear a slight
click as it cycles in and out.
3.4. Energy Saving Advice
• Do not install the appliance close to sources of heat,
such as a cooker, dishwasher or radiator.
•Locate the appliance in a cool well-ventilated room
and make sure that the air vents are clear.
•Try to avoid keeping the door open for long periods
as warm air will enter the cabinet and may cause a
buildup of ice and aect the energy consumption.
Ensure there are no obstructions preventing the
door from closing properly.
•Ensure that the door seal is clean and there are
no tears or splits.
•Keep the most perishable foods, (those with a short
shelf-life, such as cooked meats), in the coldest part
of the fridge. The Salad Crisper Box is the warmest
part of your fridge and should be used for
vegetables, salads and fruits etc. (see Description
of Appliance on Page 1).
• Do not overload the fridge: the cooling air that
circulates to keep the fridge cold gets blocked
and pockets of warm air form.
• Do not put hot food into the fridge – let it cool
down rst.