manuals.online logo
Brands
  1. Home
  2. •
  3. Brands
  4. •
  5. moska
  6. •
  7. Indoor Furnishing
  8. •
  9. moska Kirra Entertainment Unit User manual

moska Kirra Entertainment Unit User manual

Kirra Entertainment Unit
Assembly Instructions
Thank you for your purchase.
Please follow the instructions below for correct assembly.
mocka.co.nz | mocka.com.au | PO BOX 6171, Maroochydore, QLD, 4558
1
Wall Strap
x2
washer
Z
Y
wall
anchor
x1
X
safety
strap x1
WV
screw
x1
wall
screw
x1
WARNING: Any furniture that is not anchored to a wall has the potential to tip over in certain
circumstances, i.e. if a child attempts to climb up on the furniture or in the event of an earthquake.
Accordingly, we recommend that all furniture is anchored to a wall. We supply a free safety wall anchor
with all furniture sold and we recommend these are used to prevent your product tipping. The fixing device
provided should fit most wall types, but please note that different wall materials may require different fixing
devices from those supplied.
Phillips & Flathead screwdrivers required.
For quicker assembly, we recommend the
use of a power drill on a low-speed setting.
bolt
x6
wedge
x4
long
screw
x6
A B C D E F G H
JKLM N
I
O
Hardware Supplied
P
dowel
x14
screw
x32
slide
rail x2
slide
rail x2
slide
rail x2
slide
rail x2
locking
nut x6
screw
x12
x2 x2
wheel wheel
screw
x20
screw
x4
Q
bolt
x10
locking
nut x10
small small
Kirra Entertainment Unit
Assembly Instructions
mocka.co.nz | mocka.com.au | PO BOX 6171, Maroochydore, QLD, 4558
2
12
3
4
E
E
E
E
F
F
F
CL
E
E
E
E
E
G
G
G
CR
E
C
A
C
A
C
A
C
A
C
A
C
A
1
Attach 2x slide rails (F) to panel [3] and secure with 4x small screws (E).
Attach 2x slide rails (G) to panel [4] and secure with 4x small screws (E).
Tighten with a screwdriver.
Insert 6x dowels (A) to panel [1]. Insert 6x bolts (C) into panel [1].
Tighten with a screwdriver.
Kirra Entertainment Unit
Assembly Instructions
mocka.co.nz | mocka.com.au | PO BOX 6171, Maroochydore, QLD, 4558
3
3 4
Attach panels [2] , [3] and [4] to panel [1] and secure with 6x locking
nuts (D). Tighten with a screwdriver.
Slide panel [6] between the grooves of panels [3] and [4]. Slide panel [16]
between the grooves of panels [2] and [4]. To form the back of the unit, as
shown.
1
2
3
4
4
D
D
D
D
3
6
16
2
Kirra Entertainment Unit
Assembly Instructions
mocka.co.nz | mocka.com.au | PO BOX 6171, Maroochydore, QLD, 4558
4
65
4
1
3
16
6
M
M
M
M
M
M
A
A
A
A
5
J
J
J
J
J
J
J
J
J
J
Insert 6x dowels (A) into the ends of panels [2] , [3] and [4]. Attach panel
[5] to the unit and secure with 6x screws (M). Tighten with a screwdriver.
Attach the legs [8] and [9] to panel [5] as shown using 20x screw (J) .
Tighten with a screwdriver.
2
8
9
8
8
8
5
Kirra Entertainment Unit
Assembly Instructions
mocka.co.nz | mocka.com.au | PO BOX 6171, Maroochydore, QLD, 4558
5
7 8
10
PP
P
P
P
10
11
12
15
x 2
A
Q
Q
Q
Q
x 2
Q
Insert 5x small bolts (P) and 1x dowel (A).to panel [10].Tighten with a
screwdriver.
Attach panels [11] ,[12]and [15] to panel [10] and secure
with 5x small locking nuts (Q). Tighten with a screwdriver.
Kirra Entertainment Unit
Assembly Instructions
mocka.co.nz | mocka.com.au | PO BOX 6171, Maroochydore, QLD, 4558
6
910
10
11
12
13
x 2
11
12
14
x 2
BBBB
B
B
Slide panel [13] down along the grooves of panels [11] and [12]. Attach panel [11], [12] and [14] as shown using 6x screws (B).
Tighten with a screwdriver.
Kirra Entertainment Unit
Assembly Instructions
mocka.co.nz | mocka.com.au | PO BOX 6171, Maroochydore, QLD, 4558
7
1211
x 2
11
12
E
E
E
E
H
I
1
10
10
Attach slide rails (I) and slide rails (H) to the underside of the side panels
as shown. Secure with 4x screws (E) and tighten with a screwdriver.
Insert the assembled drawers into the corresponding compartments
as shown. Ensure the drawers slide easily along the rails.
Kirra Entertainment Unit
Assembly Instructions
mocka.co.nz | mocka.com.au | PO BOX 6171, Maroochydore, QLD, 4558
8
13 14
Attach 2x wheels (O) and (N) to panel [7] as shown, and secure with
16x screws (E). Tighten with a screwdriver.
Attach door panel [7] as shown, starting with the back door first and then the
front door. Press the clip down on the back of the door to assemble the door.
Push the clip back up to lock into place.
7
E
N
N
O
O
EE
EEE
EEE
EEE
7
Note: If the door is not sliding smoothly or
sitting straight, there is a screw in the
middle of the wheel on the bottom of each
door that can be tightened/loosened until
the door is sitting properly.
back
OK
Kirra Entertainment Unit
Assembly Instructions
mocka.co.nz | mocka.com.au | PO BOX 6171, Maroochydore, QLD, 4558
9
15 16
6
16
V
Z
W
X
Y
Z
L
K
L
K
L
K
L
K
Attach 4x wedges (K) into the corners of the back of the unit and secure
with 4x screws (L). Tighten with a screwdriver.Attach 1x safety strap (V)
to the top of the back side of the unit as shown using 1x washer (Z) and
1x screw (W). Tighten with a screwdriver.
Once assembled lift furniture into place, do not drag. Use a drill to create
a small hole lining up with the top of the safety strap (V). Fasten to wall
using 1x washer (Z), 1x wall plug (X) and 1x screw (Y). Ensure unit is
balanced and steady before use. You’re done, enjoy!

Other moska Indoor Furnishing manuals

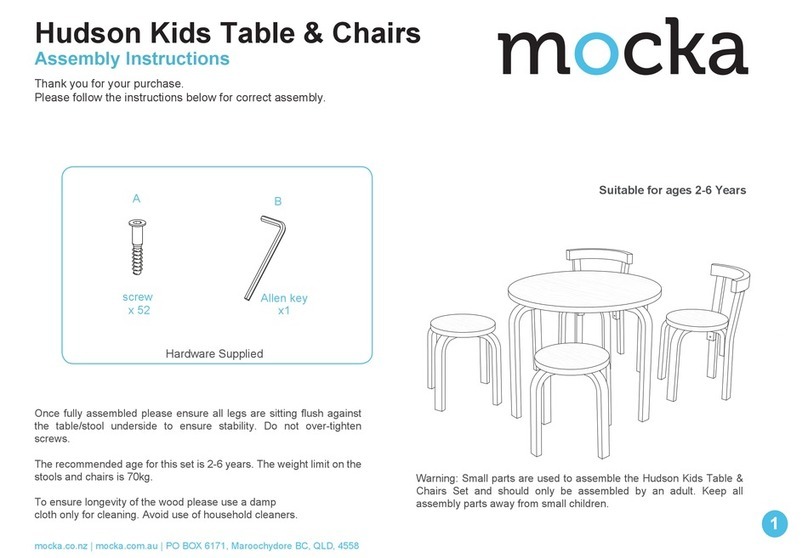
moska Hudson User manual

moska

moska Hudson User manual

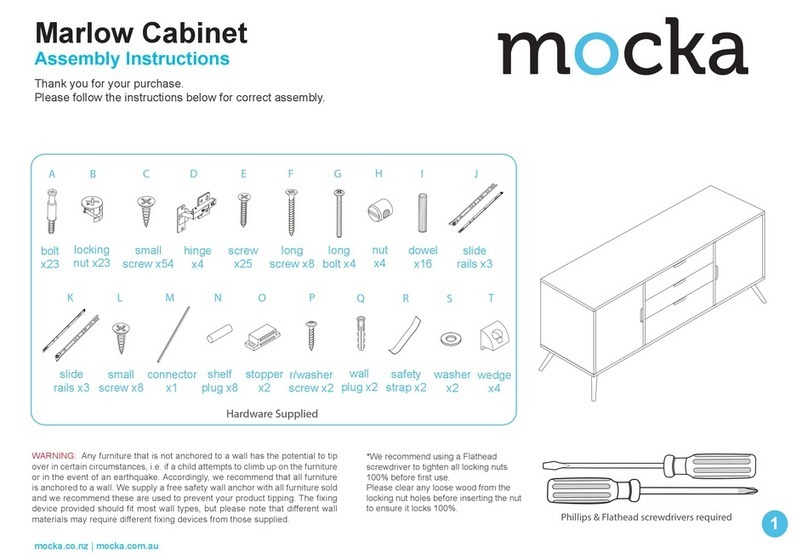
moska Marlow Cabinet User manual

moska

moska Marlow Cabinet User manual

Popular Indoor Furnishing manuals by other brands

Lightolier Lytespan 9538 specification

Lightolier

Lightolier Lytespan 9538 specification

Wren Kitchens TOWER UNIT Assembly guide

Wren Kitchens

Wren Kitchens TOWER UNIT Assembly guide

Safco 8916 Assembly instructions

Safco

Safco 8916 Assembly instructions

Illuminated Mirrors DiamondX Installation & user guide

Illuminated Mirrors

Illuminated Mirrors DiamondX Installation & user guide

John Lewis 800/86402 quick start guide

John Lewis

John Lewis 800/86402 quick start guide

KEUCO Plan 33096 1000 Series Instructions for use

KEUCO

KEUCO Plan 33096 1000 Series Instructions for use

Walker Edison W58ALT2D Assembly instructions

Walker Edison

Walker Edison W58ALT2D Assembly instructions

Delta Children Serta Dresser manual

Delta Children

Delta Children Serta Dresser manual

Ironwood GLACIER CDCR quick start guide

Ironwood

Ironwood GLACIER CDCR quick start guide

STILLE 6300 Series Service manual

STILLE

STILLE 6300 Series Service manual

IKEA GERTON quick start guide

IKEA

IKEA GERTON quick start guide

Magres Baldai BRAVO Assembly instruction

Magres Baldai

Magres Baldai BRAVO Assembly instruction

Habitat Rita 822533 manual

Habitat

Habitat Rita 822533 manual

Extremis GARGANTUA Assembly instructions

Extremis

Extremis GARGANTUA Assembly instructions

Cool Toddler Beds WF306849 Assembly instructions

Cool Toddler Beds

Cool Toddler Beds WF306849 Assembly instructions

Forte KFLR811 Assembling Instruction

Forte

Forte KFLR811 Assembling Instruction

GALA MEBLE G50K Assembly manual

GALA MEBLE

GALA MEBLE G50K Assembly manual

HOMCOM 310-058 manual

HOMCOM

HOMCOM 310-058 manual

manuals.online logo
manuals.online logoBrands
  • About & Mission
  • Contact us
  • Privacy Policy
  • Terms and Conditions

Copyright 2025 Manuals.Online. All Rights Reserved.