MODE SWITCH
Aim - When Aim is ON and the PIR Motion Sensor detects motion, the Status Indicator’s red LED on the front of the camera will come on and
remain lit
as long as motion is detected.
Custom Start - Set and run camera with custom settings.
Quick Start - Set and run camera with pre-dened settings.
NAVIGATION BUTTONS
The Menu Button selects Camera Setup or Main Screen. When Camera Setup is selected, the LEFT and RIGHT buttons navigate through the menu
options. The Menu Button is also used to wake-up the camera and turn on the display when the camera is in power saving (or sleep) mode. The
OK button selects the item to be changed. The UP/DOWN and LEFT/RIGHT buttons are used to step through and modify the menu options. Pressing
the OK button again, selects the option indicated on the display. The OK button is also used to manually take a picture.
BATTERY COMPARTMENT
The camera is powered by AA alkaline or lithium batteries
– twelve (12) for P-180i, eight (8) for P-120i
. Push the battery compartment release
button to eject the battery tray. Install batteries as indicated by the engravings on the battery tray, taking care to note the correct polarity.
See Important Battery Information section on Page 15 of this manual.
SD CARD SLOT
Accepts up to a 32GB SD Card (Class 4 or higher) for photo and video storage. NOTE: A Class 4 or higher SD Card must be installed for the camera to
operate (sold separately). Ultra/Turbo SD cards are not recommended.
USB PORT
Download still pictures and video onto your computer by connecting a Micro-B to USB cable (not included) to the USB port.
EXTERNAL POWER PORT
Accepts the Moultrie power accessories (sold separately) only. Refer to www.moultriefeeders.com for more information.
NOTE: The use of any other power source will void your warranty and possibly harm your camera.
CAMERA OVERVIEW (cont.)
A
4
QUICK START INSTRUCTIONS
B
Use the steps below as a guide to quickly set up your camera so it will function using the factory default settings.
STEP 1
Open camera cover. Install AA size alkaline or lithium batteries – twelve (12) for P-180i, eight (8) for P-120i – with polarities as indicated in the
battery tray. Insert your SD card. We recommend that you erase the SD card (ERASE IMAGES) inside the camera before taking pictures: this will not
only erase all images, but will also format your SD card for use in the camera. Camera will not operate without SD card.
STEP 2
Mount camera in desired location using a mounting strap. The camera also has Python™ Cable
Loops for added security. NOTE: Camera must be attached to a stable object for motion
detection to function properly. Mounting camera on an unstable structure may result in
excess image captures with no subject (false triggers).
STEP 4
Switch camera to Quick Start. Close cover. The camera will operate using Default settings.
You may also customize the settings if desired in Custom Start.
STEP 3
Switch camera to Aim mode. Aim camera using motion detection to determine
target area. Walk in front of the camera at the desired distance and the
camera LED will ash showing the covered area.
5
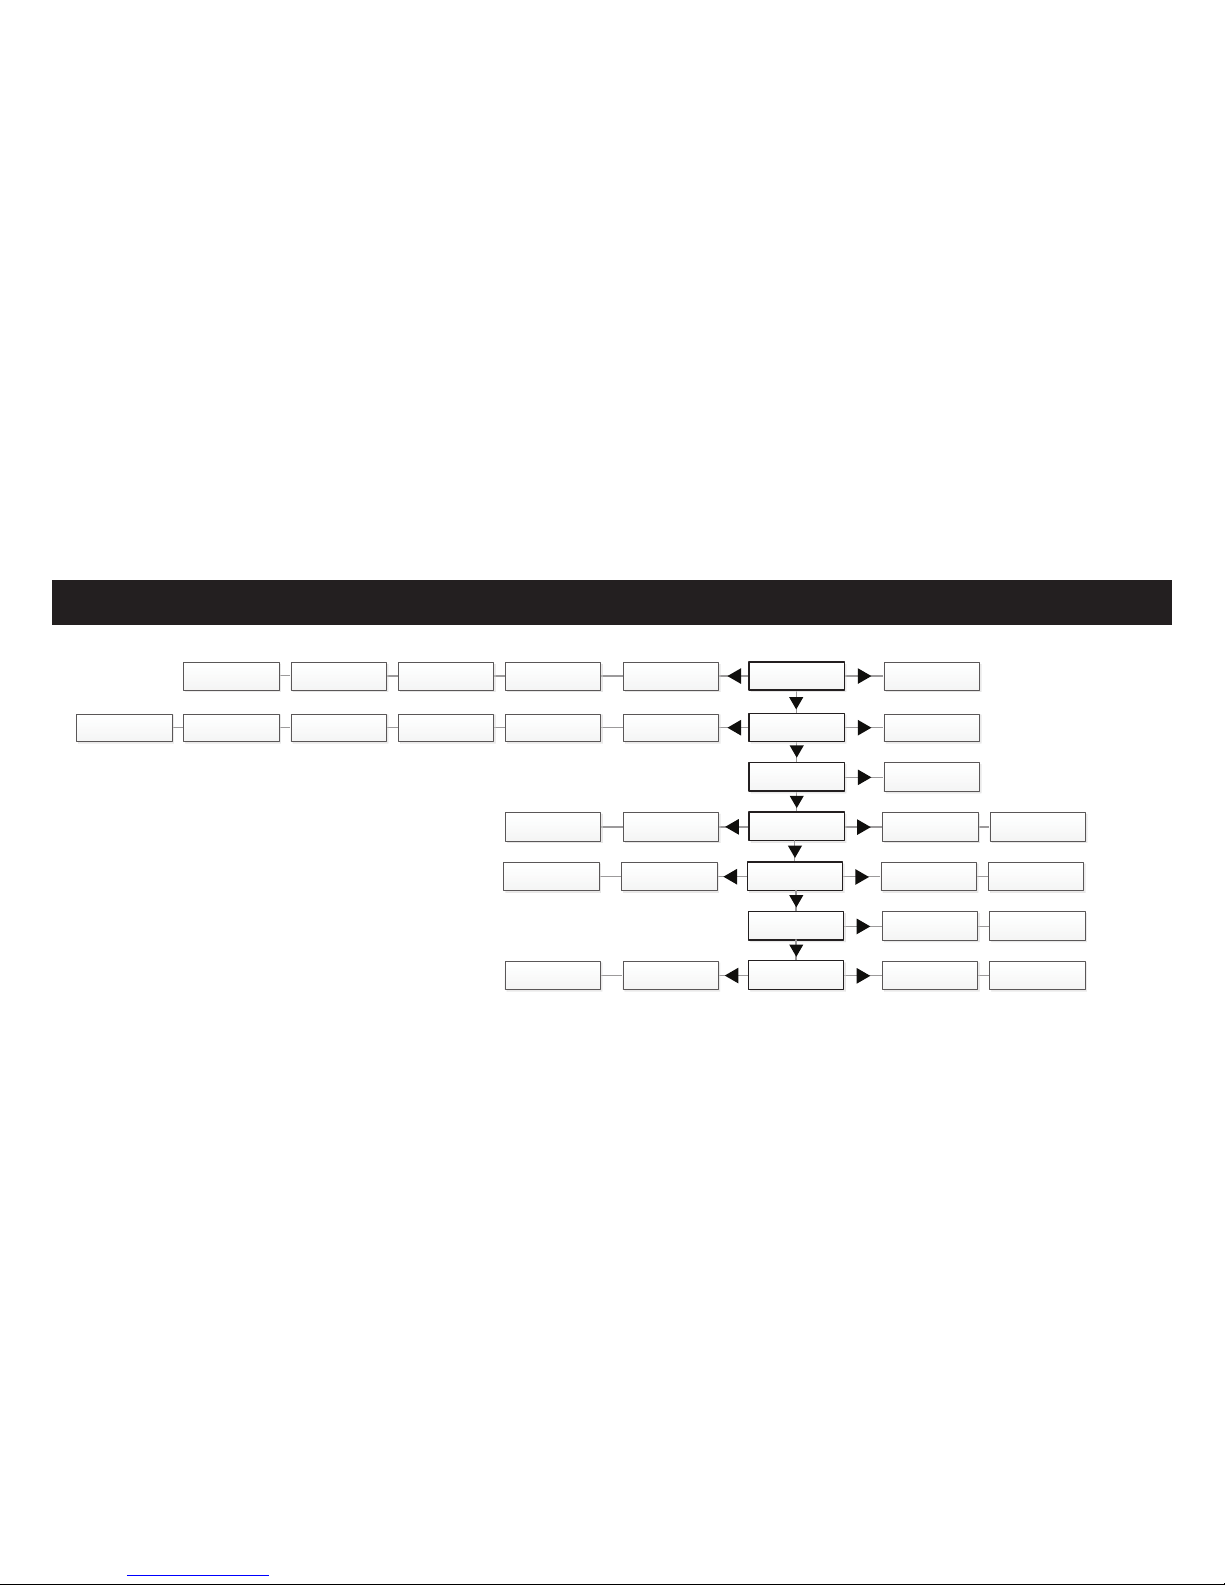
Setting Run Mode
When you choose Quick Start, the only settings
that you will be able to change will be Date and
Time. Other settings are:
OPTION SETTING
Mode Motion Detect
Detection Delay 30 seconds
Multi-Shot 3-Triggered
Photo or Video Photo
Eyelet
Mounting
Strap
Python™ Cable
Loops