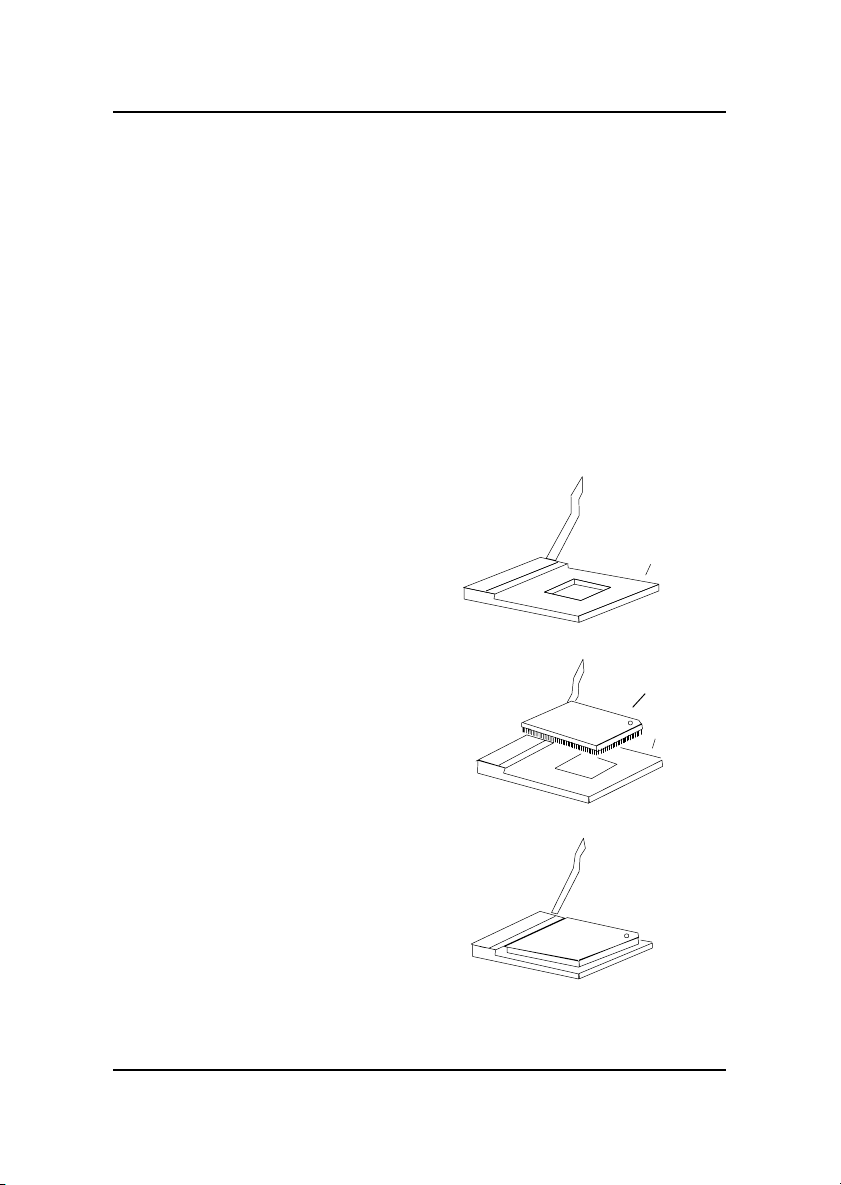
MSI MS-6161 User manual
Other MSI Motherboard manuals

MSI
MSI MS-7151 User manual

MSI
MSI G4m-P25 User manual

MSI
MSI K9AGM4 User manual

MSI
MSI K7N2 Delta2 - Motherboard - ATX User manual

MSI
MSI MS-6577 User manual

MSI
MSI B75MA-P33 series User manual

MSI
MSI PRO A620M-E User manual

MSI
MSI P6NGM-FIH - Motherboard - Micro ATX User manual

MSI
MSI Z370 GAMING PRO CARBON User manual

MSI
MSI RX480 Neo2 User manual

MSI
MSI 880GMA-E45 series User manual

MSI
MSI H81I User manual

MSI
MSI MAG B550 TOMAHAWK User manual
 User manual")
MSI
MSI H61MA-E35 (B3) User manual

MSI
MSI B450M BAZOOKA User manual

MSI
MSI MS-7236 User manual

MSI
MSI MS-7364 User manual

MSI
MSI MEG Z790 ACE User manual

MSI
MSI MS-S3361 User manual

MSI
MSI H170A PC MATE User manual