1. Duplex Copying*
(Duplex copying of one-sided documents.)
a. Verify the machine is in Copy mode.
b. Place original documents on the ADF face up or on the
document glass face down.
c. Select [Advanced Functions] until ‘Duplex Copy’ appears and
press [Enter].
d. Using arrow keys, scroll down and select L&R or Top and
press [Enter].
e. Press [Start].
f. If using document glass, put second page on the glass when
the first page has been scanned. Then, press the [Next Doc.]
key and the two-sided copy will appear in the output tray.
2.
Combine Copy
(Combines up to 4 documents onto a single one-sided sheet.)
a. Verify the machine is in Copy mode.
b. Place the original documents on the ADF face up or on the
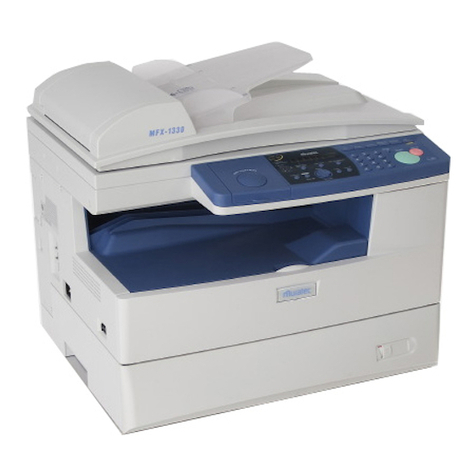
document glass (for MFX-1330) face down.
c. To select Combine Copy:
i. For MFX-1330, select [Combine].
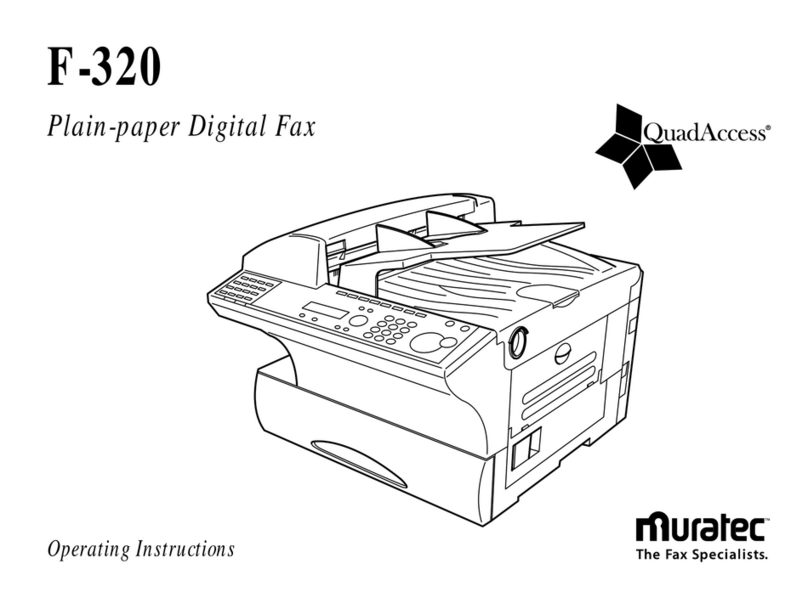
ii. For F-300, select [Advanced Functions] repeatedly until
[Combine] appears. Press [Enter]. Turn on ‘Combine’ using
the cursor key and press [Enter].
d. Press [Start].
3. Programming a Macro Key
(Combines multiple steps into a single key.)
a. Press [Macro Program] located under the flip panel.
b. Press [Enter].
c. Select the Macro key you want to program.
d. Press [Enter].
e. The copy standby display appears and the machine begins
to beep, which indicates the machine is in the macro
programming mode.
f. Press the keys exactly as you would operate the job you want to
program into a Macro key.
g. The machine beeps during programming to confirm that you are
in the macro programming mode.
h. Press [Start] or [Enter] after you have finished entering
the operation.
i. If you want the machine to start the programmed operation
immediately after you press the Macro key, press [Enter]. If you
want the machine to prompt you to press [Start] or [Enter]
prior to beginning the programmed operation, select [Cancel].
Then go to step K.
j. Press [Macro Program]. The machine prompts you to enter the
name of the macro. If you do not want to enter or change it,
skip to step L.
k. Enter the macro name using the numeric keypad.
l. Press [Enter] to finish.
4. Changing Default Soft Keys
a. Press [Menu].
b. Select [User Settings] and press [Enter].
c. Select [Machine Settings] and press [Enter].
d. Select [Soft Key] and press [Enter]. The machine shows the
function currently assigned to the soft key.
e. Scroll down to the soft key you want to change using the
arrow keys.
f. Press [Enter].
g. Use the arrow keys to select the function you want to assign.
h. Press [Enter].
i. To continue to change additional soft keys, select [Enter] and
repeat steps above. To exit, press the [Reset] key.
5. Using QuadAccess
(Performs four tasks simultaneously.)
a. Obtain three stacks of paper, one with twenty-five pages, the
other two can be less than five pages.
b. Insert the stack of twenty-five into the ADF. Verify the machine
is in Copy mode, select [1] copy and press [Start].
c. Wait for the document to scan then insert the next stack into
the ADF.
d. Now, change the machine to Fax mode, dial a fax number and
press [Start].
e. After that stack has scanned and the machine is dialing,
insert the final stack into the ADF and select a pre-programmed
one-touch key or manually dial another number. Press [Start].
f. Finally, return to Copy mode and begin programming another
copy job, change some settings and queue up to 10 jobs.
g. The machine will flawlessly process each task at the same time,
without slowing down.
6. Register a One-Touch Number
a. Press [Menu].
b. Select [Autodial Entries] and press [Enter].
c. Select [One-Touch Dial] and press [Enter].
d. Select [Enter One-Touch] and press [Enter].
e. Press [Enter]. The empty one-touch number will be shown.
f. Use the arrow keys to select a one-touch number.
g. Press [Enter].
h. Use the numeric keys to enter the number exactly as your
machine should dial it.
i. Press [Enter].
j. Use the numeric keys to enter the name for the one-touch key.
k. Press [Enter] to save the setting.
l. To exit, press [Reset].
7. Setting the Bypass Paper Default
a. Press [Menu].
b. Select [User Settings] and press [Enter].
c. Select [Machine Settings] and press [Enter].
d. Use the arrow keys to scroll to Paper Source.
e. Press [Enter].
f. Press [Enter], again.
g. Select Bypass Tray.
h. Select which function to be used for the Bypass Tray.
i. Press [Enter].
j. To exit, press [Reset].
8. Registering a Department Code
a. Press [Menu].
b. Select [Other Settings] and press [Enter].
c. Select [Department Code] and press [Enter].
d. Select [Enter Department Code] and press [Enter].
e. Press [Enter], again.
f. Use the numeric keys to enter the department code.
g. Press [Enter].
h. Use the numeric keys to enter the name for the one-touch key.
i. Press [Enter].
j. To continue entering additional department codes, select the
next available department code slot and repeat the steps above.
To exit, press the [Reset] key.
9. Setting Cost Management
a. Press [Menu].
b. Select [User Settings] and press [Enter].
c. Select 2 for Fax Settings or 3 for Copy Settings.
d. Press [Enter].
e. Use the arrow keys to scroll to Fax Charge or Copy Charge.
f. Press [Enter].
g. Use the numeric keys to enter the charge per page ($00.00-
99.99).
h. Press [Enter].
i. Press the [Reset] key to exit and return to standby mode.
10. Accessing Meter Counts
a. Press [Menu].
b. Select [User Settings] and press [Enter].
c. Select [Machine Settings] and press [Enter].
d. Scroll down and select [Page Counter] and press [Enter].
e. Select [Total Print] to view a breakdown of the print counts.
f. Select [Total Scan] to view a breakdown of the scan counts.
g. Press [Enter].
h. Press [Reset] to exit and return to standby mode.
>
>
>
>
>
>
>
>
>
>
