Muratec F-360 User manual
Other Muratec Fax Machine manuals

Muratec
Muratec M-910 User manual

Muratec
Muratec M-1220 User manual

Muratec
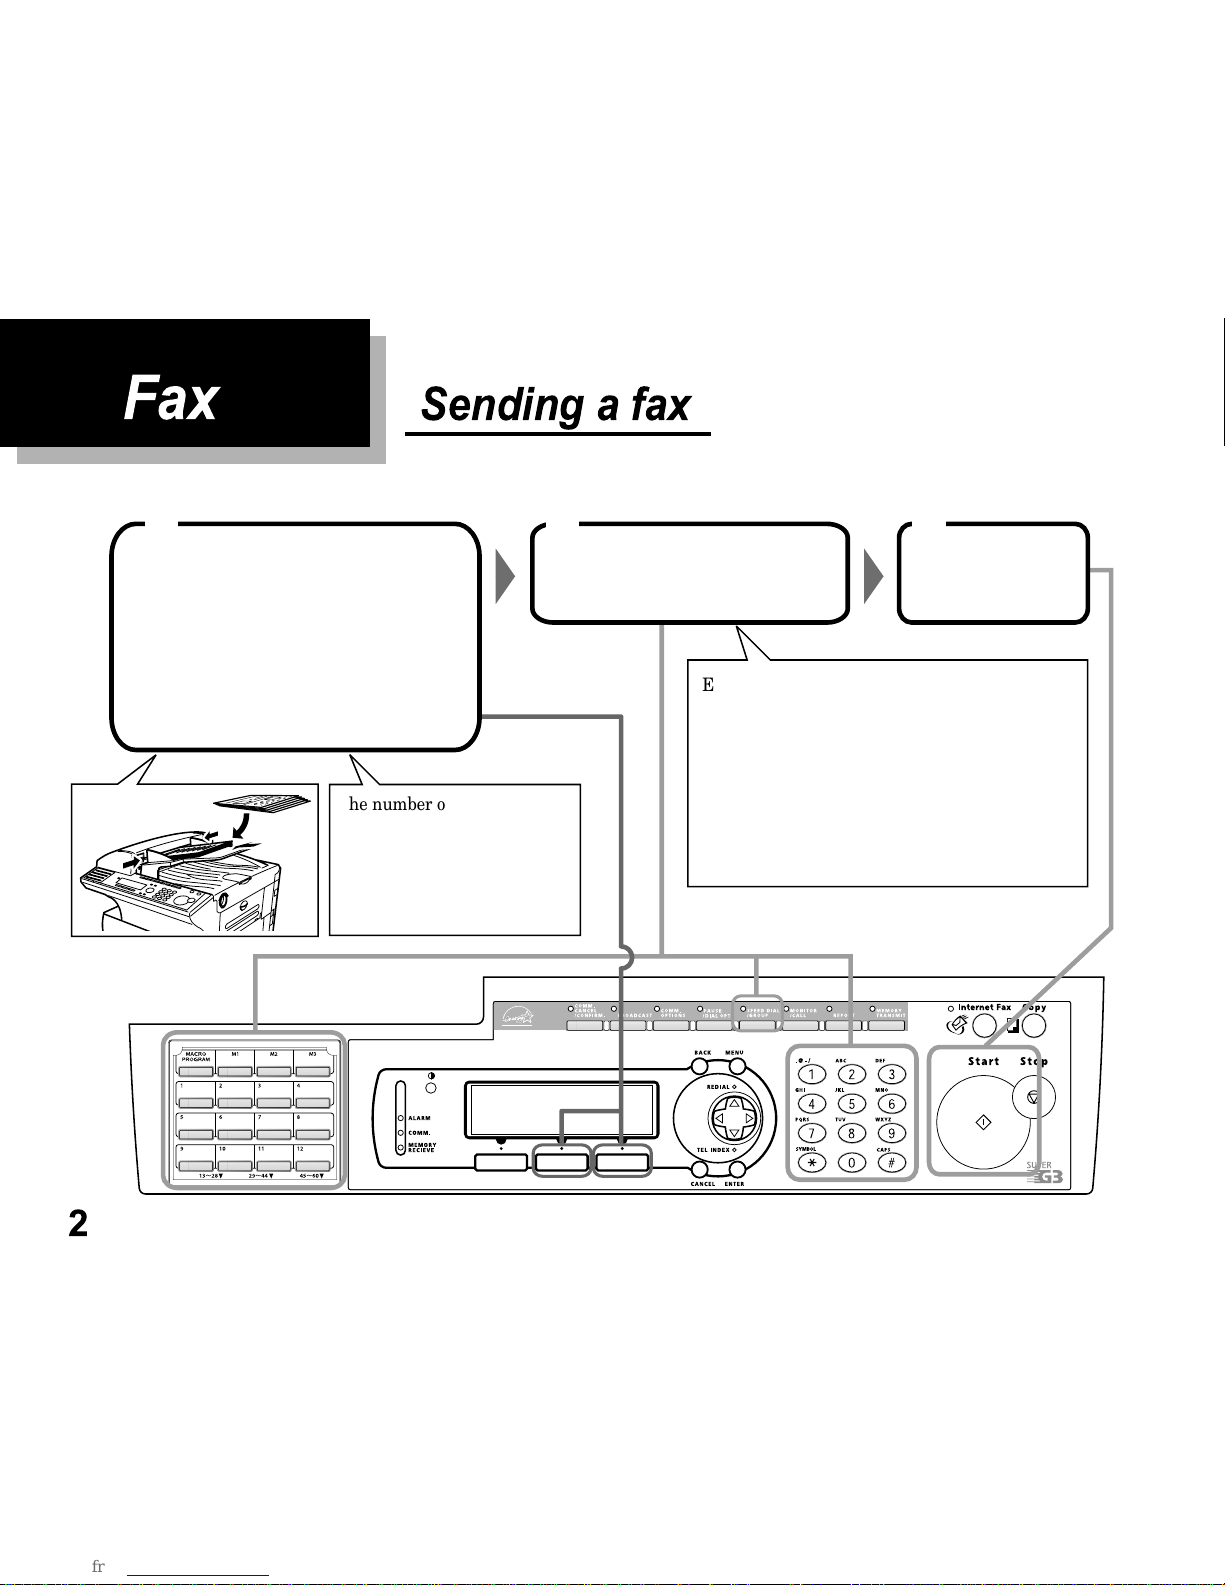
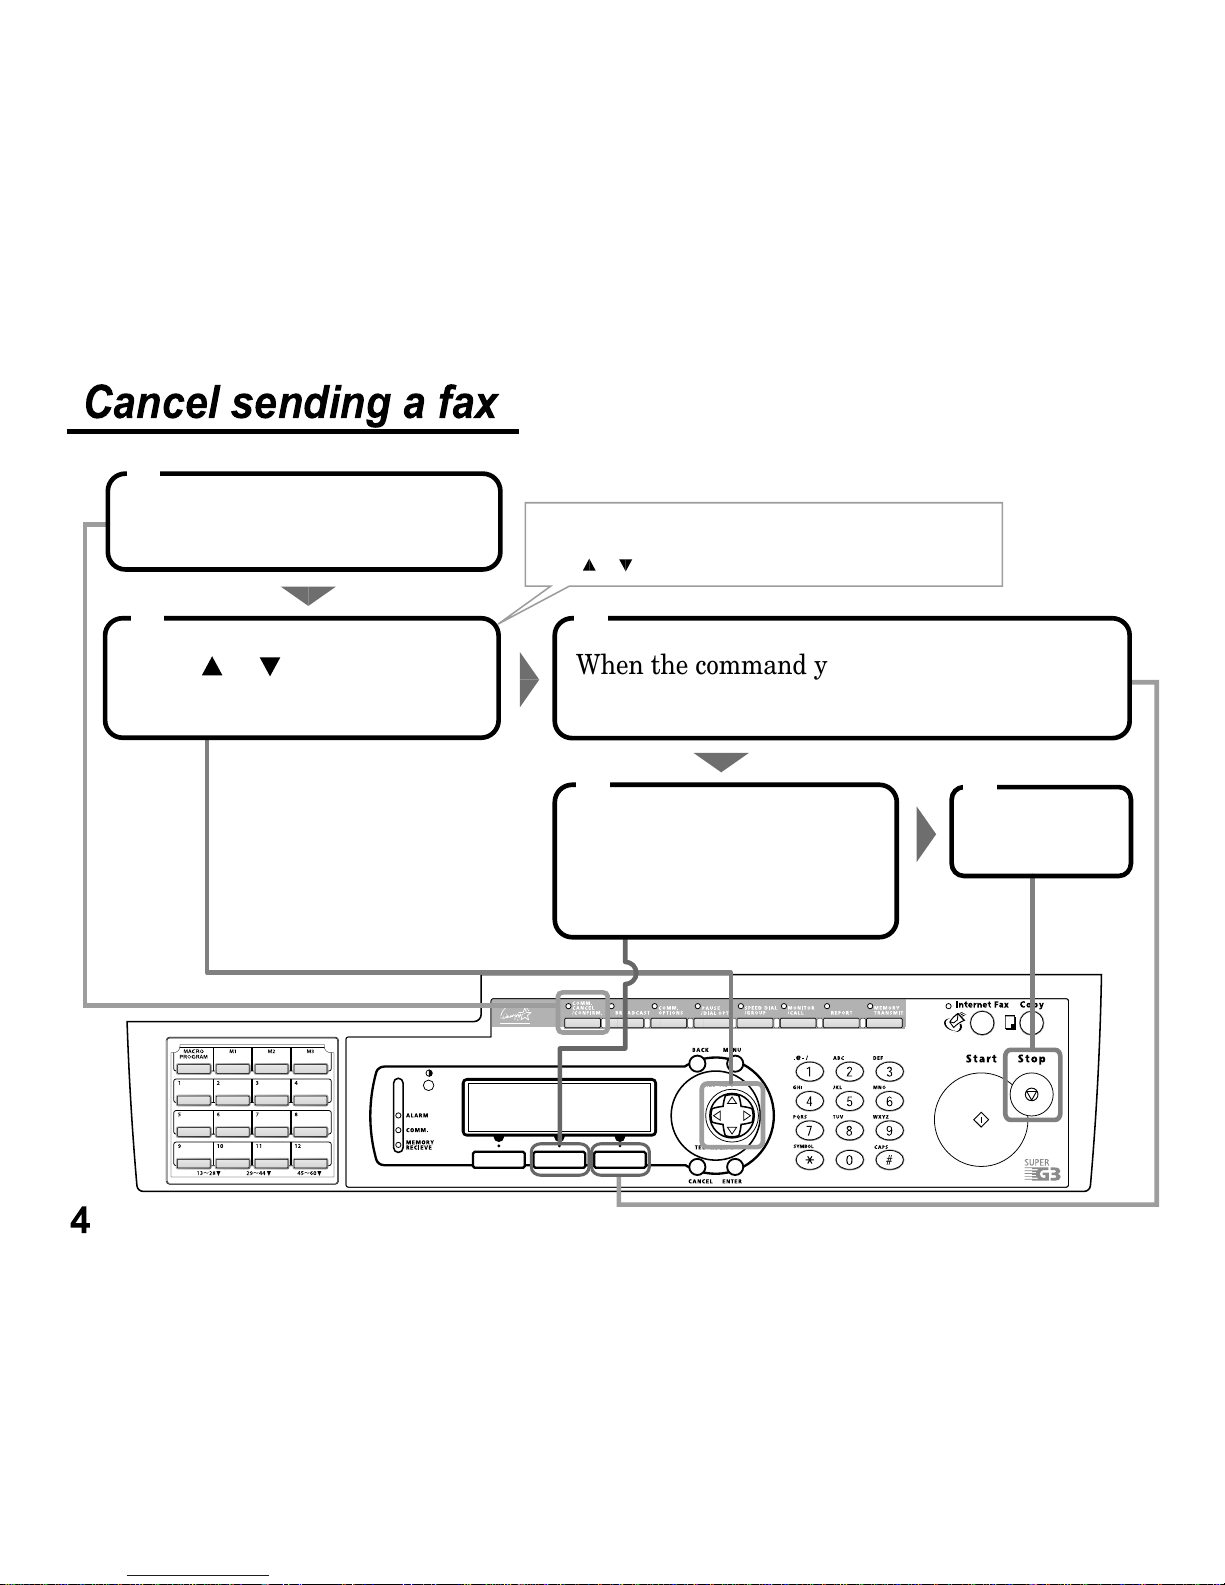
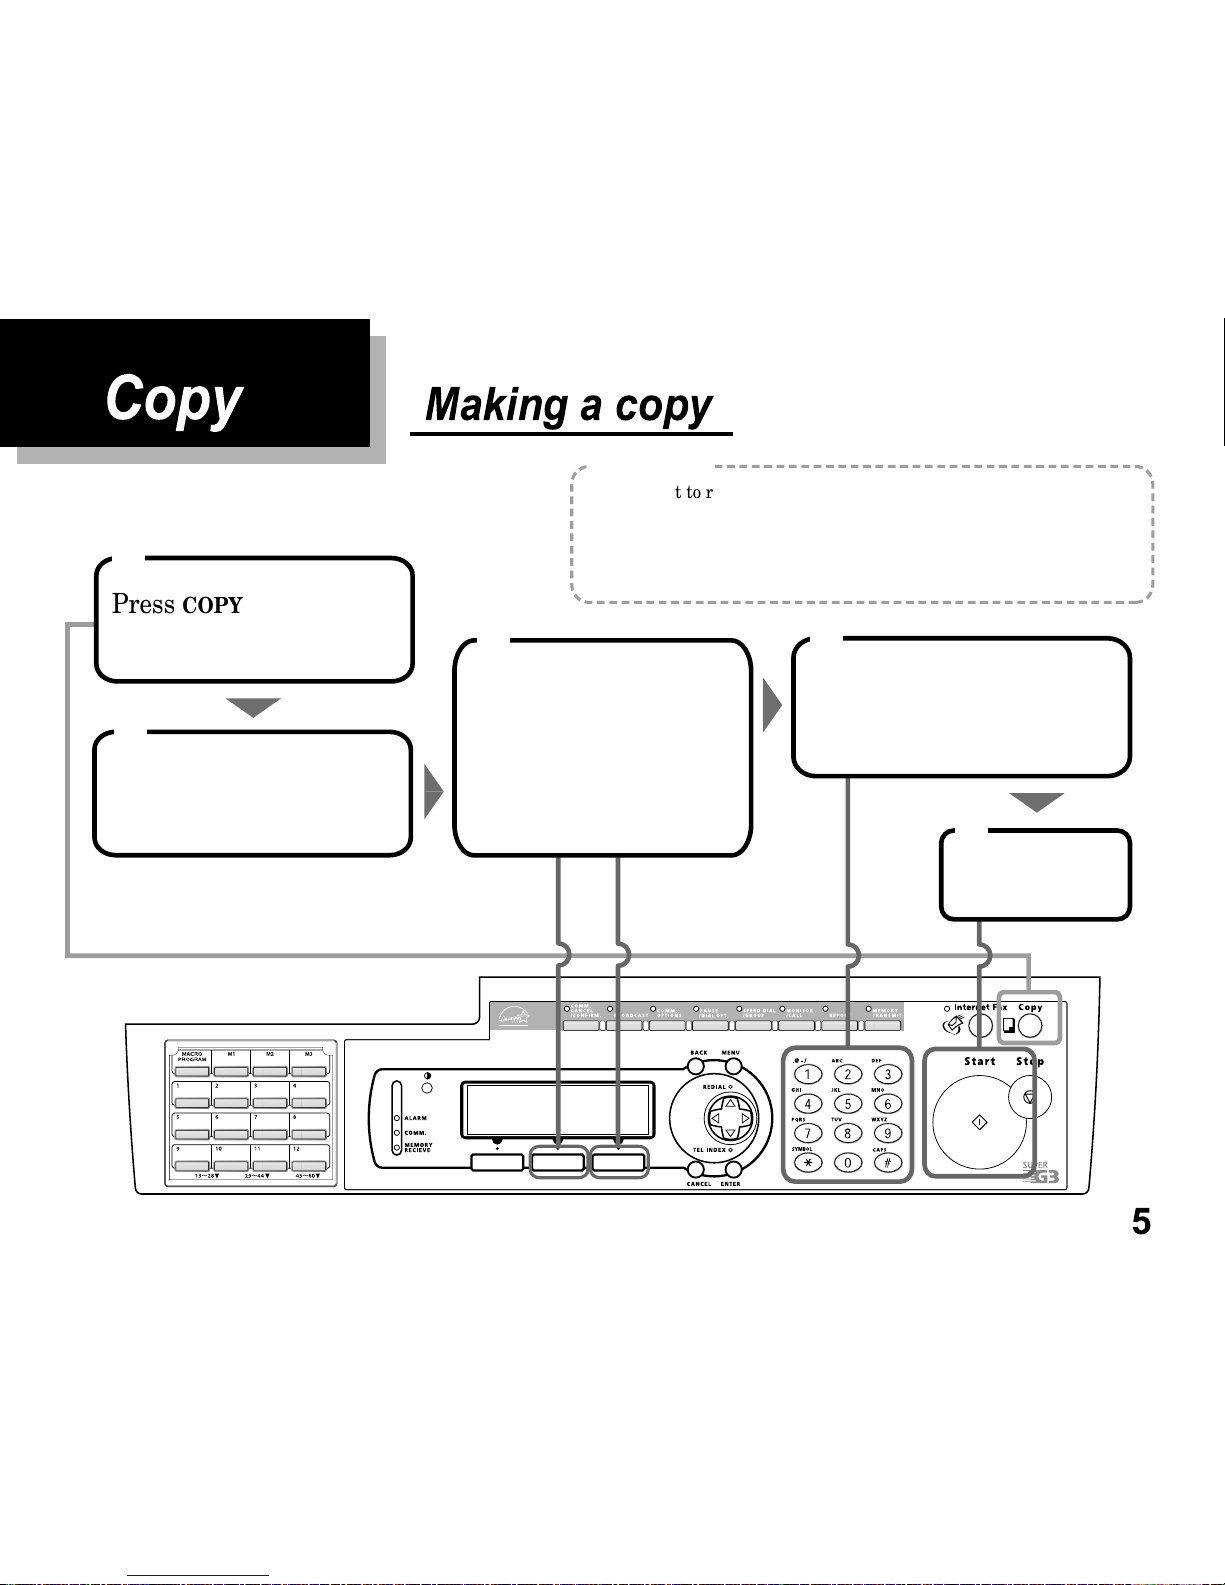
Muratec F-360 User manual

Muratec
Muratec M-4700 User manual

Muratec
Muratec F-160 User manual

Muratec
Muratec M-920 User manual

Muratec
Muratec F-100 User manual

Muratec
Muratec F-320 User manual

Muratec
Muratec MFX-1500 User manual

Muratec
Muratec M-3000 User manual

Muratec
Muratec M-1020 User manual

Muratec
Muratec MFX-C3035 User manual

Muratec
Muratec F-98 User manual

Muratec
Muratec F-360 User manual

Muratec
Muratec Office Bridge IF-200 User manual

Muratec
Muratec F-114 Series User manual

Muratec
Muratec F-65 User manual

Muratec
Muratec F-315 User manual

Muratec
Muratec F-76 User manual

Muratec
Muratec F-46 User manual