6 7 8 9 10 11 12 REVIEW COMMANDS -- Push this to review pending fax commands, view a brief description of delayed commands. machine is ready to
communicate PC-CONNECT light -- Glows when your fax using the PC-FAX feature (see page 2.
42). HOLD/DIALING OPTIONS -- Either places a call on hold or takes it off hold. It also produces a special character during dialing and inserts special
symbols into telephone numbers (see page 2.8). light -- If glowing, indicates a problem has occurred during fax communication, printing or scanning. (It's
also accompanied by several beeps immediately after the problem occurs.) The light stays lit until the machine prints a Check Message report. ALARM AUTO
ANSWER -- Selects which mode your fax machine uses to handle incoming calls: answering automatically as a fax machine (auto-answer mode) or waiting
for the user to pick up an optional, connected handset (manualanswer mode). The AUTO ANSWER light next to this key will glow when auto-answer mode is
the current choice. MEMORY TRANSMIT -- Selects which transmission mode your fax machine uses, whether from memory or from the document feeder.
If the MEMORY TRANSMIT SPEED DIAL/TEL INDEX -- Starts a speed-dialing operation, which you finish by pushing three of the keys on the numeric
keypad. Also displays one-touch and speed-dial entries sorted alphanumerically, as in a telephone directory. REDIAL/PAUSE -- Redials the last number you
dialed. In certain operations, it also produces a special pause character which can be useful during the dialing of long-distance numbers. Numeric keypad --
Just like the numeric keys on a regular tone-dialing phone.
In addition to dialing phone and fax numbers, they also enter numbers when you're making certain settings. One-touch keys -- The keys labeled AZ and U1U4
offer one-touch dialing convenience. You also can use the keys labeled P1P6 for programmable functions: this lets you teach your machine an advanced multi-
step function just once, then recall the function at any time by pressing one of these keys. Finally, you can use these keys to type in letters and symbols for
your user settings. light next to this key is glowing, your machine will scan documents into memory before trying to send them.
Otherwise, your fax machine will send straight from the feeder, which is slower and also prevents others in your office from using the fax until your
communication is absolutely complete. 1.4 Getting started 13 14 15 16 17 18 19 20 21 22 23 24 25 26 27 28 START COPY STOP -- Begins a manual fax
transmission or reception. You're in control! We've worked hard to make sure your fax machine is easy for you to use. Let's make sure there's no confusion
about how to operate it. Below are simple operating tips: To press: 0 (zero), 1, 2, 3, 4, 5, 6, 7, 8, 9, # or * Use: The numeric keypad. Tip: At no other time
within this manual will we refer to the letters printed below the numeric keys and their uses (such as accessing abc by pressing the 2 key.) These letters are
there only for your convenience in using your fax machine as a telephone. To press: A, B, C, D or any other letter key Use: The one-touch key by that name.
Tip: Please don't confuse the zero (0) with the letter O.
Here's an example. If we say "press PROGRAM, 7, ENTER, 0, 8, ENTER" you'd press PROGRAM . then 7 . then ENTER . then 0 (the numeric key zero) . then
8 . and then, finally ENTER Important: Although our example above includes commas, do not enter them into the fax machine. Those characters appear in
our instructions to separate one number from the other, and are not intended for actual entry by using your control panel. There is a function (broadcasting)
which requires the entry of commas, but there is a special way to enter them. We will explain this process when the time comes.
-- Press this key to make one copy, or multiple copies of a document. -- An all-purpose "Whoa!" key. Stops the current operation, ejects a document from the
document feeder and cancels alarms.
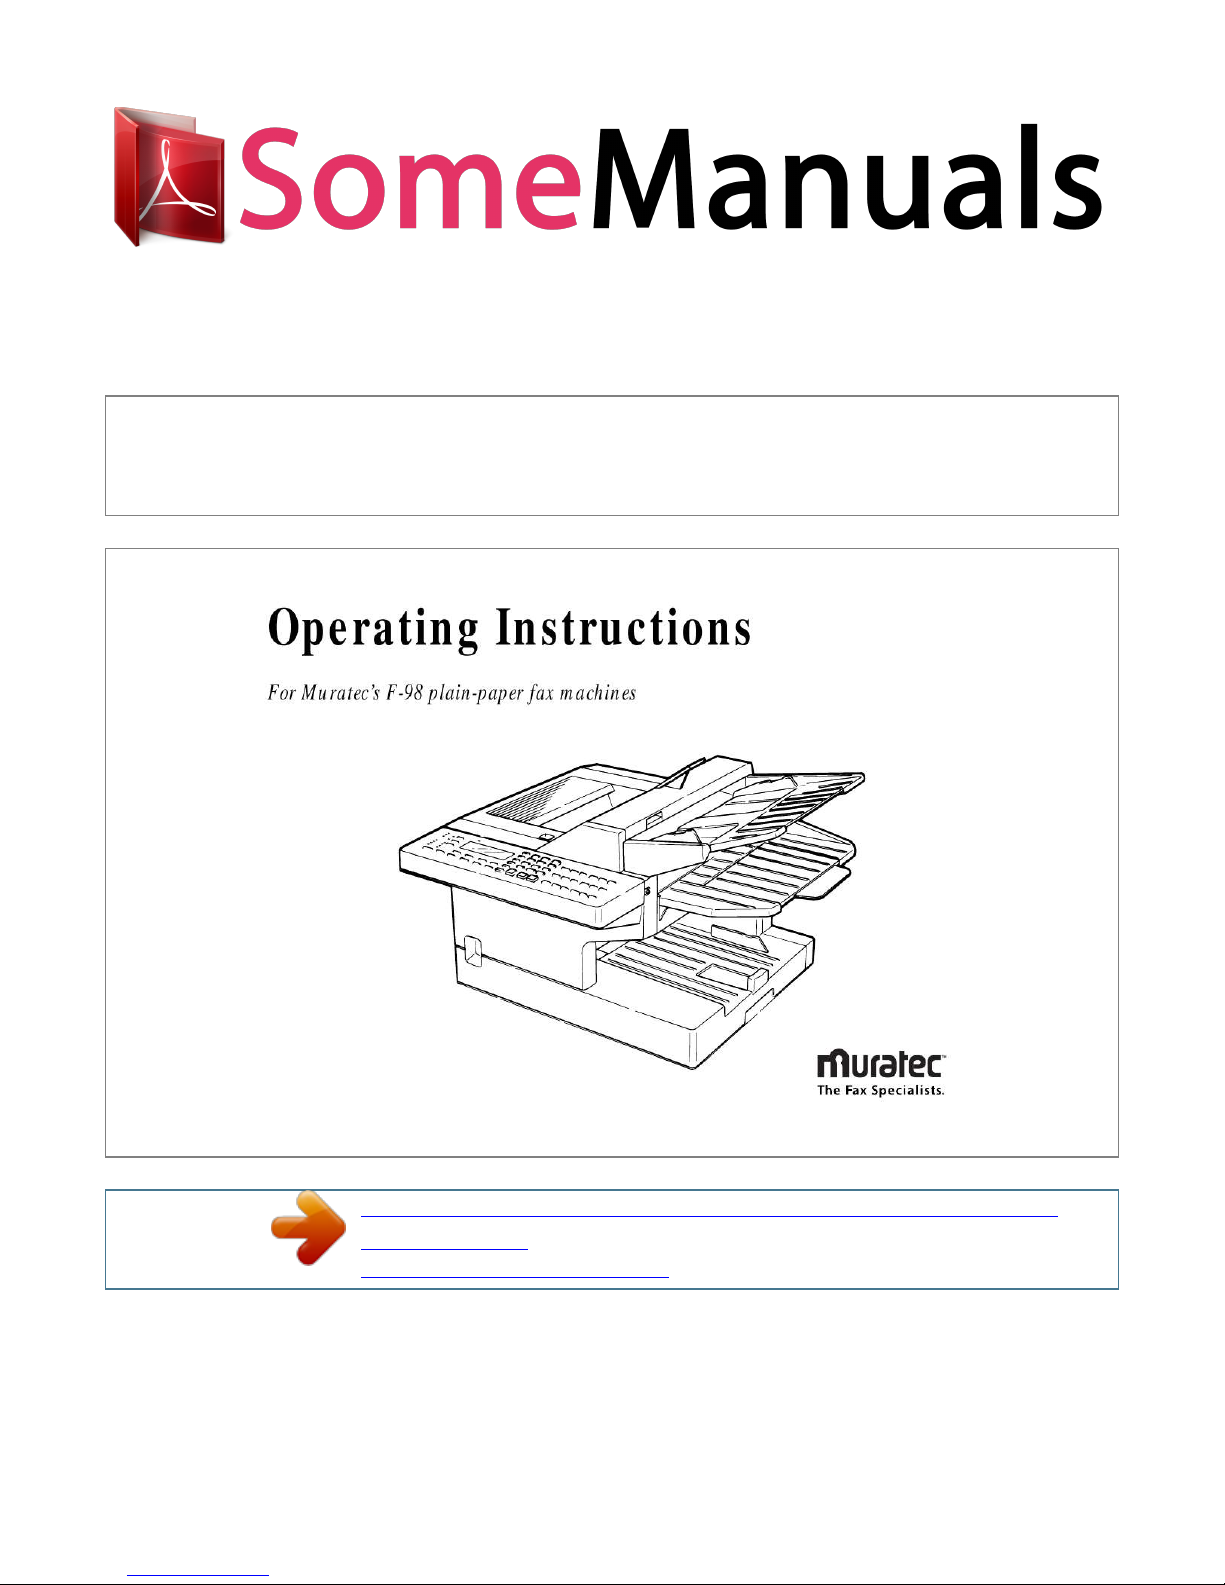
You're reading an excerpt. Click here to read official MURATEC
F-98 user guide
http://somemanuals.com/dref/66255