manuals.online logo
Brands
  1. Home
  2. •
  3. Brands
  4. •
  5. Muse
  6. •
  7. TV
  8. •
  9. Muse M-235 User manual

Muse M-235 User manual

H1. Standby button
H2. MODE: To select different operation mode
(HDTV/AV)
H3. 0…9: Number entry
H4. LIST: Nine picture guide function
H5. CH+/-, ▲ /▼: Channel selection; Upward/
downward keys
H6. VOL+/-, ◄/►: Volume adjustment; leftward/
rightward keys
H7. MENU: To access the main menu
H8. Color buttons (red, green, yellow, blue): To
activates the function according to different
color shows on the display
H9. P.ADJ: Picture adjustment (for HDTV mode)
H10. PICT: To select the different picture modes
(Standard, Soft, Vivid, Light, Personal)
H11. / : To start reverse or forward
accelerated playback.
H12. / : next or previous
H13. : To cut off or restore the sound
H14. SEARCH: To start searching the channels
(for HDTV mode)
H15. FAV: To show your favorite channel (for
HDTV mode)
H16. : To return to last channel
H17. EPG (Electronic program guide): To show the preview of the program picture
(for HDTV mode)
H18. INFO: To show the information of current program
H19. AUDIO: To select different sound mode (for HDTV mode)
H20. OK: To conrm the selection
H21. TV/RADIO: To switch between TV and radio channels (for HDTV mode)
H22. EXIT: To exit current menu and return to previous menu
H23. SUBTITLE: To turn on / off the subtitle (for HDTV mode)
H24. SLEEP: To set the time to turn off the unit automatically
H25. TEXT: To turn on / off the teletext information (for HDTV mode)
H26. : Record button
H27. : To PLAY and PAUSE playback
H28. : stop button
M-235 TV
GB - 1
Please read the instruction carefully
before operating the unit.
LOCATION OF CONTROLS
Main Unit
GB - 2 GB - 3
GB - 6 GB - 7 GB - 8GB - 5
Portable TV
User Manual
INSTALLING BATTERY
1. Push the button toward right.
2. Pull the battery loader out.
3. Insert one “CR2025” size battery with the positive side (+) facing up.
4. Replace the cover.
The supplied AC adaptor is suitable for use on AC mains supplies of 100-240V ~ AC
and should only be connected to a mains supply within these parameters.
Cautions:
* The AC adaptor included with this unit is for its use only. Do not use it with other
equipment.
* Turn off the unit before unplugging the AC adaptor from the unit so as to avoid the
unit being damaged.
* When the unit is not going to be used for long time, disconnect the AC adaptor from
the AC outlet.
* Be sure to use it near the wall outlet and easily accessible. If a malfunction occurs,
disconnect the plug from the wall outlet at once.
* AC adaptor is used as the disconnect device. It shall remain readily operable and
should not be obstructed during intended use. To be completely disconnected the
apparatus from supply mains, the AC adaptor of the apparatus shall be disconnected
from the mains socket outlet completely.
* Never use an AC adaptor that is damaged, route power lead in a safe manner and
make sure it is not subjected to trapping or pinching. If the power lead is damaged
refer to a qualied service agent.
Remote control
GB - 9
GB - 4
Front View
Back View
H1 H13
H14
H15
H16
H17
H18
H19
H6
H20
H21
H22
H28
H27
H26
H25
H24
H23
H2
H3
H4
H5
H6
H7
H8
H9
H10
H11
H12
The remote control operates on 1pc “CR2025” lithium battery
(included). To power up the remote control, remove the
insulation tab from the back of unit.
Before throwing any batteries away, consult your distributor who may be able
to take them back for specic recycling.
ACCESSORIES
NOTES:
- Never recharge the batteries, apply heat to them or take them apart.
- In order to avoid leakage, always remove the batteries when unit will not be used for
a long period of time.
- If the remote control is not going to be used for a long time, remove the battery to
avoid damage caused by battery leakage corrosion.
CAUTION: Danger of explosion if battery is incorrectly replaced. Replace only with the
same or equivalent type.
Remote control x1
AC adapter x1
Car plug x1
AV cable x1
DVB-T antenna, x1
75 Ohm transferring antenna cable x1
Supporting stand with rubber pad x1
Earphones x1
Install the supporting stand
POWER SUPPLY
Using the AC adaptor
1. Pick out 2 screws form the stand head.
Using car plug
Back view
CONNECTIONS
Disconnect all devices from the main supply before connecting.
1. Connecting external antenna
* Connect with DVB-T antenna (for outdoor reception)
* Connect with 75 ohm transferring antenna cable (for indoor cable TV)
Another end of this cable will be connected to public antenna for TV.
2. Connecting the A/V cable
Connect the A/V cable to the AV OUT jack or AV IN jack. The yellow, white and red
end of this cable will be connected to video/audio accordingly. Press MODE button to
select “AV”.
Note: AV OUT is only available in HDTV or USB Mode.
If you connect the DVB-T antenna, set the antenna setting “ON”. While
connect 75ohm transferring antenna, set the antenna setting “OFF”. (Please
refer to the “DVB-T Installation Guide”.)
USING HEADPHONES / EARPHONES
Maximum output voltage ≤150mV.
HEADPHONE VOLUME WARNING
Connect earphones with the volume set low and increase it if required. Prolonged
listening through some earphones at high volume settings can result in hearing
damage. When headphones / earphones are connected, no sound will be emitted from
the unit’s speaker. Caution: Avoid listening to sound at levels which may be harmful to
your ears.
Continuous use of earphones at high volume can damage the user’s
hearing.
BASIC OPERATION
1. Connect the AC adapter to wall outlet and slide ON/OFF switch to turn on the unit.
2. Press the STANDBY/MODE button repeatedly to select different source mode:
HDTV/ AV.
3. In HDTV mode, press CH+/- to change the TV channel,
4. Press VOL+/ ►, VOL-/ ◄ buttons to adjust the volume level.
5. Press to cut off the sound temporarily, press this button again to resume the
sound.
6. Press and hold STANDBY/MODE button for 3 seconds to switch the unit to standby
mode; slide the ON/OFF switch to turn off the unit; disconnect the AC adapter from
wall outlet, the unit will be completely shut off.
DVB-T INSTALLATION GUIDE
English
INSTALLATION
WARNING: Disconnect this car power adaptor when not in use. Not for use in
24V vehicles.
Cautions
* Use only the included 12V car power adaptor. Use of any other 12V car power
adaptor could damage the unit.
* The 12V car power adaptor included is for use with this unit only. Do not use it with
any other equipment.
* In the interest of trafc safety, drivers should not operate the unit or view videos while
driving.
* Make sure the unit is fastened correctly to prevent from falling in the vehicle in the
event of an accident.
* When the inside of the cigarette lighter socket is dirty with ashes or dust, the plug
section may become hot due to poor contact. Be sure to clean the cigarette lighter
socket before use.
* After use, disconnect the car power adaptor from both the unit and cigarette lighter
socket.
Using the Built-in battery
The unit has a built-in rechargeable battery (lithium-polymer). Charge the built-in
battery before using it for the rst time. The charging indicator will change from red to
green when the battery becomes fully charged.
Warnings:
* To charge the battery, just connect the AC adaptor.
* Recharge the built-in battery when you are ready to use it again.
* While using the built-in battery, the environmental temperature should be 5°C (41°F)
to 35°C (95°F).
* To get the longest service life of the built-in battery, charge at indoor-temperature.
* The built-in battery in this device may present a risk of fire or chemical burn if
mistreated. Do not disassemble, heat above 100°C (212°F), or incinerate.
* The unit should not be exposed to excessive heat such as sunshine, re or the like.
* When discarding the unit, environmental problems must be considered and local
rules or laws governing the disposal of such products must be strictly followed.
Side view
1. TFT-LCD display
2. CH+/-, ▲ / ▼: Channel selection;
upward / downward keys.
3. OK: To conrm the selection.
4. VOL+/-, ◄ /►: Volume adjustment;
leftward / rightward keys.
5. Speakers
6. Exit (Return Key): To exit current
menu and return to previous Menu.
7. MENU: To access the main menu
8. STANDBY /MODE: To tu rn o n/ of f
the unit; to select different operation
mode: HDTV/AV.
9. Remote Sensor
10. Indicator Light (Red: Standby Mode;
Green: battery charging mode; Orange:
battery is under charging and the unit is
in standby mode; Light turns off: battery
is fully charged and unit turn on)
11. Antenna Input Jack
12. Battery Compartment
13. Flute f or installing the suppor tin g
stand
14. Earphones jack
15. DC INPUT (12V) jack
16. ON/OFF power switch
17. AV INPUT jack
18. AV OUTPUT jack
19. USB port
2. Put the screws into the hole of stand. Tight
the screw to x the stand and stand head.
3. Slide the stand into the back of unit.
4. Adjust the stand head and lock the stand by
stand head’s locker.
Back view
DVB-T Antenna
(supplied)
AV transfer-connected cable (supplied)
SLEEP FUNCTION
In sleep mode, the unit will turn off automatically after a specied time.
You can select duration in minutes before the unit turns off automatically.
1. Press SLEEP button on remote control repeatedly to select 15-30-45-60-75-90-105-
120-OFF.
2. If the unit fall into sleeping mode, press STANDBY/MODE button on unit or button
on remote control to turn the unit ON.
Press ▲ /▼ to select different item, press ◄ / ► to adjust the setting accordingly.
Press EXIT to return to main menu.
• OSD Language: To select the language of unit’s menu.
• Country: To set country according to your location.
Note: Less or no channel could be received if “Country” setting is incorrect.
EXIT
STANDBY
/MODE
MENU
OK
9”PORTABLE LCD TV
6
7
8
9
10
55
4
3
2
1
11
12
13
15
16
17
18
19
14
2. To the cigarette
lighter socket
1. To CAR PLUG - 12V jack
Car adaptor
Installation Guide
OSD Language English
EnglandCountry
EXIT
EXIT Confirm
OK
1. To DC IN 12V jack
2. To AC OUTLET
AC ADAPTOR
PTM-3102N IB MUSE 001 REV0 - GB.1 1 2013-7-30 10:35:29
GB - 10 GB - 11 GB - 12 GB - 13
GB - 15 GB - 16 GB - 17 GB - 18
GB - 14
GB - 19
Picture
• Aspect Ratio
To set the display mode: Auto, 16:9 pillar Box, 16:9 Pan & Scan, 4:3 Letter Box, 4:3
Pan & Scan, 4:3 Full, 16:9 Wide screen.
• TV format
To select your TV system among PAL, NTSC.
Channel Search
• Auto Search
Press OK button to start auto scanning, existing database on Installation guide setting
will be cleared, and channel with stronger signal which according to your selected
“Country” will be received and saved, a new program list will be build up. Press EXIT
to stop auto scan.
Noted: It takes quite a while to complete the auto scan.
• Manual Search
Select Maunual Search item, press OK to enter manual search sub menu.
Press digital number on the remote to input channel number and appropriate
frequency.
Press ◄ / ► to select your desire bandwith. Press OK to scan the selected channel.
Time
• Time Offset
Adjust time zone to Auto or Manual.
• Country Region
To show the capital of the Country according to you selected country.
• Time Zone
To select your desire time zone when time offset adjust to manual.
• Daylight Time
To turn On/Off Daylight Saving Time.
Option
System
• Parental Guidance
Set lock function according to audiences’ ages. Before setting the audience’s ages,
input the default password 888888.
• Set Password
Press OK to enter into “Set Password” menu. To change the password, enter the
current password (the default password 888888) in the “Input Old Password” box.
Then enter the new password in the “Input New Password” box. Enter it again in the
“Conrm Password” box to conrm.
• Restore Factory Default
Press OK to initialize the setting and clear the program list, press EXIT to return to the
previous menu. Before restoring default setting, input the password 888888.
• Information
Press OK key to check system information.
• Software Update
1) Plug the USB drive with the update le.
2) Enter software update menu and press to start upgrade process. When the upgrade
progress complete, remove the USB ash drive and restart the unit again.
3) When you update the software, the previous settings will automatically be cleared
and replaced by default setting.
NOTE: Never remove the USB drive or power off during upgrading process. Otherwise
the unit may not work properly.
USB
• Multimedia
This unit can play MP3, MPEG 4, JPEG and video les recorded on USB ash drive (not
supplied). Plug the USB ash drive into the USB port and press OK key to enter USB
playing main interface.
Note:
* It is recommended USB ash drive when the unit is in OFF mode.
* There are many USB devices in the market. We cannot guarantee to support all
different models. Please try another USB device if your device is not supported.
• Photo Congure
Press OK key to setup pictures playing.
Slide Time: set the play time of slide show
Slide Mode: set the style of slide show
Aspect Ratio: set “Keep” or “Discard”
• Movie Congure
Press OK key to setup movie playing.
Subtitle Specic: set up NORMAL, BIG or SMALL
Subtitle Background: set up Transparent, Gray, Yellow green, white
Subtitle Font color: set up Red, Blue, Green, white, Black
• PVR Congure
Press OK key to setup program record.
Record Device: Check the stored information
Format: Clear information
SPECIFICATIONS
HDTV system:
Input frequency: VHF 177.5 MHz - 226.5 MHz
UHF 474 MHz - 858 MHz
Modulate: QPSK/16-QAM/64-QAM
Decode standard:
MPEG1, MPEG2 MP@HL, MPEG4 ASP@L5, HD: DivX (4.x-6.x),
HD: H.264 HD: 1080i, JPEG (support 422/411/420/444/440 support)
Audio decode standard: MPEG-1 MPEG-2 (layer I/II) AAC HE-AAC level 2 & level 4
Mp3 decode.
General characteristic
Display: Color TFT-LCD
Screen size: 9 inches
Resolution: 800(H) × 480(V)
Speaker: 2 × Φ27mm
Power supply: DC 12V
Supported power:
1. Alternating current power supply - AC adapter
2. Vehicle battery (12V) - vehicle adapter
3. Build-in battery 7.4V/2000mAh
Power Consumption:
Without recharging function, the power consumption is 12W around
With recharging function, the power consumption is 15W around
Dimension: 258 × 156 × 25 (mm)
Weight: about 600g
Working temperature: -5°C-40°C
Storage temperature: -20°C-60°C
TROUBLE SHOOTING
The appliance does not switch on.
- Make sure it is plugged into a main socket.
- Set ON/OFF switch to ON position. If unit is in standby mode, press STANDBY/
MODE button to turn on the unit.
The remote control does not work or works only intermittently.
- Check that batteries are inserted or change them.
- Aim the remote control at the appliance. The infrared beam must not be blocked or
interrupted.
- Operate the remote control within about 23ft (7m).
There is no sound or the sound is of poor quality.
- Check the connections.
- Make sure the MUTE function is not on.
The picture is poor quality.
- Check the connections.
- Adjust the brightness or contrast of your display.
- Adjust the length, angle and direction of antenna.
No signal
- Check if the channel is right or not.
- Auto reset the receiving channel.
- Move the unit to another place.
- Try to replace telescopic antenna with external antenna.
SAFETY PRECAUTION
- The set does not work in extremely high or low temperature.
- Do not attempt to modify the unit, modifying the unit may cause an accident.
- Do not put the remote control under high temperature or under the sunshine.
- Do not use your set immediately after transportation from a cold place to a warm
place, there may be condensation problems.
- Make sure that you keep your set away from water and high temperatures.
- The ventilation should not be impeded by covering the ventilation openings with
items such as newspapers, table-cloths, curtains, etc.
- No n aked fla me so urces, s uch a s l ighte d candle s, sh oul d be placed o n the
apparatus.
- To use the apparatus in moderate climates.
- The apparatus should not be exposed to dripping or splashing.
- Ensure a minimum distance of 5cm around the apparatus for sufcient ventilation.
- Do not place objects lled with liquids, such as vases, on the apparatus.
- The marking plate is located on the back of unit.
- Attention should be drawn to the environmental aspects of battery disposal.
- Do not throw batteries in re!
- Battery shall not be exposed to excessive heat such as sunshine, re or the like.
- Excessive sound pressure from earphones and headphones can cause hearing loss.
- Under the inuence of electrical fast transient or/and electrostatic phenomenon, the
product may malfunction and require user to power reset.
SAFETY INFORMATION
Cleaning
WARNING: Disconnect the unit from the mains supply before cleaning.
- Use a soft, dry, clean cloth. Regularly dust the vents at the back or sides.
- Using solvents, abrasive or alcohol-based products risks damaging the appliance.
- If an object or liquid enters inside the appliance, unplug it immediately and have it
checked by an authorized engineer.
ATTENTION: To reduce the risk of electric shock, do not remove
the cover or back. There are no user serviceable parts inside
the unit. Refer all servicing to qualied personnel.
The lightning ash with arrowhead symbol within the triangle is a warning sign
alerting the user of “dangerous voltage” inside the unit.
The exclamation point within the triangle is a warning sign alerting the user of
important instructions accompanying the product.
WARNING: TO PREVENT FIRE OR SHOCK HAZARD, DO NOT EXPOSE THIS
APPLIANCE TO RAIN OR MOISTURE.
If at any time in the future you should need to dispose of this product please
note that Waste electrical products should not be disposed of with household
waste. Please recycle where facilities exist. Check with your Local Authority
or retailer for recycling advice. (Waste Electrical and Electronic Equipment
Directive).
NEW ONE S.A.S
10, Rue de la Mission, 25480 Ecole Valentin, France
Music
1. Press ◄ / ► to select “Music” item, press OK to conrm your selection.
2. Press ▲ /▼ to select your desire folder, press OK to conrm.
3. Press ▲ /▼ to select your desire le, press OK to start to playback.
4. Press to stop playback
5. Press EXIT to return to the multimeida menu.
Photo
1. Press ◄ / ► to select “Photo” item, press OK to conrm your selection.
2. Press ▲ /▼ to select your desire folder, press OK to conrm.
3. Press ▲ /▼ to select your desire le, press OK to start to preview.
4. Press to stop to photo preview.
5. Press EXIT to return to the multimeida menu.
Movie
1. Press ◄ / ► to select “Movie” item, press OK to conrm your selection.
2. Press ▲ /▼ to select your desire folder, press OK to conrm.
3. Press ▲ /▼ to select your desire le, press OK to start to playback
4. Press to stop to playback
5. Press EXIT to return to the multimeida menu.
PVR
you could record the preference program and playback.
Instant recording, EPG recording and timer recording were available.
Recording
1. Press (Record) key to start instant recording during watch TV. The recording
symbol would be display on the left top of the screen.
2. Press key to stop instant recording.
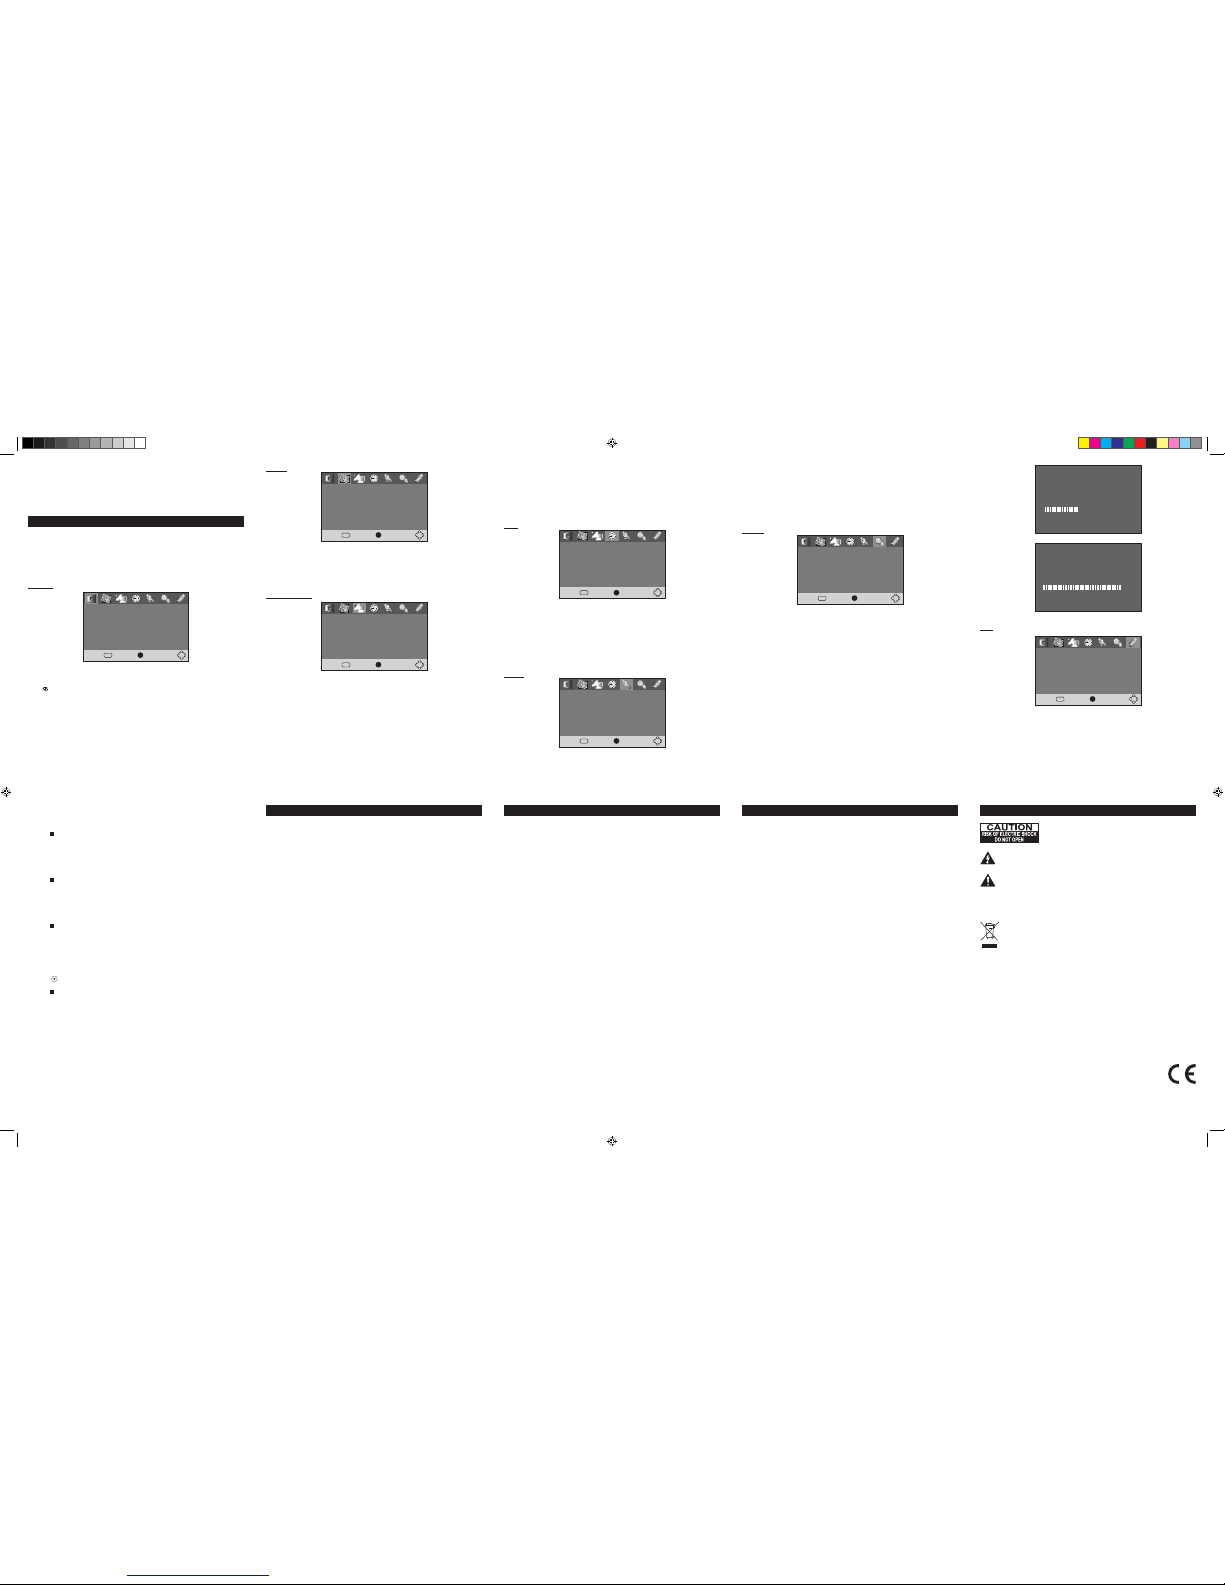
SOFTWARE UPGRADE COMPLETE
100%
UPGRADING SOFTWARE
PLEASE DO NOT TURN OFF
44%
Program
DVB-T MENU
Navigating the setup menu
1. Press MENU to display the setup main menu in HDTV mode.
2. Press ◄ / ► to select a menu icon.
3. Press ▲ /▼ to select one of the available options under a menu icon.
4. Press ► to select an option.
5. Press EXIT to exit from the setup menu.
• Channel search: Press OK button to start auto scanning.
If no channel is found during the channel searching process, to adjust the antenna
position to obtain optimal TV signal.
Not e: If installation has been already fin ished or the program list is not empty,
installation guide may not appear.
* The settings could be modied in DVB-T menu.
• Program Edit
Before entering Program Edit item, input the default password 888888.
Press ▲ /▼ to select your desired channel, press RED/ GREEN/ YELLOW/ BLUE/
FAV/ to select with corresponding function as following: “Move”, “Skip”, “Lock”,
“Delete”, “FAV” (favorite), “Rename”. Press EXIT button to return to main menu.
• EPG (Electronic program guide)
Press ▲ /▼ to select your desired channel in the list. Press ◄ / ► to enter the guide
timer of the select channel.
• Sort
Press ◄ / ► to sort the programs according to your desire. Optional choices: LCN,
ONID, Service Name and Service ID.
• LCN
Turn ON/OFF for logical program list.
• Country
To set country according to your location.
• Antenna Power
To adjust the sensitivity when external antenna is connected. When you connect the
DVB-T antenna, please set the antenna setting to “ON”; while you connect the telescopic
antenna or 75 ohm transferring antenna, please set the antenna setting to “OFF”.
• OSD Language
To select the language of unit’s menu.
• Subtitle language
To select the language of the subtitles.
Noted: It depends on the languages supported by the received channels.
• Audio Language
To select the dialog language.
Noted: It depends on the languages supported by the received channels.
Program Edit
EPG
Sort By ONID
Off
LCN
Return
EXITConfirm
OK
Program
USB
Return
EXIT Confirm
OK
Aspect Ratio
TV Format
16:9 Wide Screen
PAL
Picture
USB
Return
EXIT Confirm
OK
USB
Auto Search
Manual Search
Country
Antenna Power
England
On
Channel Search
USB
Return
EXIT Confirm
OK
Time Offset
Country Region
Time Zone
Daylight Time
Manual
London
GMT +8
On
Time
USB
Return
EXITConfirm
OK
OSD Language
Subtitle Language
Audio Language
English
English
English
Option
USB
Return
EXITConfirm
OK
Parental Guidance
Set Password
Restore Factory Default
Information
Software Update
System
USB
Return
EXITConfirm
OK
Multimedia
Photo Configure
Movie Configure
PVR Configure
USB
PTM-3102N IB MUSE 001 REV0 - GB.2 2 2013-7-30 10:35:33

Popular TV manuals by other brands

Sony KD-32W830L reference guide

Sony

Sony KD-32W830L reference guide

Toshiba 32L1753DB operating instructions

Toshiba

Toshiba 32L1753DB operating instructions

Haier 21T07 Service manual

Haier

Haier 21T07 Service manual

Samsung 4 Series Quick setup guide

Samsung

Samsung 4 Series Quick setup guide

Panasonic Viera TX-L32E31B operating instructions

Panasonic

Panasonic Viera TX-L32E31B operating instructions

Philips 52KV1528 user guide

Philips

Philips 52KV1528 user guide

Sony BRAVIA XR-48A90K reference guide

Sony

Sony BRAVIA XR-48A90K reference guide

Panasonic TH-L50DT60A user manual

Panasonic

Panasonic TH-L50DT60A user manual

Panasonic TX-28LD4DPL Service manual

Panasonic

Panasonic TX-28LD4DPL Service manual

Sharp 32F641 Operation manual

Sharp

Sharp 32F641 Operation manual

Samsung CS 2Z45 Owner's instructions

Samsung

Samsung CS 2Z45 Owner's instructions

Panasonic TX-32PX20P operating instructions

Panasonic

Panasonic TX-32PX20P operating instructions

Grundig CUC 2121 M Service manual

Grundig

Grundig CUC 2121 M Service manual

Quasar SQ3204 instruction manual

Quasar

Quasar SQ3204 instruction manual

Magnavox TS2573 owner's manual

Magnavox

Magnavox TS2573 owner's manual

Insignia NS-42E470A13A Quick setup guide

Insignia

Insignia NS-42E470A13A Quick setup guide

Curtis Mathes CM27020S owner's manual

Curtis Mathes

Curtis Mathes CM27020S owner's manual

BEA 82BS4K20 user manual

BEA

BEA 82BS4K20 user manual

manuals.online logo
manuals.online logoBrands
  • About & Mission
  • Contact us
  • Privacy Policy
  • Terms and Conditions

Copyright 2025 Manuals.Online. All Rights Reserved.