NAD
VM130
Upgrade procedure
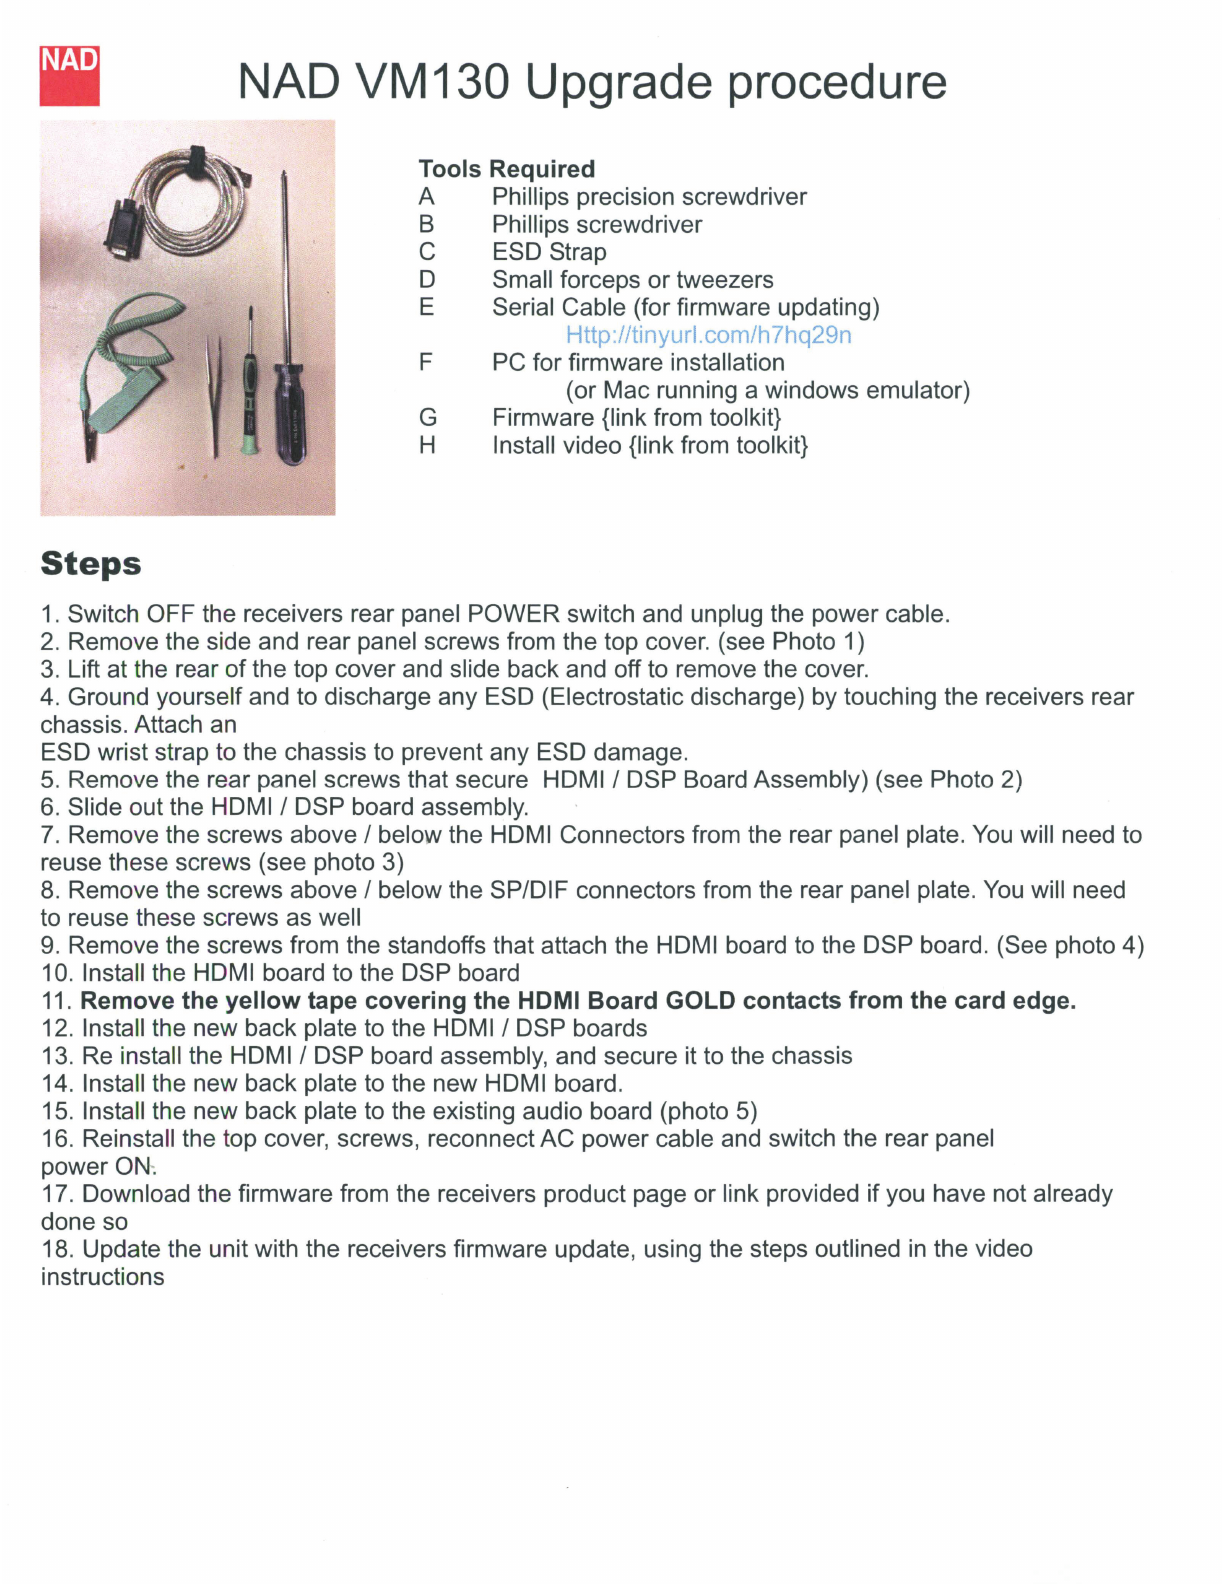
Tools Required
A Phillips precision screwdriver
B Phillips screwdriver
C ESD Strap
D Small forceps
or
tweezers
E Serial Cable (for firmware updating)
Http://tinyurl.com/h7hq29n
F PC for firmware installation
(or Mac running a windows emulator)
G Firmware {link from toolkit}
H Install video {link from toolkit}
Steps
1.
Switch OFF the receivers rear panel POWER switch and unplug the power cable.
2.
Remove the side and rear panel screws from the top cover. (see Photo 1)
3.
Lift at the rear
of
the top cover and slide back and off to remove the cover.
4. Ground yourself and to discharge
any
ESD (Electrostatic discharge) by touching the receivers rear
chassis. Attach an
ESD wrist strap to the chassis to prevent any ESD damage.
5.
Remove the rear panel screws that secure HOMI I DSP Board Assembly) (see Photo 2)
6.
Slide out the HOMI I DSP board assembly.
7.
Remove the screws above I below the HDMI Connectors from the rear panel plate. You will need to
reuse these screws (see photo 3)
8.
Remove the screws above I below the SPIDIF connectors from the rear panel plate. You will need
to reuse these screws as well
9. Remove the screws from the standoffs that attach the HOMI board to the DSP board. (See photo 4)
10. Install the HOMI board to the DSP board
11.
Remove the yellow tape covering the HOMI Board GOLD contacts from the card edge.
12. Install the new back plate to the HOMI I DSP boards
13. Reinstall the HOMI I DSP board assembly, and secure it to the chassis
14. Install the new back plate to the new HOMI board.
15. Install the new back plate to the existing audio board (photo 5)
16. Reinstall the top cover, screws, reconnect
AC
power cable and switch the rear panel
power ON:
17. Download the firmware from the receivers product page or link provided if you have not already
done so
18. Update the unit with the receivers firmware update, using the steps outlined
in
the video
instructions


