manuals.online logo
Brands
  1. Home
  2. •
  3. Brands
  4. •
  5. Nanoxia
  6. •
  7. Enclosure
  8. •
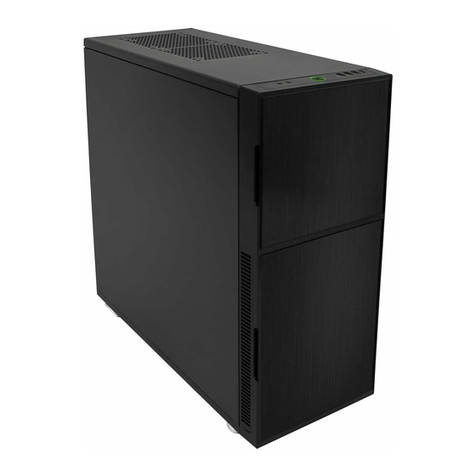
  9. Nanoxia CoolForce 1 User manual

Nanoxia CoolForce 1 User manual

I. Introducon
• Specicaons
• Accessories
• Features
II. Installaon Instrucons
1. Installaon of the motherboard
2. Installaon of opcal drives and removal of the 5.25 inch cage
2.1 Installaon of opcal drives
2.2 Removal the 5.25 inch cage
3. Installaon of hard drives
3.1 Mounng of hard disk drives in the Easy-Mount HDD-Sleds
3.2 Ulizing the 2.5 inch mounng trays
3.3 Upgrading your CoolForce 1 with addional HDD cages
4. Removing the front panel and the Nanoxia Air-Cover
4.1 Removing the front panel
4.2 Removing the Nanoxia Air-Cover
5. Fan assembly
5.1 Fans in the case front
5.2 Fans under the top cover
5.3 Fan at the boom of the case
6. The I/O-Panel
7. The 3-stage fan controller
7.1 Connecng the fans to the fan control
7.2 Operaon of the fan control
8. The Nanoxia Rigid LED Bar
9. Installaon of a water cooling soluon
9.1 Installaon of a radiator or compact water cooling behind the front
9.2 Installaon of a radiator or compact water cooling under the top cover
III. Support
IV. Legal disclaimer
______________________________________________________________02
___________________________________________________________02
______________________________________________________________02
_________________________________________________________________03
_____________________________________________________03
_____________________________________________03
___________________04
____________________________________________04
______________________________________________05
__________________________________________________05
____________________05
______________________________________06
_______________________07
___________________________07
_______________________________________________07
_________________________________________07
___________________________________________________________08
___________________________________________________08
________________________________________________08
____________________________________________09
___________________________________________________________09
_________________________________________________10
_____________________________________10
____________________________________________10
_______________________________________________11
______________________________________11
____________11
__________12
_________________________________________________________________13
___________________________________________________________14
01
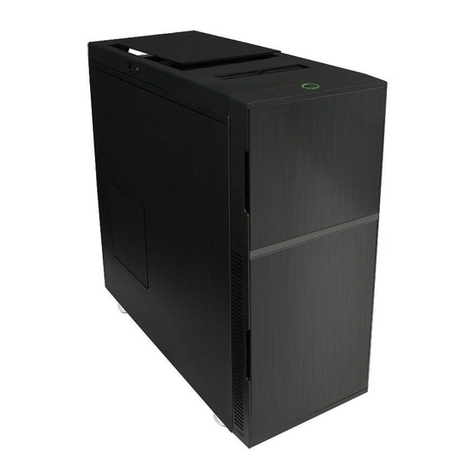
I. Introducon
Congratulaons on the purchase of your new Nanoxia CoolForce 1 midi tower. We are con-
dent that you will be delighted by your new PC case for many years to come.
The CoolForce 1 oers an almost unbelievable variety of features at an outstanding price-
performance-rao. The silent-opmized tower is of the highest quality and combines opmum
funconality with a high degree of variability.
Based on our experience with the Deep Silence series und the input from our customers in
regard to the CoolForce 2, we used all our knowhow to design our CoolForce case series. Many
unique features, like the freely suspended Easy-Mount HDD-Sleds are unique to this case.
Thanks to its individually congurable interior, the CoolForce 1 oers a variety of dierent ways
to design the users system. Users can either accommodate powerful air-cooled systems or a
water cooling set-up with corresponding radiators in the case.
Accessories:
EPS-extension
SATA 3.0 combo-cable (straight connector)
SATA 3.0 combo-cable (angled connector)
Fan screws
Stand-os for mainboard
Screws for mainboard mounng
Screws for HDD mounng
Screws for 3.5 inch mounng frame
Mounng screws for 2.5 inch HDD/SSD
Mounng screws for PSU
If you are missing any of the items listed above, please contact our customer service
immediately: support@nanoxia-world.com
Specicaons:
Dimensions: 495 x 207 x 525 (Height x Width x Depth)
Material: Steel, plascs
5.25 inch bays external: 2 x
3.5 inch drive bays internal: max. 3 x
2.5 inch drive bays internal: max. 5 x
02
Features:
- Watercooling ready
- Eecve soundproong
- Fully modular Easy-Mount HDD-Sleds (decoupled)
- 2 x USB 3.0, 1 x USB 3.1 Type C, HD-Audio connectors
- Lateral mounng holes for 280/360 mm radiators under the top
- 7 slots for expansion cards
- T- ool-free mounng of opcal drives
- Max. VGA length 285 mm (up to 425 mm with HDD-sled(s) removed)
- Room for CPU coolers with a maximum height of up to 165 mm
- Cable management with rubberized holes in motherboard tray
- Mounng hole for CPU cooler in the motherboard tray
- 3-staged fan control for up to three case fans
- 2 x Nanoxia Rigid LED Bars behind the front (can be switched o)
Please visit our website at www.nanoxia-world.com
II. Installaon Instrucons
1. Installaon of the motherboard
You can mount XL-ATX, ATX, M-ATX and Mini-ITX motherboards in the CoolForce 2. In order to
ensure an easy installaon of your motherboard, we suggest the following procedure:
Please consult the following charts to nd your motherboard form factor. Aach the stand-os
according to your motherboard form factor. Aach the included EPS extension cable on to
your motherboard – do not connect it to the power supply yet.
ATX Micro-ATX Mini-ITX
03
Next you should mount the CPU cooler - for very large CPU coolers, the aachment of the EPS
extension cable aer installaon can be dicult. In the next step place the motherboard gently
inside the case and lead the EPS extension cable through the opening provided in the top le
of the mainboard tray.
Fix the motherboard to the motherboard
tray. Aer the installaon of the power
supply, you can connect the EPS extension
cable to the EPS-connector on the PSU at
the back of the motherboard-tray.
2. Installaon of opcal drives and removal of the 5.25 inch cage
You can install up to two external drives 5.25 inch drives in the CoolForce 1.
2.1 Installaon of opcal drives
To install opcal drives, please remove both side panels. The installaon of opcal drives requi-
res neither screws nor tools.
Remove the 5.25 inch cover by pushing it
gently but steadily from the inside out.
Then loosen the lock on both sides by dragging
the black slider backwards (1).
Next slide the drive into the desired posion. Lock the holder by pushing the slider back to its
original posion (2).
01
02
04
2.2 Removal the 5.25 inch cage
If you don’t need opcal drives or wish to install radiators under the top or in the front and
need addional space, you can simply take out the 5.25 inch cage from your CoolForce 1.
Please remove the front rst (see chapter 4.1) und unscrew the six screws which connect the
cage to the front of the case. Next please remove the two screws on the rear of the cage and
take it out of the case.
3. Installaon of hard drives
You can mount up to ve 2.5 inch SSD as well as up to three 3.5 inch HDD in the CoolForce 1.
3.1 Mounng of hard disk drives in the Easy-Mount HDD-Sleds
Your CoolForce 1 has three Easy-Mount HDD Sleds for either one 2.5-inch or one 3.5-inch
HDD/SSD each. To install a hard disk please remove rst both side panels and loosen the
thumbscrew which with the sled is bolted to the back of the motherboard tray.
Then remove the HDD Sled and mount your disk with the appropriate screws. Please make
sure that the connecons of the disk correspond to the opening in the HDD Sled.
05
Aer that, put the HDD Sled back inside the case and x it with the thumbscrew.
We recommend using our SATA combo-cable with the angled connector, which we developed
especially for this purpose, in order to guarantee a smooth t of the side panels. One SATA
combo-cable is already included, you can purchase addional cables in stores.
3.2 Ulizing the 2.5 inch mounng trays
Your CoolForce 1 comes with two 2.5 inch mounng trays, which have been specically desig-
ned to hold SSD drives – one each at the boom of the case and one behind the motherboard
tray.
In order to mount an SSD on the tray, rst remove the thumbscrews that holds the tray in place
and then the 2.5 inch tray. Place the SSD on the front of the tray and x it with the included 2.5
inch mounng screws.
In the next step, please put the mounng tray with the aached SSD back inside the case and
x it with the thumbscrew.
SSD
We strongly recommend using our at SATA combo-cable with the straight connector, which
we developed especially for this purpose, in order to guarantee a smooth t of the side
panels. One SATA combo-cable is already included, you can purchase addional cables in
stores.
06
3.3 Upgrading your CoolForce 1 with addional HDD cages
The HDD-cage mounng rail at the boom of CoolForce 1 allows you to retrot the case with
our separately available HDD cages, in order to increase the disk capacity of the case, if
desired. Slide the HDD cage simply into the rail unl it locks.
4. Removing the front panel and the Nanoxia Air-Cover
4.1 Removing the front panel
To remove the lower part of the front panel, simply hold the cutout at the boom of the front
panel and pull it towards you with a rm tug. The I/O-panel will not be removed when you
remove the front.
4.2 Removing the Nanoxia Air-Cover
To remove the lid of the case, for example to install fans or radiators under the top of the case,
please rst loosen the catch at the rear side of the cover. Pull it gently backward and upward
away.
If you wish to close the Air-Cover again, let it slide obliquely from above into the appropriate
mounng holes and lock it with the catch.
07
5. Fan assembly
Three fans are pre-installed in your case, two 140 mm fans behind the front and one 120 mm
fan at the back. You can mount up to seven fans in total.
We recommend the use of our Nanoxia CoolForce fans, which you can purchase separately in
stores. These are technically and visually equivalent to the factory-installed case fans and will
work in perfect harmony with the built-in fan control of your case.
You can, of course, connect the addional fans to the fan controller (see chapter 7) .
Front and boom of the CoolForce 1 are equipped with easy to clean dust lters. We recom-
mend that you clean them on a regular basis.
5.1 Fans in the case front
To switch the fans in the front or to clean the dust lters, please remove the front panel rst
(see chapter 4.1) and the dust lter. Unscrew the four screws with which the fans are connec-
ted to the front and take them out. The dust lter can easily be removed for cleaning.
5.2 Fans under the top cover
If you want to install more fans at the top of the case, please remove the Nanoxia Air-Cover
(see chapter 4.2). Then hold the fans from the inside and secure them to the top by fastening
the screws from the outside.
08
Case fans installed at the top of the case should exhaust air out of the case (fan rear side
facing outwards). Please note to keep the Air Chimney opened when you have mounted fans
under the top.
5.3 Fan at the boom of the case
If you want to mount a 120 or 140 mm fan at the case boom, you must remove the HDD
mounng-rail, which is aached with four screws to the boom.
Please place the fan on the inside of the case and secure it from the outside..
An addional case fan at the boom of the case should be mounted so that cooler air is
introduced into the case (fan rear side facing inwards).
6. The I/O-Panel
The I/O panel includes connectors for external
USB devices (2 x USB 3.0, 1 x USB 3.1 Type C),
and the microphone and headphone ports.
The power-, reset-, and LED On/O buon are
located here as well.
Please connect the USB 3.1 connector exter-
nally to your motherboard.
Lead the cable through the appropriate slot
cover.
09
7. The 3-stage fan controller
The CoolForce 1 is equipped with a 3-stage fan control for up to three fans.
7.1 Connecng the fans to the fan control
The fan controller is powered by a SATA power-connector that is connected directly to the
power supply. It also supplies the LED strips with power.
The controller oers three 3-pin connectors for fans.
The fan controller is not designed for the operaon of powerful fans. Please take this into
account in parcular when using fans from other manufacturers. The maximum power must
not exceed 9 was.
7.2 Operaon of the fan control
The sliders for controlling the fans controller can be found at top of the case front. You can
choose between Low – Medium – High sengs and thus adjust the speed of the preinstalled
fans according to your needs.
10
8. The Nanoxia Rigid LED Bar
Behind the front of your CoolForce 1 case
two green-lit Nanoxia Rigid LED Bars are
pre-installed.
If you want to deacvate the LED Rigid Bar,
you can simply use the LED on/o buon in
the I/O-panel.
9. Installing a water cooling soluon
In the CoolForce 1 case, you can install 240 or 280 mm radiators behind the front panel, as well
as 280 mm or 360 mm radiators under the top cover.
9.1 Installaon of a radiator or compact water cooling soluon behind the front
For the installaon, please re-
move the Easy-Mount HDD-Sleds
(see Chapter 3.1).
If you plan to install a 280 mm
radiator, we recommend to take
out the ODD-cage (see chapter
2.2) as well.
Next, please remove the front
panel (see chapter 4.1) and the
dust lter, as well as the fans (see
chapter 5.1).
Hold the radiator (and the fans,
if desired) from the inner side to
the front and x it with screws
from outside, using the
appropriate long holes.
11
9.2 Installaon of a radiator or compact water cooling soluon under the top cover
For the installaon of a 120/240/360 mm radiator under the top cover, please use the laterally
oset mounng holes.
These special mounng holes ensure the best possible compability with current mother-
boards.
Please note that you need to remove the Air-Cover (see chapter 4.2). Hold the radiator to the
inside of the top cover and fasten it with screws.
If you should need addional space for the installaon of a radiator under the top, you can
remove the 5.25 inch cage easily (see chapter 2.2).
12
III. Support
Dear customer,
The PC case you purchased has undergone a very thorough quality control. Nevertheless,
should there be any unexpected problems with your case we ask that you rst approach the
dealer where you purchased the product. They are prepared to assist you with competent and
uncomplicated advice and praccal support.
If perhaps a few screws were missing or you might have a queson that can’t be answered by
this manual, please do not hesitate to contact us directly by e-mail.
Likewise, we would appreciate your suggesons and comments about our case very much. Our
sta will respond to all inquiries quickly and professionally.
Customers from Germany and the European countries can use the following e-mail address
for support quesons, spare parts or warranty issues:
support@nanoxia-world.com
Customers from Africa, Asia, Australia as well as North and South America can use the
following e-mail address for support quesons, spare parts or warranty issues:
support.overseas@nanoxia-world.com
For general inquiries, comments, suggesons and the like please refer to:
info@nanoxia-world.com
We are sure that you will be sased with Nanoxia CoolForce 1 for many years to come, so
please enjoy your new PC case.
Your Nanoxia Support-Team
We reserve the right for errors and alteraons.
13
IV. Legal disclaimer:
All named products and descripons are trademarks and /or registered trademarks of the
respecve manufacturers and are accepted as protected. The design and specicaons are
subject to change without prior noce. This is part of the connuing policy of product improve-
ment at NANOXIA. Naonal product specicaons may vary. All rights reserved especially (also
in extracts) for translaon, reprinng, reproducon by copying or other technical means.
Infringements will lead to compensaon. All rights reserved, especially in case of assignaon of
patent or ulity patent.
Disposal of your old product:
Your product is designed and manufactured with high quality materials and components,
which can be recycled and reused. When this crossed-out wheeled bin symbol is aached to a
product, it means the product is covered by the European Direcve 2012 /19 /EU gild. Please
be informed about the local separate collecon system for electrical and electronic products.
Please act according to your local rules and do not dispose of your old products with your
normal household waste. The correct disposal of your old product will help prevent potenal
negave consequences to the environment and human health.
NANOXIA is a registered trademark of the PC-Cooling GmbH
PC-Cooling GmbH
Eichenallee 3
24589 Nortorf
Germany
© NANOXIA
info@nanoxia-world.com
www.nanoxia-world.com
14

Other Nanoxia Enclosure manuals

Nanoxia DEEP SILENCE 2 User manual

Nanoxia

Nanoxia DEEP SILENCE 2 User manual

Nanoxia Deep Silence 3 User manual

Nanoxia

Nanoxia Deep Silence 3 User manual

Nanoxia Deep Silence 5 User manual

Nanoxia

Nanoxia Deep Silence 5 User manual

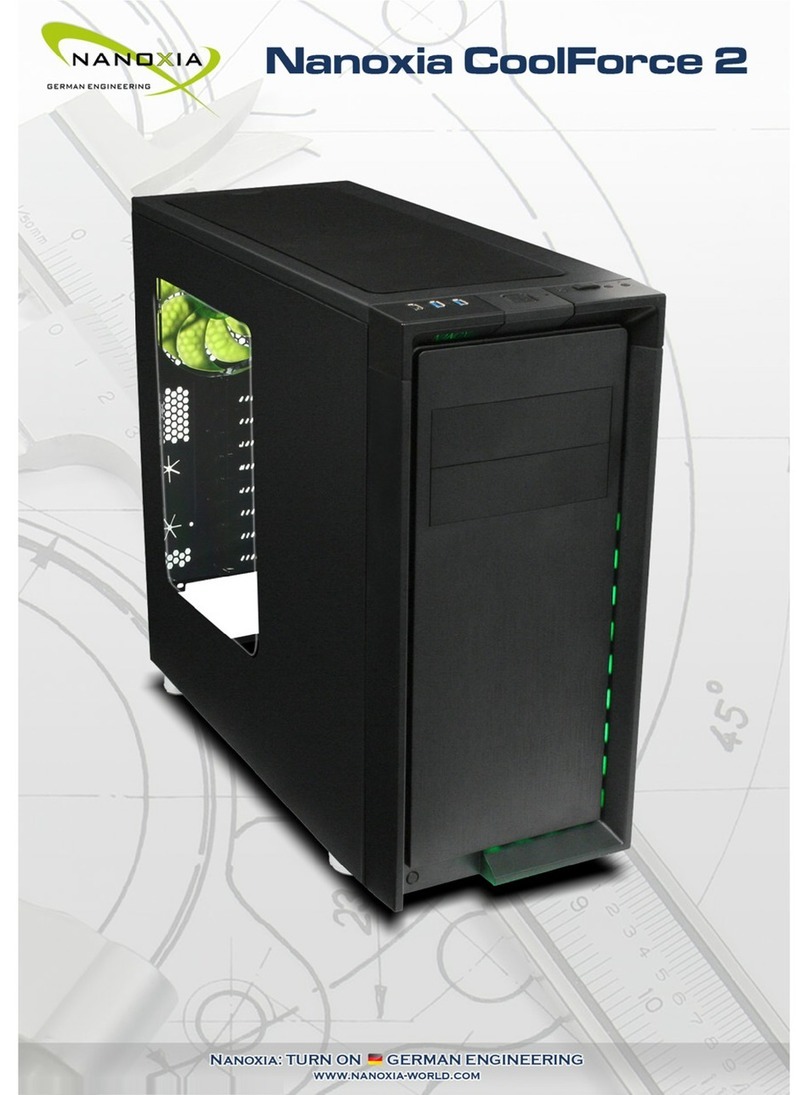
Nanoxia CoolForce 2 User manual

Nanoxia

Nanoxia CoolForce 2 User manual

Nanoxia Deep Silence 5 User manual

Nanoxia

Nanoxia Deep Silence 5 User manual

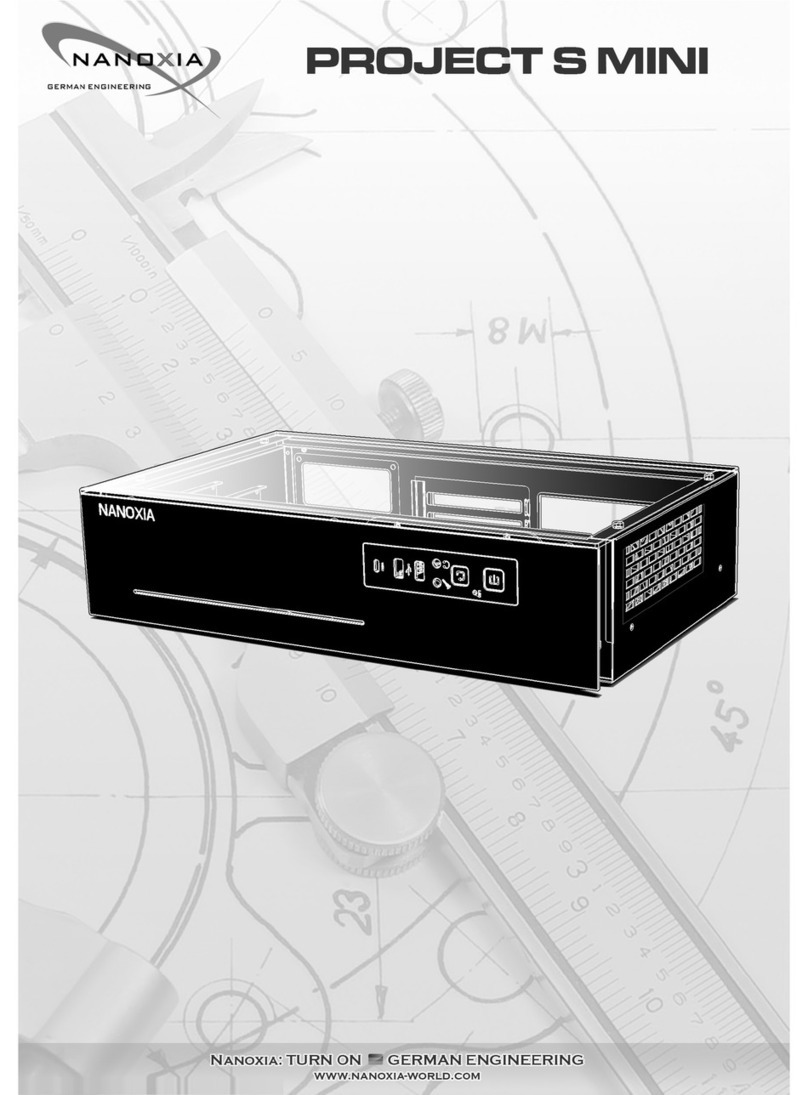
Nanoxia PROJECT S MINI User manual

Nanoxia

Nanoxia PROJECT S MINI User manual

Nanoxia Deep Silence 1 Revision B User manual

Nanoxia

Nanoxia Deep Silence 1 Revision B User manual

Nanoxia Deep Silence 6 Revision B User manual

Nanoxia

Nanoxia Deep Silence 6 Revision B User manual

Nanoxia Deep Silence 5 Rev. B User manual

Nanoxia

Nanoxia Deep Silence 5 Rev. B User manual

Popular Enclosure manuals by other brands

ETERNAL RIVAL Aegis Fighstick manual

ETERNAL RIVAL

ETERNAL RIVAL Aegis Fighstick manual

AZZA Orion CSAZ-202 EVO user manual

AZZA

AZZA Orion CSAZ-202 EVO user manual

GAMDIAS Talos-E3 Quick installation guide

GAMDIAS

GAMDIAS Talos-E3 Quick installation guide

NavePoint 6U instructions

NavePoint

NavePoint 6U instructions

SilverStone Primera Series manual

SilverStone

SilverStone Primera Series manual

peerless-AV KL546-TOSHIBA02 Installation and assembly

peerless-AV

peerless-AV KL546-TOSHIBA02 Installation and assembly

Panamax MIW-POWERKIT-MOB datasheet

Panamax

Panamax MIW-POWERKIT-MOB datasheet

Code Blue CB 4 Series Administrator's guide

Code Blue

Code Blue CB 4 Series Administrator's guide

Alpine PWA-S10V owner's manual

Alpine

Alpine PWA-S10V owner's manual

StarTech.com SAT2510BU3 instruction manual

StarTech.com

StarTech.com SAT2510BU3 instruction manual

Kohler Power System GM92228-KP1-QS Service bulletin

Kohler

Kohler Power System GM92228-KP1-QS Service bulletin

StarTech.com 8STHSB1SATSASBA quick start guide

StarTech.com

StarTech.com 8STHSB1SATSASBA quick start guide

Aquatica Digital AD7000 operating manual

Aquatica Digital

Aquatica Digital AD7000 operating manual

Fractal design ARC Midi R2 user manual

Fractal design

Fractal design ARC Midi R2 user manual

Antec NINE HUNDRED TWO V3 User's manual

Antec

Antec NINE HUNDRED TWO V3 User's manual

Ranger design C5-PA18-8 installation guide

Ranger design

Ranger design C5-PA18-8 installation guide

Rittal CS Toptec Assembly instructions

Rittal

Rittal CS Toptec Assembly instructions

OUTSTEEL COLORS S22-2021 installation instructions

OUTSTEEL

OUTSTEEL COLORS S22-2021 installation instructions

manuals.online logo
manuals.online logoBrands
  • About & Mission
  • Contact us
  • Privacy Policy
  • Terms and Conditions

Copyright 2025 Manuals.Online. All Rights Reserved.