NaturalPoint TrackIR User manual

NaturalPoint
TrackIR
User’s Manual
version 2.11
™
™

2
Forward
Information in this User’s Manual is subject to change without notice and does
not represent a commitment on the part of Eye Control Technologies, Inc. The
software described in this User’s Manual is furnished under a license agreement
and may be used only in accordance with the terms of said license agreement.
Copyright 2001 Eye Control Technologies, Inc. All rights reserved. No part of this
publication may be reproduced in any form, by any means, without express
writtenpermission.
trackIR and NaturalPoint are trademarks of Eye Control Technologies. Windows
is a trademark of Microsoft. All other trademarks are property of their respective
companies.
Eye Control Technologies, Inc.
33872SE EastgateCircle
Corvallis,OR 97339
Telephone: 541-753-6645
Fax: 541-753-6689
www.natualpoint.com

3
Contents
PartI: Getting Started...................................................................................4
1.1 What’s included......................................................................................5
1.2 Hardware and Software Installation......................................................6
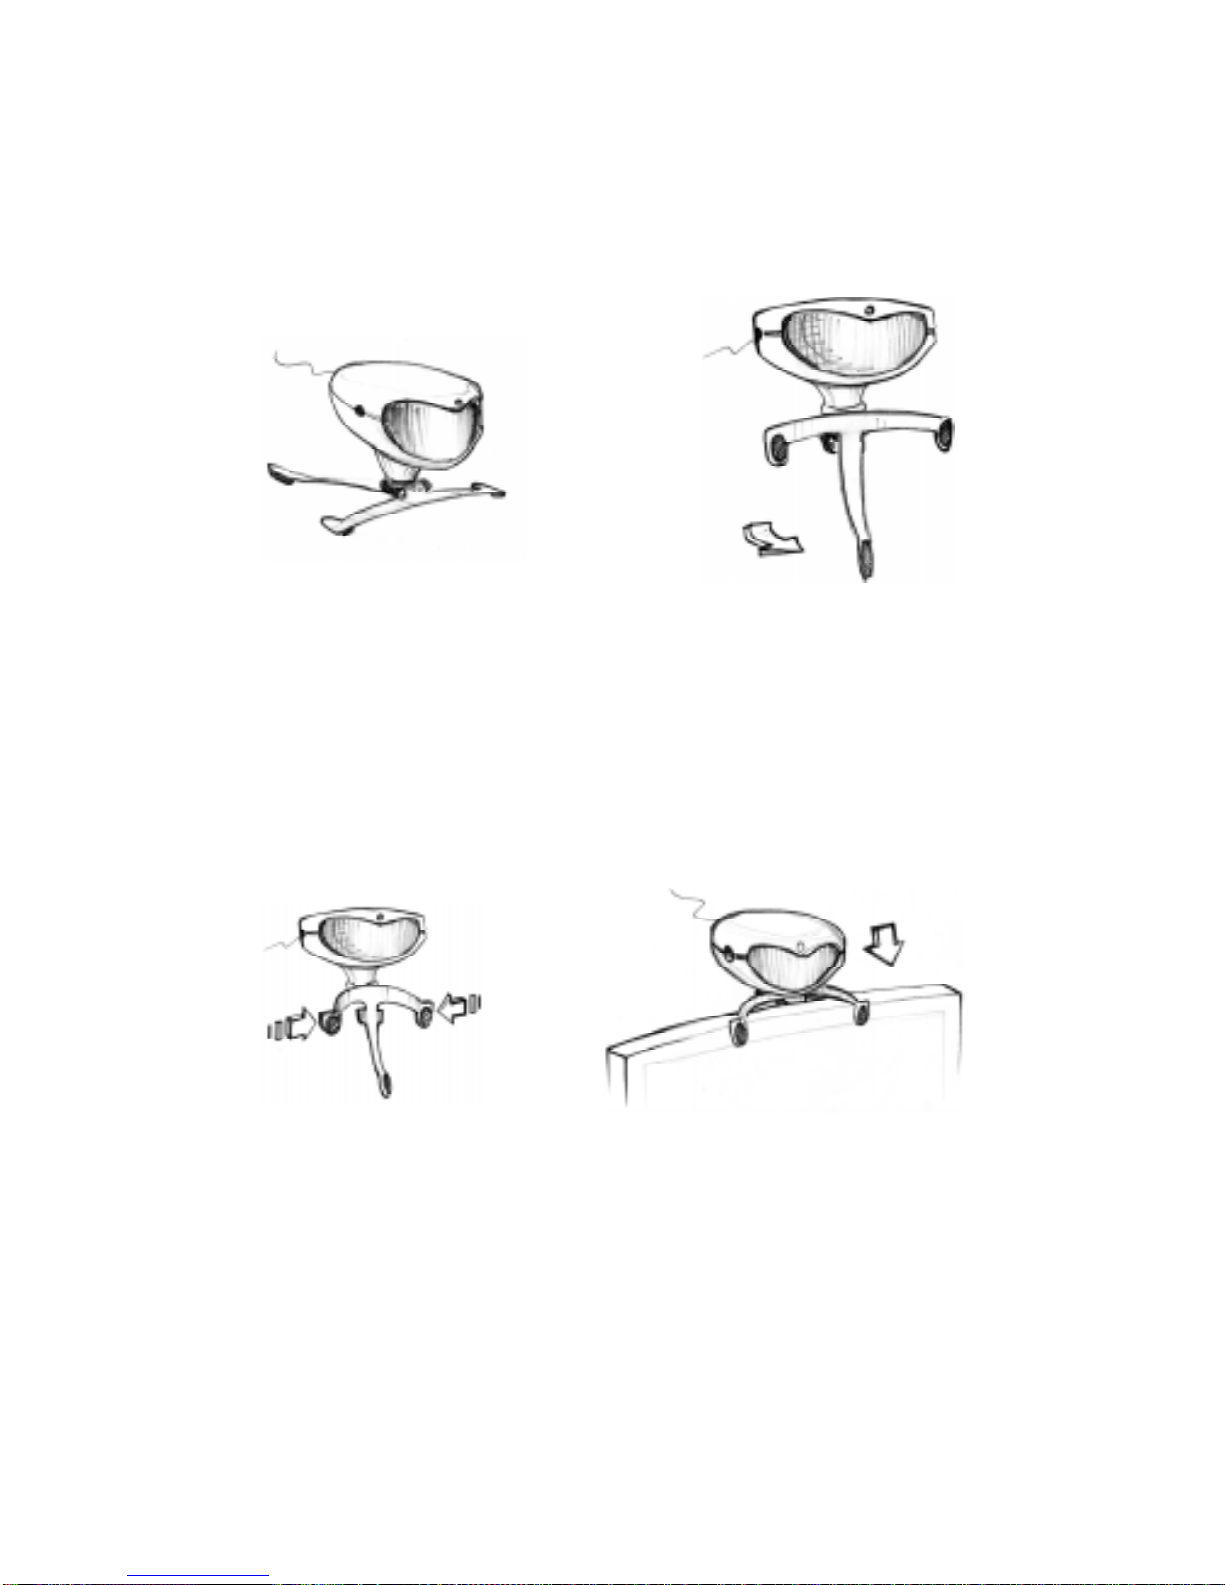
1.3 Desktop and Laptop mounting..............................................................9
PartII:UsingthetrackIR..........................................................................11
2.1 Navigating the trackIR Software.........................................................11
2.2 Head Control How-To..........................................................................13
2.3 Software Features................................................................................15
HotKeys..............................................................................................................................15
KeyActivated.....................................................................................................................16
QuickStartMotion Settings...........................................................................................16
SpeedSettings...................................................................................................................17
SmoothingSettings...........................................................................................................17
Profiles................................................................................................................................17
Gravity.................................................................................................................................17
2.4 Dwell Clicking....................................................................................19
Overview..............................................................................................................................19
DwellClickingOptions....................................................................................................20
2.5 Advanced Settings................................................................................24
SettingsMenu.....................................................................................................................24
LanguageSelection...........................................................................................................24
RunatStartUp..................................................................................................................25
Tracking Options...............................................................................................................25
CursorMenu......................................................................................................................25
Rotation..............................................................................................................................26
GravityOptions..................................................................................................................26
MouseOverrideDelay......................................................................................................26
Datawindow.......................................................................................................................26
2.6 Accessories............................................................................................28
Ring......................................................................................................................................28
Wand.....................................................................................................................................29
ClickingSwitches..............................................................................................................31
PartIII: TroubleShooting............................................................................33
PartIV: SoftwareUpdates...........................................................................41
WarrantyandRegistration Information.....................................................42

4
Part One: Getting Started
1.0 Minimum System Requirements
Windows 98SE, Windows ME, Windows 2000, or Windows XP
Pentium 166
Five (5) megabytes of free hard disk space
24 megabytes of RAM
USB connection

5
1.1 What's Included
1 trackIR 4 FootUSB Cable Extension
40 Dots 2 Rings
(AT and EG models only)
Y Breakout Cable for Switch Input 2 Software Diskettes
(AT and EG models only)
Extra Rubber Pads for Laptop Use

6
1.2 Software and Hardware Installation
Installthe trackIR SoftwareBEFOREyouconnect the trackIRunit!
Software Installation
1. Insert the included NaturalPoint software CD in your computer’s CD drive.
Wait for the install program to start. If the install program does not start
within a few minutes, double click on the CD drive icon, and double click
again on the ‘Setup’ file. (or designated floppy drive) from your computer’s
My Computer menu
2. Follow the software installation instructions. (for 2000 / XP you will be
asked to restart your computer before proceeding further)
3. A new naturalpoint icon will appear on your desktop.
4. Connect the trackIR device to the USB port (see fig. 1) of your computer
and place the unit on top of your monitor with the front facing the same
direction as the monitor screen. (The unit must be able to “see” you, see
fig. 2)
figure 1

7
Special Windows XP Instructions
(if you are not using Windows XP you may
proceed to the Hardware Installation section)
5. The Windows XP Found New Hardware Wizard should appear. The Wizard
will indicate that it has found the ECT NaturalPoint Firmware Loader, and
ask if you would like Windows to install drivers for the hardware
automatically, or chose from a list of drivers in a specific location.
6. Select "Install Automatically."
7. A Hardware Install Warning message will appear after you have selected
"InstallAutomatically." Click on the button marked "Continue Anyway,"and
"Finish."
8. Windows XP will now display a message indicating that it has finished
installing the ECT NaturalPoint Firmware Loader.
9. A second Found New Hardware Wizard will now appear. This Wizard will
indicate that it has found the ECT NaturalPoint Tracker.
10. Repeat steps 6 through 9. When Windows XP displays the message
indicating that it has finished installing the ECT NaturalPoint Tracker, you
may open the NaturalPoint software and begin using your trackIR.
11. If you encounter further problems with this procedure, please consult the
trouble-shooting guide at the end of this manual.
Note: If you accidentally plugged the trackIR unit into your computer before
loading the NaturalPoint software, unplug the trackIR unit and go through the
install procedure as instructed. After completing all 10 steps, go to the
Windows XP Device Manager, click on USB Devices and look for a listing
marked "Unknown USB Device." If this listing appears, right click on
Unknown USB Device and delete it. If Unknown USB Device does not
appear, you may close the Device Manager and begin using the trackIR.

8
Hardware Installation
1. If your monitor is too far away from your computer for the trackIR’s USB cable to
reach, simply unplug the trackIR device, plug the USB extension cable into your
computer’s USB port, and plug the trackIR into the extension cable’s female
connector.
2. Your computer may briefly display a message indicating that it is installing the drivers
for the trackIR.
3. Double click on the newly created NaturalPoint icon on your desktop to open
the trackIR software program. The first time you open the NaturalPoint software,
you will be asked to select your desired language. Please select your language and
click OK. If you wish to change this language later you may do so from the
Advanced Settings page.
4. Remove a dot from the sheet included with your trackIR unit and place it on the tip of
your index finger. With the dot facing the trackIR unit, slowly move your finger back
and forth in front of the trackIR unit from about 1 arms length away. If the green
indicator light comes on and the cursor moves along with your finger, you have
installed the trackIR unit and software correctly. If the green indicator light does not
come on or the cursor does not move, please consult the trouble shooting guide at the
back of this manual.

9
1.3 trackIR Desktop and Laptop Mounting
Setting up the trackIR unit on either a desktop or laptop is quick and easy.
Desktop Mounting: Simply set the trackIR on top of your monitor and point the unit
towards your head or face (see picture below).
figure2
Laptop Mounting: the trackIR can be easily and securely clipped onto most standard
laptop screens without any additional equipment. Follow the instructions below for quick
laptopmounting.
A. To prevent scratching your laptop case, find the extra rubber protective pads that
came with your trackIR unit. Remove them from their backing and stick each pad to
the top side of the trackIR’s metal base directly above the already attached bottom
pads (see picture below).

10
B. Grasp the metal base and use your other hand to pull the trackIR unit up and
away from the base. Then, turn the metal base in its hinge so it forms a T
shape when looked at straight on (see picture below).
C. Bend and hold the two shorter arms of the base together about 1” in the
same direction as their natural curve. With the trackIR unit facing the same
direction as your laptop display screen, clip the metal base on by placing the
long arm of the base behind the screen and the two shorter arms on the
front. Don’t worry about bending the base, it is made from spring steel and
will snap right back into shape. (See picture below)
D. Pivot the trackIR unit on its hinges so it’s lined up properly with your head.

11
Part II: Using the trackIR
2.1 Navigating the NaturalPoint Software
The trackIR software is designed to provide you, the user, with a variety of
options to maximize your enjoyment of the product. We encourage you to try out
all of the settings and features to see what works best for you.
1. Hot Key selection menu: The buttons on the left hand side of this menu
allow you to set keys on your computer’s keyboard as right click, left click,
scroll, pause and center. The keys selected for each function are shown to
the right. Hot Keys can be turned on and off by clicking the buttons to the
right of each Hot Key.
2. Custom profiles button: This button pops up a menu that allows you to save
and load multiple user profiles (settings) see Section 2.3 for details. When a
user profile is in use, its name will appear below this button.
3. Quick start motion settings: These buttons allow you to select preset speed
and smoothing settings depending on your preferences and ability level.
Note: We recommend that beginners use the Slow or Medium settings when
trying out the trackIR for the first time. See section 2.3 for more information.
4. Speed Slider Bar: Use this bar to customize your scaling (speed) values.

12
The further the bar is moved to the right, the less head movement is
necessary to move the cursor. Any adjustments you make to this setting will
be stored under the fourth Quick Start motion setting marked Custom.
5. Smoothing Slider Bar: This bar controls the degree of head movement that
the system will filter out. In environments such as a car or airplane where a
fair amount of unintentional movement is unavoidable, it may be desirable to
move this bar further to the left.
6. Double Speed button: Pressing this button doubles the speed value shown on
the Speed Slider Bar. This feature is be useful when using the Wand
accessory, or when sitting more than two or three feet from your monitor.
This feature is on when the button is colored gray.
7. Key Activated on/off button: Clicking this button turns the Key Activated
Clicking feature on and off. When this Key Activated is on, the cursor will
not move unless the Center/Move hot key is depressed. For an explanation
of this feature, see Section 2.3.
7a. Start at Center on/off button: This button turns the Center at Start
feature on and off. This feature can only be used in conjunction with Key
Activated.
7b. Key Release clicking on/off button: This button turns the Key Release
Clicking feature on and off. This feature is only active when the Key
Activated box is also checked.
8. Game Mode on/off button: This button should be turned on to optimize the
trackIR’s performance for games.
9. Wand Clicking on/off button: Turning this feature on allows you to use the
button on the Wand accessory to perform all of your clicking. See Section 2.6
to learn about the Wand accessory
10. Dwell clicking on/off button: This button activates or closes the Dwell
Clicking feature. For an explanation of this feature, see Section 2.3.
11. Gravity on/off button: This button turns the Gravity feature on or off. For an
explanation of this feature, see Section 2.3.
12. Advanced Settings Menu button: Click on this button to access the advanced
settings menu. See section 2.5 to learn about Advanced Settings.

13
2.2 Head Control How-To
How it works:
The trackIR works by tracking infrared light reflected from of the dot on your
forehead, glasses, or headset.
Set-up:
• Peel a dot from the sheet and place it on your forehead, bridge of your
glasses, or headset microphone.
• Place the trackIR unit on top of your monitor or clip to the top of your laptop
screen.
• Make sure the trackIR unit is plugged in and the software is running.
• Aim the trackIR unit at your head.
• First time users should select slow or medium speed.
Use:
• Sit in a comfortable position with your head facing toward the monitor about
1 arms length away from the trackIR unit.

14
• Move the cursor from one side of the monitor to the other and back by rotating your
head. Large head movements are not necessary.
• Once you get used to the feel of the cursor movement, try increasing your speed
setting. The faster your speed setting, the less you have to move your head to move
the cursor from point A to point B.
• Practice and get comfortable using your Hot Keys, external switch, or Dwell Clicking
while moving the cursor with your head.
• If you feel that the cursor is off center in relation to your head, move the cursor
against the edge of the screen and bring it back towards the center. This will
automatically center the cursor. You can also center the cursor by pressing the center
key on your Hot Keys menu.
Important Note:
The trackIR unit MUST be able to “see” your dot. When deciding where to place the
dot, make sure to check the line of sight between the unit and dot from all angles. Please
look at the pictures below for hints on dot placement.
Suggested alternate dot placements

15
2.3 Using the trackIR Software Features
Note: when adjusting settings or changing options in the software, pay close attention to
the picture of the trackIR unit in the middle of the screen. This picture will often be
replaced by instructions or menus.
Hot Keys: The Hot Keys feature allows you to designate which keys on your keyboard
you wish to use for Left Click, Right Click, Center, Pause and Scroll.
Left Click and Right Click operate exactly like the left and right click buttons on your
mouse. Center moves the cursor to the center of the screen. Pause stops and starts
cursor movement. Scroll allows you to scroll through text by moving the cursor above or
below a pop-up scroll bar.
To set, or re-set these keys, first click on the function you wish to set. For example, to
change your left click Hot Key, just click on the Left Click text in the Hot Keys menu.
The graphic in the center of the software screen will prompt you to select a key for this
function. To set or change this key assigned to this function, simply press the desired key
on the keyboard. We recommend that you select keys that you don’t often use for other
functions that are also within easy reach when you type.

16
Note: When a Hot Key is selected and turned on, it will not perform its normal function
while the trackIR software is running. Example: If CAPS LOCK is selected as your left
click key, it will only act as the left click key while you are using the trackIR. When you
close the trackIR software, assign a different key, or turn off the function, the key will
return to its normal function.
KeyActivated: TheKey Activated Featurepreventsthe cursor frommoving
unlessthe Move Key is depressed. The Move Keyappears as theCenter/Move Key
untilKeyActivatedisinuse.
Single Key Clicking: This feature only works when Key Activated is in use. It allows
you to initiate cursor movement and Left Click with the same key. When this feature is
active, simply depress the center key to move the cursor to the desired icon or button and
let off to click. To double click, let off, then press down and let off again. To use this
function, check the Key Activated button and the Single Key Clicking button.
Center At Start: This feature also only works when Key Activated is in use. It
automatically centers the cursor whenever cursor movement is initiated. To use this
function, check the Key Activated Clicking button and the Center At Start button.
Quick Start Motion Settings: The quick start motion settings allow you to control how
fast and how far the cursor moves in relation to your head, finger, or wand. The faster
the setting, the less head/finger/wand motion is required to move the cursor the same
distance. To view or adjust these settings, mouse over or click on one buttons directly
under the trackIR graphic in the center of the software. The motion setting currently in
use will always be displayed directly above the quick start buttons. If speed and
smoothing are adjusted using the custom slider bars, a fourth button will appear marked
“custom”

17
Speed slider bar: This bar helps you customize and fine-tune the trackIR’s scaling
(speed) setting. The further the bar is moved to the right, the less head movement is
necessary to move the cursor. You should spend some time experimenting in order to
discover your ideal speed level. Any adjustments you make to this setting will appear as a
forth button on the Quick Start motion settings marked Custom.
Smoothing slider bar: This bar controls the degree of unintentional head movement that
the system will filter out. In environments such as a car or airplane where a fair amount
of unintentional movement is unavoidable, it may be desirable to move this bar further to
the left. Any adjustments you make to this setting will appear as a forth button on the
Quick Start motion settings marked Custom.
Profiles: Use this feature to save your preferred settings. To save or load a previously
saved setting click in the Profiles button on the lower left hand side of the software
screen. A menu with several options will replace the software center graphic.
To save a new profile, click in the pull-down box marked <create new> and type your
name, or whatever designation you wish to use for this profile. Then click on the save
button. To load this, or any profile later click on the drop down arrow adjacent to the
<create new> box, select the desired profile, and click load.
Gravity: The Gravity feature helps you click on hard to hit icons and check boxes. When
this feature is on, the cursor will jump to the center of whatever icon or button you are
trying to hit, and lock on for a moment. To activate this feature, click on the Gravity
button. For more Gravity options, see Advanced Settings.

18
Switch Selection Menu: This menu lets you use external switches to perform
any normal Hot Key function. (See section 2.6 to learn more about using external
switches) The default actions for the Right Switch and Left Switch are displayed
on the main software screen in the box marked Switches.
To assign a different function to one of the switches, click on either the Left
Switch or Right Switch button. The center of the NaturalPoint software screen
will now display a list of possible functions. Click on the function you want to
assign to that switch and click save.

19
2.4 Dwell Clicking
(Dwell Clicking is Available with the trackIR AT model only)
Dwell Clicking: The Dwell Clicking feature enables total hands free control of
your computer. When this feature is active, holding the cursor still for a second
will produce a Left Click, Right Click, Double Click, or Drag. To use this feature,
click on the Dwell Clicking button on the main software screen.
When Dwell Clicking is turned on, a bar (shown above) with eight buttons will
appear at the top of your screen. This bar gives you the option to; pause dwell
clicking,singleclick,doubleclick, right click, drag, change dwell clickingoptions,
close Dwell Clicking, and drag the Dwell Clicking button bar.
To perform any Dwell Clicking function; move the cursor to the button that
corresponds with which ever function you wish to use and rest the cursor on it for
a moment. When clicked, the button will highlight green, and the next time you
click on an object, the system will single left click, double click, right click, or drag
depending on which button you selected. After this function is complete, the
system will revert back to whichever function is “locked.”
Locking a Dwell Clicking function: Each time you start the Dwell Clicking
application, you will notice that the single left click button is grayed out. This
indicates that Single Left Click is the default function. When you dwell on an
object with this button locked, the system will produce a single left click unless
you have highlighted another button.
Each function represented on the Dwell Clicking button bar can be locked for
continuous use. To lock another button in order to continuously double click, right
click, or drag; highlight that button, move off of it for a second and click on it
again. When the button turns gray, you know it has been locked.
You may perform any clicking function with the Single Left Click button, or any
other button locked by highlighting the button you wish to use. After you have
performed this action, clicking will revert back to the locked button.

20
Dwell Clicking button bar color key:
•No highlight: the function represented by this button has not been selected as
either the default or single use action.
•Green highlight: the function represented by this button has been selected for
a single use action.
•Grayed out: the function represented by this button has been selected as the
default action.
The button furthest to the right of the bar (shown above in both paused and un-
paused mode) pauses and un-pauses Dwell. When this button displays a green
bar, Dwell Clicking is active. When it displays a red circle, Dwell Clicking is
paused. Even if Dwell Clicking is paused, it can still be used to un-pause by
simply dwelling on the red circle.
The second button looks like a single cursor arrow. This button is used for single
left clicking. When this button highlights, the system will single click the next time
you dwell on an object. When this button appears gray, it is locked and you may
doubleclickcontinuouslywithouthighlightingthebuttoneachtime.
The third button looks like two overlapped cursor arrows, and is used for double
clicking. When this button highlights, the system will double click the next time
you dwell on an object. When this button appears gray, it is locked and you may
doubleclickcontinuouslywithouthighlightingthebuttoneachtime.
Other manuals for TrackIR
3
Table of contents