Note: This step requires a good amount of
force and the key may bend slightly - keep
tightening.
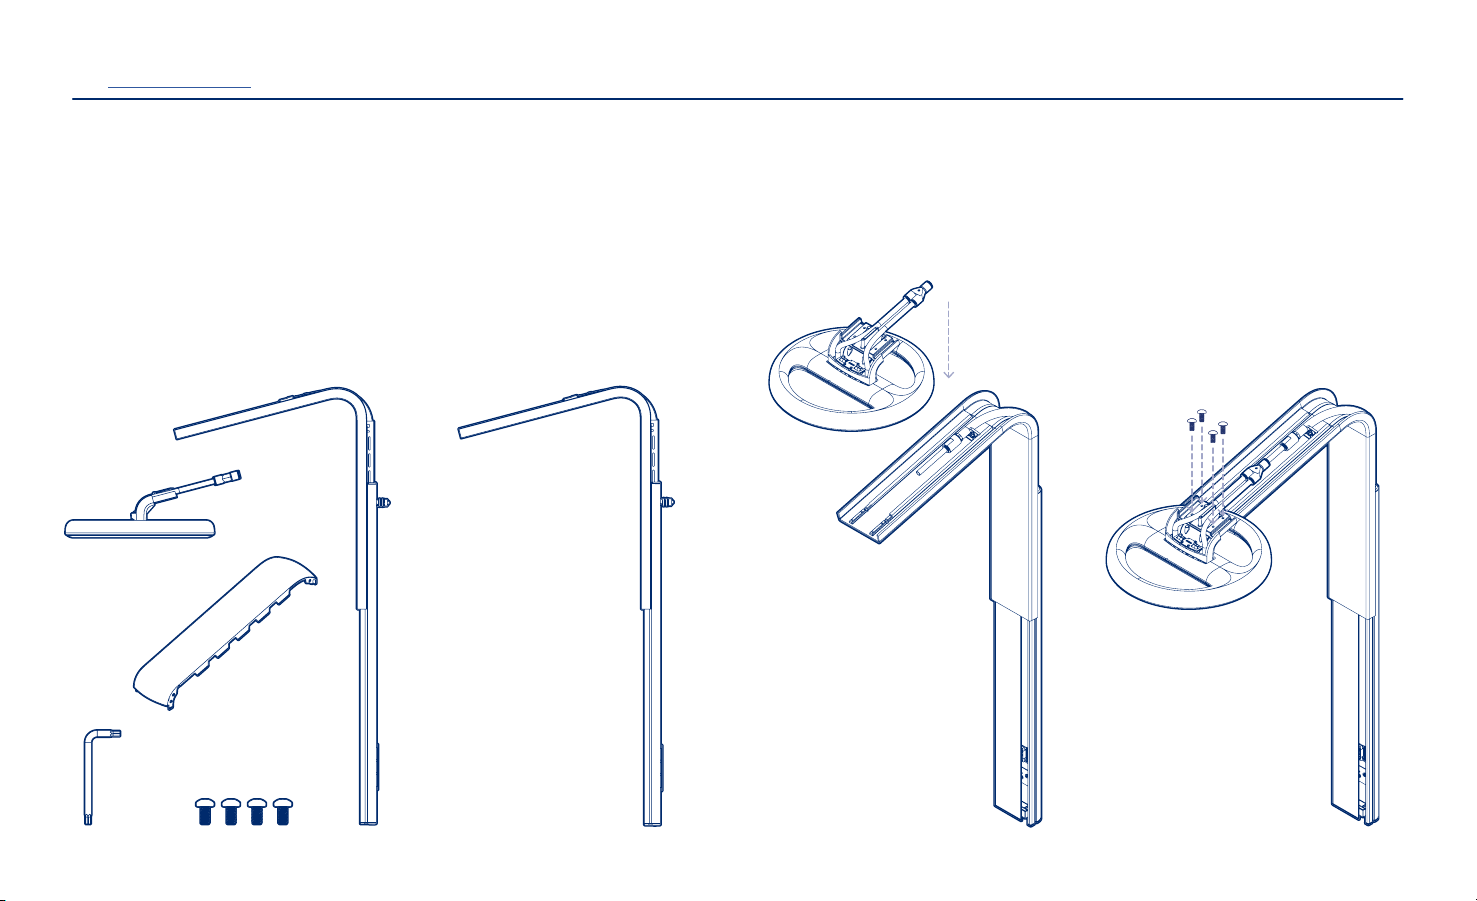
07
Wrap the adapter (4–5 wraps)
IMPORTANT: Prior to wrapping the
adapter, visually inspect the threads
on the narrow end (un-notched end) of
the adapter for damage. Contact Nebia
Support if you suspect the threads are
damaged.
Wrap the narrow threads of the adapter
4 to 5 times in a clockwise direction with
plumber’s tape, leaving the first thread
exposed.
08
Screw in the adapter
Safety recommendation: Wear gloves
during step 8.
Screw the end of the adapter wrapped
in plumber’s tape into the water outlet.
Lock the key inside the adapter's notch
to tighten the adapter as shown below.
Turn the key clockwise until the adapter
is very tight. To ensure that the adapter
is secure, continue turning the key
with both hands until you can’t turn it
anymore.
Caution: This step is very important. A
poorly wrapped adapter can lead to leaks.
To watch a close up video of this step,
please visit nebia.com/install
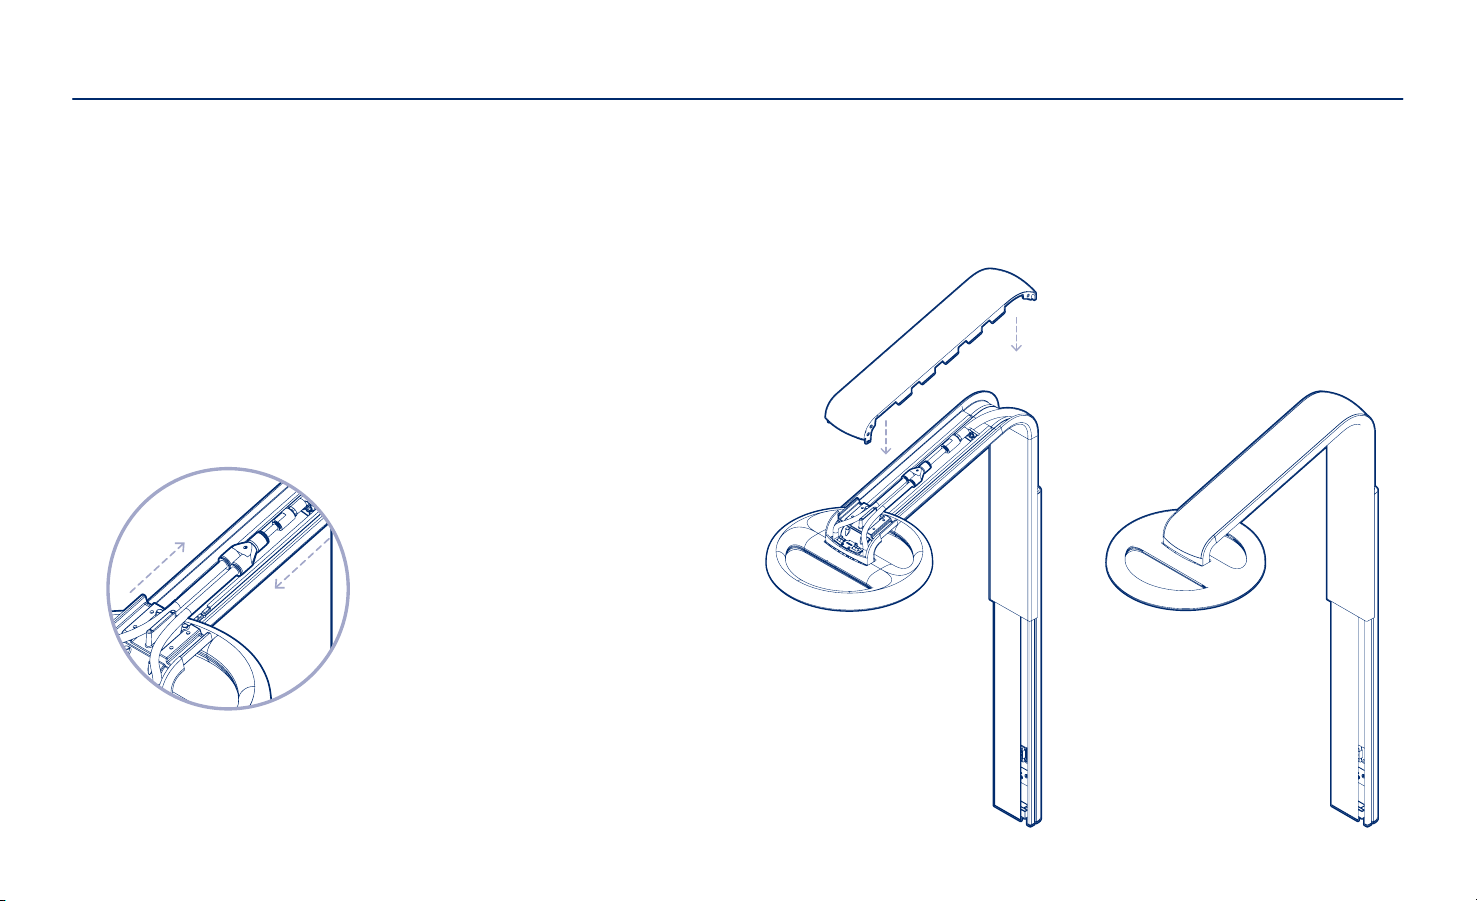
09a
Fasten the collar
Peel the protective layer off of the
gasket and slide it over the adapter,
adhering it to the wall.
Screw the collar onto the adapter by
hand until it just touches the gasket
(do not over-tighten).
09b
If you have a ledge
Peel the protective layer off the gasket
and slide it over the adapter, adhering
it to the wall.
Slide the spacer(s) you selected over
the adapter on top of the gasket.
Then, screw the collar onto the adapter
by hand until it just touches the gasket
(do not over-tighten).
8