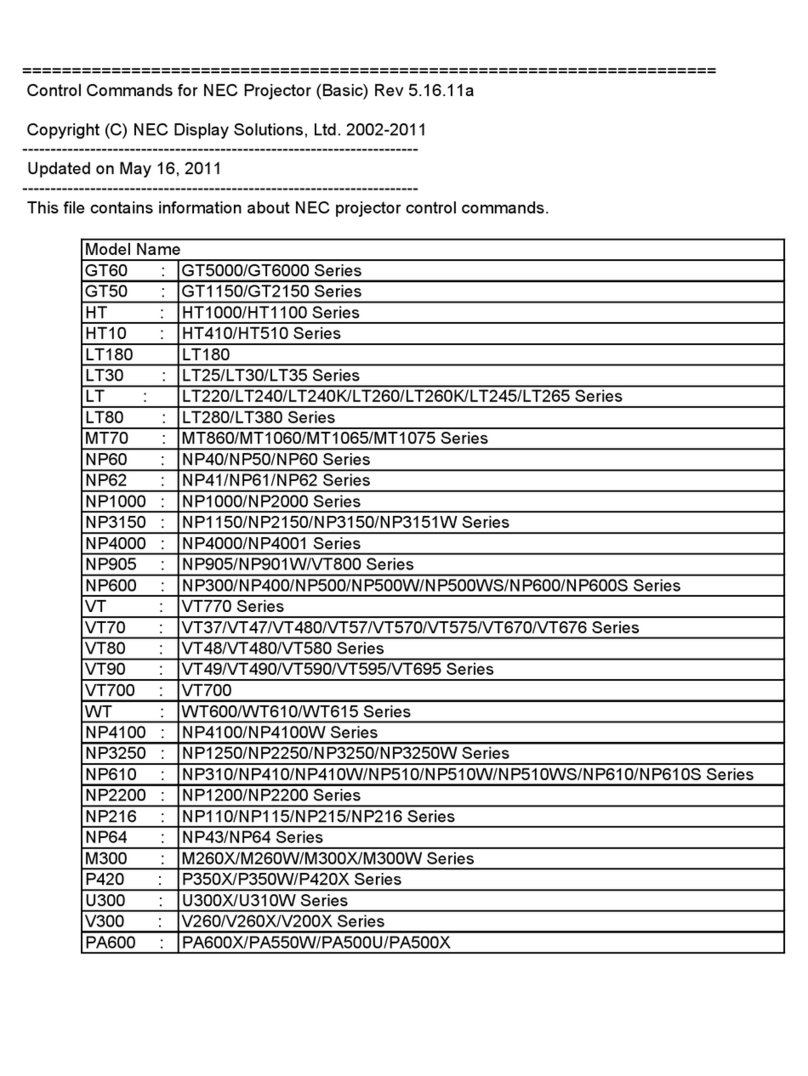
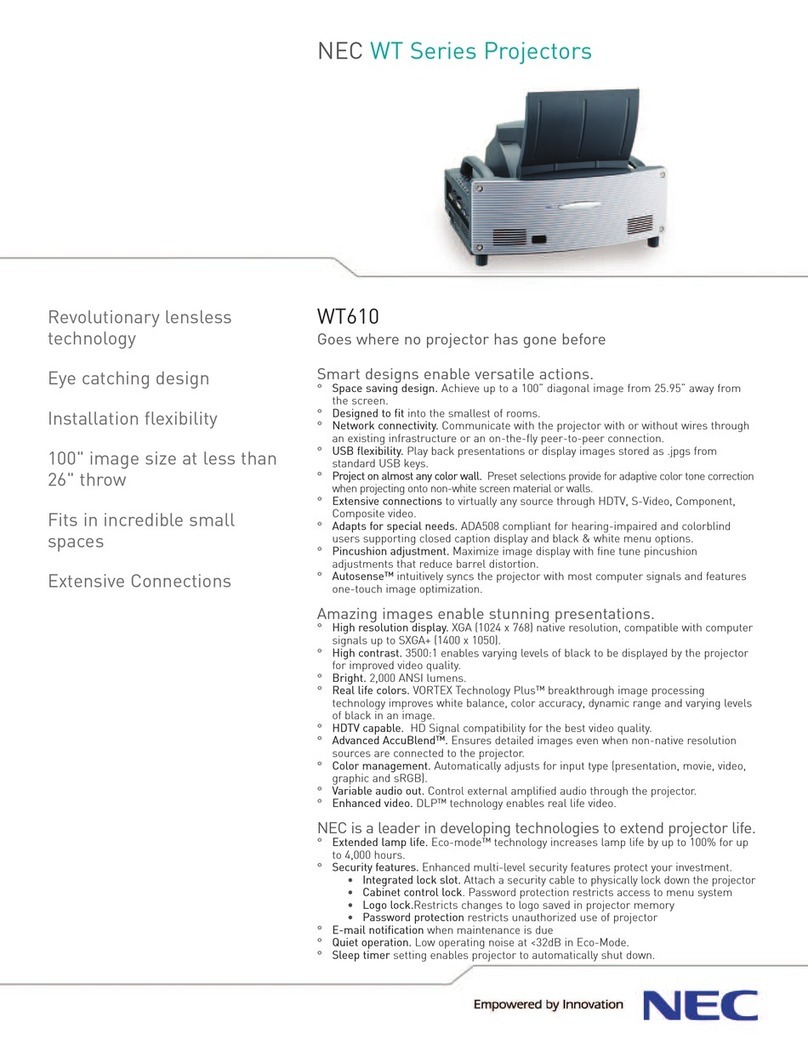
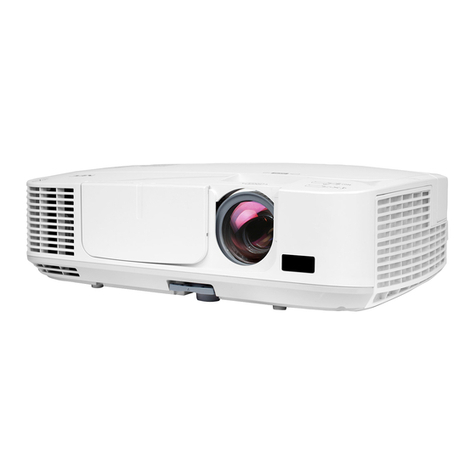
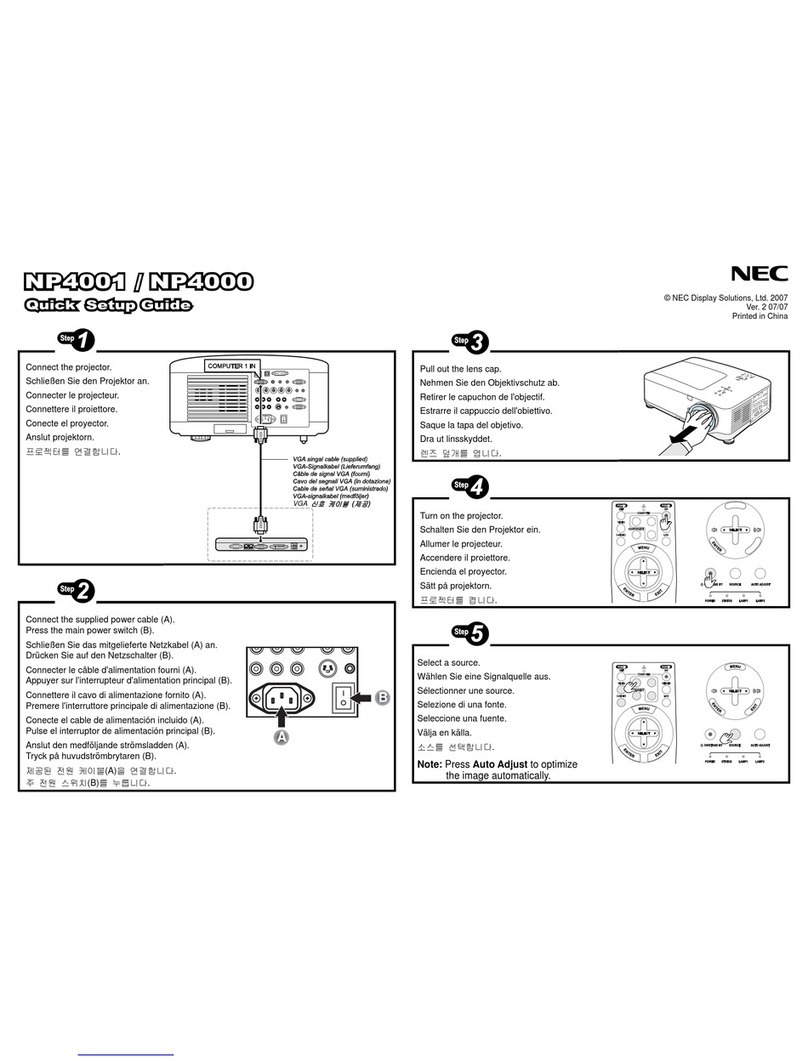
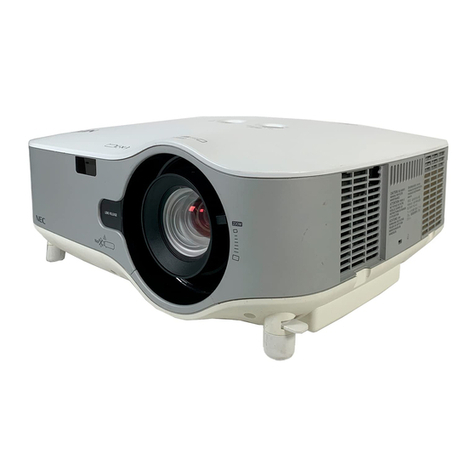
NEC PH3501QL User manual

Ver. 1 1/18
• Apple,Mac,andMacBookaretrademarksofAppleInc.registeredintheU.S.andothercountries.
• Microsoft,Windows,andPowerPointareeitheraregisteredtrademarkortrademarkofMicrosoftCorporationinthe
UnitedStatesand/orothercountries.
• CinemaQualityPicturelogo,NaViSetandVirtualRemotearetrademarksorregisteredtrademarksofNECDisplay
Solutions,Ltd.inJapan,intheUnitedStateandothercountries.
• ThetermsHDMIandHDMIHigh-DenitionMultimediaInterface,andtheHDMILogoaretrademarksorregistered
trademarksofHDMILicensingAdministrator,Inc.intheUnitedStatesandothercountries.
• DisplayPort™andtheDisplayPort™logoaretrademarksownedbyVideoElectronicsStandardsAssociation(VESA®)
intheUnitedStatesandothercountries.
• HDBaseT™andtheHDBaseTAlliancelogoaretrademarksoftheHDBaseTAlliance.
• DLP®andtheDLPlogoaretrademarksorregisteredtrademarksofTexasInstrumentsintheUnitedStatesandother
countries.
• PJLinktrademarkandlogoaretrademarksappliedforregistrationorarealreadyregisteredinJapan,theUnited
StatesofAmericaandothercountriesandareas.
• Blu-rayisatrademarkofBlu-rayDiscAssociation.
• ExtronandXTPareregisteredtrademarksofRGBSystems,Inc.intheUnitedStates.
• EthernetiseitheraregisteredtrademarkortrademarkofFujiXeroxCo.,Ltd.
• Otherproductandcompanynamesmentionedinthisuser’smanualmaybethetrademarksorregisteredtrademarks
of their respective holders.
• VirtualRemoteToolusesWinI2C/DDClibrary,©NicomsoftLtd.
NOTES
(1)Thecontentsofthisuser’smanualmaynotbereprintedinpartorwholewithoutpermission.
(2)Thecontentsofthisuser’smanualaresubjecttochangewithoutnotice.
(3)Greatcarehasbeentakeninthepreparationofthisuser’smanual;however,shouldyounoticeanyquestionable
points, errors or omissions, please contact us.
(4)Notwithstandingarticle(3),NECwillnotberesponsibleforanyclaimsonlossofprotorothermattersdeemed
toresultfromusingtheProjector.
ThisdeviceisusedincombinationwiththeLVkit(NP-LV01BD,soldseparately)andtheprojectormainunit.The
picture sent from the connected device is then projected onto the screen. Note that it cannot be used with just the
projector main unit.
ThisUser’sManualexplainsmainlyoperationofthePH3501QLusedincombinationwithNP-LV01BD.

i
Important Information
Thissymbolwarnstheuserthatuninsulated
voltage within the unit may have sufficient
magnitudetocauseelectricshock.Therefore,
itisdangeroustomakeanykindofcontactwith
any part inside of this unit.
This symbol alerts the user that important
literature concerning the operation and
maintenance of this unit has been included.
Therefore,itshouldbereadcarefullyinorder
to avoid any problems.
This symbol indicates something that must
be prohibited.
Thissymbolindicatessomethingthatmustnot
bebrokendown.
Thissymbolindicatessomethingthatmustbe
paid attention to.
CAUTION
TOPREVENTELECTRICSHOCK,DONOTOPEN
TOP COVER. NO USER SERVICEABLE PARTS
INSIDE.
Laser Safety Caution
This product is classied as Class 1 of IEC60825-1
Thirdedition2014.This product is classiedasRG3of
IEC62471-5Firstedition2015.Thisproductisclassied
asRG3ofIEC62471:2006 (forUSA).Obeythelaws and
regulationsof your country in relation to the installation
andmanagement of the device.
CAUTION
Use of controls or adjustments of procedures other
than those specied herein may lead to hazardous
laser radiationexposure.
• Hazardous optical radiation is emitted from this prod-
uct,RG3IEC62471:2006(forUSA).
• Nodirectexposuretothebeam shall be permitted,
RG3IEC62471-5:2015.
Do not do it
• Do not look into the lens while the projector is on.
Seriousdamageto your eyes could result.
• Keepanyitemssuchasmagnifyingglassoutofthe
lightpathoftheprojector.Thelightbeingprojected
from thelensisextensive,thereforeanykind of ab-
normal objects that can redirect lightcomingoutofthe
lens, can cause unpredictable outcomesuchasreor
injury to the eyes.
• Whenturningontheprojector, ensure that nobody is
facingtowards the lens in thepathofthelight emitted
from the laser.
DOC Compliance Notice (for Canada only)
ThisClassAdigitalapparatusmeetsallrequirements of
theCanadianICES-003Standards.
Machine Noise Information Regulation - 3.
GPSGV,
Thehighestsound pressure level islessthan70dB(A)
in accordance withENISO7779.
WARNING
Thisequipment is compliantwithClassAofCISPR
32.Inaresidential environment thisequipmentmay
cause radio interference.

ii
Important Information
CAUTION
In order to reduce any interference with radio and
television reception use a signal cable with ferrite
core attached.Useofsignal cables without a ferrite
core attached may cause interference with radio and
television reception.
Thisequipmenthas been tested and found to comply
with thelimitsforaClassAdigitaldevice,pursuant to
Part 15 oftheFCCRules.Theselimitsaredesigned to
provide reasonableprotectionagainst harmful interfer-
encewhentheequipment is operated in a commercial
environment.Thisequipmentgenerates,uses,and can
radiate radio frequencyenergyand, if not installed and
used in accordance with the installation manual, may
cause harmful interference to radio communications.
Operation of this equipment in a residential area is
likelytocauseharmful interference in which case the
user willberequiredtocorrect the interference at his
ownexpense.
WARNING
Do not disassemble
THEENDUSERISNOTALLOWEDTOOPENOR
MODIFYTHEPRODUCT.
NOUSERSERVICEABLEPARTS.
MAINTENANCE ANDSERVICEOFTHEPRODUCT
ISONLYTOBEHANDLEDBYNECAUTHORIZED
TECHNICIANS.
Important Safeguards
These safety instructions are to ensure thelonglifeof
your projector and to preventreandshock.Please read
them carefully and heed all warnings.
Installation
1. Do not point the projection beam toward other people
or reective objects.
2. Consultyourdistributor for information about trans-
porting and installing the projector. Do not attempt
to transport and install the projector yourself. The
projector must be installedbyqualied technicians in
order to ensure proper operation and reduce therisk
of bodily injury.
3. Place the projector on a at, level surface in a dry area
away from dust and moisture. Do not put the projector
on its side when the Laser is on. Doingsomaycause
damagetotheprojector.
4. Do not place the projector in direct sunlight, near
heaters or heat radiatingappliances.
5. Exposure to direct sunlight, smoke or steam could
harm internal components.
6. Handle your projector carefully. Droppingorjarring
your projector could damageinternalcomponents.
7. Tocarrythe projector, a minimumofsixpersonsare
required. Be sure to rmly grip the front and back
handles, then move the projector.
8. Do not hold the lens part withyourhand.Otherwise
the projector may tumble or drop, causingpersonal
injury.
9. Donotplaceheavy objects on top of the projector.
10. Turnofftheprojector, and disconnect the power cable
beforemovingtheprojector.
ForC2connection, turn off the projector, shut down
theACpowertotheprojectorandthelightusingacir-
cuitbreaker.Disconnectthe cables between devices
andthelightbeforemovingtheprojector.
11. Do not install and store the projector in the below
circumstances.Failure to do so may cause of malfunc-
tion.
• Inpowerfulmagneticelds
• Incorrosivegasenvironment
• Outdoors
12.Ifyouneedspecialinstallationworksuchasmounting
ontheceilingorsuspendingfromtheceilingusingeye
bolts:
• Do not attempt to install the projector yourself.
• Theprojectormustbeinstalledbyqualiedtech-
nicians in order to ensure proper operation and
reducetheriskof bodily injury.
• In addition, the ceilingmustbestrongenoughto
support the projector and the installation must be
in accordance with anylocalbuildingcodes.
• Ifyouhangtheprojectorfromthehighplacesuch
astheceiling,usefallpreventionwires(commer-
cially available) to secure the lens unit in place.
Failingtodosomayresultinthelensunitbeing
loosened,causingittofall.
• Pleaseconsultyour distributor for more informa-
tion.

iii
Important Information
WARNING
Do not do it
1. Do not use the projector with the supplied lens cap
orequivalentwhile the projector is operating.This
may cause the lens cap to heat up and deform or
melt.
2. Do not place any objects, which are easily affected
by heat, in front of the projector lens.Doingsocould
lead to the object meltingfromtheheat that is emit-
ted fromthelightoutput.
Itis possible to vertically set up this deviceat360degrees.
Donotusetheprojectorwithitleaningtotheleftandright.
Thismayresultinamalfunction,however,portraitinstal-
lationispossible.Pleasereadthewarningsconcerning
portraitorientationbeforesettingtheprojectorinportrait
orientation.
Power Supply
1. Consult your distributor for installingthepower cable
to the projector.DONOTinstallthe power cable by
yourself.Doingsomaycauseareorelectricshock.
Theprojectorissodesigned that it operates with the
power supplyvoltagedescribedbelow.
ForC1connection
(WhentheAC power to the projector power supply and
thelightpowersupply is provided by asinglecable)
• AC200V-240Vsinglephase 50/60Hz
ForC2connection
(WhentheACpowerto the projector power supply
andthelight power supply is provided by separate
cables)
• AC200V-240Vsinglephase50/60Hz(projector
power supply)
• AC200V-240Vsinglephase50/60Hz(lightpower
supply)
Ensurethatyourpowersupplytsthisrequirement
beforeattemptingtouse your projector.
2. Thepowercableis not included with the projector.
Askyour distributor for the power cable to select and
purchase. Use a power cable that meets the standards
andpowersupplyvoltage of the country where you
areusingthe projector.
Referto“2.ConnectingthePowerCable”(→page
17)fordetailsonconnectingthepower cable.
3. Handle the power cable carefully. A damaged or
frayed power cable can cause electric shockorre.
• Donotbendortugthepowercableexcessively.
• Donotplacethe power cable under the projector,
or any heavy object.
• Do not cover the power cable with other soft ma-
terials such asrugs.
• Donotheat the power cable.
4. Placingthepowercableandthesignal cable closely
to each other can cause beatnoise.Ifthishappens,
keep the two separated so that beat noise is not
generated.
Beat noise is corruption of the picture often seen as
arollingbandmovingthroughtheimage.
5. Do not touch theprojector during a thunder storm.
Doingsocancauseelectricalshockorre.
6. Wheninstalledontheceiling,installthebreakerina
location that is easy to reach by hand.
CAUTION
Thisequipmentisdesignedtobeusedinthecondition
ofthepowercableconnectedtoearth.Ifthepower
cable is not connected to the earth, it may cause
electricshock.Pleasemakesurethepowercableis
earthed properly.

iv
Important Information
Fire and Shock Precautions
1. Ensure that there is sufficient ventilation and that
vents are unobstructed to prevent potentially dan-
gerous concentrations of ozone and the build-up of
heat inside yourprojector.Allowat least 23.6 inches
(60cm)ofspacebetween your projector and a wall.
Inparticular, clear a space of 27.6inches(70cm) or
more in front of the air outlet on the rear surface and
11.8inches(30cm) or more on the upper part of the
projecter body.(→pagexi)
2. Prevent foreignobjectssuchas paper clips and bits of
paper from fallingintoyourprojector. Do not attempt
to retrieve any objectsthatmightfallinto your projec-
tor. Do not insert any metal objects such as a wire or
screwdriver into your projector.Ifsomethingshould
fall into your projector, shut down theACpowertothe
projector immediately and have the object removed
byaqualiedserviceperson.
ForC2connection, turn off the projector, shut down
theACpowertotheprojectorandthelightusinga
circuitbreaker, and contact your dealer/distributor.
3. Turnofftheprojector,shutdownACpowerbyusinga
circuitbreakerandcontactqualiedservice personnel
under the following conditions. For C2 connection,
turn off the projector, shut down theACpowertothe
projector and the light using a circuit breaker, and
contact your dealer/distributor for a repair.
• When the power cable or plug is damaged or
frayed.
• Ifliquid has been spilled into the projector, or if it
hasbeenexposed to rain or water.
• Iftheprojector does not operate normally when
you follow the instructions described in this user’s
manual.
• Ifthe projector has been dropped or the cabinet
hasbeendamaged.
• Iftheprojectorexhibitsadistinctchangeinper-
formance,indicatinganeed for service.
4. WhenusingaLANcable:
Forsafety,donotconnecttotheconnectorforperiph-
eraldevicewiringthatmighthaveexcessiveVoltage.
5. Makesuretomountthepowercablestopperbefore
attemptingtouse your projector. Refer to page 18
about the power cable stopper.
Cleaning
1. ShutdownACpowerbyusingacircuitbreakerbefore
cleaning.
ForC2connection, turn off the projector, shut down
theACpowertotheprojectorandthelightusinga
circuit breaker.
2. Cleanthecabinet periodically withacloth.Ifheavily
soiled, use a milddetergent.Neverusestrongdeter-
gents or solvents such as alcohol or thinner.
3. Use a blower or lens paper to clean the lens, and be
careful not to scratch or mar the lens.
4. Do not handle the projector and the power cable with
wet hands.Doingsocancause electrical shockorre.
5. Do not use a spray containing ammable gas to
removedustattachedtothelensandcabinet.Doing
somayresultinres.
CAUTION
Do not do it
1. Do not shut downACpowertotheprojector under
the followingconditions.Doingsocandamagethe
projector.
• Whileprojectingimages
• Whilecoolingafter the power is turned off.
2. Do not turn offtheACpowerfor90secondsafter
the Laser is turned on and while the POWER
indicator is blinkinggreen.Doingso could cause
premature Laser failure.
3. Keephandsawayfromthelensmounting portion
while the lens shift is in operation.Failuretodo so
could result in ngersbeingpinched between the
cabinet and lens cover.
4. Whenmainbodyisdamaged,coolinguids may
come out of internalpart.DONOTtouchanddrink
thecoolinguid.
Whenthecoolinguids are swallowed or contacted
with your eyes, please consult with doctors imme-
diately.

v
Important Information
Caution on Carrying the Projector/
Handling the Optional Lens
When installing / removing a lens, shut down the AC
power to the projector.
Whenshippingthe projector with the lens, remove the
lens before shipping the projector. Always attach the
dust cap to the lens whenever it is not mounted on the
projector.The lens and the lens shift mechanism may
encounterdamagecaused by improper handlingduring
transportation.
Remote Control Precautions
• Handletheremotecontrolcarefully.
• Iftheremotecontrolgetswet,wipeitdryimmediately.
• Avoidexcessiveheatandhumidity.
• Donotshort,heat,ortakeapartbatteries.
• Donotthrowbatteriesintore.
• Ifyouwillnotbeusingtheremotecontrolforalong
time, remove the batteries.
• Ensure that you have the batteries’ polarity (+/−)
alignedcorrectly.
• Donotusenewandoldbatteriestogether,orusedif-
ferenttypesofbatteriestogether.
• Dispose of used batteries according to your local
regulations.
WARNING TO CALIFORNIA RESIDENTS:
Handlingthecablessuppliedwiththisproductwill
exposeyoutolead,achemicalknowntotheStateof
Californiatocausebirthdefectsorotherreproductive
harm.WASHHANDSAFTERHANDLING
Light Module
1. A light module containing multiple laser diodes is
included in the productasthelightsource.
2. Theselaserdiodes are sealed in thelight module.
No maintenance or serviceisrequiredforthe perfor-
mance of thelightmodule.
3. End user is not allowed to replace the lightmodule.
4. Contactqualieddistributorforlightmodule replace-
ment and further information.
Disposing of your used product
EU-widelegislationasimplemented in each
Member State requires that used electrical
and electronic products carrying the mark
(left) must be disposed of separately from
normal household waste.
This includes projectors and their electrical
accessories. When you dispose of such
products, please follow the guidanceofyour
local authority and/or asktheshopwhereyou
purchased the product.
Aftercollectingtheusedproducts, they are
reused and recycled in a proper way. This
effort will help us reduce the wastes as well
asthenegativeimpact to the human health
and the environment at the minimum level.
The mark on the electrical and electronic
products only applies to the currentEuropean
Union MemberStates.
For EU:Thecrossed-outwheeledbinimplies
that used batteries should not be put to the
generalhouseholdwaste!Thereisa separate
collection system for used batteries, to allow
proper treatment and recyclinginaccordance
withlegislation.
According to EU directive 2006/66/EC, the
battery can’t be disposed improperly. The
battery shall be separated to collect by
local service.

vi
Important Information
Label Information
LabelA
LabelA:RiskGroup/LampSafetyLabel

vii
Important Information
LabelC
Label D
LabelELabel B
Label B
LaserExplanatoryLabel
3263343400
LabelC
PH3501QL

viii
Important Information
LabelC
PH2601QL
Label D
LabelE

ix
Important Information
Radiation Range of Emitted Light by the Projector (HD: Hazard Distance)
• ThebelowtabledescribestheradiationrangeofemittedlightbytheprojectorthatisclassiedasRiskGroup3
(RG3)ofIEC62471-5Firstedition2015.
• ThebelowtabledescribestheradiationrangeofemittedlightbytheprojectorthatisclassiedasRiskGroup3
(RG3)ofIEC62471:2006 (forUSA).
• Pleasekeepwithinboundsforinstallingtheprojector.
InstallabarrierforpreventinghumaneyesfromenteringtheRG3area. Forthebarrierinstallationposition,keep
horizontalsafetyzoneover1.5mfromtheRG3area. Incasetoinstalltheprojectoroverhead,keepover3mdis-
tanceatleastbetweentheoorsurfaceandtheRG3area.
Operatorsshallcontrolaccesstothebeamwithinthehazarddistanceorinstalltheproductattheheightthatwill
preventexposuresofspectators’eyeswithinthehazarddistance.
(IEC62471-5Firstedition2015) (IEC62471:2006(forUSA))
Lens RG3
HD(m)
Screen
size(m)
H V
L2K-10F1 4.1 4.51 2.38
L4K-11ZM Wide 4.6 4.07 2.15
Tele 7.1 4.13 2.18
L4K-15ZM Wide 6.2 4.28 2.25
Tele 9.1 4.33 2.29
L4K-20ZM Wide 8.2 4.14 2.18
Tele 14.0 4.12 2.17
L2K-30ZM Wide 11.0 4.07 2.15
Tele 16.0 4.10 2.16
L2K-43ZM1 Wide 16.0 4.10 2.16
Tele 22.0 4.07 2.15
L2K-55ZM1 Wide 21.0 4.20 2.21
Tele 32.0 4.16 2.19
Lens RG3
HD(m)
Screen
size(m) EHv
H V
L2K-10F1 4.1 4.51 2.38 10
L4K-11ZM Wide 4.6 4.07 2.15 11
Tele 7.1 4.13 2.18 14
L4K-15ZM Wide 6.2 4.28 2.25 12
Tele 9.1 4.33 2.29 17
L4K-20ZM Wide 8.2 4.14 2.18 16
Tele 14.0 4.12 2.17 17
L2K-30ZM Wide 11.0 4.07 2.15 20
Tele 16.0 4.10 2.16 22
L2K-43ZM1 Wide 16.0 4.10 2.16 22
Tele 22.0 4.07 2.15 22
L2K-55ZM1 Wide 21.0 4.20 2.21 24
Tele 32.0 4.16 2.19 27
[Plan view]
[Sideview]
RG3range
HD
H
V
* Iflensshiftisutilized,pleaseconsidertheshiftofprojectedimageaccordingtothevolumeoflensshift.(→page132)

x
Important Information
CAUTION
Please heed all precaution for safety.
To install the projector
• Forplanningthelayoutoftheprojector,makesuretotakesafetymeasuresinstructedontheinstallationmanual.
• Inordertorefusedanger,installeitherawalloutletwithineasyreachforpullingoutthepowerpluginemergency
oradeviceasabreakertoshutdownthepowersupplytotheprojector.
• TakesafetymeasurespreventinghumaneyesfromenteringtheRG3area.
• Consideringtheinstallationplace,selectanappropriatelensandsecuresafetyzonethatisdeterminedforeach
lens.Foroperationonthepoweredprojectoraslightadjustment,makesureappropriatesafetymeasureshave
beentaken.
• Checkthevalidityoftakensecuritymeasuresifappropriatesafetyzonebasedontheinstalledlensissecured.
Periodicallycheckthevalidityandkeeptheseresults.
• Educatetheadministratoroftheprojector(operators)aboutsafetybeforestartingtooperatetheprojector.
To use the projector
• Instructtheadministratoroftheprojector(operators)toperforminspectionsbeforepoweringontheprojector.
(Includingthesafetycheckagainstemittedlightbytheprojector)
• Instructtheadministratoroftheprojector(operators)tobeincircumstancesabletocontroltheprojectorwhen-
evertheprojectorispoweredonforanemergency.
• Instructtheadministratoroftheprojector(operators)tokeeptheinstallationmanual,user’smanualandinspec-
tionrecordstoaplacewheretheycantakethesedocumentsouteasily.
• Instructthemtoclarifyiftheprojectorisconformedtostandardsofeachcountryandregion.

xi
Important Information
Clearance for Installing the Projector
Allowampleclearancebetweentheprojectoranditssurroundingsasshownbelow.
Thehightemperatureexhaustcomingoutofthedevicemaybesuckedintothedeviceagain.
AvoidinstallingtheprojectorinaplacewhereairmovementfromtheHVACisdirectedattheprojector.
HeatedairfromtheHVACcanbetakeninbytheprojector'sintakevent.Ifthishappens,thetemperatureinsidethe
projectorwillrisetoohighcausingtheover-temperatureprotectortoautomaticallyturnofftheprojectorspower.
Intake vent
Exhaust vent
Intake vent
Intake vent Exhaust vent Exhaust vent
Example 1 – If there are walls on both sides of the projector.
60 cm/23.6" or greater 60 cm/23.6" or greater
NOTE:
• Thedrawingshowstheproperclearancerequiredforthefront,back,andtopoftheprojector.
• Theabovedrawingcanalsobeappliedtotherequiredclearancebetweenintakeventandtheoorfortheportraitprojection.
• Seepage139foraninstallationexampleonportraitprojection.
Example 2 – If there is a wall behind the projector.
(1)Foroorinstallation:
70 cm/27.6" or greater
Lens
NOTE:
• Thedrawingshowstheproperclearancerequiredfortheright,left,andtopoftheprojector.

xii
Important Information
(2) For ceiling mounting:
Lens
70 cm/27.6" or greater
30 cm/11.8" or greater
NOTE:
• Thedrawingshowstheproperclearancerequiredforthefront,right,left,andbottomoftheprojector.

xiii
Important Information
About Copyright of original projected pictures:
Pleasenotethatusingthisprojectorforthepurposeofcommercialgainortheattractionofpublicattentioninavenue
suchasacoffeeshoporhotelandemployingcompressionorexpansionofthescreenimagewiththefollowingfunc-
tionsmayraiseconcernabouttheinfringementofcopyrightswhichareprotectedbycopyrightlaw.
[ASPECTRATIO],Magnifyingfeatureandothersimilarfeatures.
AUTO POWER OFF Function
Thefactorydefaultsettingfor[AUTOPOWEROFF]is15minutes.Ifnoinputsignalisreceivedandnooperationis
performedontheprojectorduring15minutes,theprojectorisautomaticallypoweredoffforsavingthepowercon-
sumption.Inordertocontroltheprojectorbyanexternaldevice,setthe[AUTOPOWEROFF]to[OFF].Pleaserefer
page115 for details.

xiv
Table of Contents
Important Information............................................................................................i
1. Introduction...........................................................................................................1
❶What’sintheBox? ..........................................................................................................1
❷IntroductiontotheProjector............................................................................................3
❸Part Names of the Projector ...........................................................................................6
❹PartNamesoftheRemoteControl...............................................................................12
2. Projecting an Image (Basic Operation) ...............................................16
❶FlowofProjectinganImage .........................................................................................16
❷ConnectingthePowerCable ........................................................................................17
❸ConnectingYourComputer...........................................................................................20
❹TurningontheProjector................................................................................................21
❺SelectingaSource .......................................................................................................25
❻AdjustingthePictureSizeandPosition ........................................................................28
❼TurningofftheProjector................................................................................................34
3. Convenient Features......................................................................................36
❶Stoppingprojection.......................................................................................................36
❷Turningoffthelightsource............................................................................................36
❸Lockingtheprojectorsoitcannotbeoperated.............................................................36
❹MutingtheImage(AVMute).........................................................................................37
❺TurningOfftheOn-ScreenMenu(On-ScreenMute) ....................................................37
❻ShifttheOn-ScreenMenudisplayingposition..............................................................38
❼FreezingaPicture.........................................................................................................39
❽MagnifyingaPicture .....................................................................................................40
❾Adjustingthebrightness[LIGHTMODE] ......................................................................41
❿PreventingtheUnauthorizedUseoftheProjector[SECURITY]...................................42
⓫ControllingtheProjectorbyUsinganHTTPBrowser ...................................................45
⓬StoringChangesforLensShift,Zoom,andFocus[LENSMEMORY]..........................52
4. Multi-Screen Projection ...............................................................................58
5. Using On-Screen Menu.................................................................................65
❶UsingtheMenus...........................................................................................................65
❷MenuElements.............................................................................................................66
❸ListofMenuItems ........................................................................................................67
❹MenuDescriptions&Functions[INPUT] ......................................................................73
❺MenuDescriptions&Functions[ADJUST] ...................................................................77
❻MenuDescriptions&Functions[DISPLAY] ..................................................................91
❼MenuDescriptions&Functions[SETUP] .....................................................................93
❽MenuDescriptions&Functions[INFO.] ..................................................................... 117

xv
Table of Contents
6. Connecting to Other Equipment ...........................................................121
7. Maintenance .....................................................................................................123
❶CleaningtheCabinet..................................................................................................123
❷CleaningtheLens.......................................................................................................123
❸CleaningtheAirFilters................................................................................................124
8. Appendix..............................................................................................................128
❶Throwdistanceandscreensize .................................................................................128
❷CompatibleInputSignalList.......................................................................................134
❸Specications .............................................................................................................136
❹OutlineDrawing ..........................................................................................................138
❺Portraitprojection(verticalorientation).......................................................................139
❻Pinassignmentsandsignalnamesofmainterminals................................................140
❼AbouttheASCIIControlCommand ............................................................................144
❽ChangingtheBackgroundLogo(VirtualRemoteTool)...............................................146
❾Troubleshooting ..........................................................................................................147
❿IndicatorMessages ....................................................................................................149
⓫TroubleshootingCheckList.........................................................................................152
⓬GPL/LGPLSoftwareLicenses....................................................................................154
⓭REGISTERYOURPROJECTOR!(forresidentsintheUnitedStates,Canada,and
Mexico) .................................................................................................................155

1
1. Introduction
❶What’s in the Box?
Checkthecontentofthe accessories.
□ Projector
□ Lens hole cap
□ Power cable stopper
□ Servicekeys × 2 □ ImportantInformation
□ Administratorkey × 2 □ Lens holder
□ Controls/IndicatorPaneldisplaylabel □ Gearboxcover
□ Screw × 2
□ PlateInlet⌀35 □ Warranty
• ForNorthAmerica
• ForJapan
ForcustomersinEurope:
You will nd our current valid Guarantee Policy on
ourWebSite:
www.nec-display-solutions.com

2
1. Introduction
□ LVKit(NP-LV01BD)
• LVunit
• Remotecontrol
• AAalkalinebatteries(×2)
• NECProjectorCD-ROM
User'sManual(PDF)
• ImportantInformation(NP-LV01BD)
• QuickSetupGuide
About the LV kit
• Thisunitcannotbeusedwiththeprojectorunitalone.BesuretouseitincombinationwiththeLVkit(NP-LV01BD).
• HaveyourdistributorinstalltheLVunit.
• DescriptionsandillustrationsaregiveninthismanualwiththeLVunitinstalled.
About the control/indicator panel display label
• Attachthelabeltothecontrol/indicatorpanelbeforeusingtheprojector.
• Haveyourdistributorattachthecontrol/indicatorpaneldisplaylabel.
• Descriptionsandillustrationsaregiveninthismanualwiththelabelaffixed.

3
1. Introduction
❷Introduction to the Projector
Thissectionintroducesyoutoyournewprojectoranddescribesthefeaturesandcontrols.
General
• Three-chipsDLPprojectorwithhighresolutionandhighbrightness
Model name Brightness Resolution AspectRatio
PH3501QL 35,000lm/40,000lm(center) 4096×2160(4K) 17:9
PH2601QL 26,000lm/30,000lm(center) 4096×2160(4K) 17:9
• Superiordustpreventionabilities
Theprojectorutilizesacircularcoolingsystemwhencoolingtheopticalcomponents.Itcyclescoldairtoreplace
thewarmairinsidetheinterioroftheairtightcasesoopenairdoesnottouchtheopticalcomponents.Thisprotects
againstthedevicegettingdirtywithdustanddirt,aswellasmaintainsbrightness.
* However,itcannotperfectlyinsulateagainstdust.
• Runningcostreductionbyusingametallter
Withregularcleaning,theltercanberepeatedlyusedwithoutreplacement.
Ontopofreducingrunningcosts,wehaveimplementedthiseco-friendlyfeaturesothereisnoneedtodisposeof
usedlters.
• 4Kelementuserlogoimagescanberegistered
4Kelementimagescanberegisteredandoutputasbackgroundlogosinreal4Kresolution.
Light source · Brightness
• Employsalonglifelaserlightsource
Theprojectoremploysanewlydevelopedlaserlightsourceofferingexcellentreliabilityandredundancy.Since
thelaserlightsourcehasalonglife(approx.20,000hours),thisdeliverslowcostoperationbyremovingtheneed
formaintenancesuchasreplacingandadjustingthelightmoduleoverextendedperiodsoftime.Furthermore,it
reducestheriskofthelightsourcesuddenlyshuttingoffandleavingablackscreen.
• Brightnesscanbeadjustedwithinawiderange
Unlikewithordinarylightsources,thebrightnesscanbeadjustedfrom30*to100%in1%increments.
* PH2601QL:40%
• [CONSTANTBRIGHTNESS]mode
Brightnessnormallydecreaseswithuse,butbyselecting[CONSTANTBRIGHTNESS]mode,sensorsinsidethe
projectordetectandautomaticallyadjusttheoutput,therebymaintainingconstantbrightnessthroughoutthelife
ofthelightmodule.
However,ifbrightnessoutputissetatthemaximum,brightnesswilldecreasewithuse.
Installation
• Widerangeofoptionallensesselectableaccordingtotheplaceofinstallation
Thisprojectorsupports7typesofoptionallenses,providingaselectionoflensesadaptedtoavarietyofplaces
ofinstallationandprojectionmethods.Nolensismountedatshippingfromthefactory.Contactyourdistributorfor
purchasingandreplacingtheseoptionallensessoldseparately.
• Tilt-free,portraitprojection
Thisprojectorcanbesettoanyanglewithinavertical360°range.
Itcanalsorotatethepicture90°intoportraitorientation,however,itcannotbeinstalledwithrightorleftslantbe-
sides the portrait projection.
This manual suits for next models
4
Table of contents
Other NEC Projector manuals

NEC
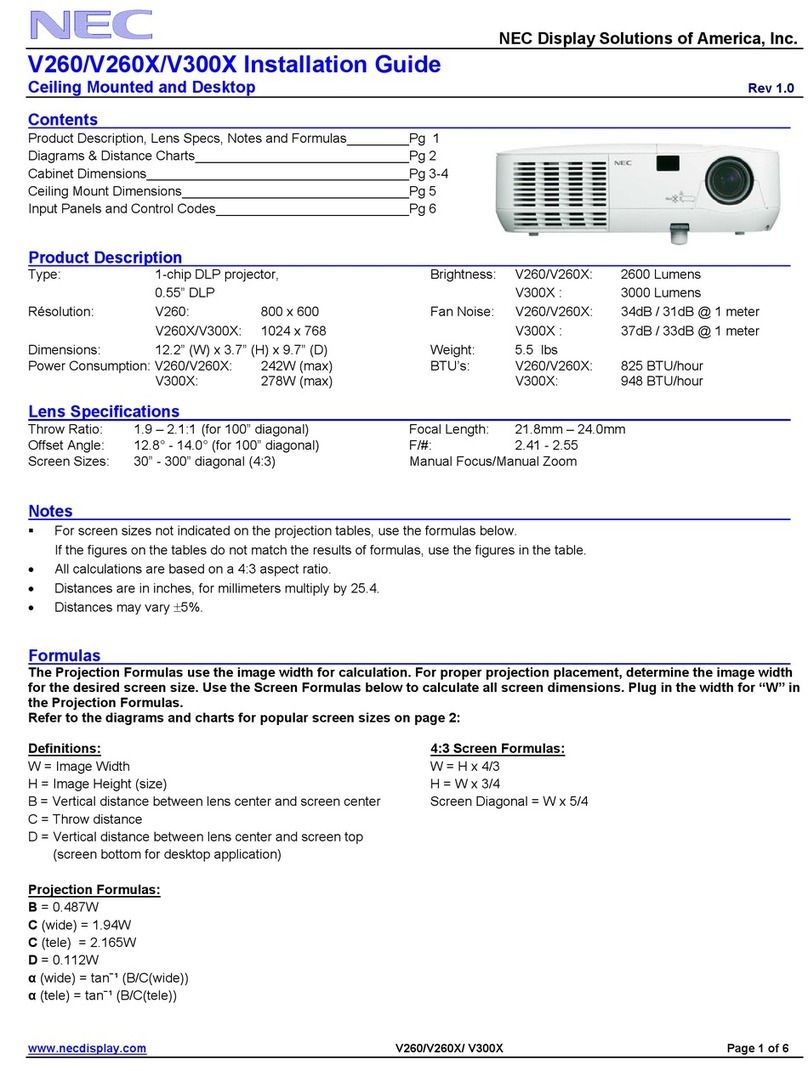
NEC NP-V300X User manual

NEC
NEC NP600 Series User manual

NEC
NEC NP05LM1 Operating manual

NEC
NEC UM351W User manual

NEC
NEC PA653UL User manual

NEC
NEC LT240K, LT260K User manual

NEC
NEC PH1201QL User manual

NEC
NEC VT695 Use and maintenance manual

NEC
NEC NP-PA600 Series User manual

NEC
NEC CONTESTPRESSRELEASE8.06FINAL User manual