manuals.online logo
Brands
  1. Home
  2. •
  3. Brands
  4. •
  5. NEC
  6. •
  7. Speakers
  8. •
  9. NEC LCD4020-2-IT - MultiSync - 40" LCD Flat Panel... User manual

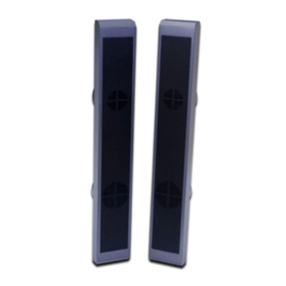
NEC LCD4020-2-IT - MultiSync - 40" LCD Flat Panel... User manual

Follow these steps to connect the speaker to your LCD monitor
1. Turn off the power of the LCD.
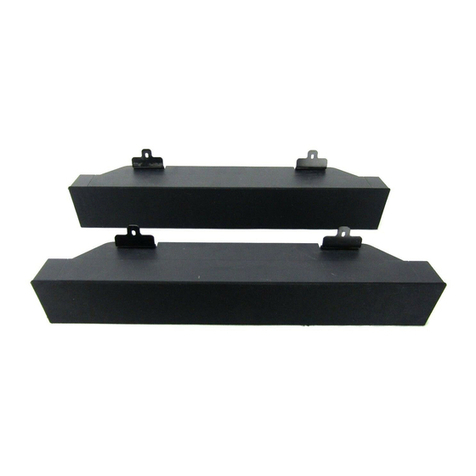
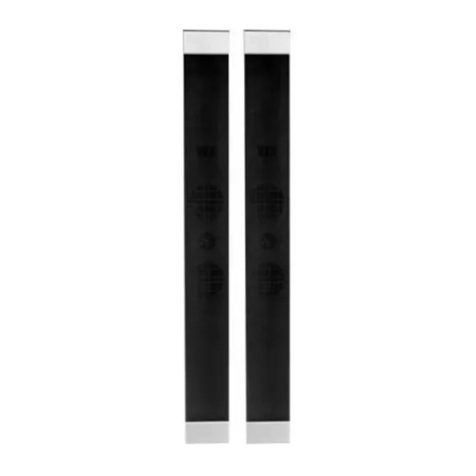
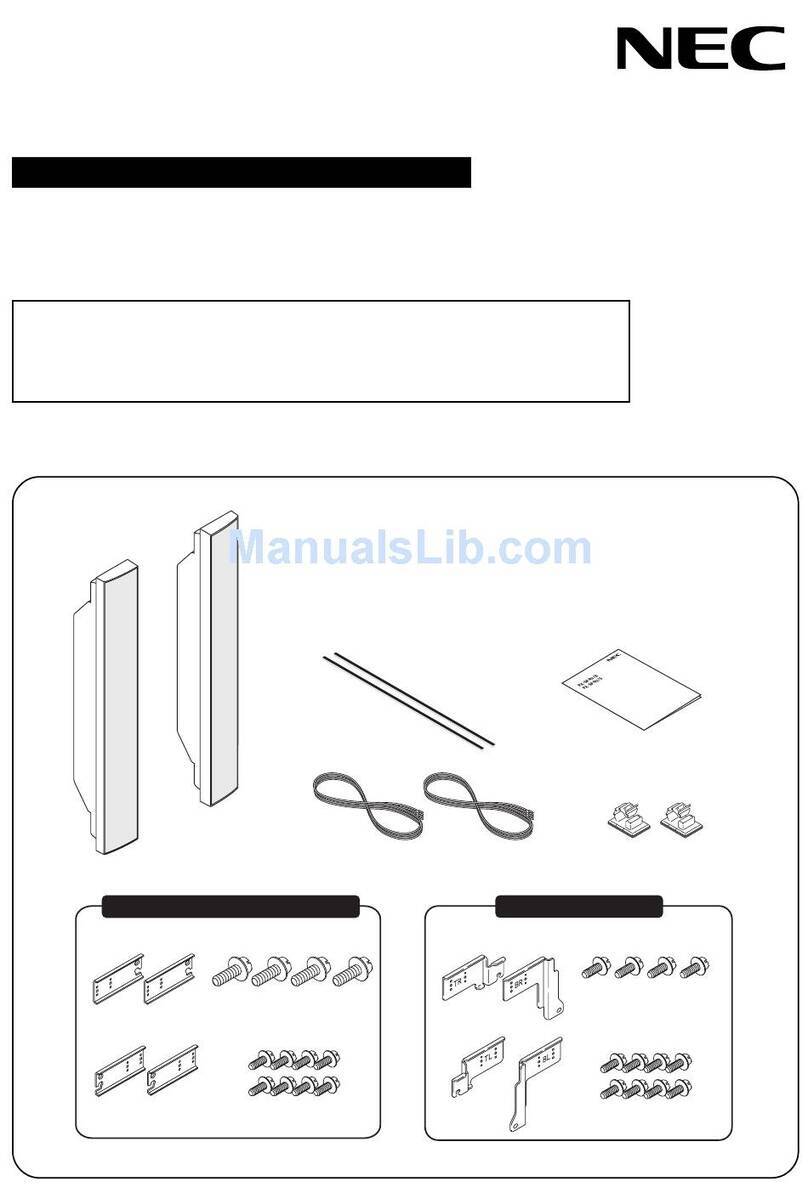
2. Attach the pad to each speaker. (Figure1)
3. If mounting speakers on the LCD4020 proceed to step 4. If the speakers will be mounted on the LCD4620 the
extension blocks on the ends have to be switched with the large extension blocks (included). To replace exten-
sion block remove the 2 screws attaching it to the speaker. Use the same screws to attach the large extension
block to the speaker. Repeat for other block. (Figure2)
4. Screw appropriate mounting brackets into appropriate position on each speaker (2 brackets per speaker).
Use the brackets labeled (R) on the right speaker and brackets labeled (L) on the left speaker.
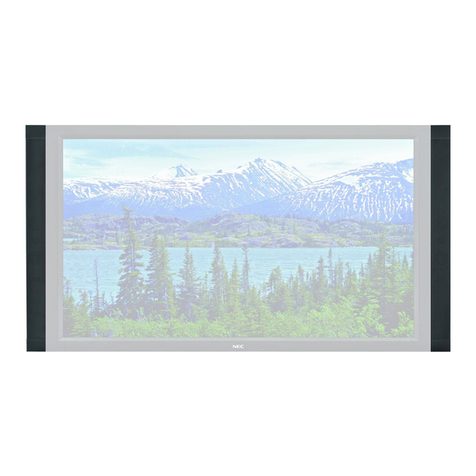
5. Attach mounting bracket / speakers to the LCD using one (1) black 10mm screw(included) per bracket. (Figure3)
6. Once both speakers are attached to the LCD, connect the speaker wires first to the terminals on the LCD and
then to the terminals on the attached speakers. (Figure3)
The red wire (+) connects to the red (+) terminal on the speaker.
The black wire (-) connects to the black (-) terminal on the speaker.
To manage excess speaker wire: Coil the speaker wire and wrap it using included clamp.
7. Turn the LCD power on.
Do not hold the display by the speakers when moving or shifting the display.
Troubleshooting
No speaker sound
• Check that the speaker wire is correctly attached to the LCD and to each speaker terminal.
• Check the volume setting .
• Check the mute button.
Cleaning the Cabinet
• Follow the "Recommended Use" in the display’s user manual.
Specifications
• Power 15W + 15W @8 ohm
• Frequency response 100Hz – 25kHz
• Dimension (Net) 80.0mm(W) x 532.2mm(H) x 59mm(D)
• Weight (Net) 1.6 kg
Contents
• Speaker x 2 • Speaker wire (1500mm) • Mounting bracket x 4
• Speaker screws (10mm length) x 12 • Quick start guide • Pad x 2 • Clamp x 2
Suivez ces étapes pour brancher les haut-parleurs sur votre moniteur LCD
1. Éteignez le bouton d’alimentation du LCD.
2. Fixez le patin sur chaque haut-parleur.(Figure1)
3. Si vous devez fixer les haut-parleurs au LCD4020, passez à l’étape 4. Si les hau-parleurs sont à monter sur
le LCD4620, les blocs d’extension situés aux extrémité être remplacés par les bloc d’extension plus petits
inclus dans le coffret. Pour remplacer un bloc d’extension, retirez les 2 visqui permettent de le fixer au haut-
parleur. Utilisez ces mêmes vis pour fixer le bloc d’extension plus petit au haut-parleur. Répétez l’opération
pour l’autre bloc.
4. Vissez les supports de montage appropriés à leur position prévue sur chaque haut-parleur (2 supports par
haut-parleur).
Utilisez les supports étiquetés (R) sur le haut-parleur droit et les supports étiquetés (L) sur le haut-parleur gauche.
5. Vissez les supports de montage/haut-parleurs sur le LCD à l’aide d’une (1) vis noire de 10mm par support.
(Figure3)
6. Une fois que les deux haut-parleurs sont fixés au LCD, branchez les fils des haut-parleurs sur les bornes du
LCD puis sur les bornes des haut-parleurs attachés. (Figure3)
Le fil avec la ligne rouge (+) se branche sur la borne rouge (+) du haut-parleur.
Le fil avec la ligne noire (-) se branche sur la borne noire (-) du haut-parleur.
Pour gérer le surplus de câble haut-parleur : Enroulez le fil de haut-parleur et faites en une bobine à l’aide de l’
attache fournie.
7. Allumez l’alimentation du LCD.
Ne tenez pas l’écran par les haut-parleurs lorsque vous le déplacez.
Dépannage
Aucun son dans les haut-parleurs
• Vérifiez que le fil du haut-parleur est correctement attaché au LCD et que chaque haut-parleur est branché sur
chaque borne de haut-parleur.
• Vérifiez le réglage de volume sur les haut-parleurs.
• Vérifiez le bouton muet.
Nettoyage du boîtier
• Suivez l’utilisation recommandée dans le mode d’emploi de l’écran.
Spécifications
• Puissance 15W + 15W @8 ohms
• Réponse en fréquences 100Hz – 25kHz
• Dimensions (Net) 80,0mm(L) x 532,2mm(H) x 59mm(P)
• Poids (Net) 1,6 kg
Contenu
• Haut-parleur x 2 • Fil de haut-parleur (1500mm) • Supports de montage x 4
• Vis de haut-parleurs (longueur 10mm ) x 12 • Guide de démarrage rapide • Patins x 2 • Attaches x2
Attenersi alle fasi che seguono per collegare le casse al monitor LCD
1. Disattivare l’interruttore d’alimentazione del monitor LCD.
2. Attaccare la protezione su ciascuna cassa. (Figura 1)
3. Se si stanno montando gli altoparlanti sul modello LCD4020, passare al punto 4.
Se gli altoparlanti verranno montati sullo schermo LCD4620, i cavi di prolunga alle estremità devono essere
adattati ai cavi di prolunga più piccoli inclusi nella confezione. Pre sostituire il cavo di prolunga, estrarre le 2 viti
e collegarlo all’altoparlante. Servirsi delle stesse viti per collegare il cavo di prolunga più piccolo all’altoparlante.
Eseguire le stesse operazioni per l’altro cavo di prolunga.
4. Montare le staffe di montaggio appropriate nelle posizioni appropriate di ciascuna cassa (2 staffe per cassa).
Usare le staffe contrassegnate con (R) della cassa destra e le staffe contrassegnate con (L) della cassa sinistra.
5. Montare il gruppo staffa/cassa sul monitor LCD usando una (1) vite da 10 mm per staffa. (Figura 3)
6. Una volta che entrambe le casse sono attaccate al monitor LCD, collegare i cavi delle casse ai terminali sul
monitor LCD e poi ai terminali delle casse. (Figura 3)
Il cavo rosso (+) si collega al terminale rosso (+) della cassa.
Il cavo nero (-) si collega al terminale nero (-) della cassa.
Per gestire il cavo in eccesso: arrotolare il cavo e fermarlo usando il fermaglio fornito in dotazione.
7. Accendere il monitor LCD.
Quando si sposta il monitor, non afferrarlo per le casse.
Risoluzione dei problemi
Assenza sonoro casse
• Controllare che il cavo delle casse sia collegato in modo corretto, ed ai terminali corretti del monitor LCD e delle
casse.
• Controllare il volume delle casse.
• Controllare il tasto Mute.
Pulizia del mobile
• Eseguire le raccomandazioni d’uso del Manuale.
Specifiche
• Potenza 15W + 15W a 8 ohm
• Risposta di frequenza 100Hz - 25kHz
• Dimensioni (Netto) 80 mm (L) x 532,2 mm (A) x 59 mm (P)
• Peso (Netto) 1,6 kg
Contenuti
• 2 Casse (SP-M40 o SP-M46) • Cavo casse (1.500 mm) • 4 Staffe di montaggio
• 12 Viti casse (da 10 mm) • Guida rapida • 2 Protezioni • 2 Una abrazadera
Siga estos pasos para conectar el altavoz al monitor LCD
1. Coloque el conmutador del monitor LCD en la posición de apagado.
2. Acople la tela a cada altavoz (Figura 1).
3. Si va a montar altavoces en el modelo LCD4020 vaya al paso 4.
Si los altavoces se van a montar en el modelo LCD4620 es necesario cambiar los bloques alarga
dores de los extremos por los bloques más pequeños que se incluyen. Para reemplazar el bloque
alargador retire los 2 tornillos que lo altavoz. Utilice los mismos tornillos para ajustar el bloque alarga
dor más peque ños al altavoz. Repita la operación con el otro bloque.
4. Atornille los soportes de montaje adecuados en la posición correcta en cada altavoz (2 soportes por
altavoz).
Utilice los soportes etiquetados con (R) en el altavoz derecho y los etiquetados con (L) en el altavoz
izquierdo.
5. Atornille el soporte de montaje y los altavoces al monitor LCD utilizando un (1) tornillo de 10mm de
color negro por soporte (Figura 3).
6. Cuando haya acoplado los dos altavoces al monitor LCD, conecte sus cables a los terminales de éste
y, a continuación, a los terminales de los altavoces montados (Figura 3).
El cable con la línea de color rojo (+) se conecta al terminal de color rojo (+) del altavoz.
El cable con la línea de color negro (-) se conecta al terminal de color negro (-) del altavoz.
Para administrar el cable sobrante de los altavoces: Enrolle el cable de los altavoces y envuélvalo
utilizando el aglutinador incluido.
7. Encienda el monitor LCD.
No agarre los altavoces cuando mueva o levante la pantalla.
Solucionar problemas
Los altavoces no emiten sonido
• Compruebe que el cable de los altavoces está correctamente conectado al monitor LCD y, a su vez,
aquéllos están perfectamente conectados a sus terminales.
• Compruebe la configuración del volumen de los altavoces.
• Compruebe si el botón de silencio está activado.
Limpiar la carcasa
• Siga las instrucciones de uso recomendado del manual del usuario de la pantalla.
Especificaciones
• Potencia: 15 W + 15 W a 8 ohm
• Respuesta de frecuencia: 100 Hz – 25kHz
• Dimensiones (netas): 80,0 mm (A) x 532,2 mm (L) x 59 mm (F)
• Peso (neto): 1,6 kg
Contenido
• Altavoz x 2 • Cable de los altavoces (1500 mm) • Soportes de montaje x 4
• Tornillos para los altavoces (10 mm de largo) x 12 • Guía de inicio rápido • Tela x 2 • Aglutinador x 2
So verbinden Sie die Lautsprecher mit Ihrem LCD-Monitor
1. Schalten Sie den LCD-Monitor über den Ein-/Ausschalter ab.
2. Bringen Sie an jedem Lautsprecher ein Polster an (Abbildung 1).
3. Wenn Sie die Lautsprecher am LCD4020 montieren, fahren Sie mit Schritt 4 fort.
When Sie die Lautsprecher am LCD4620 montieren, müssen die Erweiterungsblöcke an den
Enden gegen die mitgelieferten kleineren Erweiterungsblöcke augetauscht werden. Um den
Erweiterungsblock zu ersetzen, entfernen Sie die zwei Halteschrauben. Verwenden Sie die
selben Schrauben, um den kleineren Erweiterungsblock am Lautsprecher zu befestigen.
Wiederholen Sie dies beim anderen Erweiterungsblock.
4. Befestigen Sie die Montagebügel an der richtigen Position an den einzelnen Lautsprechern (2
Bügel pro Lautsprecher).
Verwenden Sie die mit (R) gekennzeichneten Halterungen am rechten Lautsprecher und die
mit (L) gekennzeichneten Halterungen am linken Lautsprecher.
5. Befestigen Sie die Lautsprecher mit den Montagebügeln am LCD-Monitor; dazu verwenden
Sie jeweils eine schwarze 10-mm-Schraube pro Bügel (Abbildung 3).
6. Nachdem Sie beide Lautsprecher am LCD-Monitor angebracht haben, verbinden Sie
die Lautsprecherkabel mit den Anschlüssen am LCD-Monitor; das andere Ende der Ka-
belverbindungen verbinden Sie mit den Anschlüssen an den Lautsprechern (Abbildung 3).
Das Kabel mit der roten Kennzeichnung (+) wird mit dem roten Anschluss (+) am Lautspre-
cher verbunden.
Das schwarz gekennzeichnete Kabel (-) wird mit dem schwarzen Anschluss (-) am Lautspre-
cher verbunden.
So verfahren Sie mit überschüssigem Lautsprecherkabel: Wickeln Sie das Lautsprecherka-
bel auf und befestigen Sie es mit Hilfe der mitgelieferten Klemme.
7. Schalten Sie den LCD-Monitor ein.
Fassen Sie den Monitor nicht an den Lautsprechern, wenn Sie ihn bewegen.
Problemlösung
Kein Ton aus den Lautsprechern
• Überprüfen Sie, ob die Lautsprecherkabel richtig an die Anschlüsse von LCD-Monitor und Lautspre-
cher angeschlossen sind.
• Überprüfun Sie die Lautstärkeeinstellung an den Lautsprechern.
• Überprüfen Sie, ob die Stummschaltungstaste betätigt wurde.
Gehäuse reinigen
• Bitte halten Sie sich an die Empfehlungen in der Bedienungsanleitung des Monitors.
Technische Daten
• Ausgangsleistung: 15 W +15 W bei 8 Ohm
• Frequenzgang: 100 Hz bis 25kHz
• Abmessungen (netto, B x H x T):80 x 532,2 x 59 mm
• Gewicht (netto): 1,6 kg
Lieferumfang
• Lautsprecher x 2 • Lautsprecherkabel (1500 mm) • Montagebügel x 4
• Lautsprecherschrauben 10 mm x 12 • Schnellstartanleitung • Polster x 2 • Klemme x 2

Other manuals for LCD4020-2-IT - MultiSync - 40" LCD Flat Panel...

1

This manual suits for next models

3

Other NEC Speakers manuals

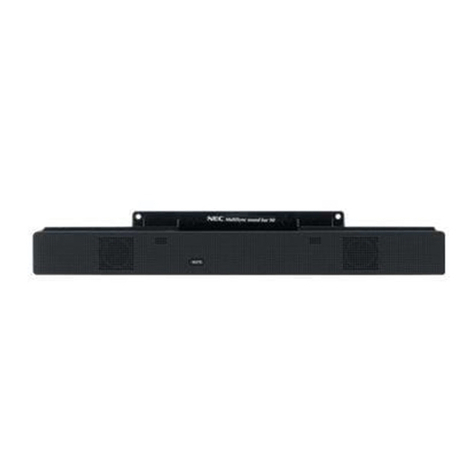
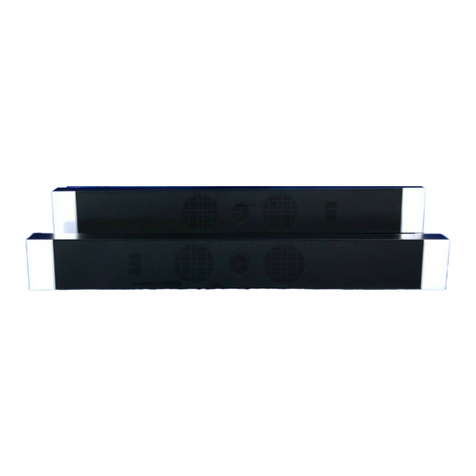
NEC PX-SP4UB User manual

NEC

NEC PX-SP4UB User manual

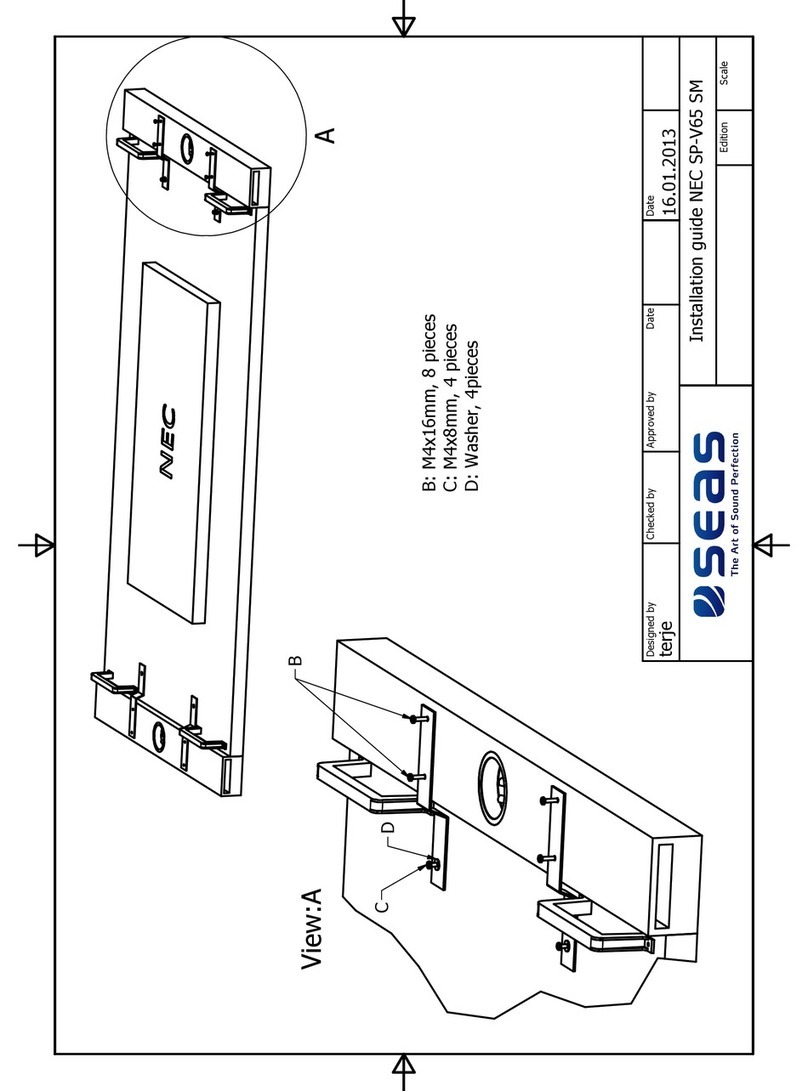
NEC SP-V65SM User manual

NEC

NEC SP-V65SM User manual

NEC PX-42XM4A User manual

NEC

NEC PX-42XM4A User manual

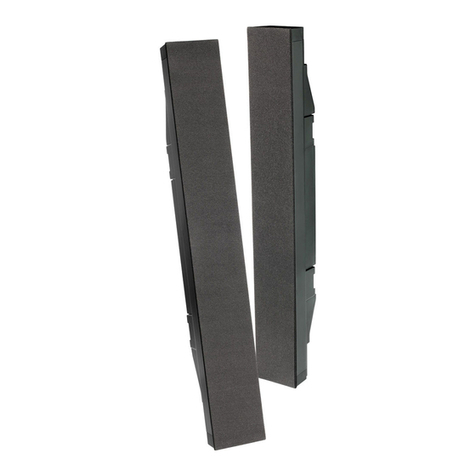
NEC PX SP2U - Left / Right CH Speakers User manual

NEC

NEC PX SP2U - Left / Right CH Speakers User manual

NEC P50XC10 User manual

NEC

NEC P50XC10 User manual

NEC SP-RM2 User manual

NEC

NEC SP-RM2 User manual

NEC SP-4046PV User manual

NEC

NEC SP-4046PV User manual

NEC LCD6520L-BK-AV - MultiSync - 65" LCD Flat Panel... User manual

NEC

NEC LCD6520L-BK-AV - MultiSync - 65" LCD Flat Panel... User manual

NEC LCD3215 - MultiSync - 32" LCD Flat Panel... User manual

NEC

NEC LCD3215 - MultiSync - 32" LCD Flat Panel... User manual

NEC S401 User manual

NEC

NEC S401 User manual

NEC MultiSync P521 User manual

NEC

NEC MultiSync P521 User manual

NEC DTS - 42 User manual

NEC

NEC DTS - 42 User manual

NEC MultiSync Soundbar 90 User manual

NEC

NEC MultiSync Soundbar 90 User manual

NEC P42XC10 - PlasmaSync - 42" Plasma Panel User manual

NEC

NEC P42XC10 - PlasmaSync - 42" Plasma Panel User manual

NEC SP-3040 User manual

NEC

NEC SP-3040 User manual

NEC PlasmaSync P42XP10-BK User manual

NEC

NEC PlasmaSync P42XP10-BK User manual

NEC V321-2 User manual

NEC

NEC V321-2 User manual

NEC NLT-40WT User manual

NEC

NEC NLT-40WT User manual

NEC P461-AVT - MultiSync - 46" LCD TV User manual

NEC

NEC P461-AVT - MultiSync - 46" LCD TV User manual

NEC SP-RM3 User manual

NEC

NEC SP-RM3 User manual

NEC LCD5710-2-AV - MultiSync - 57" LCD Flat Panel... User manual

NEC

NEC LCD5710-2-AV - MultiSync - 57" LCD Flat Panel... User manual

NEC P60XC10 User manual

NEC

NEC P60XC10 User manual

NEC SP-RM3 User manual

NEC

NEC SP-RM3 User manual

Popular Speakers manuals by other brands

Philips TAB7305 user manual

Philips

Philips TAB7305 user manual

JBL VRX932LAP user guide

JBL

JBL VRX932LAP user guide

Philips SPA7355/77 user manual

Philips

Philips SPA7355/77 user manual

Magnat Audio OMEGA SUB 20A owner's manual

Magnat Audio

Magnat Audio OMEGA SUB 20A owner's manual

CyberData RAL 9002 Operation guide

CyberData

CyberData RAL 9002 Operation guide

ELAC Vertex III Series operating instructions

ELAC

ELAC Vertex III Series operating instructions

Elan MC650C Specifications

Elan

Elan MC650C Specifications

LP Acoustics Solo Series owner's manual

LP Acoustics

LP Acoustics Solo Series owner's manual

MSE Audio Rockustics CHERRY BOMB owner's manual

MSE Audio

MSE Audio Rockustics CHERRY BOMB owner's manual

Technics OTTAVA S operating instructions

Technics

Technics OTTAVA S operating instructions

KREAFUNK aGO Operation manual

KREAFUNK

KREAFUNK aGO Operation manual

Matsushita Electric SB-PC41 Service manual

Matsushita Electric

Matsushita Electric SB-PC41 Service manual

Mission QX-1 user manual

Mission

Mission QX-1 user manual

Proficient Audio Systems R650 owner's manual

Proficient Audio Systems

Proficient Audio Systems R650 owner's manual

Blocklychain SP-101 instruction manual

Blocklychain

Blocklychain SP-101 instruction manual

Radio Shack PA-115 user manual

Radio Shack

Radio Shack PA-115 user manual

ESI nEar08 classic user guide

ESI

ESI nEar08 classic user guide

Nodis Sunlight user manual

Nodis

Nodis Sunlight user manual

manuals.online logo
manuals.online logoBrands
  • About & Mission
  • Contact us
  • Privacy Policy
  • Terms and Conditions

Copyright 2025 Manuals.Online. All Rights Reserved.