manuals.online logo
Brands
  1. Home
  2. •
  3. Brands
  4. •
  5. Neilsen
  6. •
  7. Blower
  8. •
  9. Neilsen CT1907 User manual

Neilsen CT1907 User manual

INSTRUCTIONS AND PRECAUTIONS
SAVE THESE INSTRUCTIONS. READ ALL
PRECAUTIONS AND INSTRUCTIONS.
24" MAGNETIC SWEEPER CT1907
IMPORTANT SAFETY
INFORMATION
Assembly Precautions
Assemble only according to these instruc-1.
tions. Improper assembly can create haz-
ards.
Wear ANSI-approved safety goggles and2.
heavy-duty work gloves during assembly.
Keep assembly area clean and well lit.3.
Keep bystanders out of the area during as-4.
sembly.
Do not assemble when tired or when under5.
the inuence of drugs or medication.
Use Precautions
This product is not a toy. Do not allow chil-1.
dren to play with or near this item.
Keep work area clean and well lit. Cluttered2.
or dark areas invite accidents.
People with pacemakers should consult their3.
physician(s) before use. Electromagnetic
elds in close proximity to heart pacemaker
could cause pacemaker interference or pace-
maker failure.
The Sweeper contains a strong magnetic pull4.
capacity and should not be used around ma-
terials and components that can be damaged
when exposed to a magnet.
Use for intended purpose only.5.
Dress properly. Do not wear loose cloth-6.
ing or jewelry. Keep your hair, clothing and
gloves away from moving parts. Loose
clothes, jewelry or long hair can be caught in
moving parts.
Inspect before use; do not use if parts loose7.
or damaged.
Maintain product labels and nameplates.8.
These carry important safety information.
If unreadable or missing, contact Harbor
Freight Tools for a replacement.
Read the ENTIRE IMPORTANT
SAFETY INFORMATION section at the
beginning of this document including
all text under subheadings therein
before set up or use of this product.
Assembly
Figure 1
Magnet
Housing (1)
Handle
Base (5)
Sweeper
Handle (3)
Pan Head
Bolt (7)
Housing
Handle (6)
1. Insert Sweeper Handle (3) into Handle Base
(5) and secure with Pan Head Bolt (7). See
Figure 1, above.
OPERATION
Sweeper
Handle (1)
Wing Nut
Figure 2
1. Adjust the Sweeper Handle (3) to the desired
height by unscrewing Wing Nut and sliding
handle tube up or down-see Figure 2, above.
The Handle telescopes from 30” to 44” when
extended.
When the desired height is reached, tighten2.
the Wing Nut into place.
While holding the handle, roll the Magnetic3.
Sweeper across the desired oor area such
as a workshop, garage, warehouse, etc. The
Magnetic Sweeper will pick up metal objects
such as nails, pins, bolts, screws and metal
shavings.
Figure 3
4. To release the material that has been picked
up by the Magnetic Sweeper, place Housing
(1) over a trash can or desired debris des-
tination. Pull up on the Housing Handle as
shown in Figure 3, above.
Please note: Move the Sweeper away from
the debris before releasing the Housing
Handle or it will pick up the debris again.
CLEANING AND MAINTENANCE
BEFORE EACH USE,1. inspect the general
condition of the Floor Sweeper. Check for
loose screws, misalignment or binding of
moving parts, cracked or broken parts and
any other condition that may affect its safe
operation.
AFTER USE,2. clean external surfaces of the
Sweeper with clean cloth.
Record Serial Number Here:
Note: If product has no serial number, record
month and year of purchase instead.
Note: Some parts are listed and shown for illustra-
tion purposes only, and are not available
individually as replacement parts.
PLEASE READ THE FOLLOWING CAREFULLY
THE MANUFACTURER AND/OR DISTRIBUTOR HAS PROVIDED
THE PARTS LIST AND ASSEMBLY DIAGRAM IN THIS DOCUMENT
AS A REFERENCE TOOL ONLY. NEITHER THE MANUFACTURER
OR DISTRIBUTOR MAKES ANY REPRESENTATION OR WARRANTY
OF ANY KIND TO THE BUYER THAT HE OR SHE IS QUALIFIED TO
MAKE ANY REPAIRS TO THE PRODUCT, OR THAT HE OR SHE
IS QUALIFIED TO REPLACE ANY PARTS OF THE PRODUCT. IN
FACT, THE MANUFACTURER AND/OR DISTRIBUTOR EXPRESSLY
STATES THAT ALL REPAIRS AND PARTS REPLACEMENTS SHOULD
BE UNDERTAKEN BY CERTIFIED AND LICENSED TECHNICIANS,
AND NOT BY THE BUYER. THE BUYER ASSUMES ALL RISK AND
LIABILITY ARISING OUT OF HIS OR HER REPAIRS TO THE ORIGINAL
PRODUCT OR REPLACEMENT PARTS THERETO, OR ARISING
OUT OF HIS OR HER INSTALLATION OF REPLACEMENT PARTS
THERETO.
Part Description Qty.
1 Housing 1
2 Wheel 2
3 Handle 1
4 Bolt/Washer 2 sets
5 Handle Base 1
6 Housing Handle 1
7 Pan Head Bolt 1
PARTS LIST & ASSEMBLY
DIAGRAM
5
7
6
CANNON TOOLS LTD
Add: 20 station road, Rowley Regis, west midlands,B65 0JU.U.K.
Made in China

Other Neilsen Blower manuals

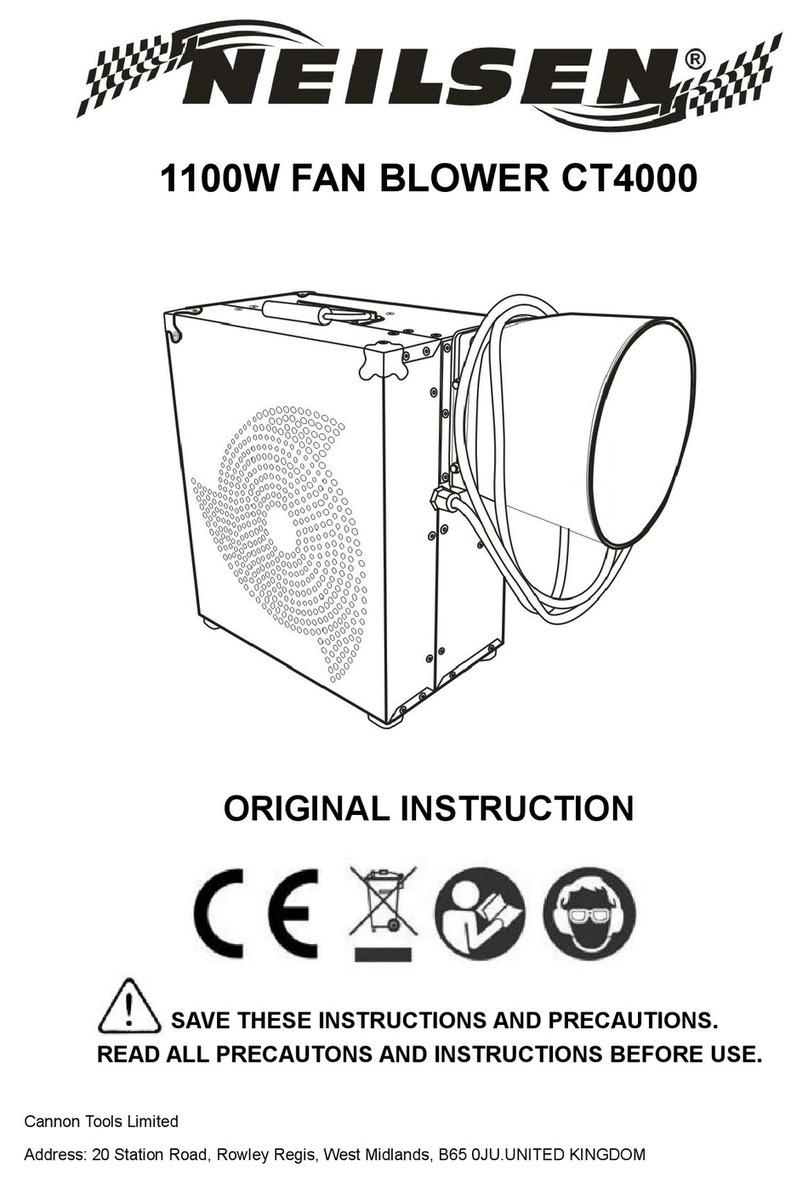
Neilsen CT4000 Operation instructions

Neilsen

Neilsen CT4000 Operation instructions

Popular Blower manuals by other brands

Stihl BGA 86 Service manual

Stihl

Stihl BGA 86 Service manual

TimberPro EB700A owner's manual

TimberPro

TimberPro EB700A owner's manual

Kärcher KM 75/40 W G Original instructions

Kärcher

Kärcher KM 75/40 W G Original instructions

Craftsman 316.794801 Operator's manual

Craftsman

Craftsman 316.794801 Operator's manual

Amana MBVB Series manual

Amana

Amana MBVB Series manual

Gast R2303A operation & maintenance

Gast

Gast R2303A operation & maintenance

GreenWorks Pro 2405907AUVT Operator's manual

GreenWorks Pro

GreenWorks Pro 2405907AUVT Operator's manual

Snapper 1688056 owner's manual

Snapper

Snapper 1688056 owner's manual

McCulloch GB 320 Operator's manual

McCulloch

McCulloch GB 320 Operator's manual

Bosch DHG6023RUC installation manual

Bosch

Bosch DHG6023RUC installation manual

Ego Power+ LB5800E Original instructions

Ego Power+

Ego Power+ LB5800E Original instructions

Skil 3161CB Original instructions

Skil

Skil 3161CB Original instructions

Tennant A60 operating manual

Tennant

Tennant A60 operating manual

Shindaiwa EB630 Owner's/operator's manual

Shindaiwa

Shindaiwa EB630 Owner's/operator's manual

Gardener's Choice GCB-260 user manual

Gardener's Choice

Gardener's Choice GCB-260 user manual

TEC MINNEAPOLIS BLOWER DOOR 3 manual

TEC

TEC MINNEAPOLIS BLOWER DOOR 3 manual

Solo 440 instruction manual

Solo

Solo 440 instruction manual

Bradford White MITW -10 owner's manual

Bradford White

Bradford White MITW -10 owner's manual

manuals.online logo
manuals.online logoBrands
  • About & Mission
  • Contact us
  • Privacy Policy
  • Terms and Conditions

Copyright 2025 Manuals.Online. All Rights Reserved.