nella VERSA NBWI-6456 User manual

THANK YOU FOR CHOOSING NELLA™
Welcome to the Nella™ family. We are confident Nella’s™ superior quality, design and aesthetic will enhance your bath-
room experience for many years to come. If you have any questions regarding your Nella products please contact your
local sales representative or visit our website www.nellabath.com for customer support and service information.
Thank you again,
NELL A™
FREESTANDING BATHTUB INSTALLATION
USA / Canada: www.nellabath.com
™
IMPORTANT - PRIOR TO INSTALLATION
Before you begin please be sure to review the steps below to ensure preferred installation results.
1. Unpack your new NELLA™ product and confirm it is the correct model ordered and inspect the product for damage.
Please keep product in its original packaging until you are ready for installation.
2. Confirm that all walls are plumb and all mounting/installation surfaces are level.
3. Shut of existing water supply.
4. Confirm that your plumbing technician has the proper/recommended tools for proper installation.
PRIOR TO INSTALLATION
Prior to installation please be sure to review all installation instructions with a licensed or qualified plumbing technician
who is familiar with all local plumbing and building codes in your jurisdiction.
VERSA
NBWI-6456
PRODUCT FEATURES AND DESCRIPTION
FEATURES
•Solid Surface Soaking bathtub with Overflow
•Free-standing installation
INCLUDED COMPONENTS
•Freestanding bathtub
•Chrome-plated brass and drain assembly
with white sold surface cover
CODES AND STANDARDS
Meets or exceeds:
•IAPMO-ANSI Z124.1
•IAPMO-ANSI Z124.3
•CSA B45.0-CSA B45.4
•cUPC

IMPORTANT - PRIOR TO INSTALLATION
Immediately upon receiving your Nella bath tub and removing it from its packaging we strongly suggest IMMEDIATE IN-
SPECTION of your Nella product for potential freight damage. Any claims for damage visible or hidden, must be made
immediately in order for the carrier to assume full responsibility and absorb any associated costs.
If damage or defect is discovered DO NOT INSTALL your Nella product. Any claimed damage or defect to the finish of
the product after the product has been installed will be excluded from any manufacturer warranty.
To ensure this product is installed properly you must use an extremely knowledgeable and experienced plumbing
professional or licensed contractor.
We suggest a minimum of two people perform the installation of Nella freestanding bath tubs.
Please keep this information for future reference.
All final connections are made below the finished floor - accessibility below the finished floor is recommended
Please take the necessary precautions to protect your Nella product. We suggest using a soft, cloth blanket to COVER
THE FLOOR and set the bath tub on during installation to ensure the product is not scratched or damages.
Avoid dropping the tub during the handling to prevent chipping or damages. We recommend using rubber gripped
gloves to handle this tub. Please inspect the tub before the installation.
USA / Canada: www.nellabath.com
VERSA
NBWI-6456

FREESTANDING BATHTUB INSTALLATION
ROUGH-IN DIMENSIONS
USA / Canada: www.nellabath.com
Tape MeasurePencil Ruler SquareLevel Pipe Wrench Channel Locks
Scroll SawAdjustable Wrench Pipe Clamp Pipe Cutter Hacksaw Plumber’s Putty or
Caulking
Putty Knife
Drill Philips
Screwdriver
Flathead
Screwdriver
™
VERSA
NBWI-6456

™
WASTE AND OVERFLOW ROUGH-IN
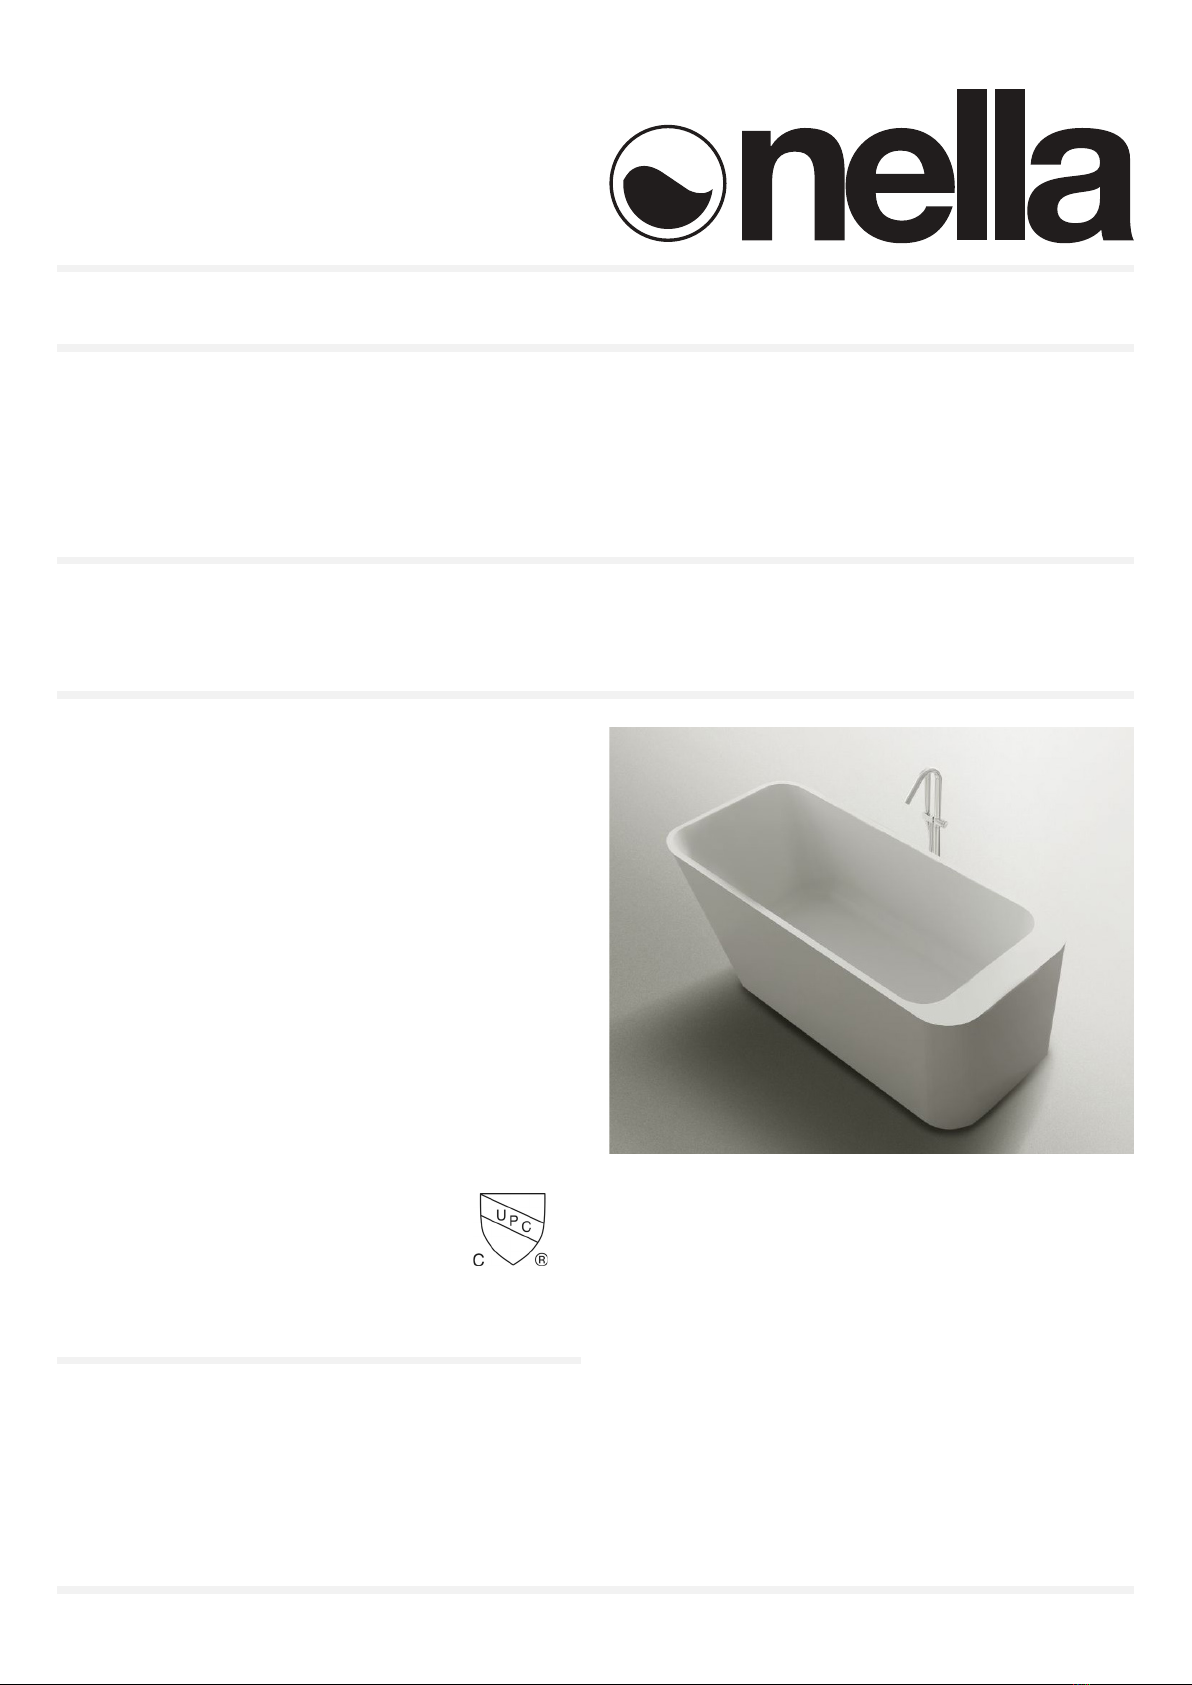
Nella freestanding bathtubs do not use cable or trip lever
systems to operate the drain stopper. Each bath tub uses
a simple pop-up drain which is activated by applying pres-
sure and pushing down on the drain.
Each bathtub has an internal overflow channel built
INSIDE the wall of the bathtub. There is no drain shoe.
1. Remove the bathtub from the box.
2. Place bathtub in desired location on bathroom.
Attention should be given to bathtub placement to
ensure the bathtub drain and plumbing are note
located directly above floor joists.
3. Once the desired location has been verified and con-
firmed – set the bathtub in place.
Using a pencil or non-permanent marker trace the
bottom of the bathtub length and width, marking
the outline of the tub.
4. With the tub still in place mark the location and
center-point of the drain outlet.
5. Be sure the bathtub rests on the finished floor in
a level position.
**IMPORTANT** - Water will only drain properly to
the waste outlet if the bathtub is level.
**If installing a Nella ™ acrylic bathtub use the provid-ed
self-leveling feet (not applicable to NellaMar™
solid cultured stone products) and confirm that the bath
rests level on the finished floor.
6. Place bathtub on a soft, cloth blanket or other protective
material. Rest tub on its side to allow for drain and overflow
assembly.
7. Create an opening in the finished floor with ample space
to accomodate a P-trap assembly or flex-hose assembly.
**IMPORTANT** - Depending on the building codes and
requirements in your region the required installation method
will vary.
USA / Canada: www.nellabath.com
VERSA
NBWI-6456

™
WASTE AND OVERFLOW ROUGH-IN
8. Assemble the female part of your expansion joint
to the P-trap.
**IMPORTANT** - Be sure the expansion joint is
flush and level with the finished floor.
Once in place and flush with the finished floor – secure the
female expansion joint and P-trap to a floor joist with
a steel-strap to hold it in place.
9. Install the bathtub drain and connect the male expansion
joint, being sure you leave ample length to connect securely
to the female expansion joint below the floor.
10. To allow easy access for final connections, place the
bathtub (with the drain assembly in place) on two pieces of
4”x4” lumber directly above the floor opening and P-trap
location.
11. Proceed to insert and connect the male expansion joint
to the female expansion joint
and gently rest the bathtub on the finished floor.
12. Fill the bathtub with water to check that all water flows
freely to the waste outlet.
13. As water drains from the bathtub, inspect all
connections above and below the flooring for leaks.
14. Run a bead of silicone caulking around the bottom edge
of the bathtub where it meets the finished floor. Wipe away
the excess caulk with a damp cloth. Allow to set for 24
hours.
USA / Canada: www.nellabath.com
Finished foor
Female expansion
flush with finish floor
VERSA
NBWI-6456
Table of contents
Popular Bathtub manuals by other brands

agape
agape DROP quick start guide

Schonberg
Schonberg HAMBURG Instructions of Installation and Use

American Standard
American Standard Williamsburg Elite 5' Integral Apron Whirlpool... installation instructions

Kohler
Kohler K-2593-VBW-0 installation guide

BETTE
BETTE SILHOUETTE installation guide

Kohler
Kohler K-1244 Homeowner's guide

Agua
Agua BAHLI-60 quick start guide

agape
agape DR AVAS1091E Assembly instructions

Kohler
Kohler K-1168 installation guide

American Standard
American Standard STUDIO 2946.102 installation instructions

PAA
PAA MAMBO owner's manual

American Standard
American Standard Rope Twist Bathing Pool 2722W.102 Specifications