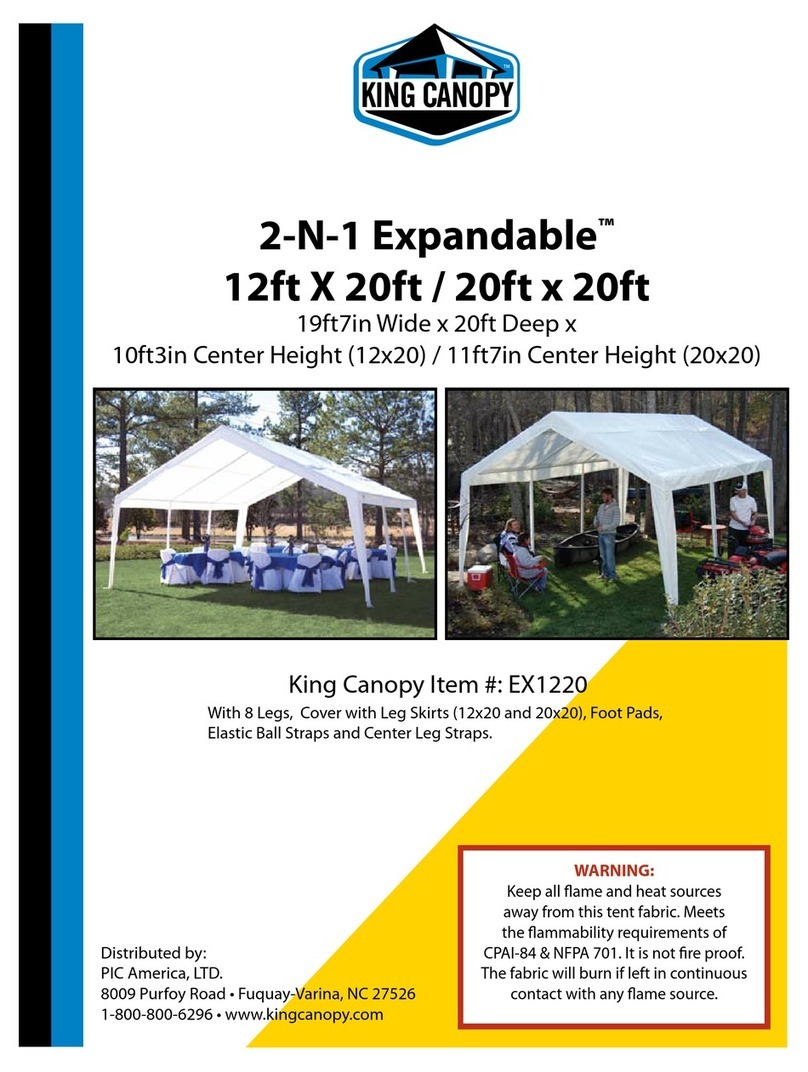
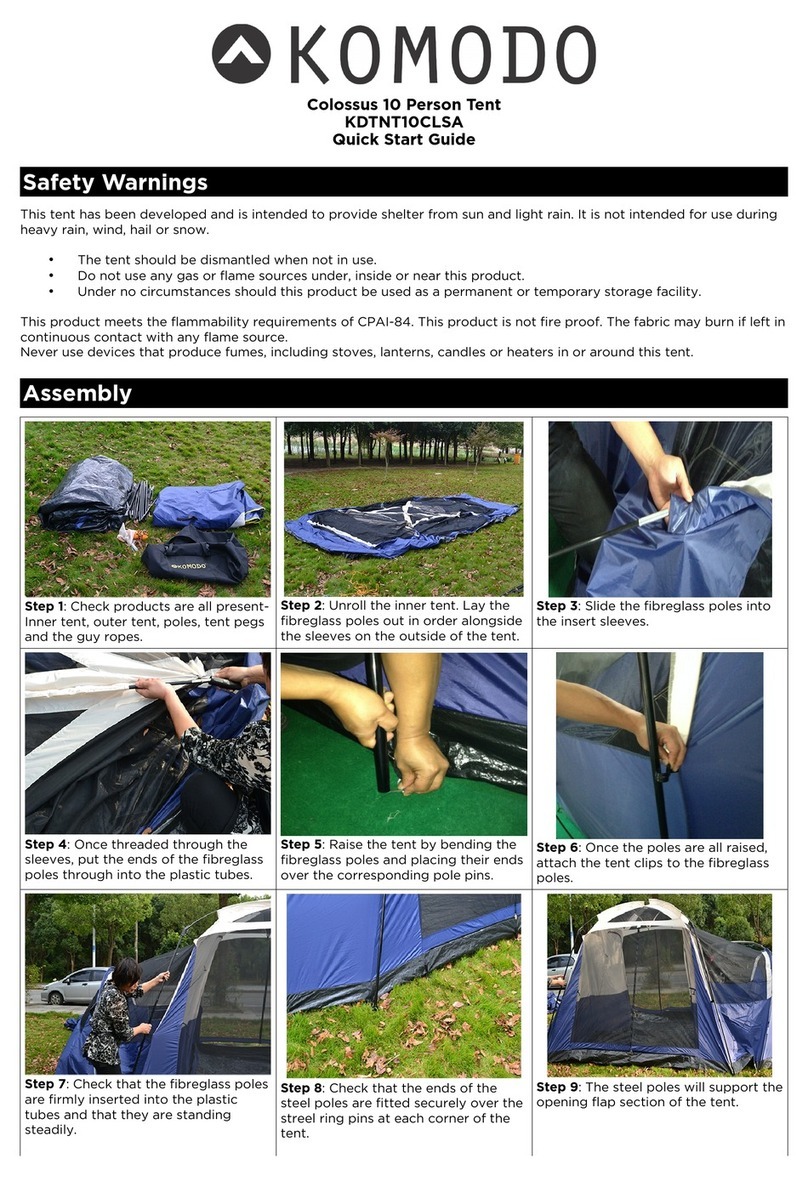
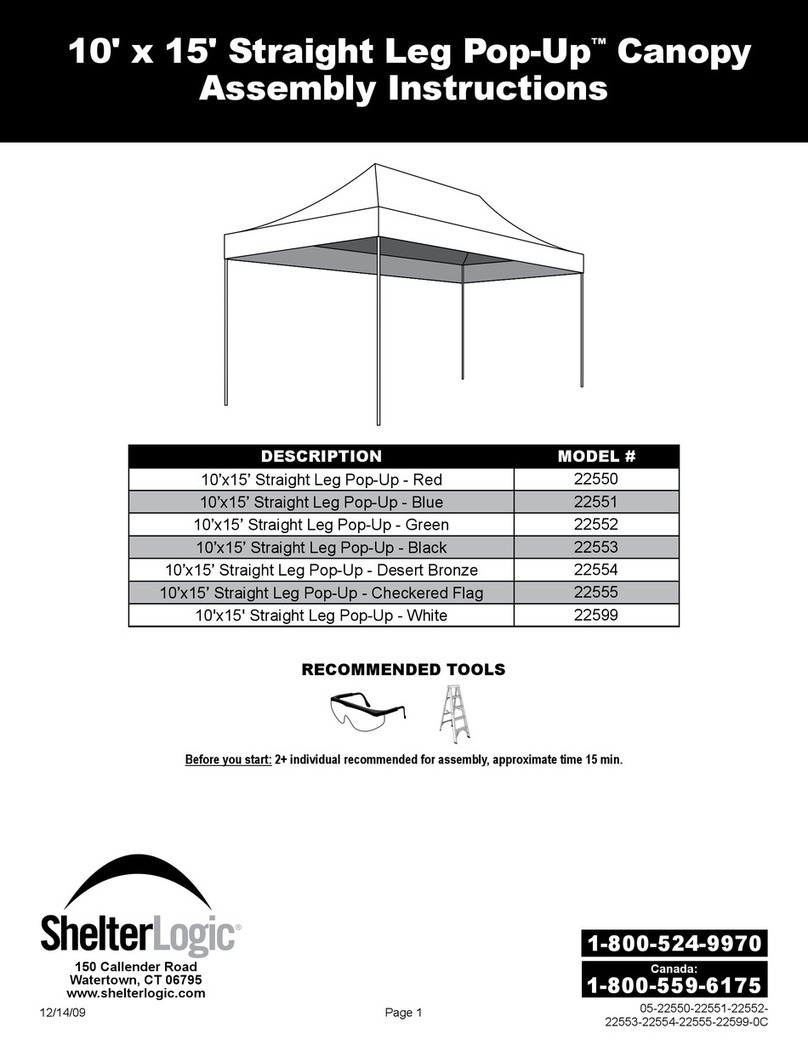
Nemaxx FCA35X User manual

KEN001VKM
v03 • 07.09.2017
MOTORIZED CASSETTE AWNING
MOTORISIERTE KASSETTENMARKISE
STORE À COFFRE MOTORISÉ
TENDA DA SOLE MOTORIZZATA CON CASSONETTO
TOLDO MOTORIZADO CON COFRE
GEMOTORISEERDE CASSETTELUIFEL
FCA35X •FCA40X •FCA45X •FCA50X • FCA60X
ORIGINAL OPERATING INSTRUCTIONS / ORIGINAL BETRIEBSANLEITUNG
MODE D´EMPLOI ORIGINAL / ISTRUZIONI PER L’USO ORIGINALI
INSTRUCCIONES DE USO ORIGINALES / ORIGINELE GEBRUIKSAANWIJZING
EN
page
2 - 16
DE
Seite
17 - 31
page
32 - 46
FR
pagina
47 - 61
IT
página
62 - 76
ES
page
77 - 91
NL
EN / DE / FR / IT / ES / NL

2
KEN001VKM
v03 • 07.09.2017
EN
INDEX
Brief Introduction ..................................................................................................................3
Safety Instructions................................................................................................................4
Description of the motorized awning ....................................................................................5
Installation steps of the motorized awning...........................................................................6
Limited adjustment of motor ...............................................................................................13
Remote control instructions................................................................................................14
EC-Declaration of conformity..............................................................................................16

3
KEN001VKM
v03 • 07.09.2017
EN
BRIEF INTRODUCTION
These instructions are applicable to the item:
Nemaxx Motorized Cassette Awning FCA35X, FCA40X, FCA45X, FCA50X and FCA60X.
Nemaxx Motorized Cassette Awning is a fashionable economic outdoor shading
product.
The fabric of your awning is of superior quality with an all-weather UV treatment.
This treatment makes the awning waterproof and will protect the fabric for several years.
When retracted, the fabric and mechanism are protected from the weather by the cassette
housing.
The screen can be stored completely inside the cassette thus eectively protects screen
and components, extending lifespan of the awning.
Angle of spread screen can be adjusted expediently after the awning is fully opened.
Spreading length of screen can also be controlled by adjusting stop place of motor.
Main components are made of alloy proled aluminum, die-casting aluminum and ABS
plastic.
Our awnings require little maintenance.
Keep the frame clean by wiping with damp cloth soaked in a warm mild detergent solution.
Polish o with a second damp cloth that has been soaked in clean warm water.
The cover may be rinsed with a cool mild detergent solution and rinsed with clean cold
water.
Nemaxx Motorized Cassette Awning is of rational and cultured structure, stylish
appearance.
It is the ideal and excellent shading product for modern stores, buildings as well as family
houses.
Dear Customer,
We highly appreciate you for purchasing our Nemaxx Motorized Cassette Awning.
For your safety and better use of the awning, please read the users’ manual thoroughly
before installation and operation.
Thank you.

4
KEN001VKM
v03 • 07.09.2017
EN
SAFETY INSTRUCTIONS
1. Please have professionals install the Nemaxx Motorized Cassette Awning.
2. This awning unit is heavy; do not attempt to lift this unit onto the wall brackets without
assistance from a second person.
3. The screen should not be used in a limp state or else it will aect the appearance and
security.
4. The awning cover is waterproof and can be left open during light rainy conditions but
always ensure the cover is kept tight by turning the handle clockwise a little after initially
opening the awning to prevent any water building up on top of the awning cover.
5. Awnings should not be left open during windy conditions or heavy rain.
When the wind force is over 4 degrees, please close the awning.
It is forbidden to open the awning if there is a heavy rain or snow.
6. To keep your awning cover in perfect condition, always close your awning after use as
this will prevent dust and dirt collecting on the cover and will ensure your awning to last
for many years.
7. The customer must not disassemble the body of the awning, especially the arms.
When having problems, you may turn to the professionals. Otherwise, people could be
injured.
8. It is better to install the receiver indoor, protecting it from the rain and sunshine.
9. All the bolts must be screwed down.
10. The most ideal state of the tubular motor is pre-set at the factory and should not require
any major adjustment in the process of using.
11. If you want to change the distance of expanding, please use the adjusting sticks to
adjust the motor, “-” for increasing distance, “+” for decreasing the distance.
12. After use, always store the remote control in a dry and safe place.
13. Do not allow children to play with this awning.

5
KEN001VKM
v03 • 07.09.2017
EN
DESCRIPTION OF NEMAXX MOTORIZED CASSETTE AWNING
Motorized Cassette Awning, with modern and elegant stylish design of fully enclosed
cassette, provides good sun protection from blazing sunshine and ultraviolet radiation;
it also helps to prevent your valuable furniture from fading and helps stabilizing the internal
temperature of your home.
The main technical parameter:
1. Size: 6 x 3m (max.) 3,5 x 2,5m (min.)
(Notes: 6m x 3m means the width is 6 meters, projection is 3 meters.)
2. Power supply: 210~250VAC, 50/60Hz
3. Performance: 230~300W (diers from the awning model)
4. Units Safeguard exponential
awning IP55
receiver and emitter IP30 (if installed indoors)
5. Emitter frequency: 433.92MHz
6. Controlling area: 30 meters (without barriers)
7. Emitter’s batteries: 12V Li, CR23A
ITEMS IN PACKING
Winding handle
Wall bolts Motor adjustor
Remote control system
Wall bracket
Awning unit

6
KEN001VKM
v03 • 07.09.2017
EN
INSTALLATION STEPS OF MOTORIZED CASSETTE AWNING
Tools required
● Hammer Action Drill
● 14mm Masonry Drill Bit
● Chalk or Pencil
● Spirit Level
● Socket tool set in millimeters
● Adjustable Spanner (not essential, but is helpful during tting)
WARNING!
This awning is heavy.
Two people are required to lift the awning into position once the brackets are tted
to the wall.
DO NOT attempt to lift the awning unit into position without assistance as dropping
the unit is likely to cause serious damage to the product and could result in serious
injury.
DO NOT allow children or pets to play in the working area during assembly and
tting.
Keep the emitter out of children‘s reach at all times after the awning unit is tted.
Ensure your hands are kept clean during tting; this will prevent the awning fabric
and frame becoming dirty.
The awning frame is supplied with a clear plastic wrapping.
This should be removed after tting.
Plastic bags used in the packing of this product can be dangerous to children and
babies.
Keep out of the reach of babies and children to avoid risks of suocation.
Before assembly
Check that all the parts shown on the attached parts list are contained within the box.
If any parts are found to be damaged or missing, please contact our customer service.

7
KEN001VKM
v03 • 07.09.2017
EN
STEP 1
Carefully remove awning from the carton box and take o the polystyrene.
Remove plastic bag from the awning and place the awning set atwise, ensuring the unit
will not become scratched, damaged or dusty.
Decide the height you intend to install the awning onto the wall.
If tting above a patio door, this should ideally be at least 20cm above, if there is sucient
space.
The approximate total drop of the awning diers from the top height.
Height of the top 2.5m - 4m 4.5m - 6m
A (total drop) 30 cm 50 cm
The angle of drop can be slightly adjusted after tting, but the most ideal angle is pre-set at
the factory and should not require any factory and should not need major adjustment in the
process of using.
The diagram below shows the drop of the awning after the awning has been fully opened.
Front bar height
≥2.5m
Total drop Top of wall
bracket height
Cross section of wall
A

8
KEN001VKM
v03 • 07.09.2017
EN
STEP 2
The brackets position has been marked on the awning set at factory.
Measure the awning width with a ruler and note the bracket position.
Draw a horizontal line in the position of required height as shown in the diagram by using a
long ruler, spirit level and chalk.
Make marks on the wall, through the holes at the base of the bracket.
The quantity of the wall brackets is based on the awning width.
Awning width ≤ 3,3m 3,3m-4,5m 5,5m-6,0m
Brackets 2 pcs 3 pcs 4 pcs
Bracket
position Bracket
position
Patio doors Patio doors
Bracket
position
Chalk line ( use spirit level for accuracy )
Floor

9
KEN001VKM
v03 • 07.09.2017
EN
STEP 3
Using a hammer and a 14mm Drill Bit, drill the holes into the wall on the marks for
brackets.
The holes should be drilled 9 cm into the wall, ensuring that the hole goes through solid
brick or concrete.
Do not drill through mortar as this will not provide satisfactory strength to hold the wall
bolts.
USEFUL TIP
To ensure the depth of the hole is accurate, measure 9cm from the end of the Drill Bit with
a ruler and wrap some tape around the Drill Bit in this position.
When the tape marker is level with the wall, you have reached the correct depth.
INSTALLATION ONTO WOODEN HOUSES AND CHALETS
This awning can be tted onto wooden walls and Chalets providing that the wall has
adequate strength to support the weight of the awning.
Always ensure that the wall brackets are securely tted onto the outside of strong
wooden wall studs.
The wall bolts provided in the tting kit will not be suitable for securing to wooden studs;
therefore, you will need to purchase coach bolts of sucient length and diameter from your
local hardware store to replace the wall bolts provided.
Cross section
of wall
Insert wall bolt
14mm masonary drill
9 cm

10
KEN001VKM
v03 • 07.09.2017
EN
STEP 4
After inserting the wall bolts, slide the washers over the bolt heads followed by the wall
bracket.
Slide the remaining bolt washers over the bolt heads and tighten the 17mm nuts securely.
NOTE
It might be necessary to tap the wall bolts into position with a wooden faced mallet as the
t might be fairly tight.
Avoid using a metal faced hammer as this might damage the threads on the top of the bolt
shaft.
If the bolts require tapping into the wall with a mallet, it is recommended the nut be loosely
screwed on top of the bolt rst (almost ush with the end of the bolt shaft) as this will
prevent damage to the threads on the bolt shaft during insertion.
Tighten the wall bolt nuts securely with a 17mm hexagonal spanner.
It is better to use a closed ended spanner rather than an open ended spanner to avoid
spanner-slip damage to the nut.
When bolted into position, the brackets should be tight against the wall.
If any movement is detected, tighten the nuts.
DO NOT ATTEMPT TO FIT THE WALL BRACKETS TO LOOSE BRICKS OR
SURFACES THAT ARE NOT OF SOUND CONSTRUCTION.
ENSURE THE WALL BRACKETS ARE WELL BOLTED TO THE WALL TO
PREVENT THE
BRACKETS FROM FALLING FROM THE WALL WHEN THE AWNING IS FITTED.

11
KEN001VKM
v03 • 07.09.2017
EN
STEP 5
Your Awning is now ready to be secured to the wall brackets.
With at least 2 people, carefully lift both ends of the awning unit until the torsion bar slides
into the wall brackets.
Remove the restraint straps from around the awning unit if not already done so.
The awning should be xed as in the following diagrams.
NOTES
It will be necessary to use 2 sets of ladders or step stools to lift the awning unit to the
required height.
Ensure the steps or ladders are safely positioned and well secured to avoid slipping or
injury.
Always use ladders or steps of the appropriate rating for the job.
WARNING
This Awning unit is heavy; do not attempt to lift this unit onto the wall brackets
without assistance from a second person.
Cross section
of wall
Retaining
nut and bolt
Cross section
of wall

12
KEN001VKM
v03 • 07.09.2017
EN
STEP 6
Remove the restraint straps from around the awning unit if not already done so.
Open the awning (by pressing the “UP” (▲) button on Remote Control) until the arms are
at their maximum extension.
Retract back a little to keep the fabric cover tight.
STEP 7
ADJUSTMENT OF TILT ANGLE
The awning is supplied with the most ideal pre-set angle of tilt.
The angle can however be adjusted by loosening the 4 x 17mm locking nuts on the sides
of the arms and then turning with a spanner the 2 x 13mm jack bolts to the desired angle.
Once adjusted, securely tighten up the 17mm Locking Nuts.
DO NOT operate this awning unless the arms are perfectly level as this will cause
premature damage to the frame and arms.
Jack bolt Locking nuts
Push the plastic bolt caps on top of the bolt heads to protect the bolts from weather
corrosion. Your awning is now ready for use.
After use, always remove the emitter from the unit and store in a dry safe place.
DO NOT ALLOW CHILDREN TO PLAY WITH THIS AWNING

13
KEN001VKM
v03 • 07.09.2017
Adjusting mark
Motor operating direction
Adjusting vent
EN
LIMITED ADJUSTMENT OF MOTOR
The most ideal state of the tubular motor is pre set at the factory and should not require
any major adjustment in the process of using.
In case of the following conditions, the motor needs limited adjustment.
• The awning canot close completely.
• The cover is loose.
• The motor is still working, while the awning is completely closed.
Useful tips
If you want to change the distance of projection, please use the motor adjustor to adjust
the motor, “-” for increasing distance, “+” for decreasing the distance.
Tool
Motor adjustor
Notes
1. If the motor does not work after several times of adjustment, please wait 30 minutes to
restart.
2. The motor must not be over heated and over frequently used, so as to prolong the it’s
lifespan.
3. The motor should be kept away from water, during delivery, storage or working.
Receiver built in the motor
It is not necessary to do any adjustment or programming on the receiver while installing the
awning.

14
KEN001VKM
v03 • 07.09.2017
EN
REMOTE CONTROL INSTRUCTIONS
1. Installation Instructions
Remote bracket can be installed in any vertical plane.
2. Application Instructions
● Characteristics of emitter
1. Power supply: 12V Li-battery, model CR23A
2. Protecting rank: IP 20
3. Working temperature: -20+55
4. The emitter stops automatically after transmitting the same command for 8 seconds.
3. Operation Instructions
1. Press the button UP (▲) on the emitter, the awning expands;
Press the button Down (▼), the awning closes;
Press the middle button STOP, the awning then stops its action
2. To recognize through receiver Shut off the power of receiver, press both button UP (▲)
and DOWN (▼) on the emitter, then turn on the power of receiver, the receiver will
make “du..du..du..du” continuous sound, till it makes a long beep.
Loosen the button.
The address information of the emitter will be then stored in the receiver and in the
meantime the emitter will end its program setting mode automatically (If the address of
emitter in the receiver is over 10, it beeps 6 times, which indicates that the emitter
cannot be recognized any more)

15
KEN001VKM
v03 • 07.09.2017
EN
4. Security Instructions
● This device should be used in a dry condition.
● Original components should be applied.
● Special regulation of dierent countries should be followed.
● Keep children away from the equipment.
● Same type of batteries should be used (CR 23A).
● Used batteries should be handled properly.
● Make sure you can see the running state of each equipment in the process of
operating, if you want to operate on multi controlled units at the same time
● The risk of being interfered by remote communication or terminal unit during operating
exists (e.g. probably interfered by other remote devices using the same frequency).
● Avoid using this remote device in highly interferential situations.
● Replace the batteries in time when the control distance decreases evidently or the
controller become insensitive.

16
KEN001VKM
v03 • 07.09.2017
EN
KEN001VKM
EC Declaration of Conformity
Nemaxx Motorized Cassette Awning
We hereby declare that the equipment specified below complies with the essential requirements of the
Construction Products Directive 89/106/EEC. In the case of an unauthorized change to the product this
declaration becomes invalid.
Manufacturer:eFulfillment GmbH
Ikarusallee 15
30179 Hannover
Germany
Description of the product:
Nemaxx FCA35X Motorized Cassette Awning
Nemaxx FCA40X Motorized Cassette Awning
Nemaxx FCA45X Motorized Cassette Awning
Nemaxx FCA50X Motorized Cassette Awning
Nemaxx FCA60X Motorized Cassette Awning
The above named products comply with the following valid regulations:
Electromagnetic compatibility EN 2014/30 / EU
Low Voltage Directive 2014/35 / EU
Radio Equipment Directive 2014/53/EU
RoHs Directive 2011/65/EU
Reference to harmonised standards:
EN 13561:2004+A1:2008 EN 55014-2006+A1+2009
EN 61000-3-2:2006+A2:2009 EN 61000-3-3:2008
EN 55014-2:1997+A2:2008 EN 300220-2:2017
EN 300220-4:2017 EN 300330:2017
EN 50581:2012
EN 600335-1:2002+A1:2004+A2:2006+A11:2004+A12:2006+A13:2008
Signed for and behalf of:
Name: Eugen Stein
CEO eFulfillment GmbH
Date: 11.05.2017
Signature
EC-DECLARATION OF CONFORMITY

17
KEN001VKM
v03 • 07.09.2017
DE
INHALTSVERZEICHNIS
Kurze Einführung................................................................................................................18
Sicherheitshinweise............................................................................................................19
Beschreibung der motorisierten Kassettenmarkise............................................................20
Installationsschritte für die motorisierte Kassettenmarkise.................................................21
Begrenzungseinstellung des Motors ..................................................................................28
Anleitung für die Fernbedienung ........................................................................................29
EG-Konformitätserklärung..................................................................................................31

18
KEN001VKM
v03 • 07.09.2017
DE
KURZE EINFÜHRUNG
Diese Gebrauchsanleitung gilt für folgende Artikel:
Motorisierte Kassettenmarkise FCA35X, FCA40X, FCA45X, FCA50X und FCA60X
von Nemaxx.
Die motorisierte Kassettenmarkise von Nemaxx ist ein modischer, wirtschaftlicher
Sonnenschutz für den Außenbereich.
Der Sto unserer Markise ist von hervorragender Qualität und mit einem
Allwetter-UV-Schutz versehen.
Durch diese Behandlung ist die Markise wasserfest und schützt den Sto über mehrere
Jahre.
Wenn die Markise eingefahren ist, sind Sto und Mechanismus durch das
Kassettengehäuse vor Witterungseinüssen geschützt.
Der Schirm kann vollständig in der Kassette verstaut werden. So sind Schirm und Kompo-
nenten eektiv geschützt und die Lebensdauer der Markise wird verlängert.
Der Winkel des ausgefahrenen Schirms kann bei vollständig geöneter Markise nach
Bedarf eingestellt werden.
Mit der verstellbaren Arretierung des Motors lässt sich auch die Ausfahrlänge des Schirms
steuern.
Die Hauptkomponenten bestehen aus legiertem Aluminiumprol, Gussteilen aus Aluminium
und ABS-Kunststo.
Unsere Markisen sind wartungsarm. Halten Sie den Rahmen durch Abwaschen mit einem
feuchten, in warmer, milder Reinigungslösung getränkten Tuch sauber.
Polieren Sie mit einem zweiten feuchten Tuch nach, das in sauberem, warmem Wasser
getränkt wurde.
Die Bespannung kann mit einer kalten, milden Reinigungslösung abgewaschen und mit
kaltem Wasser gespült werden.
Die motorisierte Kassettenmarkise von Nemaxx ist mit einem stilvollen Erscheinungsbild
zweckmäßig und ansprechend aufgebaut.
Sie ist ein idealer und ausgezeichneter Sonnenschutz für moderne Läden, Gebäude und
Wohnhäuser.
Sehr geehrter Kunde,
wir bedanken uns für den Kauf unserer motorisierten Kassettenmarkise von Nemaxx.
Bitte lesen Sie diese Gebrauchsanleitung vor Montage und Inbetriebnahme zu Ihrer
eigenen Sicherheit und für optimale Nutzung gründlich durch.
Vielen Dank

19
KEN001VKM
v03 • 07.09.2017
DE
SICHERHEITSHINWEISE
1. Bitte lassen Sie die motorisierte Kassettenmarkise von Nemaxx von einem Fachmann
installieren.
2. Diese Markise ist schwer. Versuchen Sie nicht, sie ohne Unterstützung einer zweiten
Person auf die Wandhalterungen zu heben.
3. Der Schirm sollte nicht in durchhängendem Zustand verwendet werden, dadurch
werden Erscheinungsbild und Sicherheit beeinträchtigt.
4. Der Sto der Markise ist wasserfest und kann bei leichtem Regen oen gelassen
werden. Stellen Sie jedoch stets sicher, dass der Sto gespannt ist, indem Sie
den Gri nach dem Önen der Markise ein wenig im Uhrzeigersinn drehen,
um Wasseransammlungen auf der Markise zu vermeiden.
5. Markisen sollten bei Wind oder starkem Regen nicht oen gelassen werden.
Bitte schließen Sie die Markise, wenn die Windstärke mehr als 4 beträgt.
Die Markise darf bei starkem Regen oder Schneefall nicht geönet werden.
6. Schließen Sie Ihre Markise nach jeder Anwendung, um den Sto in gutem Zustand zu
halten.
So können sich weder Staub noch Schmutz darauf ansammeln und die Haltbarkeit
Ihrer Markise ist über viele Jahre gewährleistet.
7. Das Gehäuse der Markise, insbesondere die Arme, dürfen nicht vom Kunden
demontiert werden.
Wenden Sie sich bei Problemen an einen Fachmann. Andernfalls kann es zu
Personenschaden kommen.
8. Der Empfänger wird besser geschützt vor Regen und Sonneneinstrahlung in einem
Innenraum montiert.
9. Alle Schrauben müssen festgezogen werden.
10. Der Idealzustand des Rohrmotors wurde werkseitig eingestellt und bei der Benutzung
sollten keine wesentlichen Kalibrierungen notwendig sein.
11. Wenn Sie die Ausfahrlänge verändern möchten, verwenden Sie zum Einstellen des
Motors bitte die Justierstangen, „-“ zum Verlängern, „+“ zum Verkürzen.
12. Bewahren Sie die Fernbedienung nach der Benutzung stets an einem trockenen und
sicheren Ort auf.
13. Lassen Sie Kinder nicht mit dieser Markise spielen.

20
KEN001VKM
v03 • 07.09.2017
DE
BESCHREIBUNG DER MOTORISIERTEN KASSETTENMARKISE VON NEMAXX
Die vollständig geschlossene motorisierte Kassettenmarkise bietet mit ihrem modernen
und eleganten stilvollen Design Schutz vor praller Sonne und ultravioletter Strahlung.
Außerdem hilft sie, Ihre wertvollen Möbel vor Ausbleichen zu schützen und die
Innentemperatur Ihres Hauses zu stabilisieren.
Die wichtigsten technischen Daten:
1. Maße: 6 x 3m (max.), 3,5 x 2,5m (min.)
(Hinweis: 6m x 3m bedeutet, dass die Breite 6 Meter und der Überhang 3 Meter beträgt)
2. Stromzufuhr: 210~250V AC, 50/60Hz
3. Leistung: 230~300W (weicht je nach Markisenmodell ab)
4. Einheit Schutzklasse
Markise IP55
Empfänger und Sender IP30 (bei Montage in Innenräumen)
5. Senderfrequenz: 433,92MHz
6. Steuerbereich: 30 Meter (ohne Hindernisse)
7. Senderbatterien: 12V Li, CR23A
ARTIKEL IN DER VERPACKUNG
Handkurbel
Wandbolzen Justiergerät
Fernbedienung
Wandhalterung
Markiseneinheit
This manual suits for next models
4
Table of contents
Languages:
Popular Tent manuals by other brands
Outbound
Outbound CTC201009-1 owner's manual
Coleman
Coleman Tenaya Lake Setup instructions
Sojag
Sojag EVEREST Series Owner's manual and assembly guide
ZANE ARTS
ZANE ARTS TP-003/GEU owner's manual
Easy Camp
Easy Camp OAK GROVE 500 Setup instructions

skandika outdoor
skandika outdoor BERGEN 4 Setup Instruction

Rowlinson Garden Products
Rowlinson Garden Products Tenbury Arbour manual

Crivit
Crivit 313762 Operation and safety notes
Wehncke
Wehncke Tunnel Deluxe 15838 instructions

Absco
Absco 3060UTK manual
NETTUNO Marine Equipment
NETTUNO Marine Equipment EXCELLENT Assembly instructions
Systems Trading Corporation
Systems Trading Corporation Gazebo GZ584 Assembly instructions
