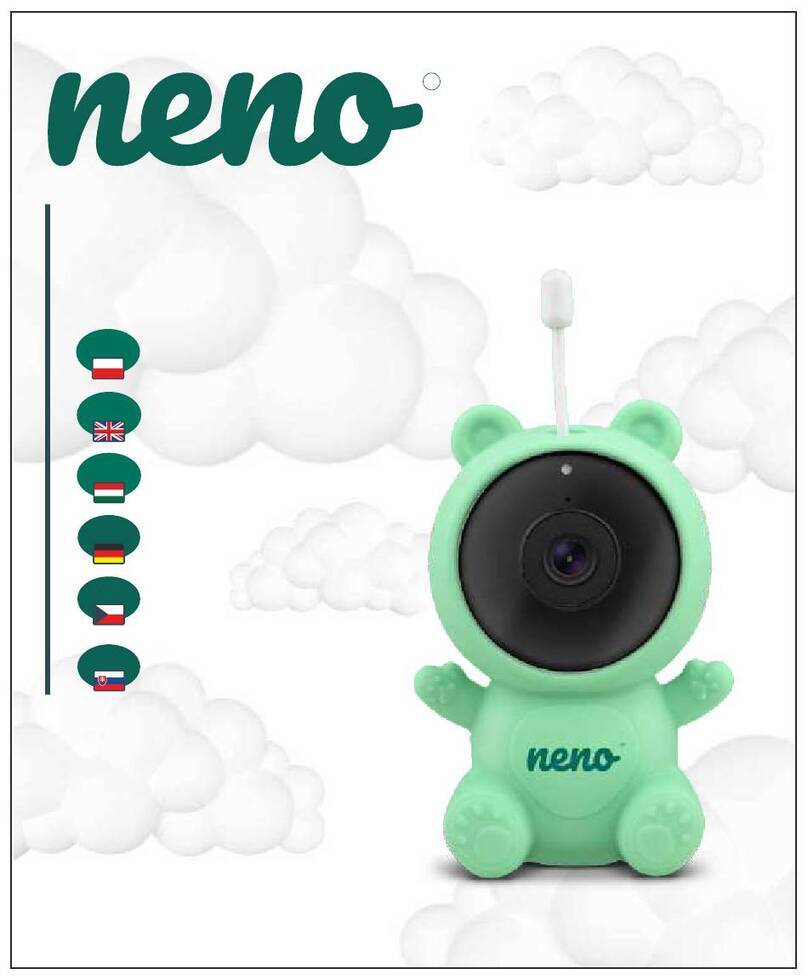
neno avante User manual

Thank you for purchasing our product!
With the help of this device, you can monitor your child's
sleep or play in another room on an ongoing basis using an
applicaon on your phone! This manual contains all the
informaon necessary for proper use.
Please read the operang instrucons before using the
device.
ATTENTION! Leave the charging cable in a safe place / posion,
out of the reach of a child. Failure to do so may result in the
child's suffocaon or in other dangerous situaons (e.g. electric
shock).
avante
ATTENTION! Only original chargers should be used for the
original set. Failure to follow the instrucons can result in
damage to the device or other dangerous situaons.
EN
EN
USER’S MANUAL
10

1. KIT CONTENTS
1. IP baby monitor Neno Avante
2. Power adapter + USB cable
3. User manual
2. MAIN FUNCTIONS
3. PRODUCT DESCRIPTION
See Figure on page 2
1. Reset
2. Micro SD card slot
3. Microphone
4. Lens
5. Light sensor
6. Loudspeaker
7. Antenna
8. Micro USB socket
9. Network socket
1. Remote control via app
2. Night mode
3. Moon detector and in-app noficaons
4. Tracking the movement
5. Two-way voice communicaon
6. Live view
7. Video recording
4. SAFETY RULES
1. Warning!
This device complies with all relevant electromagnec field
standards and is safe to operate when used as described in
the user manual.
2. Please read the instrucons in this manual carefully before
using the device.
3. Adult assembly is required. Keep small parts out of the
reach of children during assembly.
4. The baby monitor is not a substute for responsible adult
supervision.
11

5. The camera is not a toy. Do not allow children to play with
the camera or its accessories. Do not let your child put the
components in their mouths.
6. Do not place the camera or cables in the baby's cot or
within the baby's reach (at least 1 meter).
7. Keep the cables out of the reach of children.
8. Do not use the device near water or a heat source.
9. Use only the power adapter provided with the device.
10. Do not touch the contacts of the power socket with
sharp or metal objects.
5. GETTING STARTED
1. Download the app
Android / iOS: Download Tuya Smart App in Google Play /
App Store.
Download from Google Play Download from App Store
2.Register and login
Start the applicaon on the smartphone.
Register and then log in to the created account.
3.Add the device
· Connect the camera to power and wait unl you hear the
audio noficaon.
· Press and hold the RESET buon for 5 to 10 seconds.
· Wait unl you hear the noficaon "wait for Wi-Fi config".
· The camera is ready to connect to the applicaon on the
phone.
· Make sure that the phone is connected to the Wi-Fi
network that the device will be connected to.
Note: for the proper operaon of the camera, a connecon
to a 2.4 GHz Wi-Fi network is required. The camera does
not support 5GHz network.
12

6. APP FEATURES
1. MAIN SCREEN
· Taking photos (Screenshot)
Aer selecng this opon, the camera will take and save
a photo in the phone memory or in the cloud.
· Press the plus (+) symbol in the upper right corner of the
applicaon interface or select "Add Device".
· From the product categories, select "Video Surveillance" and
then "Security Camera". (Wi-Fi) ".
· Make sure the device is restarted and ready to connect
(repeated "wait for Wi-Fi config" message).
· In the upper right corner, select the camera's network
connecon mode and go to the next step.
Connecon modes available:
· QR code - Connecon mode by scanning the QR code
generated in the applicaon with the camera lens.
· AP mode - Connecon mode with the AP hot spot created
on the phone (network name: "SmartLife-xxxx").
· EZ mode (recommended) - Automac mode. In this mode,
the applicaon searches for the camera itself.
· Cable - connecon via a network cable.
· Aer selecng the connecon mode, follow the instrucons
in the app.
· The camera will inform about the next stages of connecon
with sound messages "connect router",
"Connect internet" and "device access".
NOTE: while connecng, do not disconnect the camera
from the power supply.
· Aer the device is connected successfully, give it any name
in the app.
4. Removing the device
On the home screen, touch and hold the name of any of the
added devices. Then select one or more devices you want to
remove and click the trash can icon.
13

· Communicaon (Speak)
Depending on the selected sengs, the buon is responsible
for one- or two-way audio communicaon. For one-way
communicaon, press the buon, aer selecng two-way
communicaon in the applicaon sengs, hold down the
buon to communicate using the speakers built into the
device.
· Video recording (Record)
Aer acvang the funcon, recording of the video recording
will start. By default, the device saves the recordings in the
phone gallery (Android) or applicaon (iOS). Aer user
acvaon, it is also possible to save recordings in the cloud.
· Playback
The funcon allows you to play back recordings saved on the
SD card and save photos.
· Cloud storage
The funcon of accessing files stored in the cloud.
· Direcon
Manual control of the camera head.
2. Sengs
You can access the sengs by clicking the pencil icon in the
upper right corner of the screen.
a. Device informaon
Informaon about the device owner account, IP address to
which the camera is connected, device ID, me zone and
Wi-Fi signal strength.
b. Tap-and-Run-Automaon
condional programming of quick acvaon of selected device
funcons. The programming sengs can be accessed from
the main screen of the Tuya applicaon by clicking on the
"Smart Home" tab. Then, in the automaon opons, select
the "Create scene" buon and set the desired acons of
the device and the condions for their acvaon.
c. Basic funcon sengs
Inverted screen sengs, date and me watermark acvaon
/ deacvaon in recordings and audio mode seng
(unidireconal or bidireconal).
d. IR night vision funcon
Sengs for the operaon of IR LEDs in the night mode - on /
off or automac mode.
14

e. Detecon Alert Sengs
Acvaon / deacvaon of moon detecon, tracking and
noficaons in the applicaon.
f. SD card sengs
Informaon on the capacity and used space on the micro SD
card, seng the video recording mode (connuous or event)
and the ability to format the card.
g. Purchase VAS
Access to in-app purchases Tuya.
h. Offline Noficaon
Offline noficaon acvaon.
i. FAQ and Feedback
Quesons and answers about the device. Default inacve.
j. Shared devices
Set the device to be shared with other users.
k. Add a voice assistant to the home screen
Sengs shortcut for quick access to the device interface from
the home screen of the phone.
l. Check for firmware update
Informaon on the current version of the soware used by
the device and the ability to enable / disable automac
updang.
m. Remove the device
Removing a device from among those connected in the Tuya
applicaon.
7. SPECIFICATION
1080P (1920x1080)
Tuya Smart
25 fps
100°
H.264
micro USB, 5 V/ 1,5 A
3.6 mm, F1.6
802.11 b/g/n, 2.4GHz
6 diodes IR
-10°C + 50°C
max 128 GB
222 g
85 x 85 x 120 mm
Resoluon max .:
Mobile applicaon:
Frames per second:
Viewing angle:
Codec:
Power supply:
Lens type:
Wi-Fi:
Night mode:
Working temperature:
Micro SD card support:
Libra:
Dimensions:
15

8. WARRANTY CARD
The product is covered by a 24-month warranty. The terms of the
guarantee can be found at: hps://neno.pl/gwarancja
Details, contact and website address can be found at:
hps://neno.pl/kontakt
Specificaons and contents of the kit are subject to change without
noce. We apologise for any inconvenience.
Made in P.R.C.
www.neno.pl
inspired by Children,
designed by Parents
KGK Trade declares that this device Neno Avante is compliant with
significant requirements of direcve 2014/53/EU. The text of this
declaraon may be found on the website:
hps://neno.pl/download/DOC/deklaracja-CE-Neno-Avante.pdf
Manufacturer:
KGK Trade sp. z o.o. sp. k.
Ujastek 5b
31-752 Cracow
Poland
16
Table of contents
Other neno Baby Monitor manuals
