manuals.online logo
Brands
  1. Home
  2. •
  3. Brands
  4. •
  5. Netafim
  6. •
  7. Measuring Instrument
  8. •
  9. Netafim Orbia GrowSphere MAX User manual

Netafim Orbia GrowSphere MAX User manual

Other manuals for Orbia GrowSphere MAX

1

Other Netafim Measuring Instrument manuals

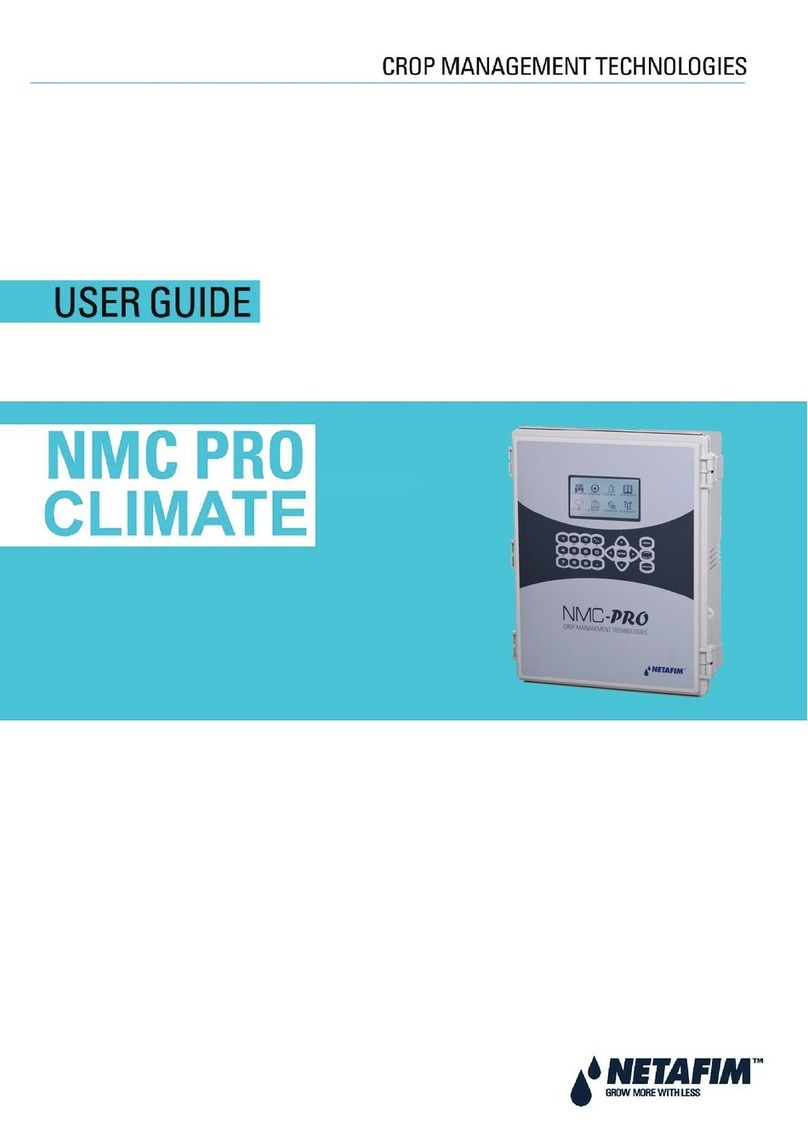
Netafim NMC-PRO CLIMATE User manual

Netafim

Netafim NMC-PRO CLIMATE User manual

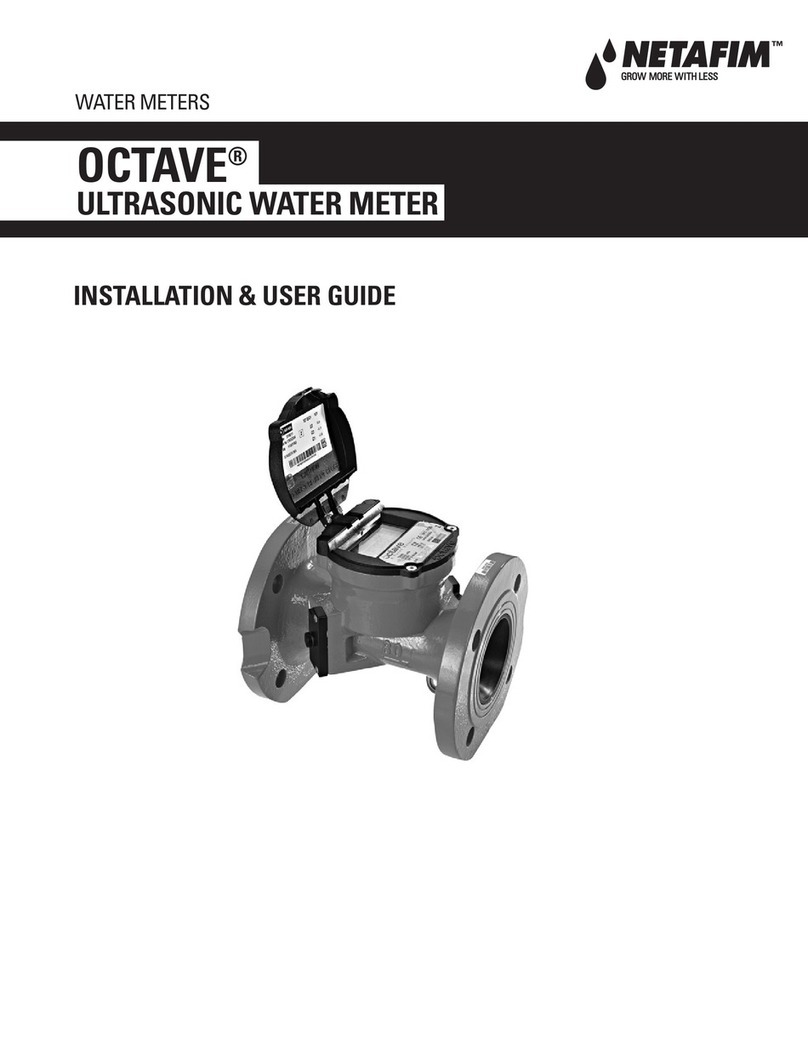
Netafim Octave Operation manual

Netafim

Netafim Octave Operation manual

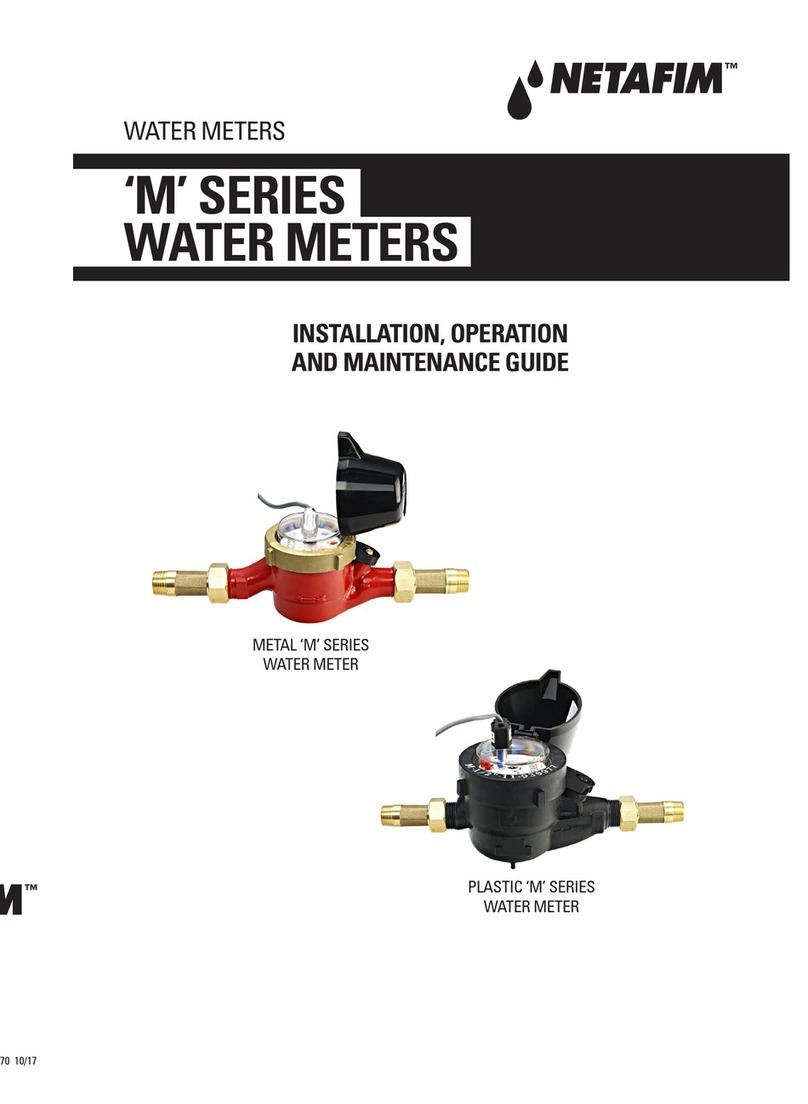
Netafim M Series Technical Document

Netafim

Netafim M Series Technical Document

Popular Measuring Instrument manuals by other brands

Powerfix Profi 278296 Operation and safety notes

Powerfix Profi

Powerfix Profi 278296 Operation and safety notes

Test Equipment Depot GVT-427B user manual

Test Equipment Depot

Test Equipment Depot GVT-427B user manual

Fieldpiece ACH Operator's manual

Fieldpiece

Fieldpiece ACH Operator's manual

FLYSURFER VIRON3 user manual

FLYSURFER

FLYSURFER VIRON3 user manual

GMW TG uni 1 operating manual

GMW

GMW TG uni 1 operating manual

Downeaster Wind & Weather Medallion Series instruction manual

Downeaster

Downeaster Wind & Weather Medallion Series instruction manual

Hanna Instruments HI96725C instruction manual

Hanna Instruments

Hanna Instruments HI96725C instruction manual

Nokeval KMR260 quick guide

Nokeval

Nokeval KMR260 quick guide

HOKUYO AUTOMATIC UBG-05LN instruction manual

HOKUYO AUTOMATIC

HOKUYO AUTOMATIC UBG-05LN instruction manual

Fluke 96000 Series Operator's manual

Fluke

Fluke 96000 Series Operator's manual

Test Products International SP565 user manual

Test Products International

Test Products International SP565 user manual

General Sleep Zmachine Insight+ DT-200 Service manual
General Sleep

General Sleep Zmachine Insight+ DT-200 Service manual
Sensa Core Lacto Spark user manual

Sensa Core

Sensa Core Lacto Spark user manual

VOLTCRAFT UTS-1980 operating instructions

VOLTCRAFT

VOLTCRAFT UTS-1980 operating instructions

EBCHQ 94915 Operation manual

EBCHQ

EBCHQ 94915 Operation manual

Balluff BIP LD2-T017-01-EP-S4 Series user guide

Balluff

Balluff BIP LD2-T017-01-EP-S4 Series user guide

Pulsar IMP Lite Series instruction manual

Pulsar

Pulsar IMP Lite Series instruction manual

ETCR 6800 user manual

ETCR

ETCR 6800 user manual

manuals.online logo
manuals.online logoBrands
  • About & Mission
  • Contact us
  • Privacy Policy
  • Terms and Conditions

Copyright 2025 Manuals.Online. All Rights Reserved.

Field Monitoring Unit
GrowSphere™ ONE is a stand-alone monitoring unit that can be
connected to a wide range of sensors to collect real-time data
from the eld, enabling optimal irrigation management
Quick Setup
GrowSphereTM ONE
GrowSphere
Operating System
V1 – July 2023
3
Environmental features
• Working temperature -10°C to 65°C (14°F to 147°F)
• Storage temperature -30°C to 70°C (-22°F to 158°F)
• Air humidity 0% to 95%
Supported sensors
• Analog Input (X3)
• Serial Input
• Digital Input (X2)
* Maximum 4 sensors can be connected simultaneously per unit
What's in the box
Antenna
Metal cable
ties
Technician
USB cable
Charging
cable
Technical specications
Solar panel 4.4 Watt
Charging cutoff voltage 4.2V
Nominal charging current 1A
Battery rechargeable li-ion pack 3.7V 5200mAh
Max quiescent current <3mA
Operational mode 0.1mA
Power-down mode
Undervoltage lockout voltage 3.5V
Activation
magnet
ONE unit
GrowSphere
* For the separated solar-panel conguration, two sets of 5m cable will be supplied
(both for the antenna and the solar panel)
4 5
Sensor Wiring Diagram
Analog
Inputs
Port 1 Port 1 Port 2Port 3
SIM
Card**
* Stay updated with your Netam representative for sensor compatibly.
** The unit is provided with a SIM card
Technician
Cable
Digital
Inputs
(+)
(RX)
(TX)
(-)
(+) (AI) (-)
Solar Panel
Input / Charging
Cable Input
Serial Sensor Selector
NetaCap & Davis
(Take to the Left)
Magnet
Reed
Switch
LED Indicator
Cellular
Antenna
Serial Sensor
Selector WET150
(Take to the Center)
Water
Meter
Rain
Collector
Pressure
Switch
Soil Water
Tension
(+) (AI) (-) (+) (AI) (-)
Soil Moisture
NetaSense
(+) (RX) (TX) (-)
Soil Sensor
WET150
WET150
V.2
(+) (RX) (TX) (-)
Soil Sensor
NetaCap
(+) (RX) (TX) (-)
Weather Station
Number of ashes Meaning
1 Modem not responding
2 SIM error
3 Network error
4 IP error
5 Certicate error
6 DPS code error
Soil Moisture
SM150T
(+) (AI) (-)
SM150T
Initial Setup
Integrated solar panel
South South
Separated solar panel, 5m cable
Cellular
antenna
connector
Solar panel
connector
GrowSphere
*
*
GrowSphere
6 7
Select Device
Select your device
In the App folder, click on the EXE. le. The user-name and password are not
required. Instead, click on the 'Login'
Prior to conguration, ensure the unit is charged for a minimum of 5 hours, by using
the provided charging cable (as demonstrated in the diagram below).
After charging, disconnect the cable and connect the solar-panel cable instead
TechApp
Congure your unit by following the
instructions below, based on the
sensors you wish to connect. To
begin, select Unit Parameters
Unit E1-23-33-5C - ONE
Unit E1-00-23-3V - ONE
GrowSphere
Unit Parameters
The parameters are read-only.
Click 'Save'
8 9
Sensors Conguration
Select the sensors you wish
to connect
Port Cong for serial sensors
Dene the Sensor Type and Sensor
Depth. Check the Active box and
then click Save
Quick check-list:
• Ensure the serial sensor selector is in the proper position
(please see Wiring Diagram)
• Ensure the Active box is checked
• Activated ports should be highlighted in blue
* It is recommended at this stage
to physically connect the sensors
to the device
Port Cong for Digital sensors
Dene the Sensor Type, Sensor
Name and Pulse Volume. Check
the Active box and then click Save.
Please note: Metric / Imperial units
can be selected
Port Cong for Analog sensors
Dene the Sensor Type, Sensor
Name and Sensor Depth.
Check the Active box and then
click Save
10 11
Network
Now you can disconnect the cable, the unit is ready for eld installation.
Please note, from the moment the unit is activated, it will stay active for 15
minutes. If Modem Status is "Not connected", you can use the magnet or select
'Read' and then 'Connect' to activate it
Sign-up to GrowSphere™ Cloud
Create your GrowSphere™ account or log in to an existing account.
A link was sent to you by your Netam representative
Log-in to your GrowSphere™Cloud account
12 13
Setup your Farm
Navigate to 'Add device'
Add Device
• Choose 'ONE'
• Input your unit's MAC address
• Click 'Connect'
Device is active and connected
MAC address
MAC address
14 15
View your Device
Your device and the connected sensors will appear on the menu, in the
'Devices Management' screen
Process completed - Congratulations! The set-up process is now completed Recommended next steps
• You can name each device - By default, the device name will be its
serial number
• Dene thresholds for relevant sensors according to your preferences
• Create Irrigation Blocks and Crop Units
• Assign the devices to their relevant Irrigation Block
• Dene a leading sensor, that ultimately represents your Irrigation
Block's status
GrowSphere
Operating System