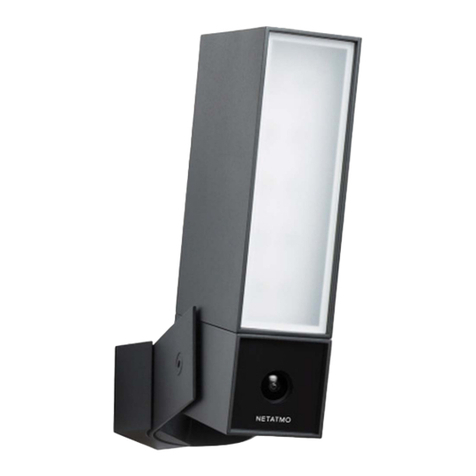
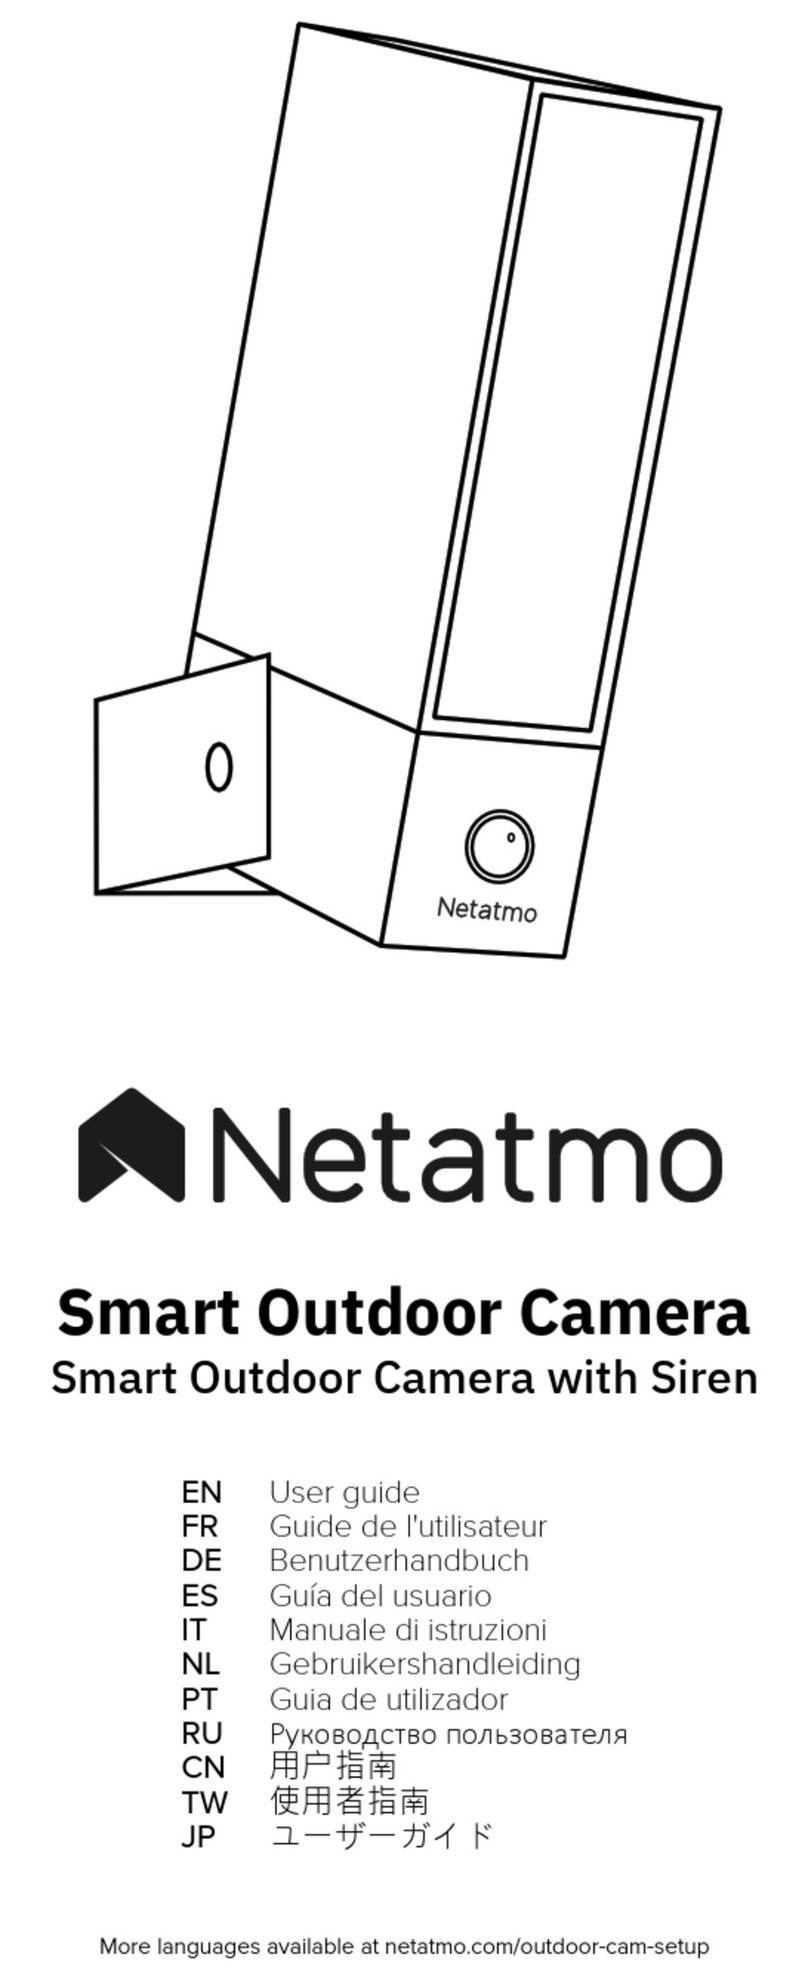
Netatmo presence Parts list manual

MicroSD card replacement kit for Netatmo Presence
Super Lube
Super
Lube®
Synthetic Grease
with PTFE
Super
Lube®
Synthetic Grease
with PTFE

EN ES
FR IT
DE NL
MicroSD card replacement kit for Netatmo Presence
Follow the instructions to replace your MicroSD card safely so that it is properly protected
against moisture and rain. You will not need to remove the camera from the wall.
Pack content:
1x Class 10 MicroSD card.
1x 1cc Super Lube® Multi-purpose Grease with Syncolon® (PTFE).
Kit de recambio de la tarjeta MicroSD para Netatmo Presence
Sigue las instrucciones para cambiar la tarjeta MicroSD de modo seguro para que esté bien
protegida de la lluvia y la humedad. No va a ser necesario desmontar la cámara de la pared.
Contenido del pack:
1x tarjeta MicroSD de clase 10.
1x 1cc Super Lube® Multi-purpose Grease with Syncolon® (PTFE).
Kit de remplacement de la carte MicroSD pour Netatmo Presence
Suivez les instructions pour remplacer la carte MicroSD et assurer sa protection
contre l’humidité et la pluie. Il ne sera pas nécessaire de démonter la caméra du mur.
Contenu de la boîte :
1x carte MicroSD classe 10.
1x 1cc Super Lube® Multi-purpose Grease with Syncolon® (PTFE).
Kit sostitutivo della scheda MicroSD per Netatmo Presence
Segui le istruzioni per sostituire la tua scheda MicroSD in modo sicuro, per proteggerla
adeguatamente dall’umidità e dalla pioggia. Non dovrai neanche scollegare la telecamera
dalla parete.
Contenuto del kit:
1x scheda MicroSD Classe 10.
1x 1cc Super Lube® Multi-purpose Grease with Syncolon® (PTFE).
MicroSD Kartenersatz für Netatmo Presence
Befolgen Sie den Anweisungen, um Ihre MicroSD-Karte zu ersetzen und ordnungsgemäß vor
Feuchtigkeit und Regen zu schützen. Sie müssen die Kamera nicht von der Wand demontieren.
Packungsinhalt:
1x MicroSD Karte der Klassierung 10.
1x 1cc Super Lube® Multi-purpose Grease with Syncolon® (PTFE).
MicroSD-kaart vervangingsset voor Netatmo Presence
Volg de instructies om uw MicroSD-kaart veilig te vervangen, zodat het goed is beschermd
tegen vocht en regen. Het is niet nodig om de camera van de muur te verwijderen.
Inhoud van het pakket:
1x Class 10 MicroSD-kaart.
1x 1cc Super Lube® Multi-purpose Grease with Syncolon® (PTFE).

EN The camera needs to be dry when you replace the MicroSD card.
If the camera is wet, wait until it is completely dry.
EN Disconnect the power at the fuse or circuit breaker before replacing the MicroSD card.
FR Afin de remplacer la carte MicroSD, la caméra doit être entièrement sèche.
Si elle est humide, attendez qu’elle sèche.
FR Coupez le courant au disjoncteur général ou au fusible avant de procéder au remplacement
de la carte MicroSD.
DE Die Kamera muss trocken sein, wenn Sie die MicroSD-Karte austauschen.
Wenn die Kamera nass ist, warten Sie bis sie vollständig trocken ist. DE Trennen Sie die Stromversorgung über die Sicherung oder den Leistungsschalter,
bevor Sie mit dem Austausch der Karte fortfahren.
ES La cámara tiene que estar seca cuando vayas a cambiar la tarjeta MicroSD.
Si está mojada, espera a que se seque completamente. ES Desconecta el fusible o el disyuntor antes de proceder a cambiar la tarjeta MicroSD.
IT La videocamera deve essere asciutta quando si sostituisce la scheda MicroSD.
Se la videocamera è bagnata, attendere che sia completamente asciutta. IT Scollegare l’alimentazione prima di procedere alla sostituzione della scheda MicroSD.
NL De camera moet droog zijn wanneer u de MicroSD-kaart vervangt.
Wanneer de camera nat is, wacht tot het helemaal droog is. NL Sluit de stroomtoevoer via de zekering of de stroomonderbreker alvorens het vervangen
van de MicroSD-kaart.
Super Lube
Super
Lube®
Synthetic Grease
with PTFE
Super
Lube®
Synthetic Grease
with PTFE
Super Lube
Super
Lube®
Synthetic Grease
with PTFE
Super
Lube®
Synthetic Grease
with PTFE
12

EN The MicroSD card slot is underneath the camera. Insert your fingernail into the gap as shown
in the picture. Pull the bottom cover towards the back of the camera and lift it.
Remove the MicroSD card from its slot.
FR Le lecteur de carte MicroSD se trouve derrière une trappe située sous la caméra. Introduisez votre
ongle dans la fente la plus fine de la trappe et poussez vers l’arrière afin de la soulever.
Retirez la carte MicroSD existante.
DE Die Micro SD Karte befindet sich an der unteren Seite der Kamera, hinter der Plastikabdeckung.
Um diese zu entfernen, drücken Sie mir ihrer Fingerspitze den Plastikbalken zwischen den
Gittern, in Richtung der Hinterseite der Kamera. Nehmen Sie die vorhandene MicroSD-Karte heraus.
ES La tarjeta MicroSD se encuentra debajo de la cámara. Pon una uña en la hendidura y tira para
atrás y levanta la tapa para abrirla. Luego extrae la tarjeta MicroSD.
IT La scheda MicroSD si trova nella parte inferiore della fotocamera. Per estrarla inserire
il dito nella fessura del coperchio di plastica e tirarlo verso il retro della fotocamera.
Estrarre la scheda MicroSD esistente.
NL De MicroSD-kaart bevindt zich onder de camera. Steek uw nagel in het gat, zoals aangegeven
in de aeelding. Trek het plastic naar de achterkant van de camera en til de onderste deksel.
Verwijder de MicroSD kaart uit de gleuf.
3

EN Carefully tear the grease packet at the mark, leaving only a small hole to ensure the grease does not
come out too quickly. Gently insert the tip of the packet into the MicroSD card slot as far as possible
without forcing it. Squeeze the packet to push ¼ of the grease into the slot.
EN Remove the packet, turn it so the tip of the packet is on the other side of the MicroSD card slot then
insert it again as far as possible. Squeeze the packet to push another ¼ of the grease into the slot.
Découpez l’extrémité du tube de graisse à l’endroit indiqué, afin d’ouvrir un petit trou qui laissera sortir
la graisse. Insérez délicatement la pointe du tube dans le lecteur de carte MicroSD jusqu’au fond.
Veillez à ne pas forcer. Pressez le tube afin de faire pénétrer ¼ de la graisse dans le lecteur.
FR Retirez le tube, retournez-le afin de positioner la pointe du tube de l’autre côté du lecteur de carte
MicroSD et insérez-le à nouveau. Pressez le tube pour qu’un autre ¼ de la graisse entre dans le lecteur.
FR
Öffnen Sie die Tube mit das Fett an der Markierung, so dass nur ein kleines Loch das Fett auslaufen
lässt. Stecken Sie die Spitze der Tube so tief wie möglich in den MicroSD-Kartensteckplatz, ohne
dies zu erzwingen. Pressen Sie die Tube, so dass ¼ des Fettes in den Schlitz eingeführt wird.
DE
Entfernen Sie die Tube, drehen Sie sie um damit dessen Spitze auf der anderen Seite des Karten-
Schlitzes ist und stecken Sie die Tube wieder ein. Drücken Sie die Tube erneut an damit ein weiteres
¼ des Fettes in den Schlitz eingefügt wird.
DE
Abre el sobre de grasa en la marca, de modo que la grasa pueda salir solo por un pequeño agujero.
Introduce la punta del sobre hasta el fondo del lector de la tarjeta MicroSD, pero sin forzar contra
el lector. Aprieta el sobre para que ¼ de la grasa entre en el lector.
ES Retira el sobre, gíralo para que la punta vaya para el otro lado del lector de la tarjeta MicroSD y luego
introdúcelo de nuevo. Vuelve a apretar el sobre para que otro ¼ de la grasa entre en el lector
de la tarjeta MicroSD.
ES
Aprire la bustina di grasso in corrispondenza del segno, in modo da avere solo un piccolo foro per
dosarlo. Inserire la punta della bustina nell’alloggiamento della scheda MicroSD, ed inserirla all’interno
fino a dove si riesce ad arrivare, senza forzarla nella fessura. Spremere la bustina in modo che ¼
del grasso vada nella fessura.
IT Rimuovere la bustina e ruotarla in modo che la punta con foro si trovi dall’altro lato dell’alloggiamento
della scheda MicroSD e poi reinserirla. Spremere la bustina di nuovo in modo che ¼ del grasso vada
nella fessura.
IT
Scheur het vet pakket voorzichtig open bij de markering, waardoor er slechts een klein gaatje ontstaat
om te verzekeren dat het vet er niet te snel uitkomt. Schuif de punt van het pakket zo ver mogelijk
in de MicroSD-kaart sleuf zonder dit te forceren. Knijp in het pakket en spuit ¼ van het vet in de sleuf.
NL Verwijder het pakket en draai het zodat het uiteinde van het pakket aan de andere zijde van
de MicroSD kaartsleuf zit, schuif het er daarna wee zo ver mogelijk in. Knijp in het pakket en spuit
nogmaals ¼ van het vet in de sleuf.
NL
Super Lube
Super
Lube®
Synthetic Grease
with PTFE
Super
Lube®
Synthetic Grease
with PTFE
45

EN Apply the remaining grease to the contacts of the new MicroSD card. EN Insert the new MicroSD card into the camera. Do not wipe away the excess grease.
Appliquez la graisse restante sur les contacts de la nouvelle carte MicroSD.
FR FR Insérez la nouvelle carte MicroSD dans la caméra. Ne nettoyez pas l’excès de graisse.
Tragen Sie das restliche Fett auf die Kontakte der neuen MicroSD-Karte auf.
DE DE Setzen Sie die neue MicroSD-Karte in die Kamera ein. Wischen Sie den
Fettüberschuss nicht ab.
Aplica el resto de la grasa sobre los contactos de la nueva tarjeta.
ES ES Introduce la nueva tarjeta MicroSD en la cámara. No hay que limpiar el exceso de grasa.
Applicare il grasso residuo sui contatti della nuova scheda MicroSD.
IT IT Inserire la nuova scheda MicroSD nella videocamera. Non pulire l’eccesso di grasso.
Breng het resterende vet aan op de contacten van de nieuwe MicroSD-kaart.
NL NL Plaats de nieuwe MicroSD-kaart in de camera. Veeg niet het overtollige vet weg.
Super Lube
Super
Lube®
Synthetic Grease
with PTFE
Super
Lube®
Synthetic Grease
with PTFE
67

EN Close the bottom cover and reconnect the power. The camera will start normally.
EN Important
Remember to apply more grease whenever you need to change the MicroSD card.
FR Refermez la trappe et rétablissez le courant. La caméra démarrera normalement.
FR Important
Pensez à appliquer de la graisse à chaque remplacement de carte MicroSD.
DE Schließen Sie die untere Abdeckung wieder und schließen Sie die Stromversorgung wieder an.
Die Kamera wird starten.
DE Wichtig
Jedes mal wenn Sie die MicroSD-Karte wechseln, denken Sie daran das Fett zu verwenden.
ES Cierra la tapa y vuelve a conectar la corriente. La cámara va a funcionar con normalidad.
ES Importante
Recuerda aplicar más grasa si tienes que volver a cambiar la tarjeta Micro SD.
IT Importante
Tenere a mente di applicare il grasso ogni volta che si sostituisce la scheda MicroSD.
NL Sluit de onderste deksel en sluit de camera opnieuw aan op het stroom. De camera zal normaal opstarten.
NL Belangrijk
Vergeet niet om meer vet aan te brengen wanneer het nodig is om de MicroSD-kaart te vervangen.
8
IT Richiudere il coperchio inferiore e ricollegare l’alimentazione. La videocamera si avvia normalmente.

EN Super Lube® Multi-purpose Grease with Syncolon® (PTFE) is RoHS, REACH and CE
(EC No 2023/2006, EC No 1935/2004, 2001/95/EC) certified. Go to http://www.super-lube.com
for details about these and other certifications as well as the safety data sheet of the product.
Safety warning
This product is not intended for use by people with any physical, sensory or mental impairment.
Nor should it be used without relevant experience and knowledge, unless under proper supervision
or instruction concerning use of the device by a person responsible for the safety of the individual
in question. Keep out of reach of children.
Caution: Grease may cause eye irritation. In case of eye contact, rinse with water for 15 minutes
and call a doctor. For skin contact, wash thoroughly with soap and water.
Super Lube® Multi-purpose Grease with Syncolon® (PTFE) ist RoHS, REACH und CE
(EG Nr. 2023/2006, EG Nr. 1935/2004, 2001/95 / EG) zertifiziert. Weitere Informationen zu diesen
und anderen Zertifizierungen sowie zum Sicherheitsdatenblatt des Produkts finden Sie unter
http://www.super-lube.com.
Sicherheitswarnung
Dieses Produkt ist nicht für den Gebrauch von Personen (einschließlich Kindern) mit reduzierten
körperlichen, sensorische oder geistigen Fähigkeiten oder fehlenden Erfahrungen und Kenntnissen
gedacht, es sei denn, sie werden durch eine Person, die für ihre Sicherheit verantwortlich ist,
bei der Verwendung des Produkts überwacht oder instruiert. Kinder sollten beaufsichtigt werden,
um sicherzustellen, dass sie nicht mit dem Produkt spielen.
Achtung: Fett kann Augenreizungen verursachen. Bei Augenkontakt 15 Minuten mit Wasser spülen; Rufen
Sie einen Arzt an. Bei Hautkontakt gründlich mit Seife und Wasser waschen. Von Kindern fern halten.
Super Lube® Multi-purpose Grease with Syncolon® (PTFE) est certifiée RoHS, REACH et CE
(EC No 2023/2006, EC No 1935/2004, 2001/95/EC). Consultez http://www.super-lube.com
pour plus de détails ou pour consulter la fiche de sécurité du produit.
Consignes de sécurité
Ce produit n’est pas destiné à être utilisé par des personnes (notamment des enfants) dont les capacités
physiques, sensorielles ou mentales sont réduites, ou n’ayant pas l’expérience ou l’expertise nécessaire,
à moins qu’elles ne soient surveillées ou guidées par une personne responsable de leur sécurité.
Les enfants doivent être surveillés pour s’assurer qu’ils ne jouent pas avec le produit.
Précaution : la graisse peut irriter les yeux. En cas de contact avec les yeux, nettoyer abondamment
à l’eau claire pendant 15 minutes ; contacter un médecin. En cas de contact avec la peau,
bien nettoyer avec de l’eau et du savon. Tenir hors de portée des enfants.
Super Lube® Multi-purpose Grease with Syncolon® (PTFE) está certificada RoHS, REACH y CE
(EC No 2023/2006, EC No 1935/2004, 2001/95/EC). Consulta http://www.super-lube.com para obtener
más detalles sobre estas y otras certificaciones, así como el documento de seguridad del producto.
Advertencia de seguridad
Este producto no está destinado a ser usado por personas (incluyendo niños) con capacidades físicas,
sensoriales o mentales reducidas, o sin experiencia o conocimientos, a menos que estén supervisadas
o instruídas sobre el uso del aparato por una persona responsable de su seguridad. Los niños deben
ser supervisados para asegurarse que no jueguen con el producto.
Precaución: la grasa puede provocar irritación en los ojos. En caso de contacto con el ojo, limpiar
con agua durante 15 minutos; avisar al médico. Si hay contacto con la piel, limpiar bien con agua y jabón.
Mantener alejado del alcance de los niños.
FR
DE
ES
Super Lube® Multi-purpose Grease with Syncolon® (PTFE) ) è certificata RoHS, REACH e CE
(EC N. 2023/2006, CE 1935/2004, 2001/95 / CE). Vai su http://www.super-lube.com per i dettagli
su queste e altre certificazioni, nonché la scheda di sicurezza del prodotto.
Note per la sicurezza
Questo prodotto non è destinato all’uso da parte di bambini o persone con disabilità fisiche, sensoriali
o mentali. Non deve essere utilizzato senza esperienza e conoscenze specifiche, ma solo sotto adeguata
supervisione o istruzioni sull’uso dell’apparecchio da una persona responsabile per la sicurezza della
persona in questione. Tenere fuori dalla portata dei bambini.
Attenzione: Il grasso può causare irritazione agli occhi. In caso di contatto con gli occhi, sciacquare
con acqua per 15 minuti e chiamare un medico. In caso di contatto con la pelle, lavare abbondantemente
con acqua e sapone.
IT
Super Lube® Multi-purpose Grease with Syncolon® (PTFE) is RoHS, REACH en CE (EG-nr 2023/2006,
EC 1935/2004, 2001/95 / EG) gecertificeerd. Ga naar http://www.super-lube.com voor meer informatie
over deze en andere certificeringen, evenals het veiligheidsinformatieblad van het product.
Veiligheidswaarschuwing
Dit product is niet bedoeld voor gebruik door mensen (inclusief kinderen) met een lichamelijke,
zintuiglijke of verstandelijke beperking. Ook mag het niet worden gebruikt zonder relevante ervaring
en kennis, tenzij onder goede begeleiding of instructie over het gebruik van het apparaat door een
persoon die verantwoordelijk is voor de veiligheid van de persoon in kwestie. Buiten het bereik
van kinderen houden.
Let op: Vet kan oogirritatie veroorzaken. In geval van contact met de ogen, spoelen met water gedurende
15 minuten en een arts raadplegen. Bij contact met de huid, grondig wassen met water en zeep.
NL

https://support.netatmo.com
?
Copyright Netatmo © 2017.
All rights reserved. Reproduction and distribution prohibited without written authorization from Netatmo. QSG-PR-SD-V1
Other manuals for presence
2
Other Netatmo Security Camera manuals
Popular Security Camera manuals by other brands
Bosch
Bosch MIC Series 400 Product guide
Interlogix
Interlogix UltraView UVD-6130VE-2-P quick start guide
Provision ISR
Provision ISR BX-380IP user manual

Ezviz
Ezviz C2mini quick start guide
Dahua Technology
Dahua Technology IPC-HUM4231S-L4-0280B-S3 quick start guide

Vivotek
Vivotek IP8335H Quick installation guide
Vivotek
Vivotek IB836B-HT Quick installation guide
American Dynamics
American Dynamics Discover Indoor datasheet
Linear
Linear ChannelPlus 7440 installation instructions

Panasonic
Panasonic WV-SW175 quick start guide
APPRO TECHNOLOGY
APPRO TECHNOLOGY LC--6760 Quick installation guide
Velleman
Velleman CAMCLOPIR user manual
