manuals.online logo
Brands
  1. Home
  2. •
  3. Brands
  4. •
  5. New Holland
  6. •
  7. Lawn Mower
  8. •
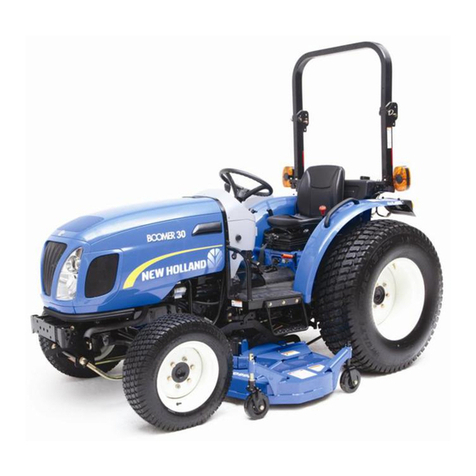
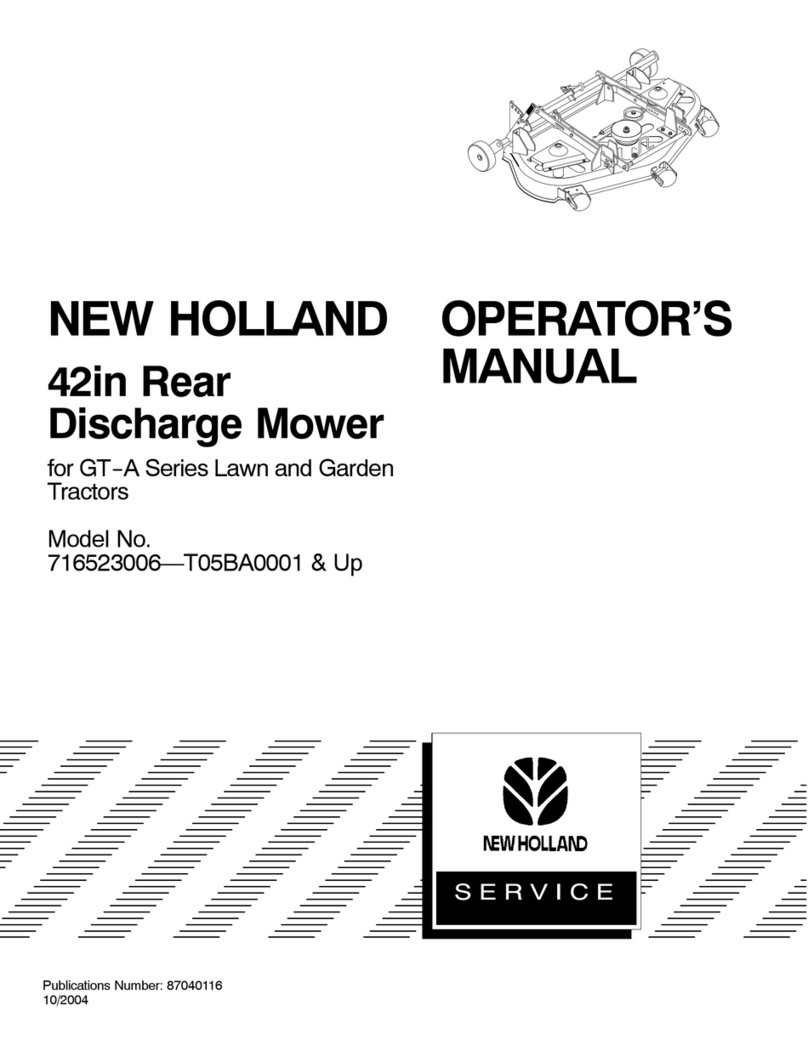
  9. New Holland 715698016 User manual

New Holland 715698016 User manual

This manual suits for next models

2

Other New Holland Lawn Mower manuals

New Holland 918H User manual

New Holland

New Holland 918H User manual

New Holland GT-A Series User manual

New Holland

New Holland GT-A Series User manual

New Holland Discbine 313 User manual

New Holland

New Holland Discbine 313 User manual

New Holland 615 User manual

New Holland

New Holland 615 User manual

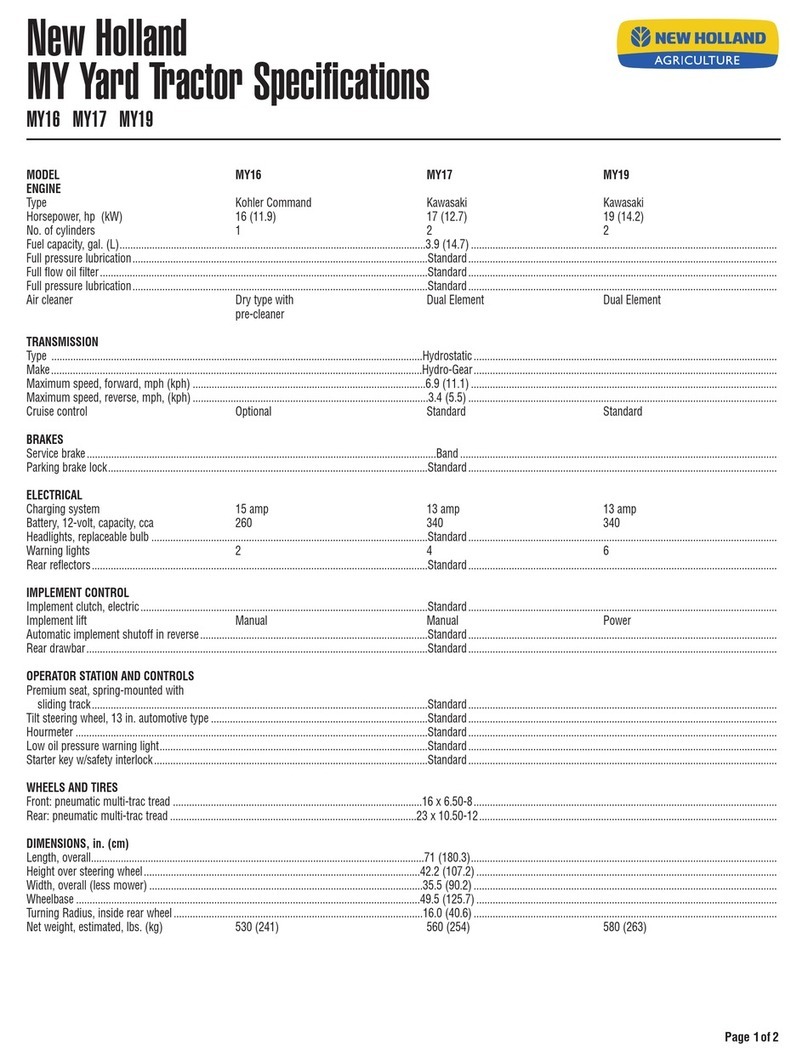
New Holland MY16 User manual

New Holland

New Holland MY16 User manual

New Holland MZ18H User manual

New Holland

New Holland MZ18H User manual

New Holland 456 User manual

New Holland

New Holland 456 User manual

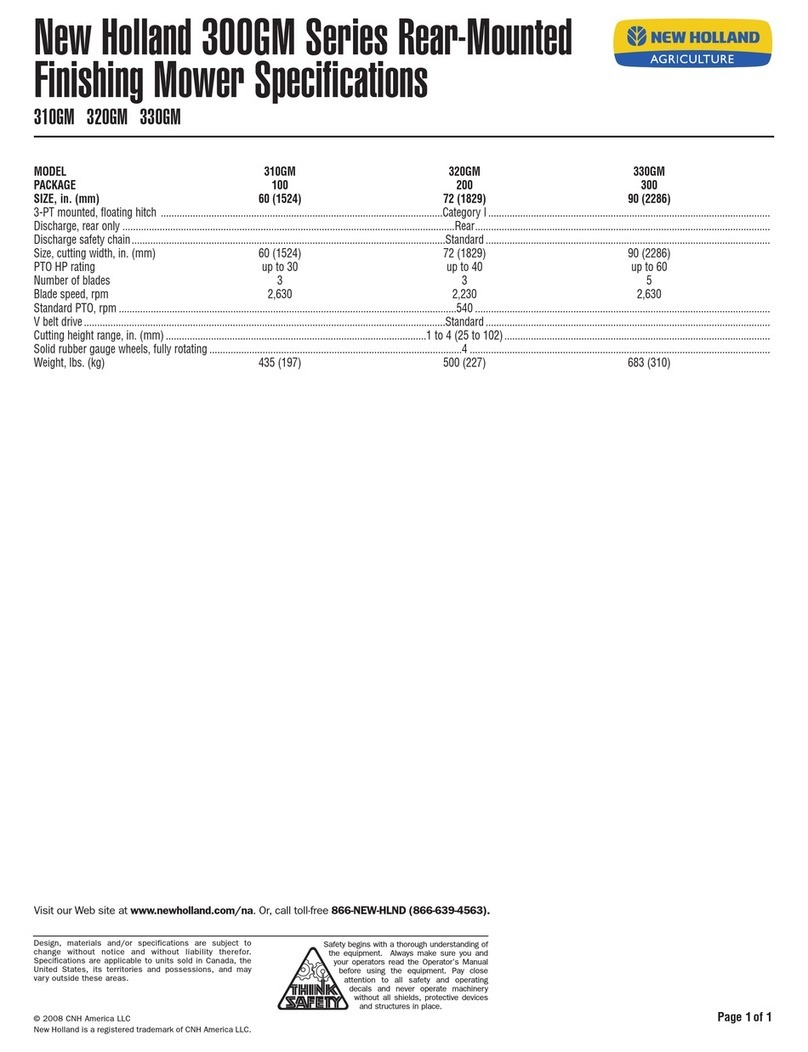
New Holland 330GM User manual

New Holland

New Holland 330GM User manual

New Holland LS55-19H User manual

New Holland

New Holland LS55-19H User manual

New Holland 266WMM User manual

New Holland

New Holland 266WMM User manual

New Holland G6030 User manual

New Holland

New Holland G6030 User manual

New Holland TD 60D User manual

New Holland

New Holland TD 60D User manual

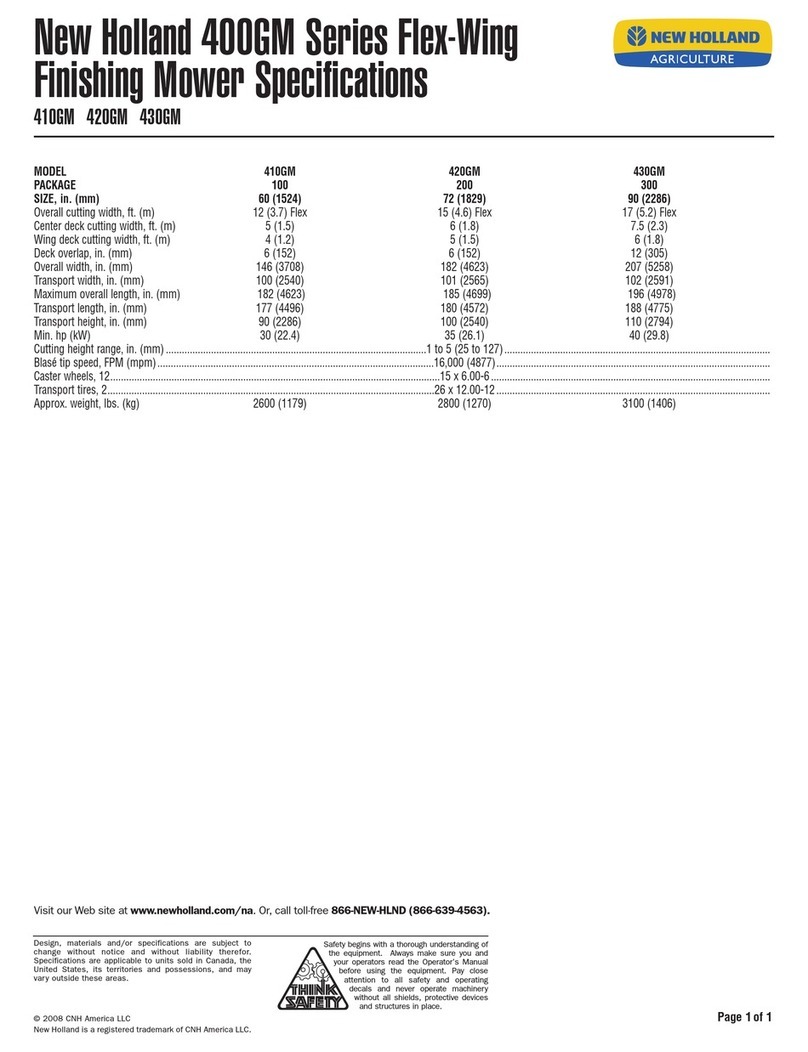
New Holland 410GM User manual

New Holland

New Holland 410GM User manual

New Holland 230GM User manual

New Holland

New Holland 230GM User manual

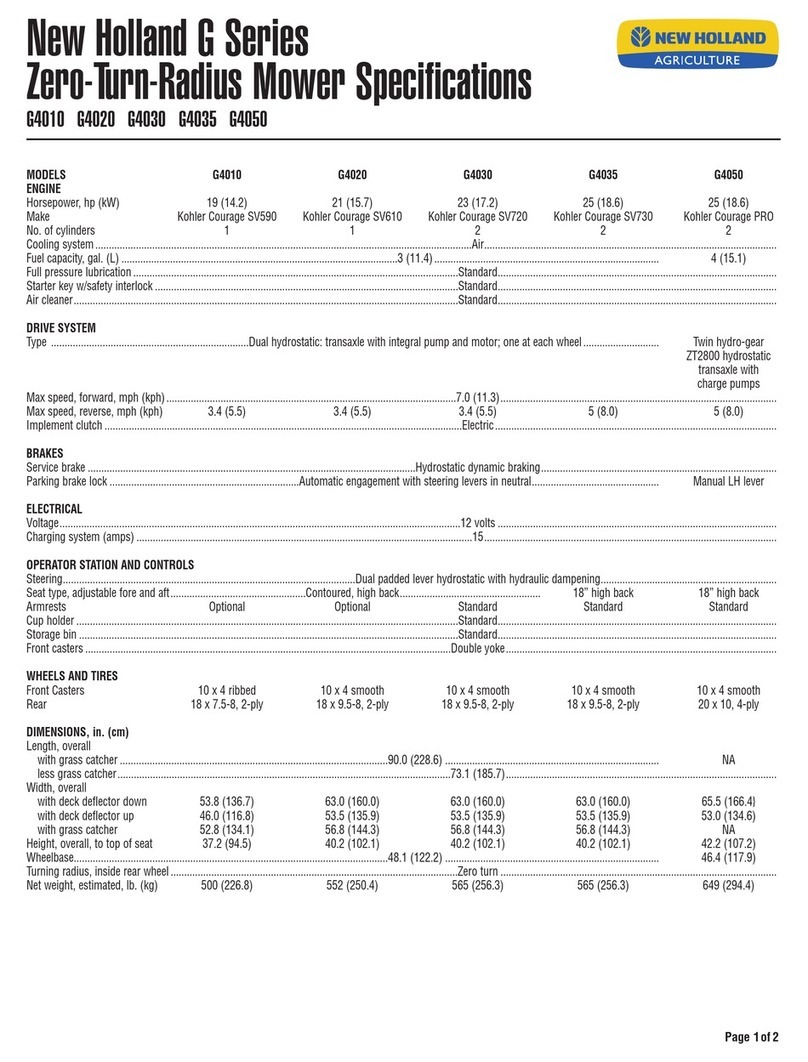
New Holland G4010 User manual

New Holland

New Holland G4010 User manual

New Holland MZ17H User manual

New Holland

New Holland MZ17H User manual

New Holland H6700 Series User manual

New Holland

New Holland H6700 Series User manual

New Holland FX751V User manual

New Holland

New Holland FX751V User manual

New Holland MZ16H User manual

New Holland

New Holland MZ16H User manual

New Holland 716736006 User manual

New Holland

New Holland 716736006 User manual

Popular Lawn Mower manuals by other brands

Toro 20047 Operator's manual

Toro

Toro 20047 Operator's manual

Toro Greensmaster TriFlex 3300 Operator's manual

Toro

Toro Greensmaster TriFlex 3300 Operator's manual

Global garden products 72 Workshop manual

Global garden products

Global garden products 72 Workshop manual

EINHELL 01045 operating instructions

EINHELL

EINHELL 01045 operating instructions

Toro Greensmaster 3120 Operator's manual

Toro

Toro Greensmaster 3120 Operator's manual

Baroness LM315GC Owner's operating manual

Baroness

Baroness LM315GC Owner's operating manual

GreenWorks Tools 25157 user manual

GreenWorks Tools

GreenWorks Tools 25157 user manual

Etesia MVEHH user manual

Etesia

Etesia MVEHH user manual

Husqvarna LTH125 owner's manual

Husqvarna

Husqvarna LTH125 owner's manual

Gravely 915034 - ZT1640 Owner's/operator's manual

Gravely

Gravely 915034 - ZT1640 Owner's/operator's manual

Jacobsen 63281 Technical manual

Jacobsen

Jacobsen 63281 Technical manual

GreenWorks Pro MO802524 Operator's manual

GreenWorks Pro

GreenWorks Pro MO802524 Operator's manual

Toro TimeMaster 20976 Operator's manual

Toro

Toro TimeMaster 20976 Operator's manual

Deutz-Allis 3000 Series parts manual

Deutz-Allis

Deutz-Allis 3000 Series parts manual

Craftsman 917.9998C owner's manual

Craftsman

Craftsman 917.9998C owner's manual

jobmate YT9108 user manual

jobmate

jobmate YT9108 user manual

Yard force GM R40A instructions

Yard force

Yard force GM R40A instructions

Husqvarna R 419TsX AWD Operator's manual

Husqvarna

Husqvarna R 419TsX AWD Operator's manual

manuals.online logo
manuals.online logoBrands
  • About & Mission
  • Contact us
  • Privacy Policy
  • Terms and Conditions

Copyright 2025 Manuals.Online. All Rights Reserved.

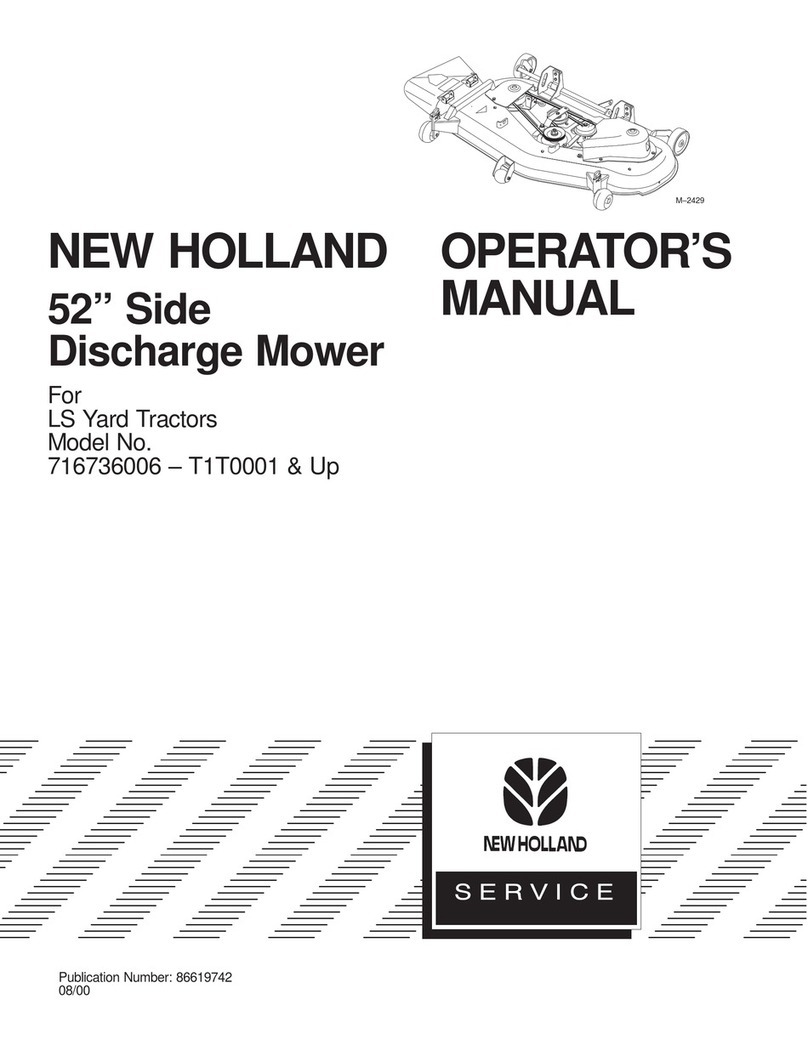
Publication Number: 87040092
01/2004
NEW HOLLAND
42in, 48in and
52in Mower
For
MY Series Tractors
Model No.
715698016—T04MF0001 & Up
715699016—T04MG0001 & Up
715700016—T04MH0001 & Up
OPERATOR’S
MANUAL
2
All Rights Reserved
Printed in the USA
Contents
Page
Introduction 2. . . . . . . . . . . . . . . . . . . . . . . . . . . . . . . . .
Safety and Instruction Decals 3. . . . . . . . . . . . . . . . .
Setup 4. . . . . . . . . . . . . . . . . . . . . . . . . . . . . . . . . . . . . .
Loose Parts 4. . . . . . . . . . . . . . . . . . . . . . . . . . . . . . .
Installing the Grass Deflector on 42 and 48 inch Side
Discharge Mowers 4. . . . . . . . . . . . . . . . . . . . . . . .
Installing the Grass Deflector on 52 inch Mowers 5.
Installing the Mower 5. . . . . . . . . . . . . . . . . . . . . . .
Checking the Side-to-Side Blade Cut 8. . . . . . . . . .
Adjusting the Side-to-Side Blade Cut 8. . . . . . . . . .
Checking the Front-to-Rear Blade Slope 8. . . . . . . .
Changing the Front-to-Rear Blade Slope 9. . . . . . . .
Transport Height Adjustment 9. . . . . . . . . . . . . . . . .
Operation 10. . . . . . . . . . . . . . . . . . . . . . . . . . . . . . . . . . .
Using the Side Discharge 10. . . . . . . . . . . . . . . . . . . .
Operating the Power Take Off (PTO) 10. . . . . . . . . .
Using the Attachment Power Lift 11. . . . . . . . . . . . .
Operating the Attachment Lift Lever 11. . . . . . . . . . .
Adjusting the Height of Cut 12. . . . . . . . . . . . . . . . . .
Removing the Mower 12. . . . . . . . . . . . . . . . . . . . . . .
Tips for Mowing Grass 13. . . . . . . . . . . . . . . . . . . . .
Maintenance 14. . . . . . . . . . . . . . . . . . . . . . . . . . . . . . . . .
Recommended Maintenance Schedule 14. . . . . . . . .
Servicing the Cutting Blades 14. . . . . . . . . . . . . . . . .
Greasing and Lubrication 16. . . . . . . . . . . . . . . . . . . .
Removing the Hood 17. . . . . . . . . . . . . . . . . . . . . . . .
Servicing the Mower Belt 17. . . . . . . . . . . . . . . . . . .
Replacing the Power Take Off (PTO) Belt 17. . . . . .
Replacing the Mower Drive Belt 18. . . . . . . . . . . . . .
Cleaning and Storage 18. . . . . . . . . . . . . . . . . . . . . . .
Troubleshooting 19. . . . . . . . . . . . . . . . . . . . . . . . . . . . . .
Introduction
Read this manual carefully to learn how to operate and
maintain your product properly. The information in this
manual can help you and others avoid injury and product
damage. Although New Holland designs and produces safe
products, you are responsible for operating the product
properly and safely.
Whenever you need service, genuine New Holland parts, or
additional information, contact an Authorized Service
Dealer or New Holland Customer Service and have the
model and serial numbers of your product ready. Figure 1
illustrates the location of the model and serial numbers on
the product.
1
m–2828
Figure 1
1. Location of the model and serial numbers
Write the product model and serial numbers in the space
below:
Model No.
Serial No.
This manual identifies potential hazards and has special
safety messages that help you and others avoid personal
injury and even death. Danger, Warning, and Caution are
signal words used to identify the level of hazard. However,
regardless of the hazard, be extremely careful.
Danger signals an extreme hazard that will cause serious
injury or death if you do not follow the recommended
precautions.
Warning signals a hazard that may cause serious injury or
death if you do not follow the recommended precautions.
Caution signals a hazard that may cause minor or moderate
injury if you do not follow the recommended precautions.
This manual uses two other words to highlight information.
Important calls attention to special mechanical
information and Note: emphasizes general information
worthy of special attention.

3
Safety and Instruction Decals
Safety decals and instructions are easily visible to the operator and are located near any area
of potential danger. Replace any decal that is damaged or lost.
111655
TR65D2690
TR92D7108
TR92D7109
TR93D1122
TR98D3480
TR106D5801
TR43D8480
4
Setup
Note: Determine the left and right sides of the machine
from the normal operating position.
Loose Parts
Note: Use the chart below to identify parts used for assembly.
DESCRIPTION QTY. USE
Grass deflector
Torsion spring
Washer, 1/2 inch
Cotter pin, 3/4 inch
Plastic washer
Rubber bushing
Jam nut, 3/8 inch
1
1
1
1
2
1
1
Installing the grass deflector on 42 and 48 inch
side discharge mowers
Grass deflector
Spring
Bolt, 3/8 x 3-1/2 inch
Locknut, 3/8 inch
1
2
2
2
Installing the grass deflector on 52 inch mowers
Belt, PTO Drive
Belt, Mower Drive
Pulley box assembly
1
1
1
Installing the mower
Operator’s Manual 1Read before operating
An uncovered discharge opening could allow the
lawn mower to throw objects in the operator’s or
bystander’s direction and result in serious injury.
Also, contact with the blade could occur.
•Never remove the grass deflector from the
mower because the grass deflector routes
material down toward the turf. If the grass
deflector is ever damaged, replace it
immediately.
•Never put your hands or feet under the mower.
•Never try to clear discharge area or mower
blades unless you move the power take off
(PTO) to Off and rotate the ignition key to Off.
Also remove the key and pull the wire off the
spark plug(s).
Warning Installing the Grass Deflector
on 42 and 48 inch Side
Discharge Mowers
1. Locate items shown in Figure 2.
2. Place the straight end of the spring into the small hole
in the discharge chute (Fig. 2).
3. Position the spring and discharge chute over post on
rear of deck and secure with a washer (1/2 inch) and a
cotter pin (3/4 inch) (Fig. 2).
4. Slide the rubber bushing and plastic washer over the
stud at the front of mower.
5. Place the discharge chute over the stud and secure it
with a plastic washer and jam nut (3/8 inch) (Fig. 2).
Important Grass deflector must be spring loaded in the
down position. Lift deflector up to test that it snaps to the
full down position.
5
4
3
10
2
56
7
1
1
Top View
8
9
2
m–6598
Figure 2
1. Discharge chute
2. Spring
3. Cotter pin, 3/4 inch
4. Washer, 1/2 inch
5. Rubber bushing
6. Plastic washer
7. Jam nut, 3/8 inch
8. Straight end of spring
9. Small hole in discharge
chute
10. Wheel
Installing the Grass Deflector
on 52 inch Mowers
1. Place the springs into the brackets on mower with the
hooked ends over the raised back (Fig. 3).
2. Align the grass deflector with the holes in the brackets
and the spring straight end in the space under the hinge
and above the deflector (Fig. 3).
3. Secure the deflector to the bracket with 2 bolts
(3/8 x 3-1/2 inch) and 2 locknuts (3/8 inch) (Fig. 3).
4. Lift grass deflector and check that it is spring loaded
and pivots freely to the full down position.
Important Grass deflector must be spring loaded in the
down position. Lift the deflector up to test that it snaps
down to the full down position.
1
5
3
6
1783
4
2
7
Figure 3
1. Bracket
2. Spring hook end
3. space for spring
4. Grass deflector
5. Bolt, 3/8–3-1/2 inch
6. Lock nut, 3/8 inch
7. Raised back
Installing the Mower
1. Disengage the PTO and set the parking brake.
2. Stop the engine, remove the key, and wait for all
moving parts to stop before leaving the operating
position.
3. Position the mower on the right side of the tractor.
4. Turn the front wheels fully to the left and raise
attachment lift lever or electric lift all the way up. Refer
to the tractor Operator’s Manual.
5. Open the mid-mount hitch by pulling out the J–pin and
moving the lock handle rearward (Fig. 4).
m–6622
14
2
3
Figure 4
1. Front hitch
2. Mid-mount hitch 3. J–pin
4. Lock handle
Thank you so much for reading.
Please click the “Buy Now!”
button below to download the
complete manual.
After you pay.
You can download the most
perfect and complete manual in
the world immediately.
Our support email:
ebooklibonline@outlook.com