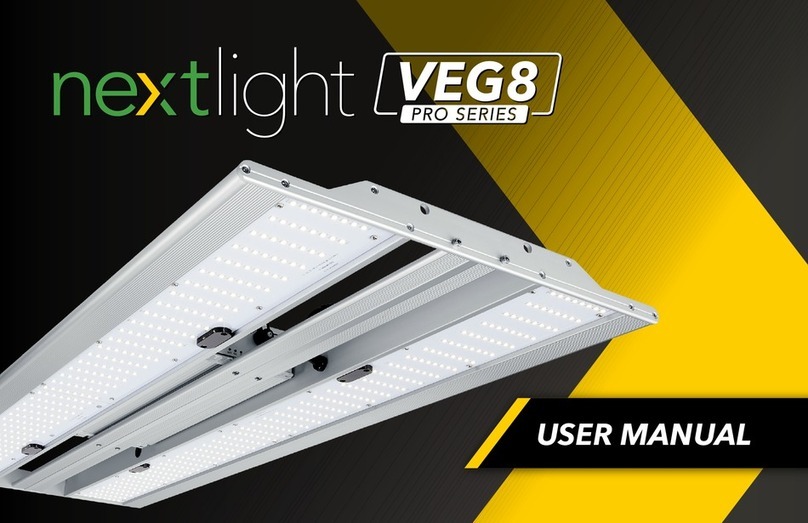
NextLight NextLight Core Pro Series User manual

USER MANUAL

1
Thank you for choosing
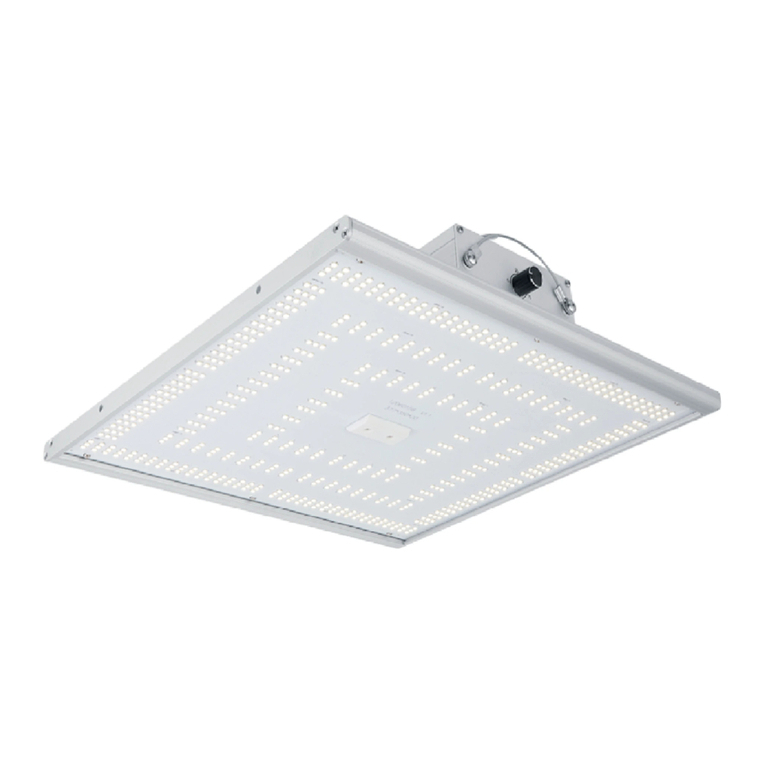
The NextLight Core Pro is a high efciency - bright white LED grow light designed to
efciently outperform your traditional 315W CMH or 400W MH. Harnessing the same high
intensity light of the NextLight Mega Pro and redesigning it for use in smaller spaces.
Excessive power consumption, bulb replacements and heat are among the biggest
problems indoor growers face. The NextLight Pro Series alleviates all of those issues.
The NextLight Core Pro has the power and versatility for all stages and styles of indoor
growing. Used primarily for high intensity owering needs, the all new, Onboard Dimming
feature allows for more control over desired light intensity. Output can be adjusted
between 25%, 50%, 75% and 100%.
1. NextLight Core Pro - 210W LED Grow Light
WARNING: Please read and follow the instructions before installing and
using your NextLight Core Pro
Please scan the QR code to access our online product listing for
the NextLight Core Pro. There you can access more info, digital
versions of this User Manual, Spec Sheets and more!
If you still have questions, please call 513.718.7556 or email [email protected]
Table of Contents
NextLight Core Pro
Safety Recommendations and Warnings
Package Contents
Technical Specications
Product Dimensions
Onboard Dimming
1.
2.
3.
4.
5.
6.
7.
8.
9.
10.
11.
12.
Product Installation
Use with a Controller
Connecting Multiple Fixtures
Proper Use and General Care
NextLight Support
Five (5) Year Full Manufacturer’s Warranty
1
2
2
3
3
3
4
5
5
6
6
6
..................................... ...........................................
......................................... ..........................
............................... .........................
..................................... ............................................
....................................... ...
.. ........................................
• 2.6 PPF/W (μmol/J)
• DLC Hort Listed
• UL 8800
• IP65 Wet Rated
• Onboard Dimming
• External Dimming (Controller NOT
INCLUDED)
• Passively Cooled
• 5 Year Full Warranty - All Components -
Down to the Diode
• Designed for use in restricted spaces, open
rooms, over benches, in racks or grow tents
• NextLight’s Full Spectrum is recommended
from seed to harvest
• Plug & Play - contains power & dimming
cords, power supply and mounting hardware.

2
3. Package Contents
Fixture x1
Fixture Hooks x2
NextLight Pro Series Power Cord (10’) x1
(see available Power Cord Voltage Options)
NextLight Pro Series Control Cable (10’) x1
1
2
3
4
1
2
3
4
120V 240V 277V 277V
(NEMA 5-15P) (NEMA 6-15P) (TWIST LOCK) (OPEN-END/WHIP)
Power Cord Voltage Options
WARNING: Please read and follow all Safety Recommendations and
Warnings before installing your NextLight Core Pro.
2. Safety Recommendations and Warnings
• Please check and adhere to all local rules, regulations and zoning codes when installing.
• The installer is responsible for correct and safe installation of light system.
• Prevent eye damage by avoiding direct eye contact with LEDs.
• Operate the light system within the temperature range of -4°F and 104°F.
• Mount the light system to something that can support the weight of the Fixture.
• Always allow for adequate ventilation of Fixture. Minimum 3" from walls/ceiling.
• Do NOT hang Fixture by Power Cords.
• Ensure the local cabling can support the voltage and current of the light system.
• Only use Power Cords that were supplied with your light system.
• Do NOT use the Fixture with damaged Power Cords.
• Do NOT attempt to open, rewire or recongure any components of the light system. It will
void the warranty and could cause serious injury or death.
• Disconnect the light system from power before performing any maintenance or repairs.
• Always disconnect power from the light system before moving or cleaning it.
• Do NOT clean the light system with detergents, abrasives or other aggressive substances.
• Do NOT use the light system near ammable, explosive or reactive substances.
• Do NOT use any Volatile Organic Compounds (VOCs) on or near the light system. VOCs
can cause damage to LEDs (including insect foggers).
• The light system is certied for use in damp locations and is protected against water
projected from a nozzle. Do NOT submerge light system.
• Avoid any contact or force with LED array that may damage LEDs.

3
4. Product Dimensions
23.25"
23.25" Distance between Hooks
23.25"
4.25"
Height from
Hook to
Fixture Base
2.75"
Height of
Fixture
2. Technical Specications
120-277 VACOperating Voltage
50/60 HzOperating Frequency
1.75A @ 120V, 0.88A @ 240V, 0.76A @ 277VInput Current
530PPF
210 Watts (205W @ 277V)Energy Use
2.6PPF/Watt
-4°F to 104°F (-20°C to 40°C)Operating Temperature
720BTU Output
23.25 x 23.25 x 2.75Dimensions (in)
586 x 585 x 68Dimensions (mm)
11 lbs (4.9 kg)Weight
5 Year FullWarranty
Q90 > 50,000 HoursLife Rating
DLC Hort, CE, UL 8800Certifications
IP65, Wet RatedEnvironment
NEXTLIGHT CORE PRO
SPECIFICATION
The Onboard Dimmer allows you to toggle Dim
values of 0%, 25%, 50%, 75%, 100% and EXT
for external use with NextLight Control Pro or
NextLight Adapt Pro.
6. Onboard Dimmer
Note: Onboard Dimmer must be set to EXT (External Control) for controller to operate.
Pay special attention when using controller timing and shut off functionality as these
functions will only work when the Onboard Dimmer is set to EXT.

4
7. Product Installation
• Take both Fixture Hooks and insert Hook ends through holes at each end
of Fixture.
• Use ratchet hangers to lift Fixture into place.
1
2
3
4
• Insert Power Cord into AC In
connection until an audible click is
heard to ensure proper connection.
• To remove connection, twist the locking ring
counter clockwise and pull.
• Adjust your Fixture height based on your desired light intensity needs.
AC IN
(120-277V)
Driver AC In
Side View
• Connect the NextLight Pro Series Power Cord to the AC In on the Driver.

5
To enable more precise Dimming Control and Programming on your NextLight
Core Pro, you will need either a NextLight Control Pro or NextLight Adapt Pro.
A. NextLight Control Pro enables Dimming Control, On/Off Timing, Sunrise/Sunset
Programming and more. The NextLight Control Pro can control up to 500
NextLight Pro Series xtures per controller (250 per Channel).
8. Use with a Controller 9. Connecting Multiple Fixtures
TEMP: 80.0°F
A: 50% 08:00-20:00 OFF
B: 50% 08:00-20:00 OFF
01/01/2021 07:00:00
• Insert NextLight Pro Series Control Cable into Channel A/B of your NextLight
Control Pro or 485 Output of your NextLight Adapt Pro. Then screw the
locking ring clockwise to ensure proper connection.
• Insert other end of Control Cable into Dim In connection on Driver of rst
Fixture in lighting system chain.
• Connect Control Cable from Dim Out on Driver of rst Fixture to Dim In on
Driver of next Fixture in the lighting system chain.
• Repeat until all Drivers/Fixtures are connected.
Driver DIM IN
and DIM OUT
Side View
NextLight Control Pro Lighting System Chain
NextLight Adapt Pro Lighting System Chain
B. NextLight Adapt Pro enables integration with most third party 0-10V controllers. This product adapts your
third party 0-10V signal to NextLight’s proprietary signal ow.

6
10. Proper Use and General Care
Follow steps below to help your light system retain peak performance.
• Hang Fixture using supplied Fixture Hooks.
• Hang Fixture at a minimum of 8" from bottom of Fixture to top of plant canopy.
Less than 8" distance may burn plants.
• Always allow for adequate ventilation of Fixtures to ensure
your lighting system can properly cool. Failure to do so may shorten the
lighting system’s lifespan.
• Wipe down outside of Fixture with a damp rag. Dry thoroughly with a chamois
or moist cellulose sponge to prevent water spots. All cleaning should be done
with the light system unplugged from its power source.
• Avoid touching diodes with your hands, even if powered off.
• Never clean light system with detergents or abrasives.
11. NextLight Support
Please scan the QR code to access our online Support page, which includes the
User Manual, FAQ and additional Warranty Claim information.
nextlight.com/support
All NextLight products carry a Five (5) Year Full
Manufacturer’s Warranty from date of purchase. Please
follow all instructions and guidelines to ensure warranty
is not voided. This warranty does not apply to any
product which has been damaged, defaced, subjected to
misuse, abnormal service or handling (including shipping
damage) or which has been altered in design or construction.
To le a Warranty Claim, visit nextlight.com/warranty
This product is for horticulture use only.
Not suitable for room illumination.
12. Five (5) Year Full Manufacturer’s Warranty
Legal Disclaimer
NextLight products are to be used for lawful purposes only. It is the responsibility of
you as the purchaser to know and abide by all laws pertaining to the use of NextLight
products. NextLight, LLC will NOT be held liable for any unlawful state or federal
activity arising out of the use of our products. By purchasing a NextLight product, you
are agreeing to these terms and conditions, conrming that you as the purchaser are
attesting to the lawful use of our product and are thereby solely responsible for acting
in conformance with all applicable regulations.

©2021 NextLight.
All Rights Reserved.
©2021 NextLight.
All Rights Reserved.
Thank you for choosing
Thank you for choosing
513.718.7556
513.718.7556
Questions about your NextLight Pro Series products?
Questions about your NextLight Pro Series products?
This manual suits for next models
2
Table of contents
Other NextLight Light Fixture manuals
Popular Light Fixture manuals by other brands
RAB
RAB VAN11 installation instructions
Federal Signal Corporation
Federal Signal Corporation BPL26L Installation and maintenance instruction
UltraPro
UltraPro ESCAPE LED Rope Light user manual
Philips
Philips Fortimo LEDFlex S Design-in guide
Lightolier
Lightolier Lytespan 6272 specification
Lithonia Lighting
Lithonia Lighting VAP installation instructions
Patlite
Patlite LA6 series Operation manual
Planet Lighting
Planet Lighting ULED Series Installation & maintenance instructions
Ametrix
Ametrix Ametrix C-Scroll installation instructions

Euri
Euri EPN24-2040sem-2 installation guide
Hoftronic
Hoftronic FLEX60 Series user manual
Elation
Elation Color Spot 575 user manual
