NexxTech 4219545 User manual

4219545
Slim Personal MP3/CD Player
USER’S MANUAL

2
Contents
Safety information ...................................................................3
Features ..................................................................................4
Anti-shock function ..................................................................4
Accessories .............................................................................5
DC Power supply .....................................................................5
AC Power supply .....................................................................5
Rechargeable battery instructions ...........................................6
External battery box ................................................................7
Components of main unit ........................................................7
System connection ..................................................................8
Instructions for control button on main unit .............................9
Location of in-line controller ..................................................10
LCD display on in-line controller ............................................ 11
Operation of in-line controller buttons ...................................12
Troubleshooting .....................................................................13
Specifications ........................................................................14
Warranty ................................................................................15

3
Safety Information
• Before using, please verify that the local supply voltage matches
that of the AC adapter.
• Before turning on the player make sure all cables are connected
properly and the volume level is set to minimum.
• Do not use in moist or damp locations and protect from rain.
• Do not use discs that have been scratched or damaged.
• Do not mix old and new batteries.
• Do not attempt to recharge non-rechargeable batteries.
• Do not look directly into the laser lens or attempt to disable the
lids safety mechanism.
• Handle the discs with care so as not to scratch. Clean discs with
a soft cloth wiping from the discs centre out and not around the
playing surface.
• Clean finger prints and dust from the discs surface prior to use.
• Do not use while driving or operating machinery.
• Do not drop or jar the player.
• Do not attempt to open the player cabinet, there is no user
serviceable parts inside.
• Keep the unit out of direct sunlight and avoid high heat locations.

4
Features
1. Compatible with CD/CD-R/MP3/CD-RW
2. Long ESP: MP3/120S’ , CD/40S’
3. EQ function: Concert, theatre, stadium, church, 3d round, live,
standard.
4. Programmable function.
5. Repeat play for single song or whole disk.
6. HOLD function.
7. Inline controller with LCD display.
8. Recharge function.
9. Detachable battery compartment.
Anti-Shock Function
*The ESP times for normal CD disc is 40 seconds.
*The ESP times for normal MP3 disc is 120 seconds.
1. This player incorporates the latest electronic digital anti-shock
circuit, which prevents interruption of the sound output and is
subjected to shock or vibration during disc playback.
2. The CD playback “CD” will appear on the controller’s LCD display
“ESP”, “ANTI SHOCK” system opened. The ESP time for CD disc
is 40 sec.
3. The MP3 playback “MP3” will appear on the controller’s LCD
display ”ESP” , “ANTI SHOCK” system opened. The ESP time for
CD disc is 120 sec.

5
Accessories
1. Audio cable (Optional) (1)
2. Earphones (1)
3. AC adapter (1)
4. In-line remote (1)
5. Chargeable batteries (2)
6. User’s Manual (1)
DC Power Supply
1. Battery operation:
a) This unit uses special batteries that are included.
b) Open the top cover of the main unit.
c) Open the battery compartment.
d) Insert two rechargeable batteries with correct polarity.
e) Close the battery compartment.
AC Power Supply
1. AC Adapter operation:
First turn off the player, then connect AC-DC power adapter to the
power outlet and connect AC-DC output jack of the DC in 4.5V
power input socket on the player.
2. AC Adapter notice:
a) When using the AC adapter, the player will cut down the
power supply of the battery.
b) Turn off the unit when switching from battery and AC
power.
c) Use only the AC-DC adapter that comes with this player.

6
Rechargeable Battery Instructions
This player has a rechargeable function (only for use with the re-
chargeable battery 1100mAh NI Mh*2). The new battery must be fully
charged for the first time.
Open the battery compartment and insert the battery.
Note: With correct polarity. Otherwise the battery could be damaged.
1. Start charging after connecting the AC adapter.
a) Do not insert any disc, press PLAY button
b) LCD display NO DISC, then press PLAY button
c) Display HOUR 08, press “PREV. NEXT” set the recharge time
(it is advised to recharge for about 10 to 12 hours only)
d) Press PLAY button, the unit will be in charge mode. The player
will turn off the power when recharging is completed.
2. If the battery is left unused for a long time the battery life will be
reduced. The battery life is related to the volume and anti-shock
time. High volume and anti-shock system will consume more power.
3. If the player stops working suddenly the battery needs to be
charged. Use the external battery power or use the AC adapter.
Disconnect the adapter before changing the battery.

7
External Battery Box
This player has an external battery box.
• Press the arrow position lightly with the thumb according to arrow
direction.
• Then open the external battery box
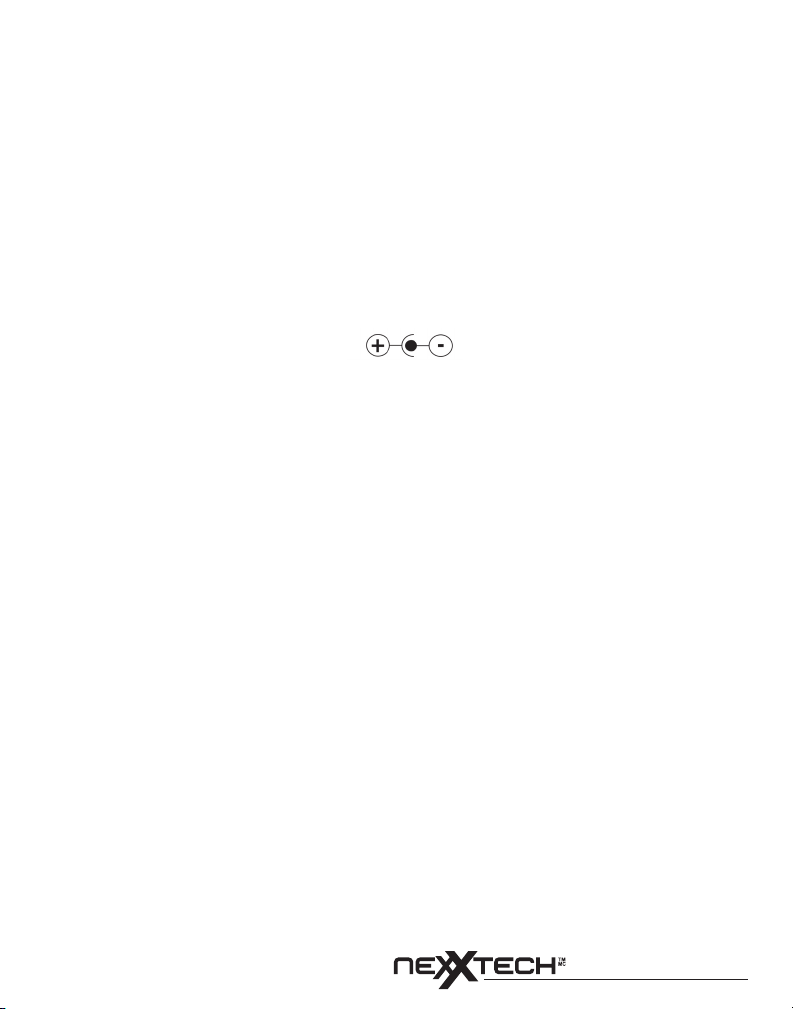
• Insert 2 AA batteries according to “+” “-” polarity markings inside the
battery compartment.
• Plug the external battery box into the main unit (EXT BATT)
Note:
Outer battery box does not offer charge function.
• Remove the battery if the player is not to be used for a long period
of time.
• While carrying the outer battery box independently, do not allow
contact of the plug to metal.
Components of Main Unit
1. LINE OUT
2. EQ button
3. MODE button
4. PREV/REV button
5. NEXT/FWD button
6. STOP/POWER button
7. PLAY/PAUSE
8. Line controller jack
9. OPEN SWITCH
10. DC IN 4.5V jack
11. External battery box jack
12. HOLD

8
System Connection
Connection with Hi-Fi
1. Connect Audio Output cable to the LINE OUT port on the
player.
2. Connect one end of the AC/DC adapter with DC 4.5V output port
on player and the other end with AC power outlet.
Instructions for control button on main unit
1. Connecting
• Press OPEN to open the main unit, and then insert the battery or
use the adapter.
• Insert the disc label side up.
• Close the cover of the main unit and then press PLAY.
Note:
If the LCD of the in-line controller displays “NO DISC”, this
indicates no disc inside or disk is damaged.
9
Instructions for control button on main unit
1. PLAY/PAUSE ( )
• Press (PLAY/PAUSE) to begin playing, while playing pressing this
button again will pause the player. Press it again and the player will
resume play.
2. STOP ( )
• When playing, press (STOP) and the player will end operation,
press again to turn off.
3. PREV ( ) and NEXT ( )
• Press PREV once to return to previous track. Press and hold for
2 seconds to enter fast reverse.
• Press NEXT once to skip one track, press and hold for 2 seconds
to enter fast forward.
4. EQ
In play mode, press EQ button, there are 7 music styles to choose
from. When playing MP3 discs press the “EQ” button for 2 seconds
to skip to the first song of the next file (if the songs in the MP3 disc
are recorded into many different files).
When playing CD discs press “EQ” button for 2 seconds to disable
the anti-shock function, LCD of the in-line control displays “ESP
OFF”; Press “EQ” button again for 2 seconds, the unit will activate
the anti-shock function, LCD displays “ESP ON”. The anti-shock
function for MP3 CD’s cannot be disabled.
5. MODE
Press the key once for repeat one, press again and it repeats the
entire disk. Press the third time to cancel the repeat play.
When stopped, press this key to enter program mode.
LCD display. Example: Program
LCD Display
Program
01 (A) 01 (B)
0101:no time show
A: Denotation 01 one song
B: Denotation position
Press “NEXT, PREV” button to select program track or songs.
Press “PLAY/PAUSE” for program playing.
When finnished programming press “STOP” button.

10
Location of in-line controller

11
LCD display on in-line controller
1. MP3 Disc
2. CD disc
3. Charge
4. Program play
5. Anti-Shock
6. Repeat the single song
7. Repeat entire disk
8. Disc playing
9. PLAY/PAUSE
10. Play song
11. Play time -- minute
12. Play time -- second
13. REPEAT

12
Operation of in-line controller buttons
1. MODE
Press the key once for repeat one, press again and it repeats the
entire disk. Press the third time to cancel the repeat play.
When stopped, press this key to enter program mode.
LCD display. Example: Program
LCD Display
Program
01 (A) 01 (B)
0101:no time show
A: Denotation 01 one song
B: Denotation position
Press “NEXT, PREV” button to select program track or songs.
Press “PLAY/PAUSE” for program playing.
When finnished programming press “STOP” button.
2. STOP ( )
• When playing, press (STOP) and the player will end operation,
press again to turn off.
3. PLAY/PAUSE ( )
• Press (PLAY/PAUSE) to begin playing, while playing pressing this
button again will pause the player. Press it again and the player will
resume play.
4. PREV ( ) and NEXT ( )
• Press PREV once to return to previous track. Press and hold for
2 seconds to enter fast reverse.
• Press NEXT once to skip one track, press and hold for 2 seconds
to enter fast forward.
5. EQ/ESP
In play mode, press EQ button there are 7 music styles to choose
from. When playing MP3 discs press the “EQ” button for 2 seconds
to skip to the first song of the next file (if the songs in the MP3 disc
are recorded into many different files).
When playing CD discs press “EQ” button for 2 seconds to disable
the anti-shock function, LCD of the in-line control displays “ESP
OFF”; Press “EQ” button again for 2 seconds, the unit will activate
the anti-shock function, LCD displays “ESP ON”. The anti-shock
function for MP3 CD’s cannot be disabled.

13
Troubleshooting
Problem Check the main point
CD door will not close Disc may not be in place
Unable to playback disc
The player is in lock state
Disc may not be in place
Disc may be defective or badly scratched
Disc may be upside down
Disc may not be a standard CD/MP3 disc
Battery may not be installed correctly
Unable to begin playback from 1st song
in order
Check to see if song is paused
Check to see if you are in program mode
Unable to listen to music
Check to see if plug is dirty
Check to see if disc is defective or
scrached
Unable to control the main button The player is in lock mode
The battery cannot be charged
Make sure it is a rechargeable battery
Make sure batteries are in correct polarity
according to the “+” “-” symbols
Player shuts down unexpectedly
Charge or insert the adapter to the
rechargeable battery or replace the
battery
Cannot read discs, shows “NO DISC” The disc is bad or dirty
The earphone is silent
Check earphone cord for cracks
Check earphone plug for dirt
Check volume
14
Specifications
Dimensions (approx): 135mm x 132mm x 17mm
Weight: about 148.6 g. (not including the battery)
Operation temperature: +5 °C ~ +35 °C
Operation humidity: 5% ~ 90%
Type of disc: CD, MP3, CD-R, CD-RW
Audio: Frequency response: 20Hz ~ 20KHz
Signal-to-noise ratio: ≥70dB
Output: 20mW+20mW/32 Ω
Power: 1- Two regarcheable batteries
2- AC/DC adapter
Output: 4.5V 650mA
Anti-shock: MP3: 120 seconds
CD: 40 seconds
Notes: Specifications may be changed without notice.

15
LIMITED WARRANTY
• Defacing the serial number, or using your Product for
commercial or institutional purposes, voids this
warranty.
Are There Other Warranties?
• There are no express warranties other than those
expressed herein. Neither the sales personnel nor any
other person is authorized to make any other
warranties or to extend the duration of any warranties.
• ANY IMPLIED WARRANTIES, INCLUDING ANY
IMPLIED WARRANTY OF MERCHANTABILITY (AN
UNWRITTEN WARRANTY THAT A PRODUCT IS FIT
FOR ORDINARY USE), ARE LIMITED TO 90 DAYS.
Some states do not allow limitations on how long an
implied warranty lasts, so the above limitation may not
apply to you.
How Does State Law Apply?
• This warranty gives you specific legal rights, and you
may also have other rights which vary from state to
state.
ORBYX ELECTRONICS WARRANTY
ORBYX Electronics warrants that this product will be free
from defects in materials and workmanship for a period of
one (1) year from the date of purchase. Within this period,
simply take the product and your proof of purchase to any
ORBYX Electronics store or dealer and the product will be
repaired without charge for parts and labour. ORBYX
Electronics reserves the right to charge for transportation.
Any product which has been subject to misuse or
accidental damage is excluded from this warranty.
This warranty is only applicable to a product purchased
through ORBYX Electronics' company owned stores and
dealers and to a product that is presented for repair in a
country where ORBYX Electronics offers the product for
sale. While this warranty does not confer any legal rights
other than those set out above, you may have additional
statutory rights which will vary under the laws of the
various countries, states, province and other governmental
entities in which ORBYX Electronics operates. This
warranty is subject to all statutory rights you may have in
the country of purchase.
LIMITED WARRANTY
Limited Warranty/Garantie Limitée
U.S.A & Canada
© 2005 ORBYX Electronics. All Rights Reserved.
Who is Providing This Warranty?
• Orbyx Electronics, LLC (“Orbyx”), as the distributor of
this Centrios™ product (your “Product”).
What Does This Warranty Cover?
• This warranty covers defects in materials or
workmanship in your Product under normal use and
conditions.
What is the Period of Coverage?
• This warranty covers your Product for 12 months from
the original purchase date.
Who Is Covered?
• This warranty covers the original consumer purchaser.
Coverage terminates if you sell or otherwise transfer
your Product.
What Will We Do To Correct Problems?
• We will repair your Product or replace your Product with
a new or reconditioned equivalent product, at our option.
How Do You Get Service?
• Call Orbyx TOLL FREE at 1-866-363-3059 for
instructions for obtaining warranty service from Orbyx’s
authorized service providers.
• Or, return your Product directly to the retail store from
which you purchased the Product.
• When you obtain service for your Product, you must
provide a purchase receipt (or other proof of the original
purchase date) and a description of the defect(s).
What Does This Warranty Not Cover?
• This warranty DOES NOT COVER:
• damage due to misuse, abuse, alteration, unauthorized
repair, or accident (such as improper electrical current);
• damage due to “acts of God” (such as lightning) or other
contingencies beyond our control;
• cosmetic damage;
• externally generated static, signal reception or antenna
problems not caused by your Product; or batteries.
• This warranty also DOES NOT COVER, and in no case
will we be liable for, any incidental damages (such as
transportation costs to and from an authorized service
provider, or loss of time) or consequential damages
(such as costs of repairing or replacing other property
which is damaged, including tapes, discs, speakers not
included with your Product or other accessories, or
external electrical systems) resulting from the use of
your Product. Some states do not allow the exclusion or
limitation of incidental or consequential damages, so the
above limitation or exclusion may not apply to you.
Distributed exclusively in the U.S. by
Orbyx Electronics, LLC
501 South Cheryl Lane,
Walnut, CA 91789
Imported in Canada for
Orbyx Electronics,
Concord, Canada, L4K 4M3
Manufactured in China
For product support please contact www.orbyxelectronics.com
or 1-866-363-3059
Table of contents


