6 7
Grilling, griddling & beyond
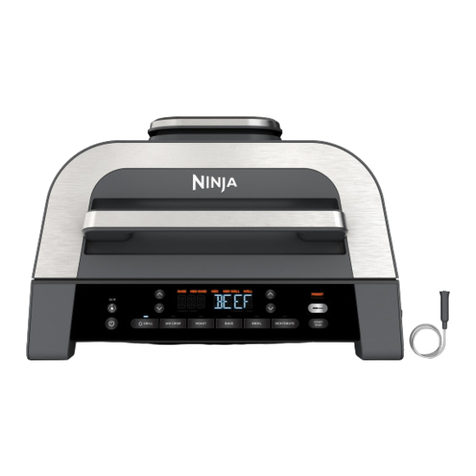
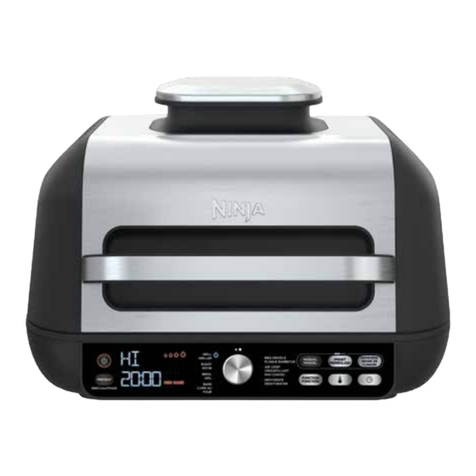
Get to know the functions of your Ninja® Foodi® XL Pro Grill & Griddle
to get the best out of every meal.
Harness the direct high heat
from the grate and cyclonic air
for fast, char-grilled results,
virtually smoke free.
Achieve crispiness and
crunch with little to no oil.
Flat-top BBQ Griddle creates
even, edge-to-edge heat to
cook foods grills can't like tacos,
cheesesteaks, nachos, and more.
Extra versatility to roast
or broil meats and make
dehydrated snacks.
TOP-DOWN
& BOTTOM-UP
HEAT
TOP-DOWN
HEAT BOTTOM-UP
HEAT
KEY: HEATING ELEMENTS
Air Crisp
Roast, Broil
& Dehydrate
BBQ GriddleGrill
Bake cakes, treats,
desserts, and more.
Bake
Let's get cooking
STEP 5
Add Food
•
Once unit has preheated, ADD FOOD
will appear on the screen. Open the
hood to add ingredients to unit.
•
To prevent foods like sausages
and asparagus from rolling o
the grill grate, place them parallel
to the grill grate lines (position
them vertically on the grill grate).
• To get the best grill marks on your
food, place food on grill grate
and press down firmly to increase
contact between food and grill.
•
When batch cooking meats, close
the hood between batches and run
the programmed function for 2–3
minutes
before adding more food.
STEP 1
Set Up
• To install the powered grill
grate, position it into the front
of the base so it hooks in, then
press down on the back of the
grate until it clicks in place.
STEP 4
Preheat
• Close the hood and press dial to
begin preheating. The progress
bar will begin illuminating.
• Reference the Owner's Guide
for approximate preheat
times for each function.
NOTE: When set to Roast, Grill,
BBQ Griddle, or Air Crisp, the unit
will beep and display FLIP. Flipping
is optional but recommended.
NOTE: The flat top BBQ griddle,
crisper basket, and splatter shield are
dishwasher safe. The pro powered
grill grate, and base unit are NOT
dishwasher safe. Be sure to clean all
accessories, including the splatter
shield and main unit, after each use.
NOTE: When using the BAKE
function, make sure to use the
proper accessory. For wet or
battered ingredients, use a
baking dish. For loose items such
as cinnamon rolls, hand pies, or
biscuits, use the crisper basket.
STEP 2
Add Accessories
STEP 3
Select Cook Function
• To install the splatter shield,
hook the left side of the shield
into place and then snap the
right side into place, until it
clicks in place and feels secure.
• Place any accessory required
in unit. Reference Foodi
functions on the chart on
adjacent page to determine
if an accessory is needed.
• Turn dial to select desired
cooking function (e.g., Grill).
• The default temperature
setting will display. To adjust
temperature if desired, press
TEMP button and turn dial.
• Press the TIME button and turn
the dial to select desired time.
STEP 6
Complete Cooking
• When cook time is complete,
the unit will beep and "END" will
appear on the display. Remove
food and accessories from unit.
• Remove the grill
grate by pressing
the orange release
button on the left side of
the unit. The grate will pop
up from the back Then lift it up.
SCAN TO
GET TO KNOW
YOUR FOODI®
EXPLORE RECIPES
AND MORE.
* Bake pan not included
*
