NiteSite spotter rtek xe User manual

Congratulations on the purchase of your NiteSite product! Before you start to use the NiteSite system
please carefully read these instructions to enjoy optimum performance and a long service life.
There are three products in the RTEK spotting adaptor range for you to enjoy. The XE, XW and XV.
Please read the relevant information regarding your product purchase contained in this instruction
manual. NiteSite spotting adaptor product’s viewing ranges expressed are dependent on the spotting
scope and weather conditions.
Intended use
The NiteSite products are add on devices for use with an existing scope. They are also for
use in daylight. During darkness the NiteSite products will achieve a night vision identication
range of up to 500 metres depending on the model purchased, weather conditions and optic.
NiteSite Ltd does not bear responsibility for the use of this product in countries or territories where
the law prohibits its use. It is the sole responsibility of the operator to comply with the laws and
regulations of the country or territories where the NiteSite add on devices are used.
Your NiteSite product
Click on your model below to see the respective products kit contents
1
Operating instructions
Step 1
Place the Saddle bracket round the spotting scope, feed the velcro ribbon through the saddle
buckle and place the strap back on its self so that the saddle is rmly in place on top of the spotting
scope
Step 2
Slide the illuminator module into the“T” slot on the saddle bracket.
Step 3
Fit the spotting scope to the NiteSite aluminium bracket using the xing screw provided. (spotting
scope bracket and xing screws purchased separately)
Step 4
Push the exible sleeve over the eye piece of the spotting scope. Push the camera in to the exible
sleeve then x the camera to the aluminium bracket. Make sure the camera and sleeve are xed so
that the camera module is concentrically viewing down the spotting scope eye piece.
Step 5
Fit the battery pack in place (the XE model comes with a 6000 mAh battery in a pouch that
must be tted to the spotting scope and not the exible sleeve.)
Step 6
Connect the illuminator module to the camera module
Step 7
Connect the battery to the camera module and switch on the NiteSite system with the button on the
back of the camera module

The RTEK system2
1
2
3
4
5
6
7
8
9
Flexible sleeve mounted onto the RTEK
camera module
1 LED infra-red (IR) illuminator intensity dimming control knob
2 RTEK Illuminator module - Infra-red protective lens cover.
3.5” dimmable screen.
connecting cable.
3 XV, XW, XE battery (information on page 5)
4 Saddle bracket - The tough plastic bracket with a rubber protective strip comes with a velcro through
strap to secure the illuminator module to the spotting scope.
5 The torch mount is used to hold the torch clamp accessory (sold seperately.)
6 Spotting scope (not supplied.)
7 Spotting scope bracket (sold seperately.)
8 Sleeves are exible enough to stretch over most round eye piece. Smaller sleeve may need softening in
hot water for larger eye pieces
9 Camera module - infra-red (IR) camera, 12-volt DC power supply socket.
Optional integrated WIFI
Recording capabilities.

3Accessories purchased seperately
The Camera module
Record
button and
LED indicator
Micro SD card
slot
Power
button
Focusing wheel
1a
1b
1a The RTEK camera module has the capability to capture video simply at the push of a button.
Before turning on the camera module, place the micro SD card into the slot on the back of the
camera module.
Power the camera module via the button on the back of the camera module. The red light appears
steady on the back of the camera unit. Allowing 2-3 seconds to warm up, the camera is now ready to
record. The record button is situated above the SD card slot on the back of the camera module (REC).
To start recording press the record button once, the LED record indicator light begins to ash.
To stop recording press the record button again, the LED record indicator no longer ashes but
remains in standby. Turning o the camera module with the on /o button when the record
indicator LED is ashing will delete the le that is recording. Always use the record button
to stop recording before switching o the camera module. To view the les that have been
captured remove the micro SD card and insert this into your PC, laptop or tablet.
1b Turning the focusing wheel rotates the lens wheel in the same direction.
Turning the lens wheel anti-clockwise decreases the range of the focal point. Turning clockwise
increases it.
Torch clamp
The torch clamp comes in two sizes, 30mm and 1 inch (25mm). For
torches larger see the universal clamp. The clamp comes supplied with
the locking clip.
Spotting scope bracket
The bracket is designed to be used with the night vision adaptor
range for spotting scopes. It is fully adjustable. The bracket comes with
the ‘T’ slot torch mount.

Ferrite installation
120mm
120mm
2a Place the LCD screen & illuminator module cable into
the ferrite approximately 120mm from the end of the
right-angle plug.
2b With the cable in place carefully close the ferrite over
the cable so that the ferrite snaps together.
This device complies with part 15 of the FCC rules.
2a
2b
4Optic coatings
WIFI iOS and Android set up
NITEPLAYER
Set up NitePlayer - iOS
- Enter the App store on your Apple device and search for the
‘NitePlayer’ app. Select the NitePlayer App to download it
- Enter the settings on your Apple device. Select WIFI and
choose the NiteSite WIFI option. (password: 12345678)
It may take a few seconds to connect
Set up NitePlayer - Android
- Select Google play on your Android device. Search for
‘NitePlayer’ and install NitePlayer.
- Enter settings on your Android device, select WIFI and choose
the NiteSite WIFI option. (Password: 12345678)
The optional WIFI capability on the RTEK camera
module allows you to live stream video of your
hunt to an iOS or Android device
Note: When changing password, this is only
entered once. Any error made in setting may
need the unit to be factory reset.
The NiteSite system functions in darkness with the use of infra-red light emitted from the illuminator
module. In darkness the NiteSite system relies on the camera module receiving as much infra-red light
as possible.
Some spotting scope manufacturers have a coating that may reduce infra-red light passing through the
spotting scope optic. This coating improves the image visibility at low ambient light levels. The NiteSite
system is not as eective with spotting scope lenses that have such coatings. Always check the spotting
scope manufacturers instruction details prior to tting the NiteSite system to ensure you get the best
results from the product.

NiteSite batteries
3a
3a Scope mounted battery - The lithium-ion battery can be tted on the scope sleeve during use.
The typical runtime for this product is 4 hours on half IR, depending on which product that it is
used with. The battery has a Velcro strap for mounting to the scope. Never take apart the
lithium-ion battery
3b Feed the Velcro strap through the strap points on both sides of the battery case, down one side
and up through the other side so that the Velcro strap is under the back of the battery. Place the
battery in position on the scope sleeve and feed the strap round the scope sleeve and through
the buckle. Now double back the Velcro strap under the scope sleeve and pull tight.
3b
Battery chargers
The battery charger comes with a compatible mains pin conguration for your region. To charge the
lithium-ion battery, the battery charger must be connected to the mains wall socket. Once the
green light is on simply connect the NiteSite lithium-ion battery pack DC plug into the charger DC
socket. The lithium-ion battery chargers green light will change to red. The red light indicates that
the battery is correctly connected and that the battery is being charged. The indicator light will
turn green once the lithium ion battery is fully charged.
Charging times will vary, depending on the type of battery pack and its charged condition. The
lithium-ion battery is supplied in a discharged condition and must be fully charged before use.
Always connect the correct lithium-ion battery charger to the correct lithium-ion battery supplied in
the kit. Please check you have the correct charger by checking the label located on the battery
charger. If in doubt please contact customer services
5
4000 mAh battery (XW)6000 mAh battery (XE)
2000 mAh battery (XV)

Battery safety information
To prevent potential leakage, overheating or explosion of the battery please be advised of the
following precautions.
- Only use the NiteSite supplied lithium-ion battery charger.
- Do not dispose of the battery into an open re
- Do not immerse in water. Always store in a cool dry environment, away from any metal objects
such as pins, nails, keys, jewellery, coins etc.
- Do not leave near a heat source, such as a re or heater.
- Do not connect the battery directly to an electrical socket outlet.
- Do not short out the battery cables or trap the cable causing a short circuit.
- Do not transport the battery with any metal objects described above.
- Do not strike or throw against hard surfaces.
- Do not pierce the battery with any sharp object.
Caution!
- Do not leave the battery in direct sunlight for prolonged periods of time.
- Do not use in a location where static electricity is evident or the safety circuitry may be damaged.
- Should the battery electrolyte get into the eyes due to leakage do NOT rub the eyes! Rinse with
copious amounts of clean water and seek medical attention immediately. Failure to do so may
result in permanent damage to the eyes or loss of sight.
- If the battery gives o an odour, generates heat, becomes mis-shaped, or abnormal during use,
recharging or in storage, immediately remove the battery pack and place it in a contained vessel
such as a metal box, before contacting customer services.
- In case the battery connector is contaminated with debris of any kind during use clean with a dry
cloth. Otherwise power failure may occur due to a poor connection from the battery to the NiteSite
or to the battery charger.
- Do not use abrasives or solvents to clean the connector plug or battery case.
- Discarded batteries may catch re so always tape over the battery terminals before disposal.
- Do not take the battery case apart or tamper with the battery pack.
6

Maintenance and safety
Care and maintenance
After each use and during transport, store the NiteSite equipment in the carry case provided.
Take care not to damage the connecting cables during use. Short circuiting the battery cables
could cause burns and re.
Always keep the battery in the pouch provided. Always x securely in place during use, utilising
the stock mount pouch or Velcro xings provided. Belt mounted battery pouches are available.
Wipe any debris using a soft moist cloth. Do not use cleaning agents of any kind and always
disconnect the battery before cleaning the NiteSite equipment.
To get the most out of the NiteSite equipment, keep the LCD screen & infra-red illuminator front
lens clean and free from debris.
The NiteSite equipment is not water proof, only shower proof. Always cover the equipment in
rainy conditions.
Safety Information
Never look directly into the infra-red illuminator. The unit can emit very high concentrated
non-visible infra-red light which can be hazardous to the human eye. Ensure all relevant
legislation relating to safe use of the product is followed.
Persons using the NiteSite equipment under the age of 16 must be supervised by an adult.
Do not attempt to make any repairs to the NiteSite equipment as this will void any guarantee and
could cause personal injury and may cause further damage to the NiteSite equipment.
Do not store any part of the NiteSite equipment near open ames or other forms of excessive heat.
The NiteSite equipment is made of durable ABS polymer, under excessive heat this could be
compromised.
NiteSite users should adhere to safe working practices.
7

Disposal and guarantee
General disposal
UK: Waste electrical products should not be disposed of with household waste. Separate disposal
facilities exist. For your nearest facilities, please contact your local authority for details.
Dispose of batteries in an environmentally friendly way.
Certain regions may regulate the disposal of batteries. Please consult your local authority.
In EC countries batteries must be recycled according to guideline 91/157/EEC
NiteSite guarantee
Your new NiteSite equipment comes with a 24 month guarantee protecting you against electrical and
mechanical breakdown. Please see terms and conditions below. There is a 12 month guarantee on battery
packs.
It is important to register the purchase of your product in order to ensure that you receive prompt and
ecient assistance in the event of it requiring attention during the guarantee period.
NiteSite guarantee conditions
We at NiteSite undertake that if within 24 months of the date of purchase the NiteSite equipment or any part
thereof (excluding batteries) is proved to be defective by reason only of fault of workmanship or materials, we
will, at our discretion repair or replace the same FREE OF ANY CHARGE for labour, materials on condition that:
1)You are the original purchaser and not an assignee or subsequent purchaser of the equipment.
2)The product has been used in accordance with the manufacturers operating and maintenance instructions.
3)The product has not been serviced, maintained, repaired, taken apart or tampered with by any persons not
authorised by NiteSite.
4) All service work under this guarantee must be undertaken by the NiteSite customer service department .
5) Any product or defective part replaced shall become the property of NiteSite.
Please Note
A) This guarantee is in addition to your statutory and other legal rights.
B) NiteSite will return product by courier within 28 days of receipt.
C) The company’s liability under this warranty is limited to the said repairs or replacement and shall under
no circumstances extend to any nancial losses alleged to have been suered by the claimant.
D) In the event of repairs or replacement being made under the terms of this warranty in the circumstances
where the opinion of the company the defect has not been caused by the company’s materials or
workmanship then the company reserves the right to charge the claimant at its current hourly rates and
list prices in respect of any employees time and any replacement parts.
E) No authority has been given to any person, rm or company, to vary the terms of this guarantee.
The guarantee does not cover the following:
1) Damage resulting from transportation.
2) Damage resulting from improper use or neglect.
3) Consequential damage resulting from unauthorised repair work.
4) Accidental damage.
5) Damage resulting from modication attempts.
8
This manual suits for next models
2
Table of contents
Popular Telescope manuals by other brands
SKY-WATCHER
SKY-WATCHER 709AZ3 instruction manual
ORION TELESCOPES & BINOCULARS
ORION TELESCOPES & BINOCULARS SpaceProbe 130mm EQ 9027 Instrction manual
Orion
Orion skyView Pro 150mm EQ 9968 instruction manual

POOF-Slinky
POOF-Slinky SCIENTIFIC EXPLORER POLARIS 30 instructions

Clarke
Clarke 15-45 X 50 Instructions for use
Celestron
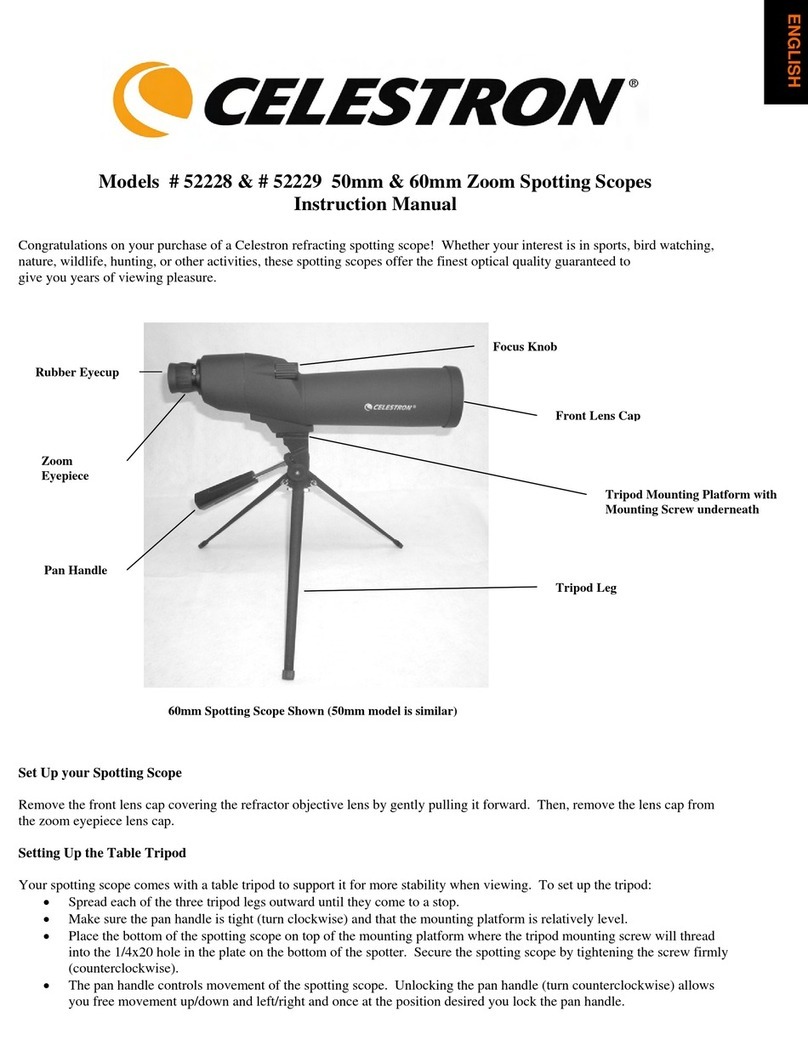
Celestron 52228 instruction manual
