nodon OCTAN Operation instructions

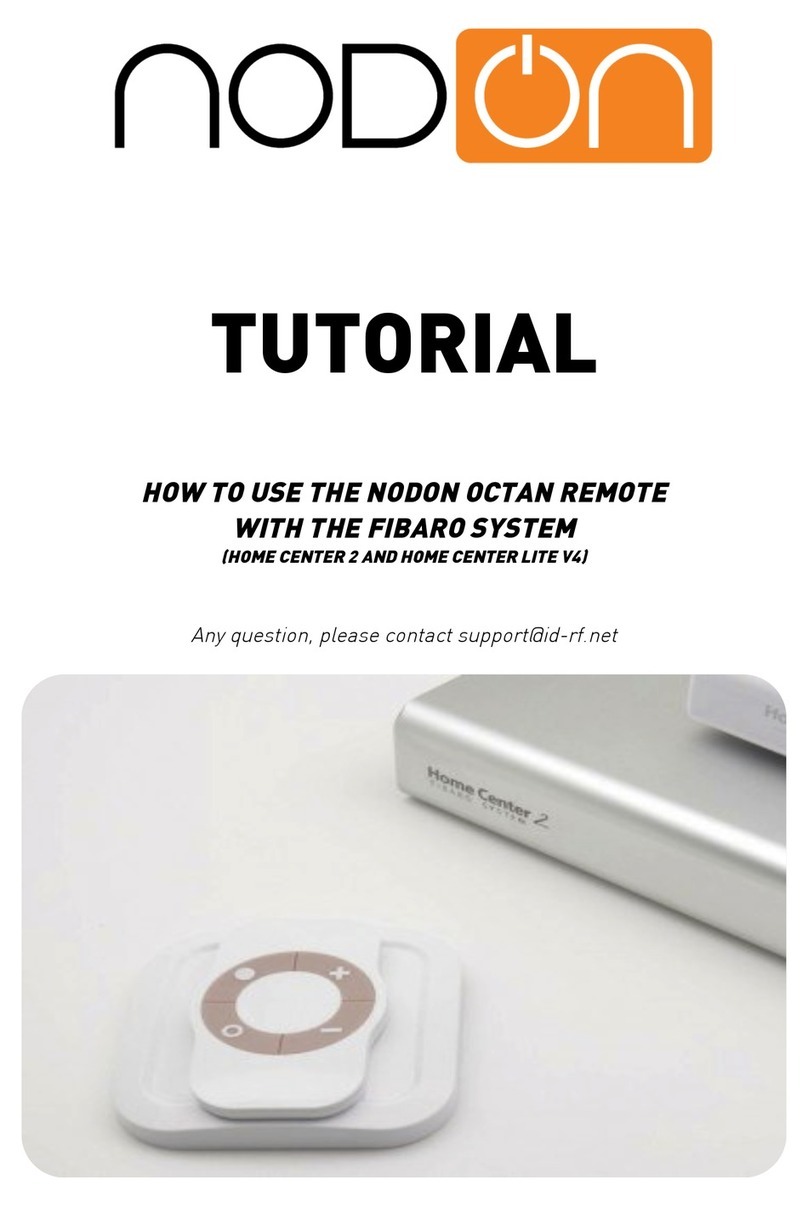
TUTORIAL
HOW TO USE THE NODON OCTAN REMOTE
WITH THE VERA EDGE

Imagine you are sitting comfortably on your sofa and want to turn off the light, adjust
a comfortable temperature, put music in background, close your shutters ... Here you
have a very simple solution: Our NodOn Octan Remote.
With it, you can control all your equipments from its 4 buttons. It is no more
necessary to pull out your smartphone, unlock it, find the right app, etc… to just
toggle a light!
You will find below a tutorial to use the NodOn Octan Remote with the VeraEdge
gateway.
IMPORTANT NOTE:
The NodOn Octan Remote is not yet fully integrated by Vera’s team. Some features are then
depreciated or need some advanced technical knowledge to be implemented.
1- OVERVIEW OF THE NODON OCTAN REMOTE
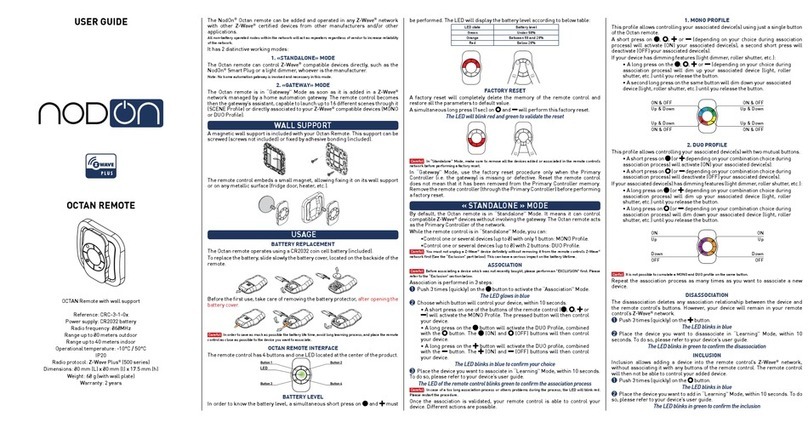
The NodOn Octan Remote has 4 buttons, with 4 possible actions on each button:
Single Press, Double Press, Long Press and Release from Long Press
You can use the NodOn Octan Remote in 2 different modes:
Standalone Mode:
You control your associated devices directly, without involving a
Home Automation gateway.
Two profiles are available: Mono (you control a device from 1 button) and Duo (you
control a device from 2 buttons).
Gateway Mode:
You control the devices included in your Z-Wave network with your
NodOn Octan Remote, through your Home Automation gateway, using scenes or
eventually direct associations.
Using the advanced “Z-Wave Plus” technology, this remote can therefore easily be
used in different rooms of your home thanks to its optimized communication
range. With its embedded magnet, you can place your remote control on any suitable
surface (refrigerator, central unit of a computer etc.) or on a wall, using its magnetic
mounting support.

Here are the technical characteristics of this remote control:
-Power: CR2032
-Battery Life: 1.5 to 2 years
-4 buttons
-Wall support, mounted by 3M sticker (included) or screws (not included)
-Built-in magnet for mounting on metal surface
-Operating temperature 0 °C to 40 °C / Altitude: 2000m
-Z-Wave®Radio protocol: 868.4MHz - 500 Series – Z-Wave Plus®certified
-Range: 40m indoor / outdoor 80m
-Dimension: 80 * 80 * 15mm
-Warranty: 2 years
2- INCLUSION OF THE REMOTE INTO THE VERAEDGE
Connect to your VeraEdge web interface and select “Devices” then “Add Device”, then
in the list pick “Generic Device”.
Before Inclusion, it is advisable to make an Exclusion to ensure that the remote
control is not included in another Z-Wave network. To achieve this Exclusion, Please
refer to VeraEdge interface and Octan Remote User Guide.

Once the VeraEdge ask you to perform Inclusion on your Octan Remote, please follow
below procedure
Simultaneously press the buttons • and + of the remote control for 1 second.
The LED glows in pink to confirm the selection. Then press the button •
The LED blinks in pink to confirm the selection, then in green to confirm the Inclusion
process (after around 20sec)
For details about the Learning mode (Inclusion / Exclusion) of the Octan Remote,
please refer to its User Guide.
THE INCLUSION PROCESS MUST BE DONE CLOSE TO THE VERAEDGE GATEWAY

Your NodOn Octan Remote is now included in the Z-Wave network of your VeraEdge,
and is displayed on your interface.
3- SET-UP THE OCTAN REMOTE
Important:
To enjoy fully the Octan Remote, we advise you to use “Scene” instead of Direct
Associations. VeraEdge currently support 2 types of Scene: Central Scene and Scene
Activation.
Central Scene mode is the default mode of the Octan Remote
If you want to pass to Scene Activation mode, you need to modify Configuration
Parameter #3
A. Central Scene Mode (Default Mode)
In this mode, the VeraEdge can currently understand 4 scenes from the Octan
Remote, 1 for a Single Press on each button. The VeraEdge currently ignores double
Press, Long Press and Release.
There are 2 ways to set up scene in this mode
-You already have scene and you want to trig them with the Octan Remote
-You want to trig something else than a scene
Go to “Devices” menu and choose the Octan Remote, and then click on “Select scenes
for device buttons” in the menu.

The interface will ask you how many buttons you have, please enter “4”.
Once performed, you will have 4 lists of choices where you can assign one action for
each button (It can be scene trigger or change the mode of the VeraEdge, such as
from “Home” to “Away”).
Note:
A known VeraEdge’s bug is that instead of displaying “Button #1”, “Button #2”, etc.
the web interface displays 4 times the name “False”. In this case, consider that the
first “false” is Button #1, the second Button #2, etc.
You can also create a Scene through the scene menu and select the Octan Remote as
a trigger. For this, choose Option “A scene is activated” and specify
-10 for button •
-20 for button +
-30 for button O
-40 for button –

B. Scene Activation Mode (Advanced Mode)
As mentioned above, in order to enjoy the 16 scenes of the Octan Remote, you can use
Scene Activation Mode and LUA script.
We’re working with Vera’s team to make this feature more user-friendly and
convenient in the shortest time. Do not hesitate to contact our technical support and
the one of Vera if you have questions.
To activate the “Scene Activation” mode, you will need to do the following steps
1. Add configuration parameter to the Octan
2. Ask the VeraEdge to apply your configuration
3. Fix a known VeraEdge bug with some LUA script. Indeed, natively the VeraEdge
doesn’t extract the right Scene ID, so you must get it using Script.
1.
Add configuration parameter
Select the Octan Remote in the “Devices” menu and then click on the menu called
“Device Options”.

Then you should arrive on a menu where you can see a button called “Add
Configuration settings”. Click on it and you should be able to set up a new
configuration setting.
According to the Octan Remote User Guide, below the inputs
-Number: 3
-Data size: 1 byte hex
-Value: 1 (Scene Activation Mode)
Confirm the setting and save it.
2.
Ask VeraEdge to apply your configuration
Go back to the main menu of the Octan Remote and click on the button called
“Advanced”. Go to the tab called “Commands”
Once in the menu, click on “configure node right now”.
Once you receive the confirmation that the VeraEdge got the command, please wake
up the Octan Remote by pushing any of its buttons
Make sure you are close enough to the VeraEdge while doing this.

Please wait until VeraEdge configures it according to your need.
3.
Create a Scene with LUA Script
To finish, you need now to create a Scene. Chose the Octan Remote as a trigger and
put a scene ID of 0
Then, in the step “Finish the Scene” of you scene creation, please add a LUUP code by
clicking on “Luup Code defined”.
You need to reach the LastSceneID that contain the right value of which button was
pressed with what kind of press.
Below an example
-----------------------------------------------------------------------
luup.call_delay('scene_controller',1)
function scene_controller()
local lastSceneID = luup.variable_get("urn:micasaverde-
com:serviceId:SceneController1","LastSceneID",#DEVICE_ID#)
if (lastSceneID == "#REMOTE_BUTTON_ID#") then
luup.call_action("urn:micasaverde-
com:serviceId:HomeAutomationGateway1", "RunScene", {SceneNum =
"#scene_num#"}, 0)
end
end
------------------------------------------------------------------------
#DEVICE_ID# replaced with your Octan Remote ID
#REMOTE_BUTTON_ID# replaced with button ID (ex 10,20,30,40,...)
#scene_num# replaced with Vera Scene ID
If you want to launch Scene #1 while the Scene Activation ID 22 is detected (it’s a long
press on button +).
-#DEVICE_ID# = Octan Remote (or the name you chosed)
-#REMOTE_BUTTON_ID# = 22
-#scene_num# = 1

Here is the summary table of the corresponding IDs for each of the 16 possible
actions on your remote
For correspondence between buttons’ number and symbol, please check the User
Guide of the Octan Remote.
C. Direct Association Mode
!
To activate the “Direct Association” mode you need to do the following step :
1. Set the configuration parameters to the desired value (Mono, Duo, etc…)
2. Associate the device you want to control in the desired group of the Octan
Remote
For details about Configuration parameters and Association groups, please check the
user guide of the Octan Remote.
First, you have to add configuration parameter to the Octan Remote.
Select your Octan Remote in the “Devices” menu and then click on the menu called
“Device Options”
Then you should arrive on a menu where you can see a button call “Add Configuration
settings”. Click on it and you should be able to set up a new configuration setting.
Example of direct Association configuration
Let’s say we want to use buttons “+” and “–“ in Duo Mode to control a Smart Plug.
According to user guide we need to set-up 2 things
-Parameter #2 corresponding to the button “+” and “-“ into Duo mode
oNumber: 2
oData size: 1 byte hex

oValue: 2 (Duo Mode)
-Place the device you want to control (The Smart Plug) in the Group 7
oWrite “7” in the Group ID field
oClick on “add group”
oThe group appears on the screen, then click on “Select” to add the
device (already included in your VeraEdge network) that you wan to
control with buttons “+” and “-“
Confirm the setting and save it.
Then go back to the main menu of the Octan Remote and click on the button called
“Advanced”. Go to the tab called “Commands”
Once in the menu, click on “configure node right now”.
Once you receive the confirmation that the VeraEdge got the command, please wake
up the Octan Remote by pushing any of its buttons.

Make sure you are close enough to the VeraEdge while doing this.
Please wait until VeraEdge configures it according to your need.
4- CONCLUSION
We’ve displayed above some solutions to use the Octan Remote with VeraEdge
gateway. Some features can be considered as “tricky”, we’re currently working and
pushing with Vera’s team to make this more user-friendly and easy to use.
The 2 others portable controllers of NodOn (Soft Remote and Wall Switch) are
working in the exact same manner as the NodOn Octan Remote, once the Inclusion is
done. You can apply above tutorial. For Learning modes (Inclusion / Exclusion) of the
Wall Switch and the Soft Remote, please refer to the relevant User Guide.
Soft Remote NodOn (Z-Wave Plus®) Wall Switch NodOn (Z-Wave Plus®)
NodOn®is a trademark of ID-RF SAS
www.nodon.fr/en
Other manuals for OCTAN
2
Other nodon Remote Control manuals
Popular Remote Control manuals by other brands
Universal Remote Control
Universal Remote Control Easy Clicker UR2-211 operating manual
Woodbridge
Woodbridge LT610 user manual

Mitsubishi Electric
Mitsubishi Electric Mr.Slim PAR-30MAA Operation manual
Universal Remote Control
Universal Remote Control CLIKR-5 UR5U-8500 operating instructions
M-E
M-E CUVEO CT-FB16 Series manual
ARC
ARC ARC FLEX user manual
